Simply Spooky!
Hello lovely friends it’s Kylie [1] with you again today. I have been setting up some more ‘Spooky’ goodness in my A5, Grape planner [2] lately and having fun creating with the Happy Halloween Simple Set [3].
If you saw my blog post earlier in the month you would have seen how I was using my Persimmon planner with the Vintage Halloween collection, for my everyday planning. Here is my blog post [4] if you would like to see it again. Since I already had my day to day planning covered I decided to use my Grape planner as a flip “mood and inspiration” board, to house some memory keeping and ideas for planning a perfect Halloween.
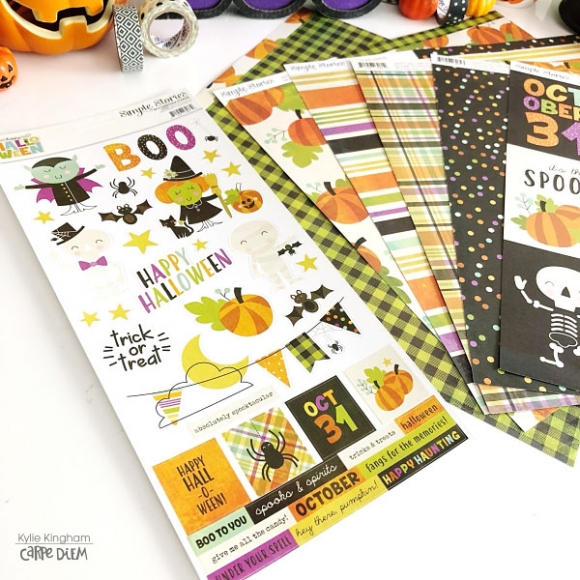
The Happy Halloween collection is just so cute……..
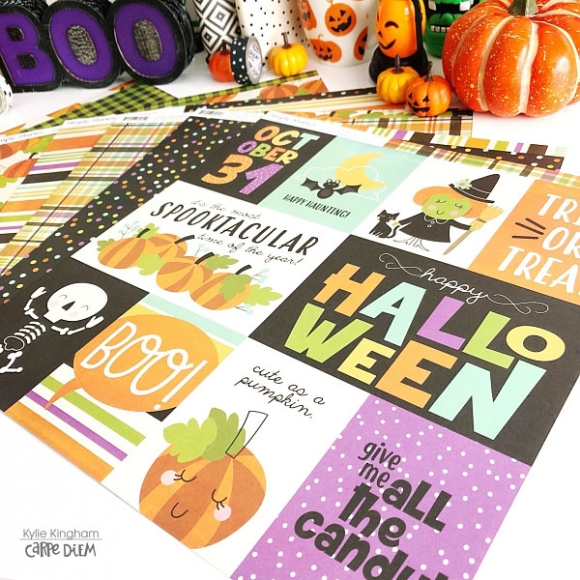
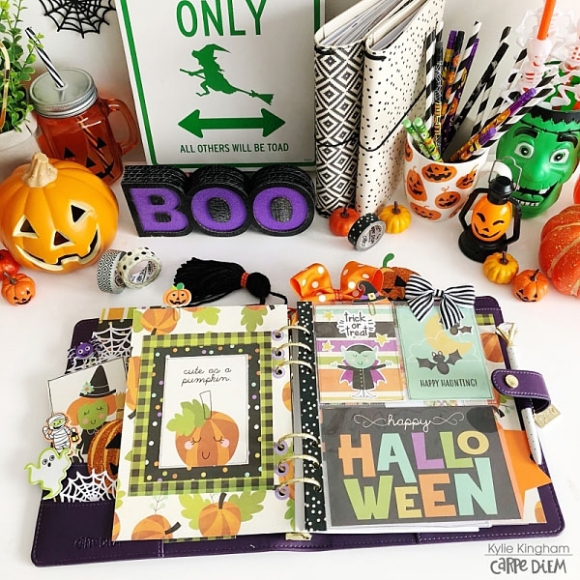
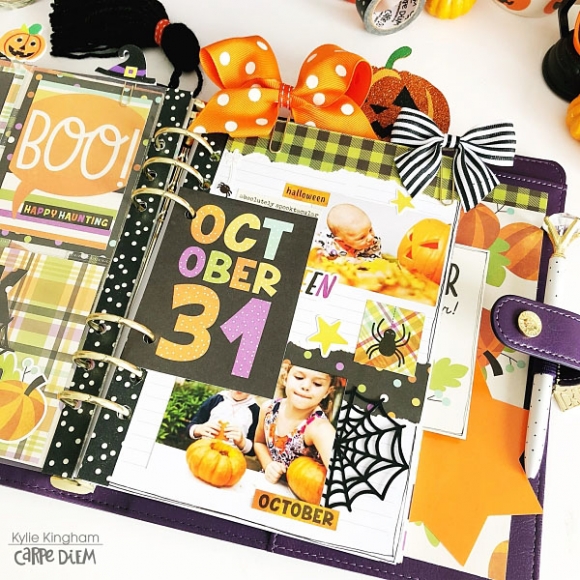
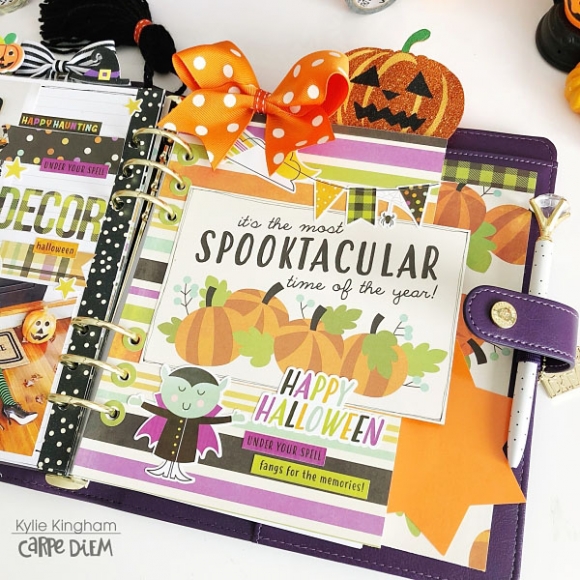
The opening of my planner showcases a dashboard I created from the gorgeous printed papers, as well as some very full pockets of spooky cuteness. As always I loved the 3x4 & 4x6 elements sheet of paper for cutting apart the cute cards.
I added a couple of these element cards to my pockets, purely for cute factor!
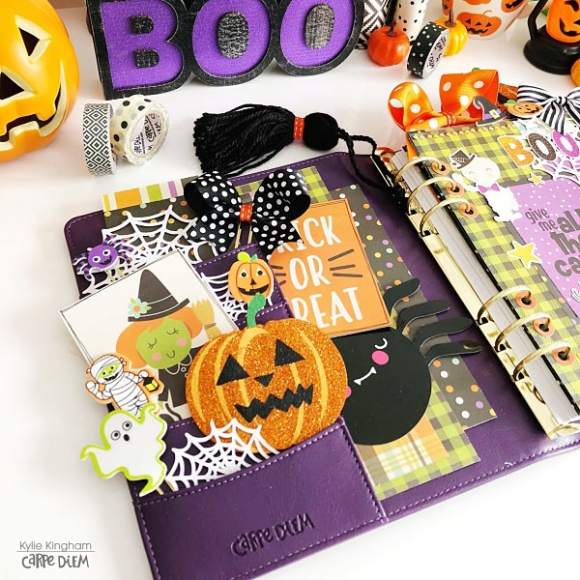
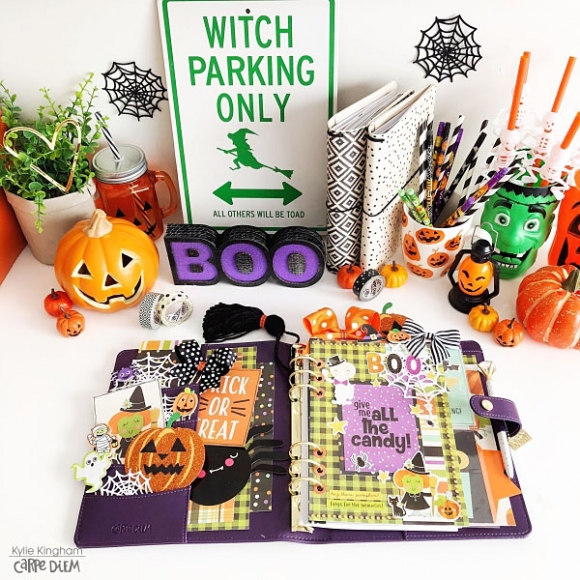
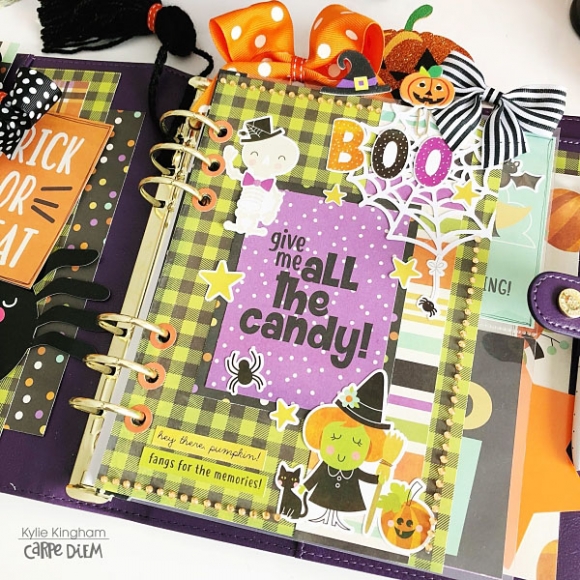
I also used 3 x 4 element on my dashboard.The ‘Give me all the Candy’ was a definite favourite! For colour, I have also layered some contrasting papers in behind. The spider web was cut with a die from my stash which acted as a shadow behind my stickers.
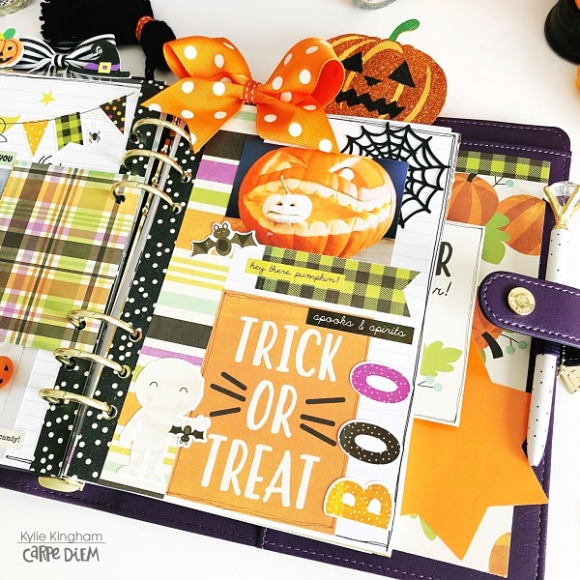
The back of my dashboard was all about Pumpkins! More layering of papers and finished with another 3 x 4 element.

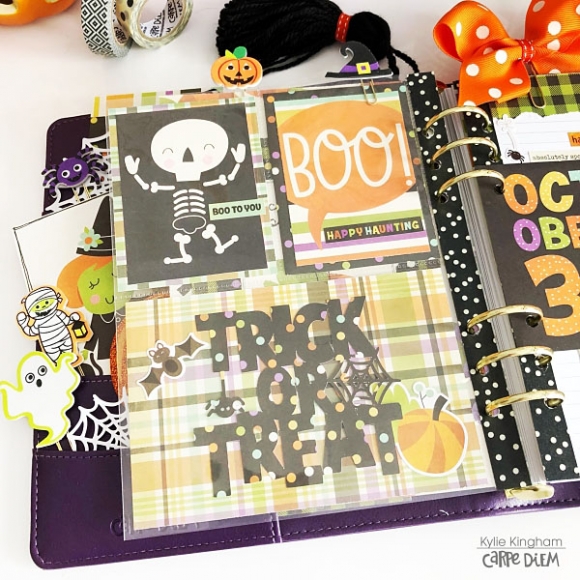
I added one of the 3 x 4 / 4 x 6 pocket pages to my planner. This was easy to do by covering the existing holes with washi tape and re-punching the holes to fit my planner with my Carpe Diem hole punch. The “Trick or Treat” phrase on the back, I cut with my Silhouette Cameo.It was a file I had found via the Silhouette store some time ago.
I printed some smaller sized photos to add to my pages for memory keeping, tying in lots of the fun stickers to frame them.With the beautiful papers I tore some strips to act as a border to the top of my page as well as through the centre, which gave a nice overall texture to my pages.
For my inspiration pages, again I printed my photos smaller to fit the page. I have created my own lettering by using some Alpha dies with the papers. As well as adding some of the 3 x 4 elements to my pages I have cut some of my favourites out and punched them so they fit onto my rings as a little tip in for my planner.By adding a free hand drawn border with a fine tip black pen helps them to stand out even more.
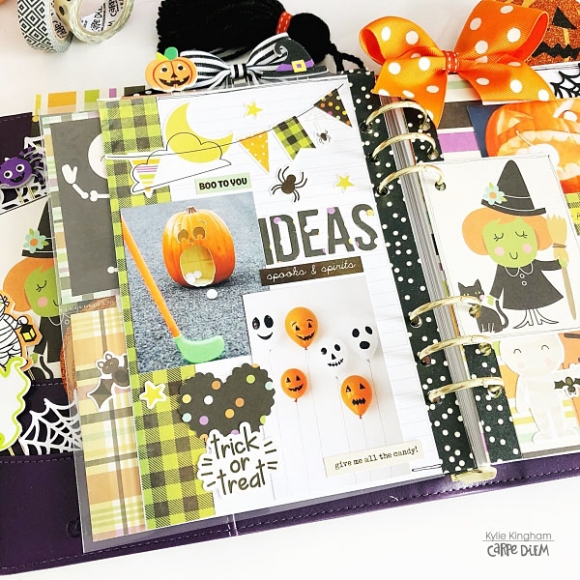
Along the punched side of my pages I have used some washi tape.Not only does this add colour to your pages but it serves a practical purpose by making the holes extra sturdy.
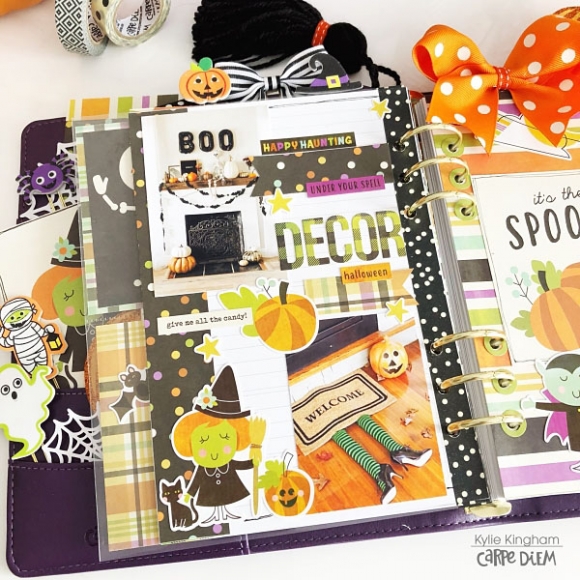
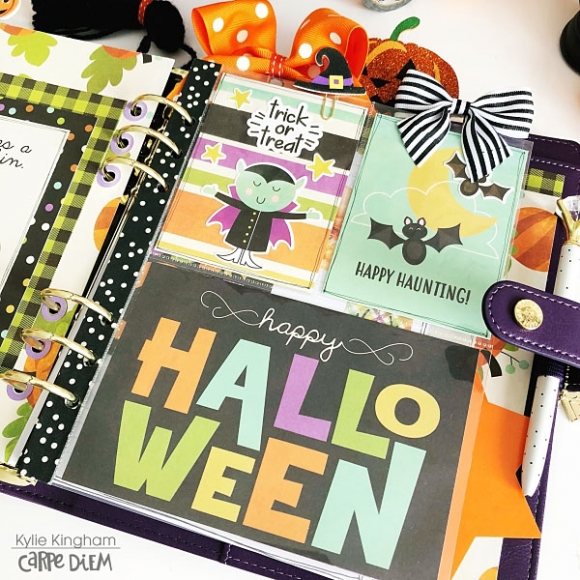
Here is another extra dashboard I created, including one of the 4 x 6 elements. Overall I love the fun vibe the Happy Halloween collection has given my planner.
Thanks for stopping by today! I hope you have some fun creating your own faBOOlous spread in your planner for Halloween.
Until next time,
Kylie