Hi there, Nathalie here with some new projects using some of the fun and beautiful collections from Simple Stories.
This time i chose to document two different snapshots of my fun loving family!, and the new collections Cabin Fever and Emoji love were perfect to bring this pictures to live. Let me show you:
TAKE A HIKE

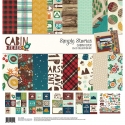
My husband is passionate about camping and the great outdoors, something he has passed on to our kids. For this picture of our family hiking around Lake Simcoe, I used the colors and patterns in the new Cabin Fever collection to complete this page.

To create the background, two cut files from the Cut Shoppe were fused together to create a compass. The star in the middle of the compass was backed with vellum, while the two outer rings of the compass were back with the 'Roughing It', and 'Under The Stars' papers from the collection. The compass was then glued to the right of the b side of the " Nature Hike" paper, and trimmed to fit within the edge of the page.

There are so many coordinating embellishments in this collection, that i just had to use as many as i could to frame the picture. I layered some of the 4x6 element cut-out cards from the collection behind the picture, and glued it between the N and W corner of the compass. I created the first cluster at the center of the compass by using some sentiments from the Combo Sticker sheet, Bits and Pieces, and 4x6 sticker sheets.

A second cluster was created around the top corner of the picture, here i used pulled some of the beautiful flower chipboard stickers, the boot print brad, and some stickers and die cuts from the collection. I love the brads from this collection!, in fact I am hoarding a few of them in my stash!!

Can you tell I love cut files? I used another design from the Cut Shoppe to create the title of this piece, I used the remaining piece of the "Under the Stars" paper to back the cut-out, and glued it below the picture. I had to repeat the foot print design -as in the brad-, and chose the Chipboard stickers; this time, a small cluster was created with some of the Bits and pieces, Combo sticker sheet and another brad ( i love the brads!!!).

To finish the page, I trimmed a bit of the left and bottom edges of the page, and glued the entire mat to the "Summer Camp" paper from the collection. I added a few lines of journal around the perimeter of the compass to complete this page. I love how i was able to combine the picture with the earthy tones of this collection. Trust me, you need a bit of Cabin Fever to document your outdoorsy adventures!
__________________________________________
LOL
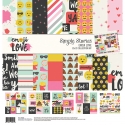
This project is all about the super fun Emoji Love collection, and one of the funniest pictures of my 3 kids. Sometimes the stars align, and you get that lucky shot, this is exactly how this picture came to be, and the best way to document it was using all the icons in the collection.
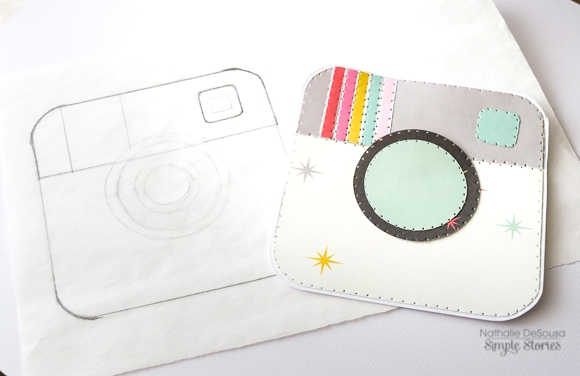
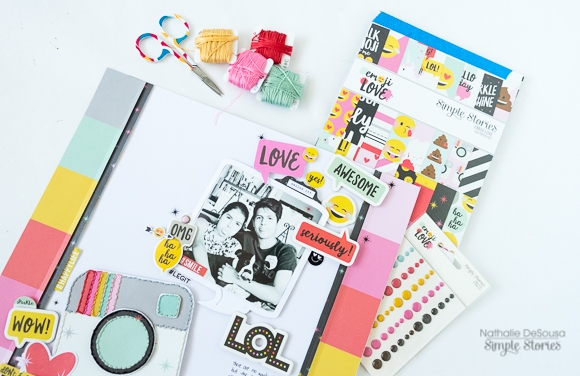
The idea for this layout came after sharing this picture with my family overseas. It all started from a camera snapshot, followed by the picture going to our family group, and then the reactions are still coming in. So, I started by recreating the camera icon in this collection. I drew the image on trace paper, and used it to build the icon from papers from the 6x8 paper pad and some hand stitching. This took a bit of time, as I wanted to add details, and texture to this element.
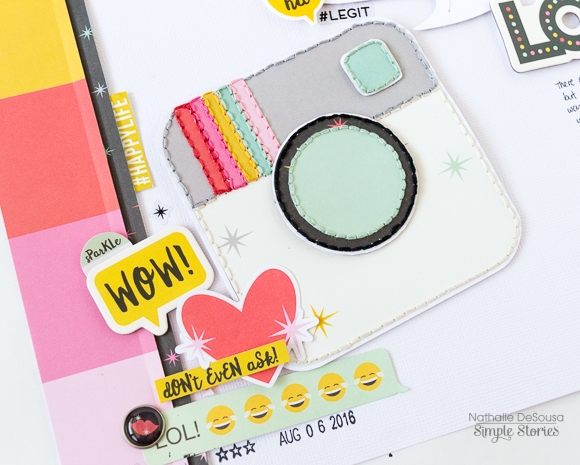
To make the colors of this layout shine, I opted to use white cardstock as the base. I cut two wide strips of "YAY" paper, and glued it to the sides of the cardstock; next two strips of the "Too Cool" paper were cut ( narrower than the previous strips), and glued on top of the previous strips. The finished camera element was then glued to the bottom of the page, and I used Chipboard stickers, die cut pieces, the combo sticker sheet , and brads to add the cluster on the camera.

To recreate the posting, I cut a speech bubble out of cardstock, and used it to frame the picture of my kids. It was then glued above the camera element, and lots of icons were then glued around it. Since there is so many icons, speech bubbles and emojis in the collection, I pulled pieces from all the embellishments in the collection to create the clusters around the picture. I even used the LOL chipboard sticker as the title for this piece. Here is final layout:
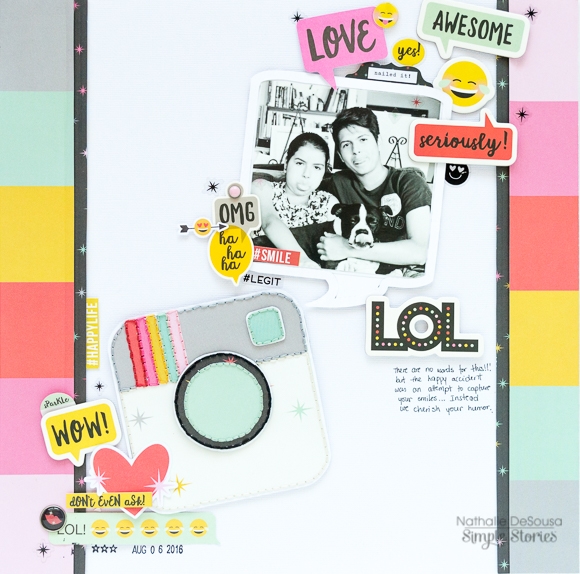
OMG, this layout is just the perfect representation of this social media post. I love it!. The emoji collection is by far one of the funnest collections to date.
I hope the two projects here inspire you to document those fun family moments. The new Simple Stories collection are so diverse, fun, innovative that you can easily scrap from outdoor hikes to the common social media post. The possibilities are infinite with the new Simple Stories collections. I cannot wait to see what you create with them.
Thanks for stopping by today!