Anya Lunchenko's Blog Posts

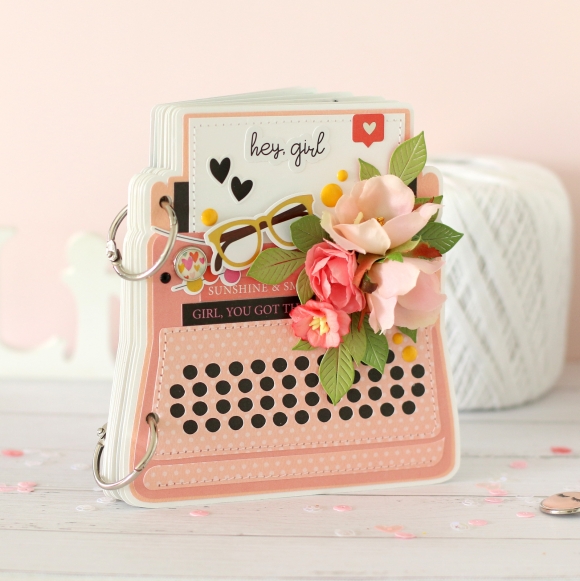
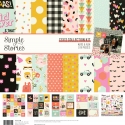
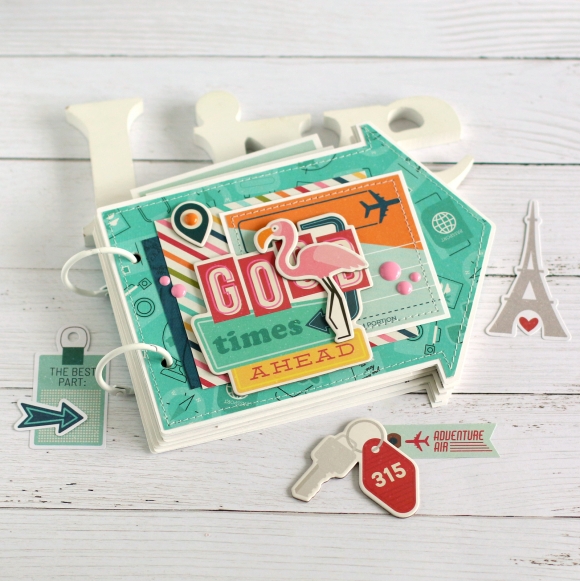
Hello everyone! Anya here today and I am happy to share a little travel project that might come handy to take along on your next trip or to record the memories of your recent adventure. I never get tired of little mini books, they are fun to create and are able to include all the photos you want!

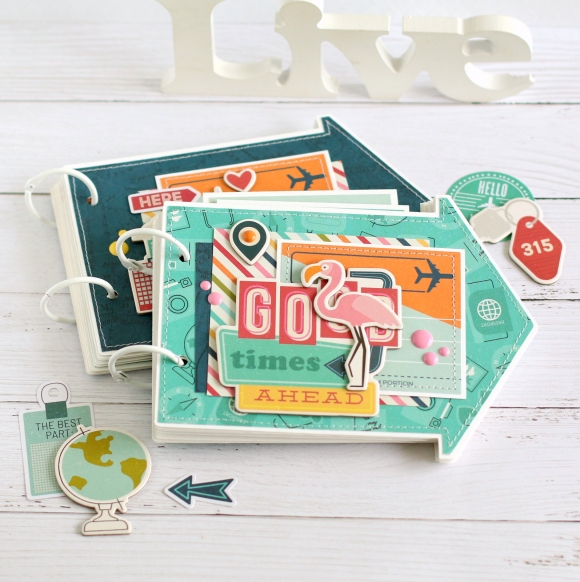
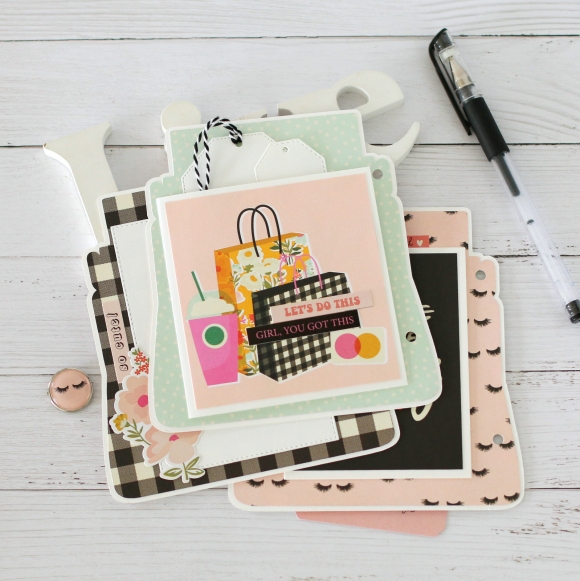
For these arrow-shaped mini books I used the Going Places collection and a simple arrow cut file. With the help of a digital cutting machine it's easy to make a couple of books at once. How awesome it would be if we can write our stories in one of them and let our children fill the other one with the stories from their points of view. It's amazing how different we see things sometimes.

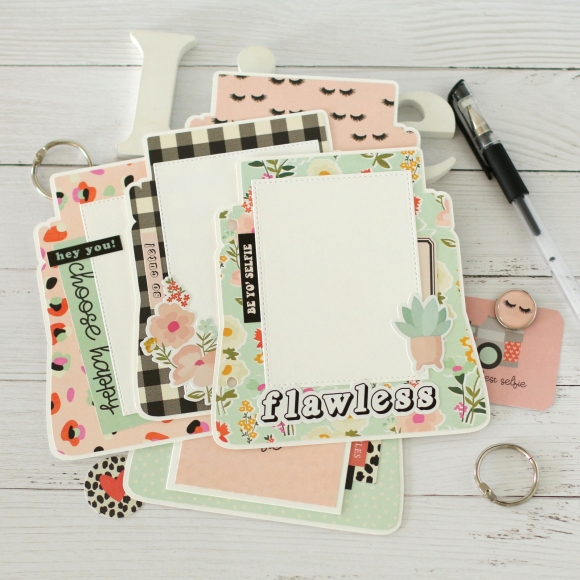
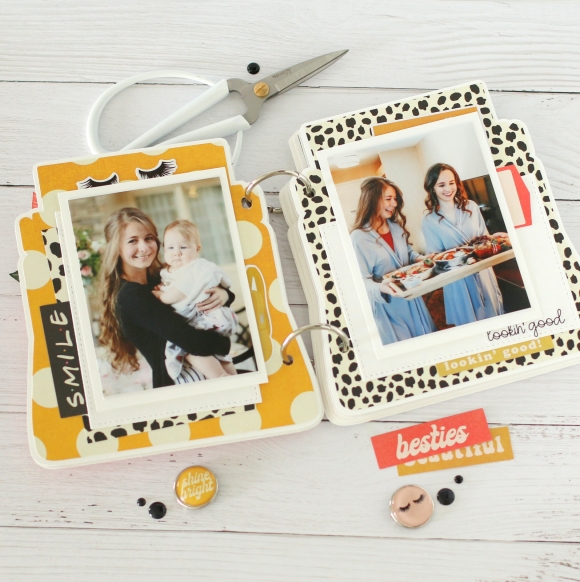
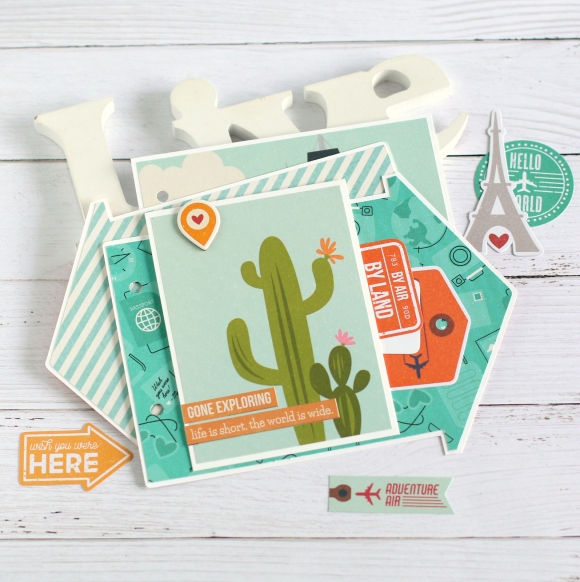
I like to use plain cardstock for the base of my pages and overlay each page with patterned paper. This way it make the pages a little sturdier and I always appreciate a thing white border. For me mini book don't require too much planning, which make it a rather simple project to create.

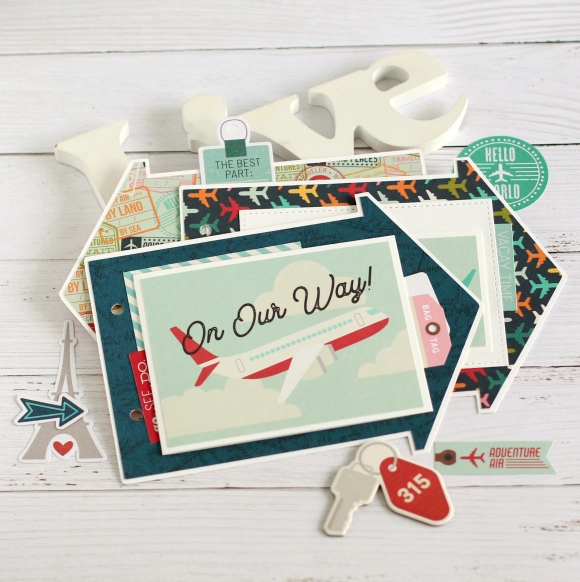
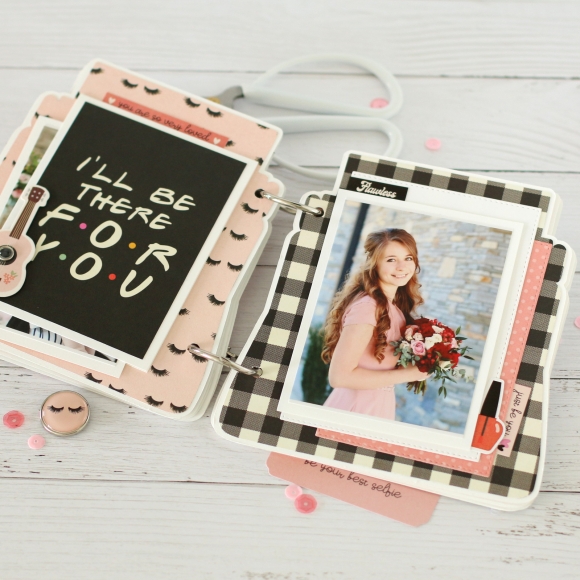
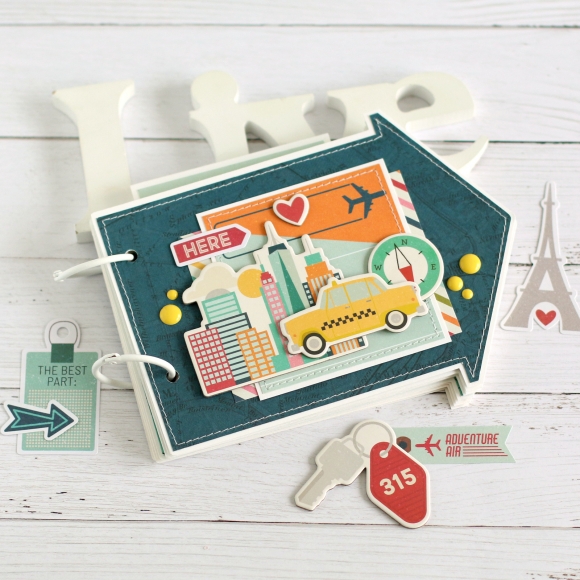
When I am making a mini book ahead of time, I don't decorate every single page, leaving myself more options in photo placement and story telling when time comes to fill the book, but a few photo flips are a must, since we always bring a lot of pictures back.

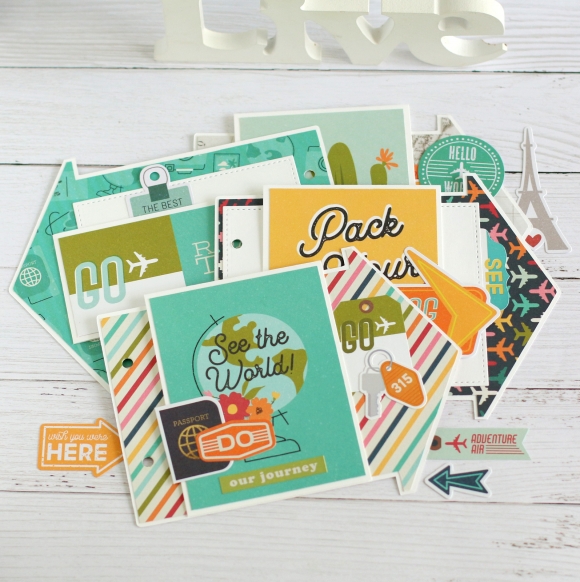
Hope this will inspire you to make a mini book if you haven't made one recently.

Supplies

Hello friends! Anya here today and it's my turn to share a portion of inspiration with you using the Bro & Co paper collection! There are so many different things I like to create and layered tags are one of them for sure!

I like to cut a bunch of tags from different patterned papers in the line using tag dies and then simply play with all the die cut pieces to create a nice balance in color and design. It's fun and relaxing at the same time. Sometimes I feel like making tags is the best way to get into scrapping mood!

Here I made four tags, which now can be used as is, or you can use them on layouts, gift bags, create cards with them or add them to other fun projects. My teenage nephew's birthday is coming up and I am sure these will come to a good use. 

Nothing adds a more perfect finishing touch to masculine project as brads do! Simply adore that shiny dot with a metal rim, which usually becomes the star of any finished project!

Supplies

Hello paper crafting friends! Anya here today to share another project for a super fun Kate & Ash collection! I really enjoyed the color palette and patterns in this line! Typewriters are still very popular icons these days and I wanted to make little mini book in its shape.

For the cover I needed more subtle patterned, since there are a lot of die cut details, therefore I used coordinating solids and textured dots papers for it. I also used a few flowers I had on hand to decorate the cover and cut a few leaves with Silhouette to finish the floral cluster.

Next, I cut a bunch of patterned paper overlays for all of the pages and paired them up to coordinate with each other nicely. I always like to see how a little book comes to life in this process step. 

After I add patterned papers to all of the pages, I like to add a few element pieces cards and white frames for photos.

One of my favorite steps is going back and forth adding little details with ephemera, stickers, chipboard and more. Little phrase strips are my most “go to” embellishments in this type of projects! They are perfect to add a little color and meaning to almost any spot!

If you can't remember the last time you made a mini book, maybe it's time to create one. There's just something so satisfying in holding a fresh new handmade mini album! Having a collection of mini books is even more exciting and rewarding! Thank you for visiting and happy crafting!

Supplies

Pages