Nathalie DeSousa's Blog Posts

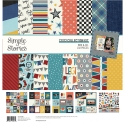
Hi there! Nathalie with you today to share a new page that is all about boys and their magical bond.   It is always a treat when a masculine line is perfect to document those especial people in your life.  The new BRO & CO collection from Simple Stories is just perfection in a kit, which made this page come together easily...

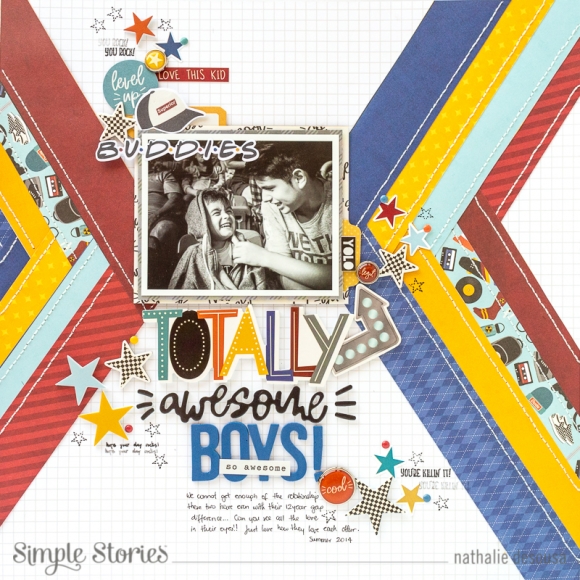
I wanted to play with paper for this page, so i started by cutting the strips from the So Rad! paper and then cut strips of paper that matched the colors of the paper ( Total Legit!, Killin' It!, You Rock!, 2x2 Elements).  

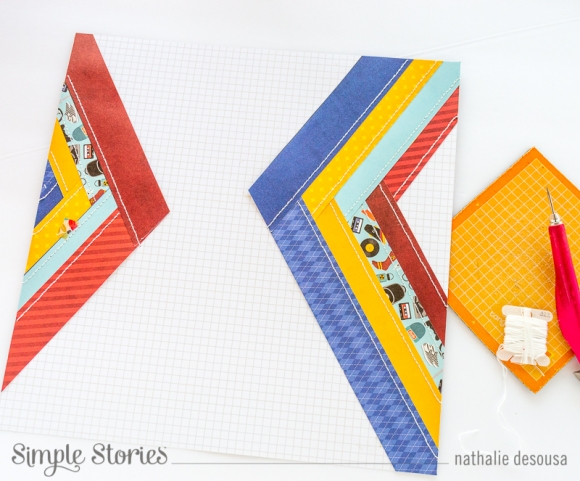
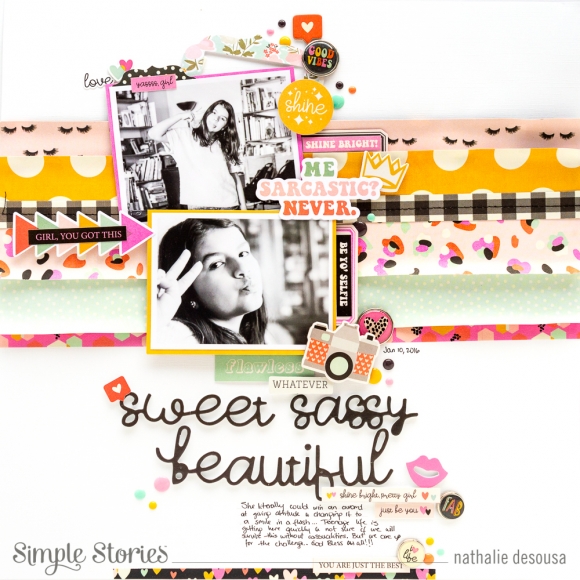
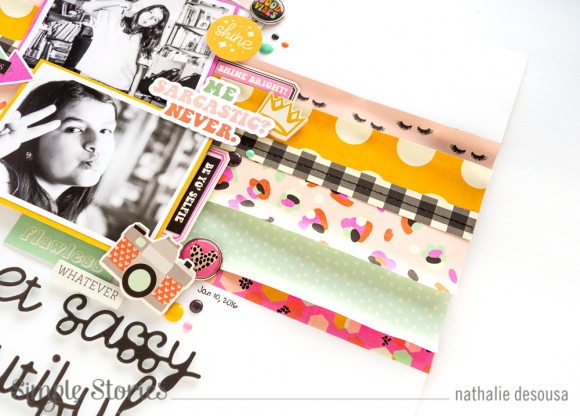
I used the Birch/Grid Sn@P basics paper as the background for the page, and created the chevron pattern with the paper strips, making sure they formed that weaved pattern as they met in the center of the chevron.  Here is where i handstitched the strips in place.

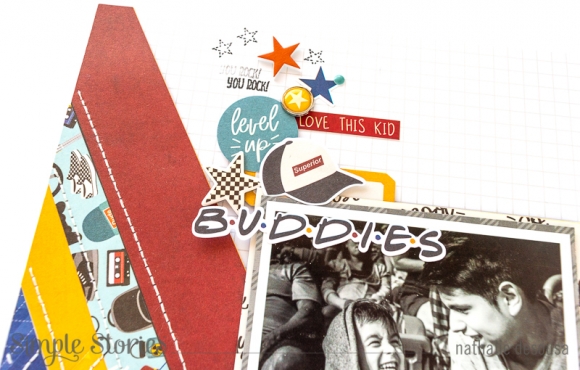
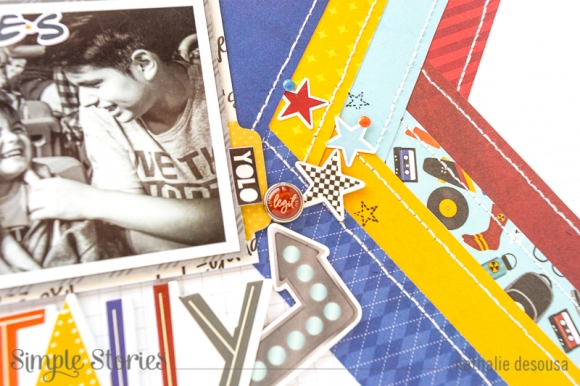
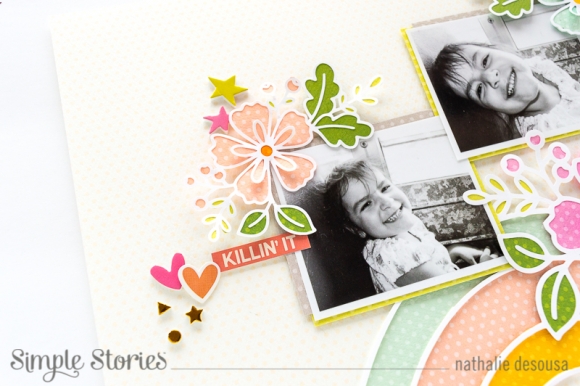
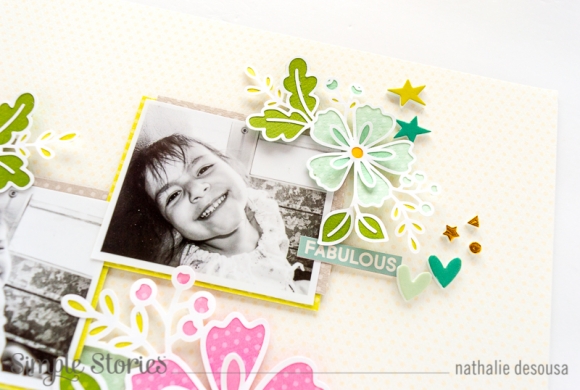
The picture was backed and layered with the Level Up! and So Rad! papers, and then placed in between the chevron lines.  There are so many cute and fun embellishments, it was easy to create clusters around the page.

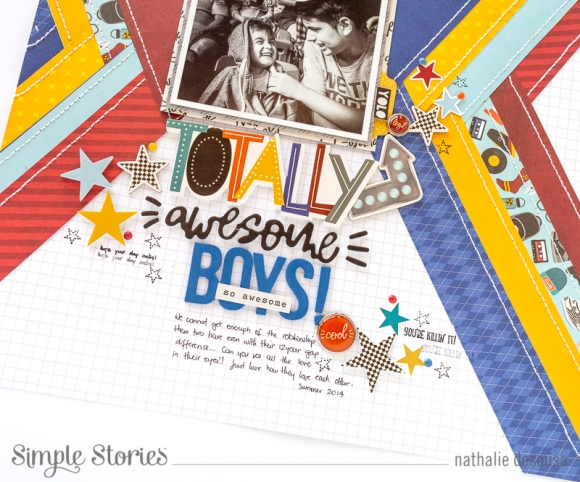
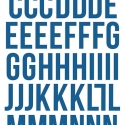
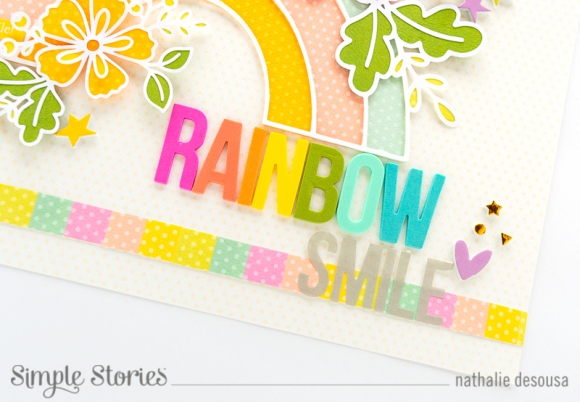
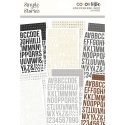
The foam stickers in the collection are a must have!!! I combined them with the Color Vibe Navy Foam Alphas to complete the title work. A few more stars, brads and stamped images complete this layout.

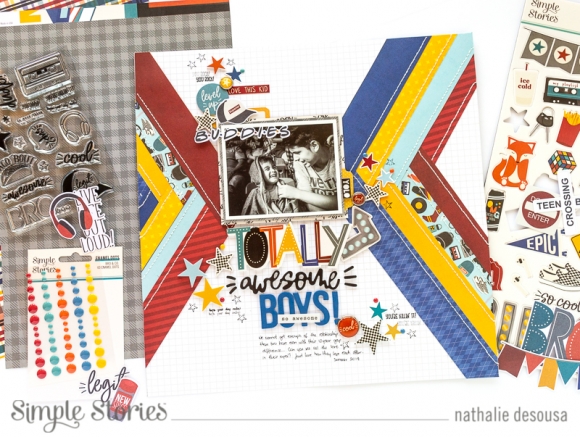
This layout was so fun and easy to put together, and i love how the design and colors bring the focus to the picture of my son and nephew.   Remember to check the BRO& CO collection, you are going to love it!

Supplies

Hello Simple Stories fiends!  

Nathalie with you today to share a new layout that is all about the sass and  color of the new KATE & ASH collection from Simple Stories.  The collection is beautiful and perfect to document so many memories,  but especially those of teenage girls!

There were so many "perfect" embellishments to describe the feelings in the pictures, that i kept the background for this page pretty simple, so all the embellishments will pop.

I cut 1.25" strips of a few of the collection papers (Awkward, Good Vibes, Hey Girl!, Looking Good).  One of the sides of the strip was distress a bit , so that it brings movement to the page.  Once i glued them in place, i stitched a 0.5" strip of the Girl Power paper to the  center of the strips.  I might have added a bit of washi tape as a bottom layer ;).

I backed the pictures with pieces from the 3x4 cut apart paper, and placed them on the layout with a bit of foam adhesive atop the paper strips.  Here is where i began layering and attaching embellishments mostly to the right side of the pictures.

Lately i have been loving brads -once again- so i weave a few of them in between phrase stickers and ephemera pieces; these work so well with all the enamel dots scattered on the page!

Can i take a moment to let you know how awesome the foam stickers are!!!  I used a few of the black fine script ones to create the title.  Then added my lines of journal below the title, and finished it all up by running a bit of more washi tape and a small cluster at the very bottom of the page.

The amazing KATE & ASH Collection is so easy to work with, and perfect to document those lovely girls in our lives.  Be sure to check it out!

XO

Supplies

Hello Simple Stories friends!

Nathalie with you today with a new project that brings all the shades of the rainbow to a page.   The new Color Vibe collection is not just a companion to the amazing Simple Stories collections, but also the best and colorful collection to bring a rainbow to a page.  Let me show you!

All the new texture cardstock of the Color Vibe collection creates the color and interest in the page.  I started with a cut file from Handipaper.  

 I used papers from the Color Vibe Brights and Color Vibe Lights to back the rainbow and large floral of the cut out.  A bit of foam adhesive helps to add dimension to the cut out.

In addition, i used the same papers to back separate floral diecuts making sure i used the same Color Vibe papers for it.   The texture in the cardstock brings extra interest to the diecuts.

I used Color Vibe Basic and Color Vibe  Lights to back the pictures of my little one, and decided to use the Warm White Color Vibe as the background.  Once i attached the picture and rainbow to the page, i added the small floral clusters along with sticker embellishments from the I AM 2020 collection and Magical Birthday collection in coordinating colors.

To complement the colors in the rainbow design on the page, i decided to use Color Vibe Foam Alphas (Pink, Coral, Orange, Yellow, Green, Robin's Egg and Teal) and the  Color Vibe Basics Alpha Sticker alpha.  But before gluing the title down, i created a strip of all the papers i used on the page as a way to anchor the title to the page.

This page is just a small burst of color, and all created with the new COLOR VIBE collections.  Be sure to check the cardstock and foam alphas you will love them!!


XO


Supplies

Pages