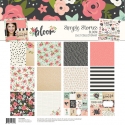
Hello friends! It's Jennifer here to share a project I created with the lovely Holly Jolly collection! Most of the time you see layouts from me but today I created a fun home decor project! Using an 8x8 shadow box I purchased at a local craft store, I showcased a favorite holiday photo of my kids using the beautiful prints and ephemera of Holly Jolly!
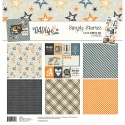
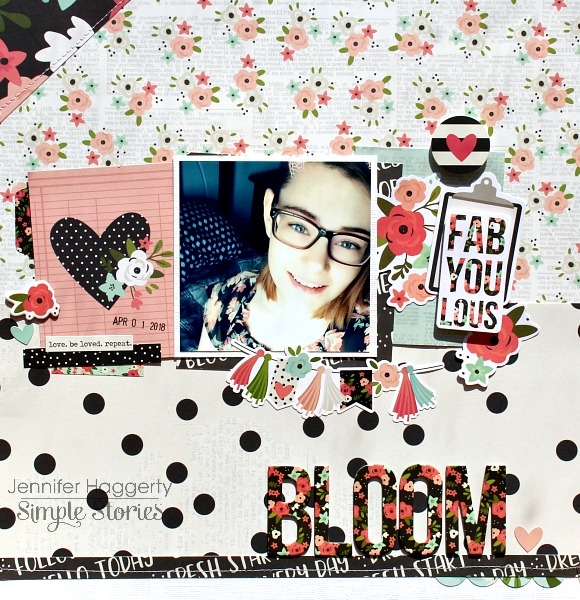
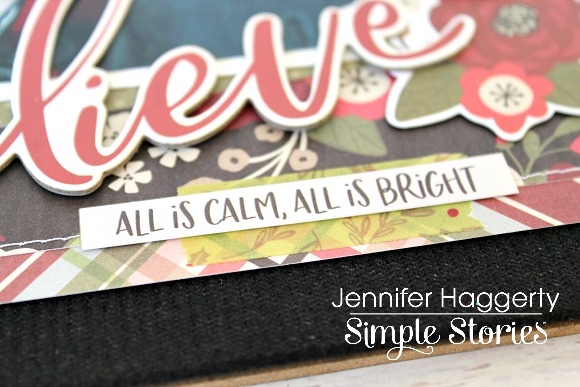
I am a big lover of plaid prints so I knew I wanted to incorporate it into my project! I cut a 7x7 inch piece of Cozy Christmas followed by a 6.75 x 6.75 inch of the floral print of Home for the Holidays. I adhered the two together and stitched around the edges with my sewing machine (I sew on everything!). From the 6x12 Chipboard, I adhered the red script "believe" for my title just under my photo allowing some to overlap.
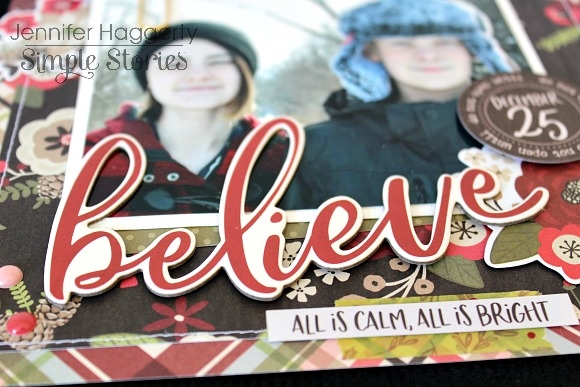
Just below my title, I added a small strip of one of the three Washi Tapes at the junction of my two background papers. I then added a small sentiment sticker from the Combo Sticker sheet.
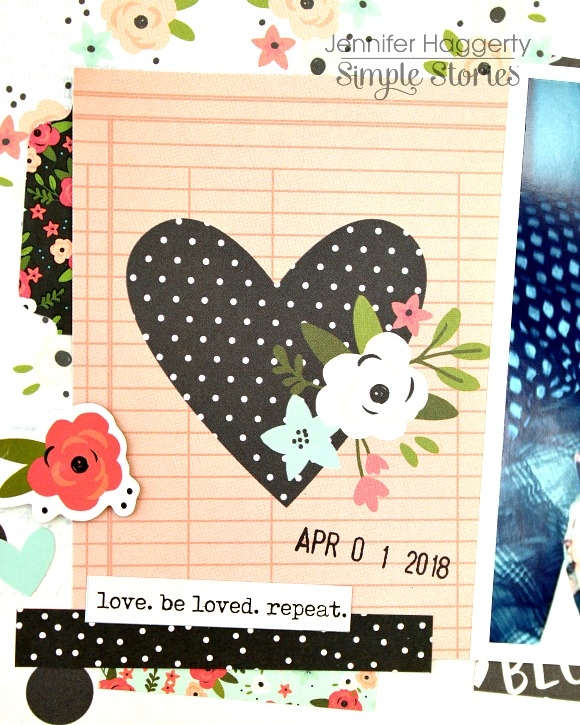
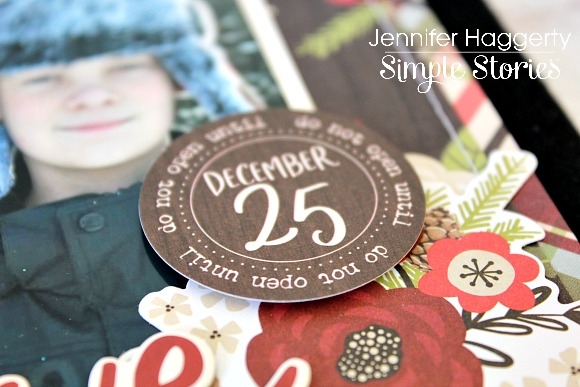
I love that Simple Stories always offers so many choices on embellishments! You can see the beautiful floral cluster from the Bits and Pieces that I adhered the bottom right corner of my photo. Using pop dots, I added the wood grain "December 25" journal circle from the Journal Bits and Pieces!
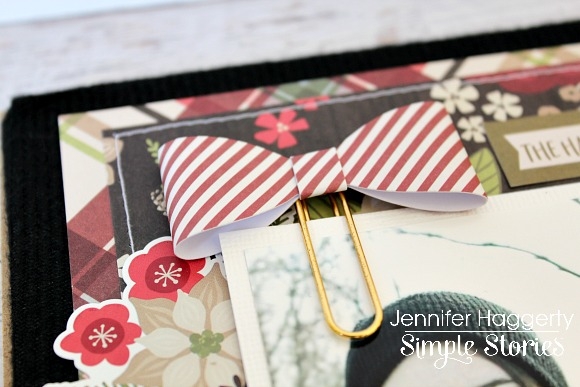
The Bow Clips are always a nice addition to your projects! Here, I slid one just under the top of my photo! You receive four different prints in each pack!
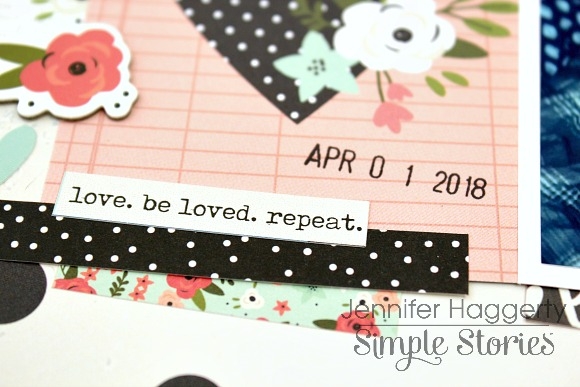
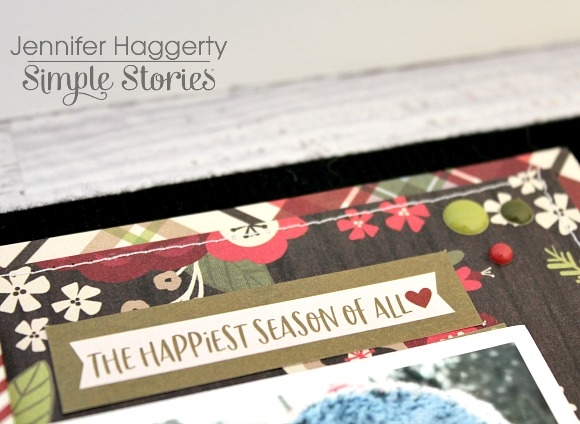
The Journal Bits and Pieces not only has shapes for jotting down information about your pictures, but also these cute sentiment strips! I added one at the top border of my photo as well as a few coordinating Enamel Dots!
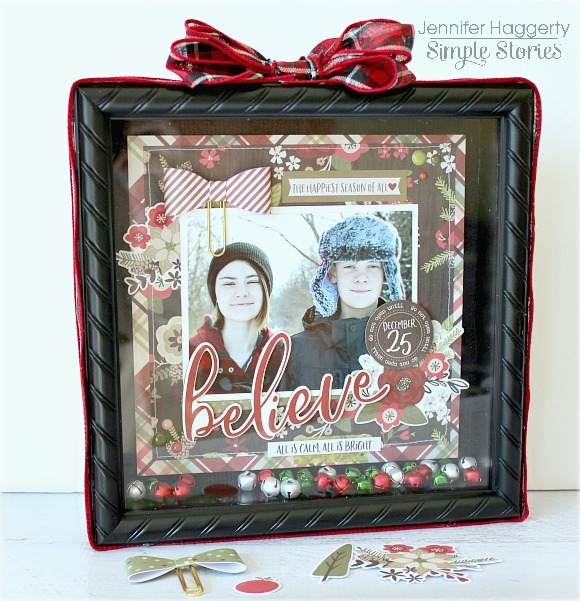
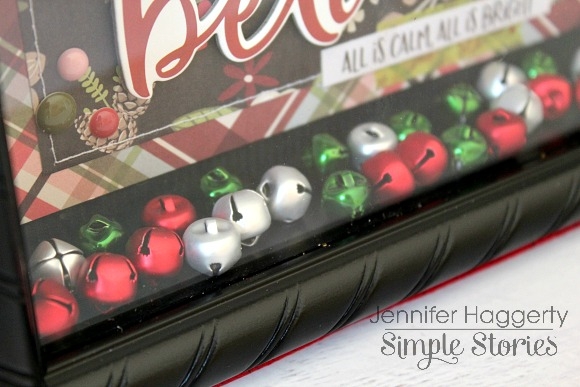
Before assembling my shadow box, I added these colored jingle bells I had in my stash inside for a fun shaker effect!
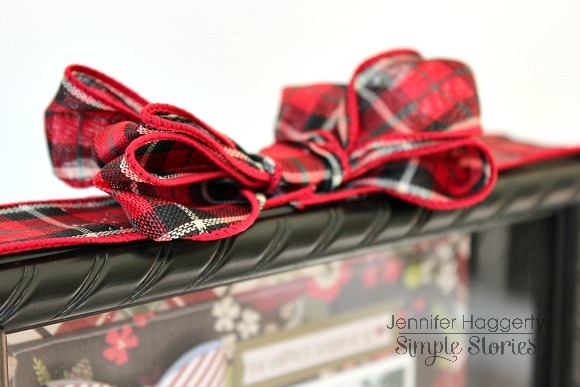
Using my hot glue gun, I adhered plaid Christmas ribbon around my shadow box and added a bow on top!
Thank you for stopping by the blog today! I hope this inspires you to do some DIY home decor projects with your favorite Simple Stories collection! Have a great day!