Emma Toon's Blog Posts

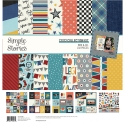
Hello again, today I’d love to share with you how I’ve used the Simple Stories Great Escape collection in my Green 6x8 Sn@p! Binder.

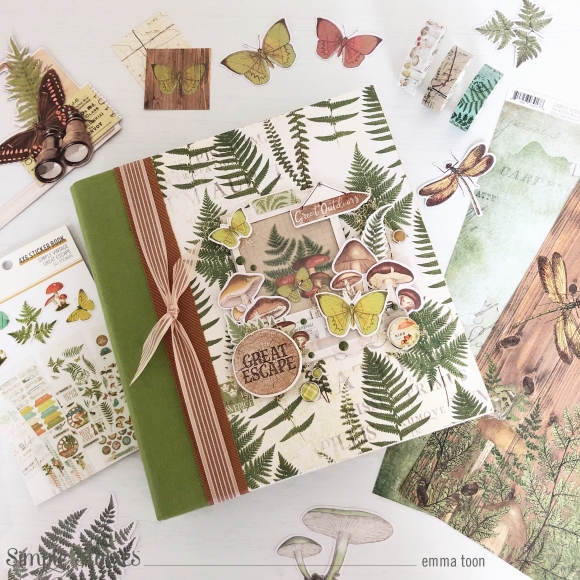
I’ve covered the front of the binder in the Wild and Free 12x12 paper from the collection kit, and then layered it up with a frame where I slide one of the cut a part images behind, and then plenty of chipboard pieces, bits and pieces, and I even threw in some brads for good measure!! You can never have too many embellishments...right?! Oh and if all that wasn’t enough, I chose some cute ribbons to tie around as a finishing touch!

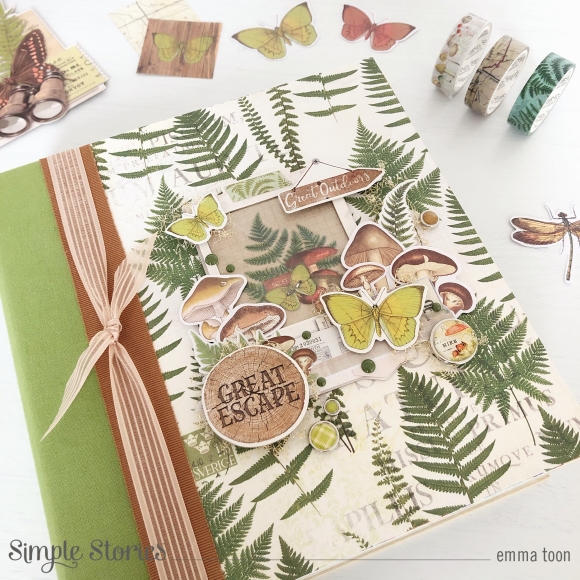
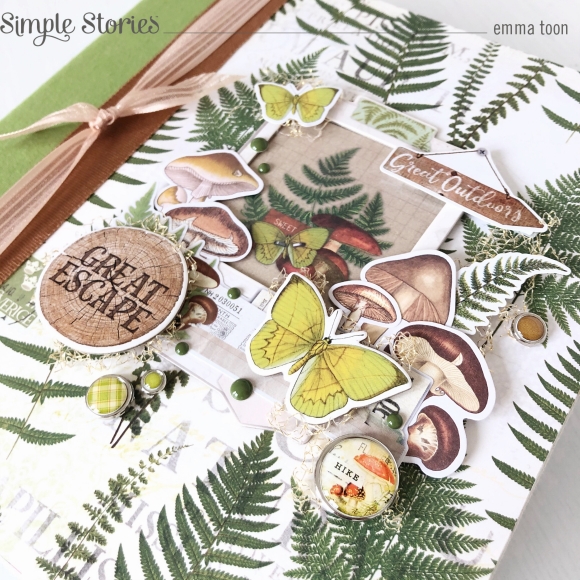
You can also see on these close up photos how I used some gold twine and enamel dots to add some extra detail to it all! I have to say, I’m pretty pleased with the finished result! 

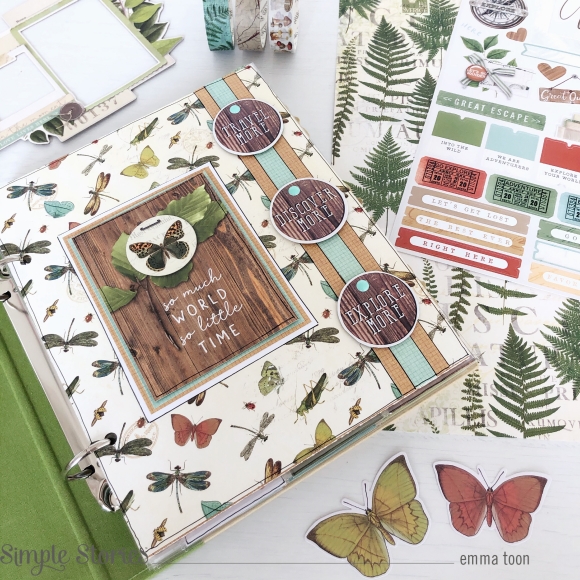
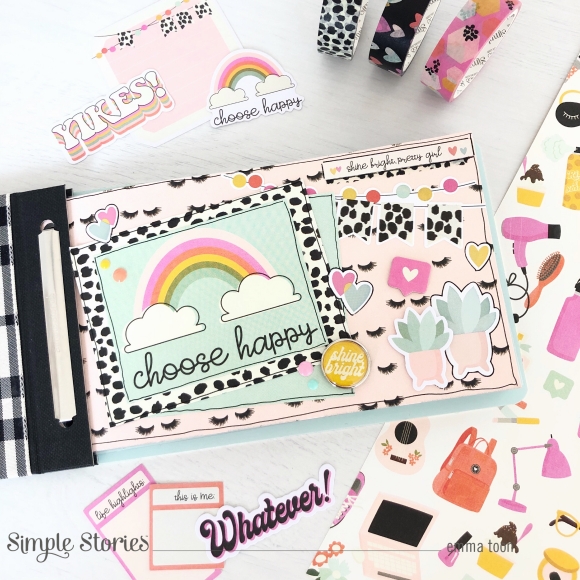
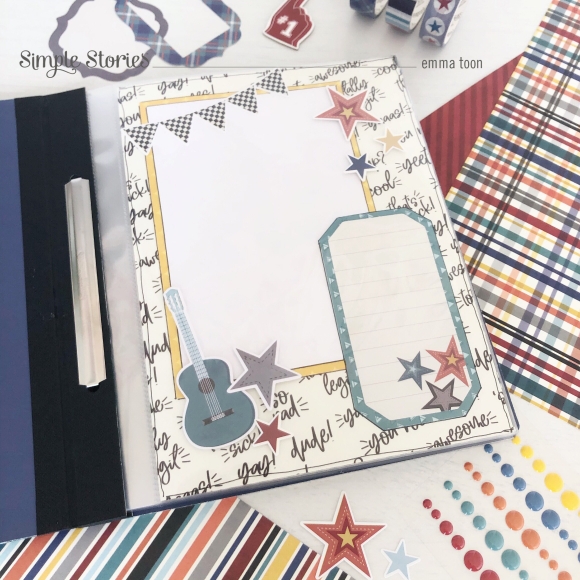
When you open up the binder you see the ‘front page’, I cut out a 6x8 sized page from the Adventure 12x12 paper and used three round stickers which I put foam sticky pads behind to lift them. 

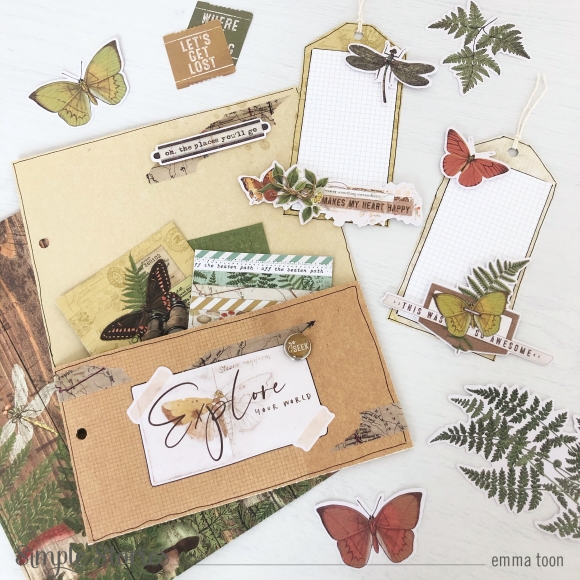
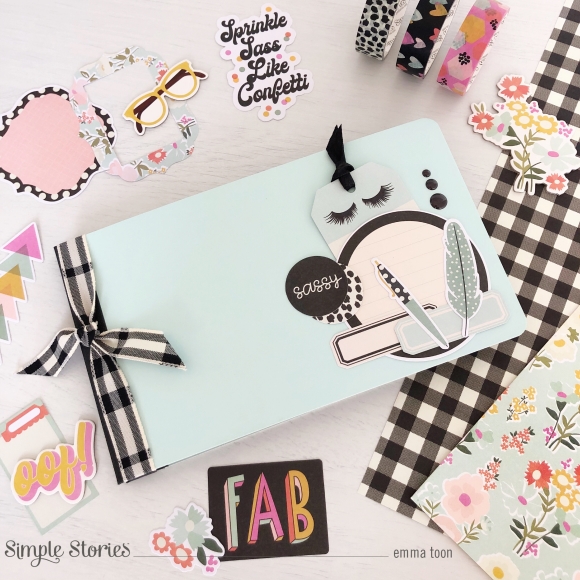
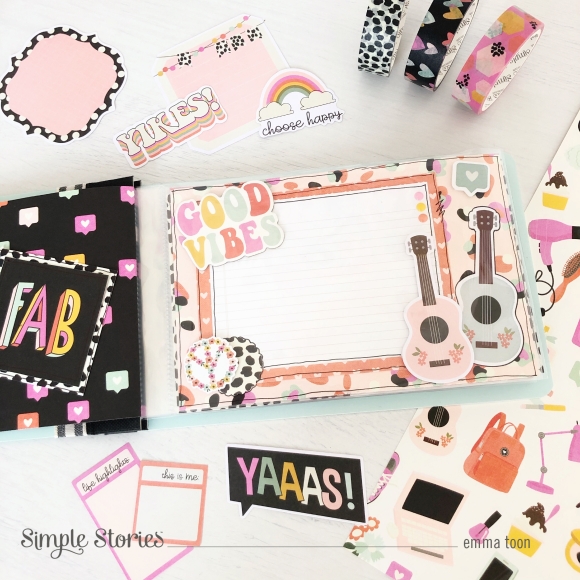
I always enjoy making extra fun things for my binders, here’s a pocket folder and some cute little tags. You can make tags to journal on or even add photos too. 

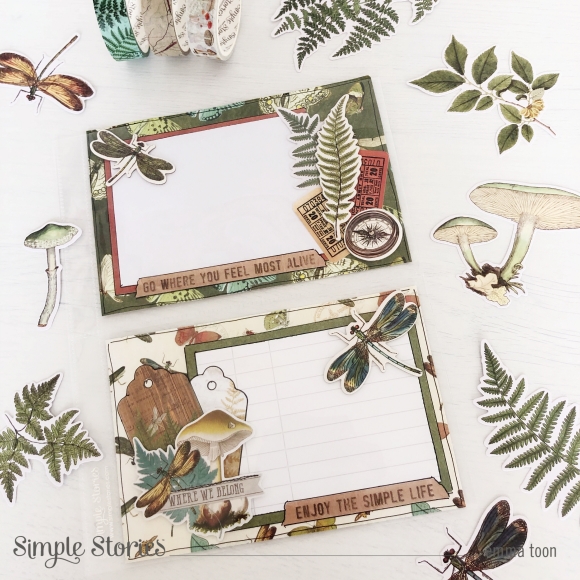
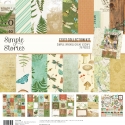
I’ve used a lot of the ephemera from the foliage bits and pieces pkg to decorate the cards to fit into these 6x4 pockets, and also some tags from the.

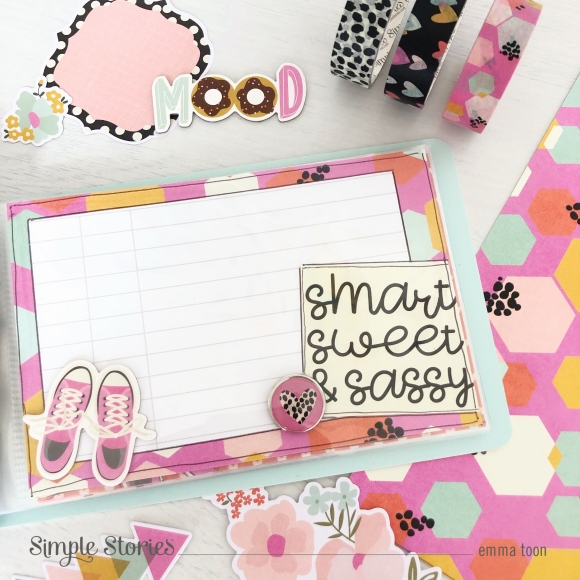
One of my favourite pocket pages to fill are the 2x2 insta pocket pages which I like to mix up with the 2x2 element paper and areas to add my own photos.

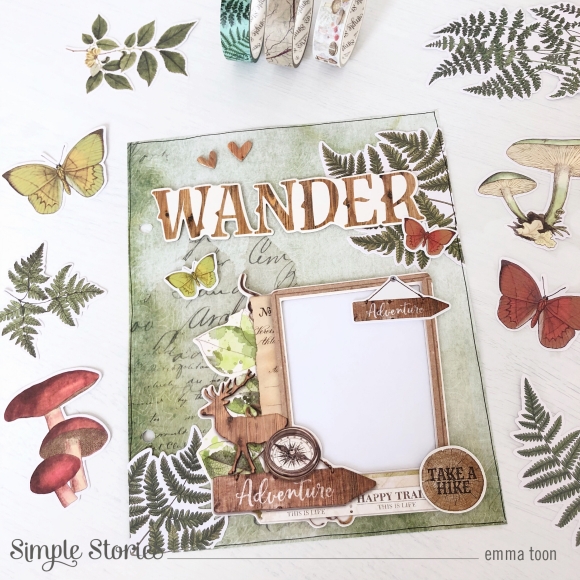
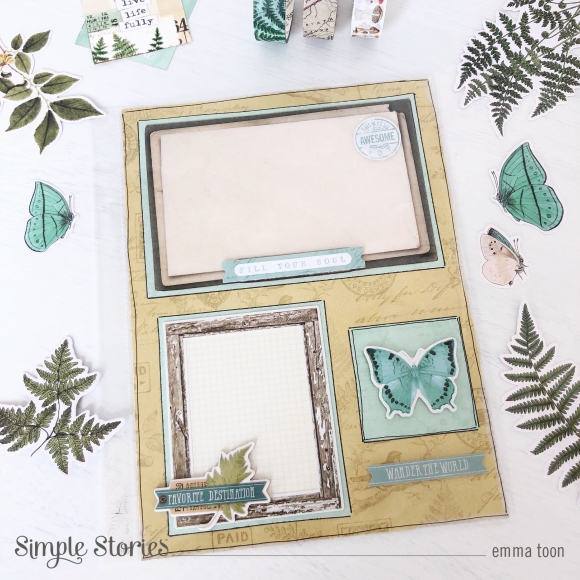
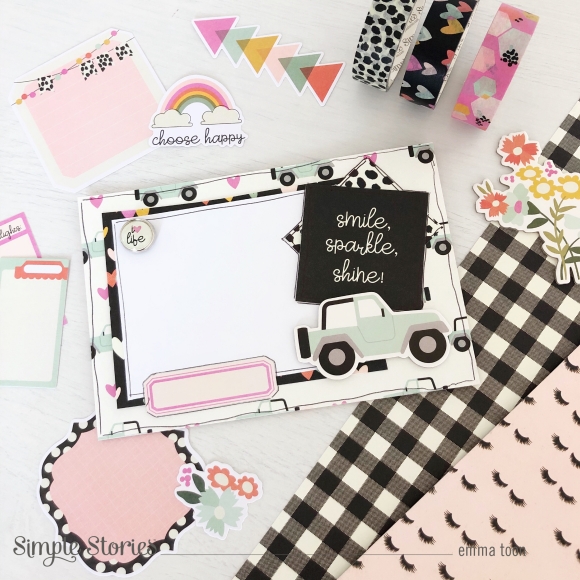
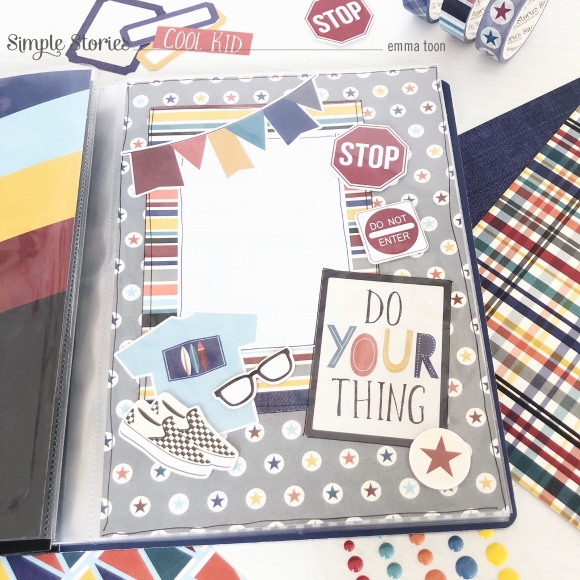
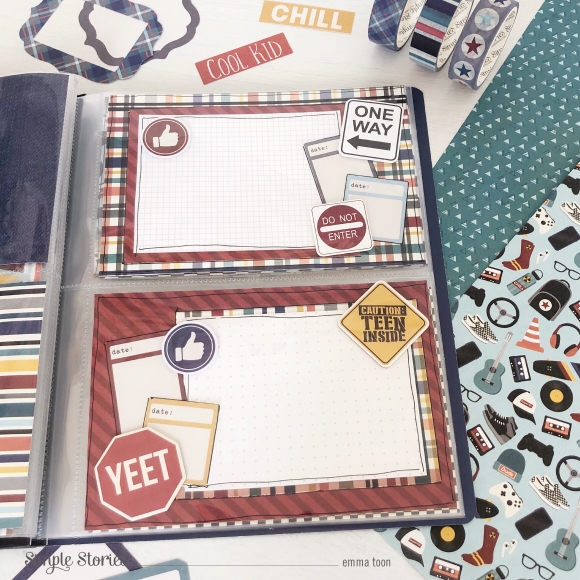
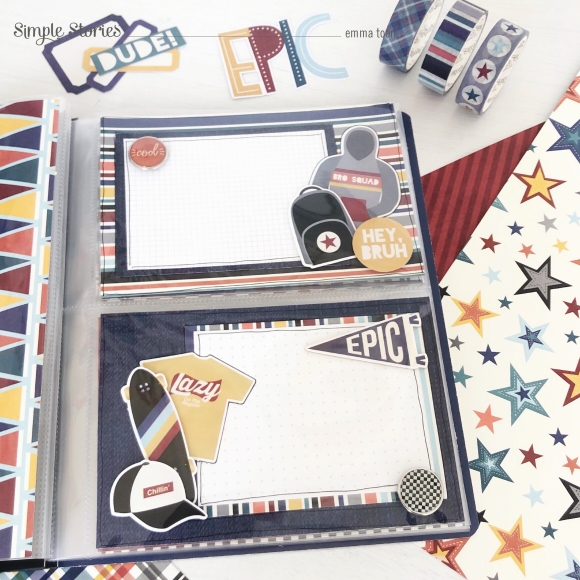
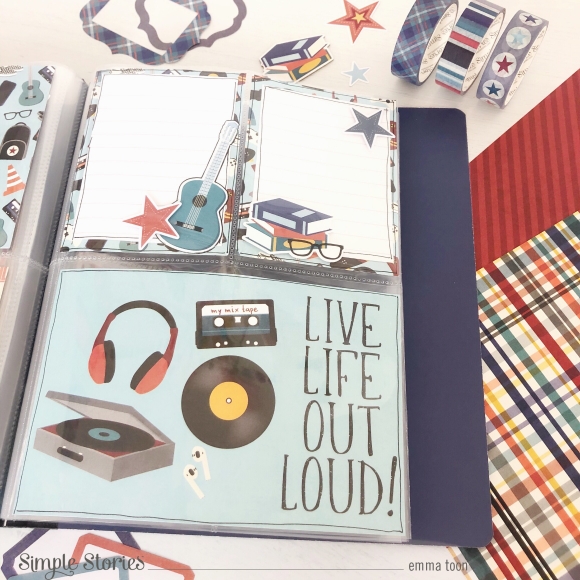
Here’s a couple of full pages I’ve made, one to fit inside a 6x8 pocket page and one that I’ve punched holes in, so it can go directly into my binder. This collection is filled with so many fabulous elements, I’m pretty sure it will be a must for everyone!!

Hope I’ve given you a few ideas of different ways it can be used. If you’d like to see more of how I use simple stories products, pop over to my IG page

Supplies

Hiya, Emma here today, I’m wanting to show you what I’ve done with the super fun, Kate & Ash collection! Oh boy! This new Simple Stories Collection is just so cute!! It’s bursting with sassy wording, awesome images and fabulous prints!! You’ll love it!! I decided to use it with the new Robins Egg 4x6 Flipbook. 

To decorate the front cover of the Flipbook, I picked out lots of embellishments in the Robins egg colour and black to make them pop! I’m loving how it looks! I also used some black check ribbon to tie around the cover...and of course, my faves, enamel dots!

On the inside I made a shaker pocket, super easy, choose the image you want, slide inside a Sn@p! flip pocket with some sequins, seal the top and attach with double sided sticky tape. 

It’s really simple to add more pages to the flipbooks, wether it be, more pocket pages or like this one where I’ve decorated a page to add as my front page. 

I like to do a mix of journaling pages and pages to add photos. I use the lined and graph paper from the Sn@p! Basics set for my journaling areas.

I love to use as many layered embellishments for decorating my pocket pages, I often use foam sticky pads under stickers to give more depth. 

Adding brads is also another way to add more detail, you can always add them onto the outside of the pockets too. 

The great thing with the Flipbooks is that you can mix up the different sizes of pocket pages, here I used a page that holds the 3x4 Sn@p! Cards. I’m sure you’ll have great fun using the Kate & Ash collection and enjoy setting up your very own Flipbook too! 

See you next time!

Supplies

Hi there, it’s Emma back with you today, to share how I’ve used the Bro & Co collection in the Navy Sn@p! Flipbook. I choose to use the 6x8 flipbook with this collection and covered the front with the fun star print 12x12 paper, I literally just cut to size and used double sided sticky tape to attach, then I used a 4x6 element and some chipboard pieces...oh and of course some enamel dots and a little star brad for additional detail. 

I love how you get an assortment of pocket pages in the 6x8 flipbooks. Here I did a couple of layouts to fit in the full 6x8 pages. 

Then for the pocket pages that offer two 4x6 pockets. I used foam sticky tape to layer up stickers and die cuts, I also used some more brads. 

This last image I used the page which gives two smaller 3x4 pockets and a 4x6 pocket below. 

You can also add pages to your flipbooks really easily, so if you were wanting to make it super chunky, then you can! I hope you’ve enjoyed flipping through pictures of my flipbook! If you’d like to see more of how I use simple stories products, pop over to my IG page

Supplies

Pages