Emma Toon's Blog Posts

Happy New Year!! It’s Emma with you today, I’d like to share a look inside my ‘Creative Therapy’ binder!...what’s one of those, I hear you ask!?...well, like so many of us, I struggle to find time to take time out for me, and craft. So I came up with the idea of dedicating a Sn@p! Binder purely for ‘creative therapy’! It’s a place where I will fill it with prettiness, just for the fun of it! No rules!! 

Sitting down and crafting, even if it’s just for half an hour, is so good for my head!! I’m sure you understand what I’m saying!!...it’s like therapy!! Hence the ‘Creative Therapy’ title I’ve given it!  

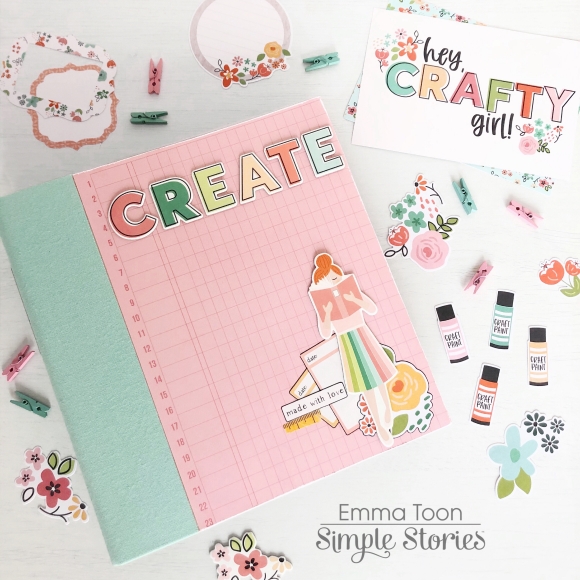
I covered the binder with a sheet of the ‘made with love’ 12x12 paper from the Hey Crafty Girl Collection kit. I used some of the fab chipboard pieces to decorate!! The Hey Crafty Girl collection is just so perfect for this binder!! 

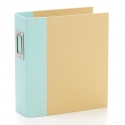
I’ve used the Robins Egg 6x8 Sn@p! binder, and I love how these come filled with lots of goodies to get you started!! Chipboard Kraft dividers, paper, pocket pages and patterned card! 

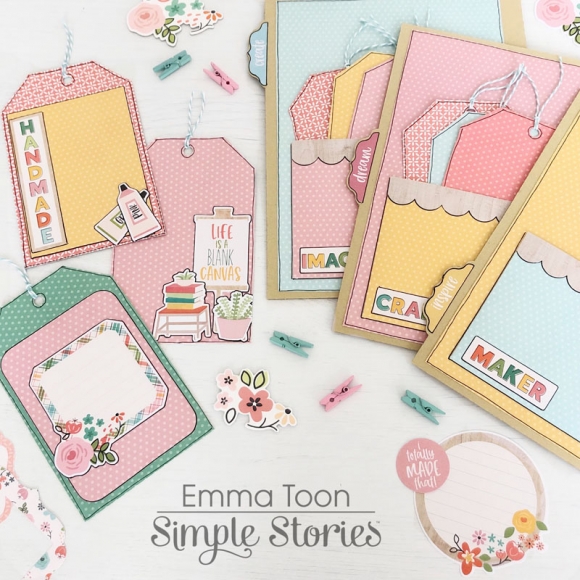
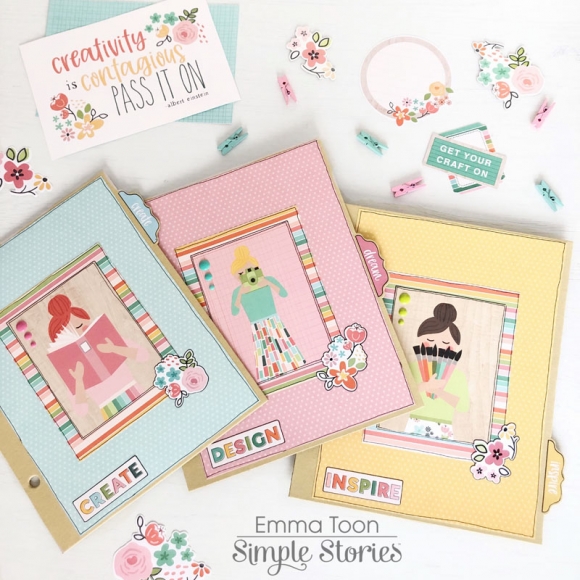
I’ve decorated both front and back of the Kraft dividers, for the tabs I used stickers from the 12x12 sticker sheet, these fit perfectly!! I made pockets on the reverse of all three dividers, and filled with tags! The tags are just right for those days when I only have chance to grab a few minutes to create, I can pull out a tag and decorate with some stickers or a few elements from the bits and pieces pack! 

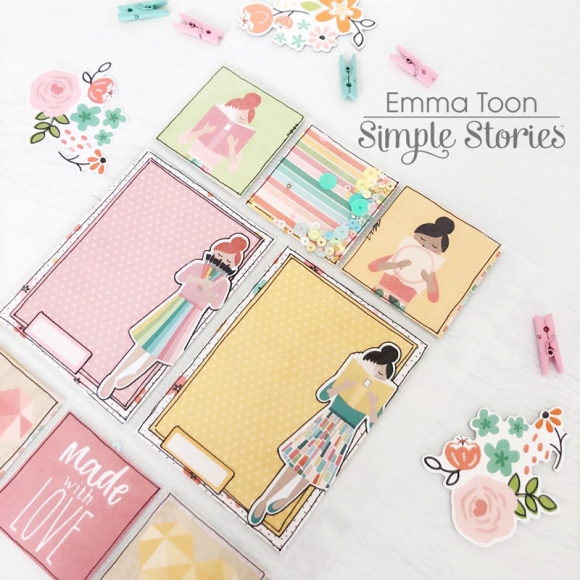
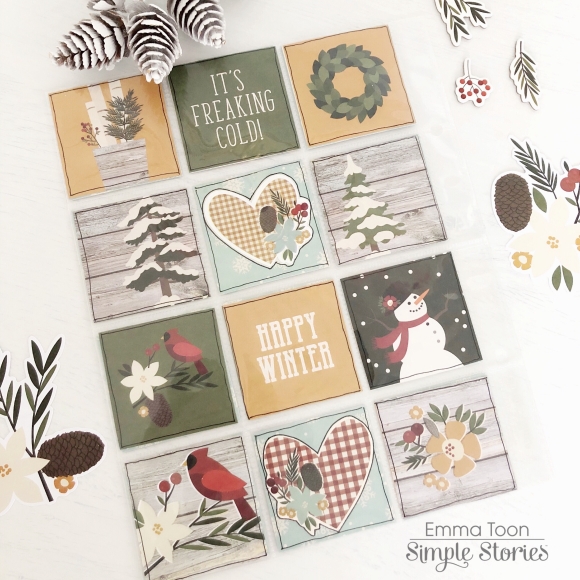
I love filling pocket pages with colourful designs! You can use stickers, chipboard, bits and pieces, even fussy cut some of the cut a part elements!!

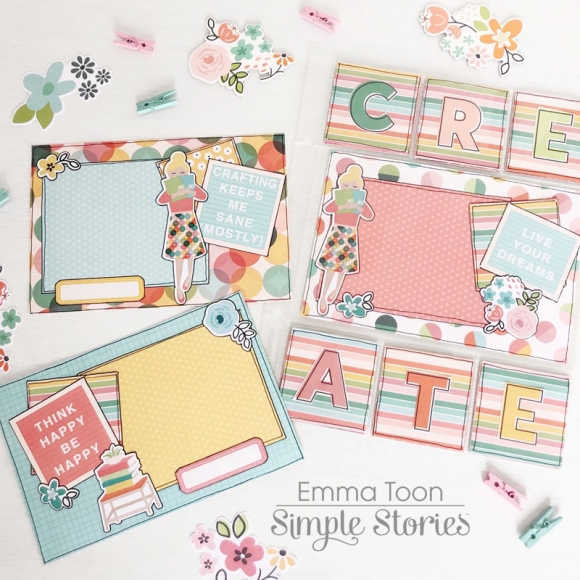
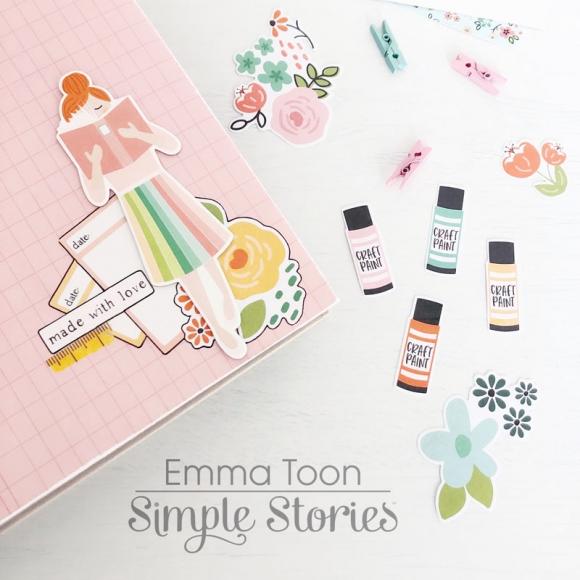
For this pocket page, I fussy cut the letters spelling create from one of the 4x4 cut a parts and stuck down on pieces of 2x2 paper, it looks really effective I think!! You can find a video of me creating this pocket page on my Instagram feed

I also like to add sequins in the pockets too, just remember to seal the tops of these pockets with a strip of clear tape!! I hope you enjoyed hearing a little bit about my creative therapy binder, there’s a full flip through which you can find here if you’d like to take a look.

Supplies

Hi there, it’s Emma with you today and I’ve been working on a fun new project. I’m now using Sn@p binders, it’s still all very new to me, so please bear with me! I’ve been using the fabulous Simple Stories Winter Farmhouse Collection, to set up my winter themed Sn@p binder. 

The first thing that I made with a sheet of 12x12 paper, was a pocket folder & some giant tags, which I’ve decorated and then left areas which will be perfect to add pictures or journal.

On the reverse side of the pocket folder I made a little shaker pocket, simply by fussy cutting out the snowman jar, sliding it inside a Sn@p flip pocket, sprinkling some sequins inside and sealing the top with some clear tape, I then used double sided sticky tape to fix it onto the back of the folder. 


I love to make dividers for my binders, and it’s such a great way to add more interest to your projects. 

I’ve decorated a couple of 6 x 4 cards to fill this pocket page, again, leaving space to add photos or journaling. 

I thought it would be fun to make some cute little cards to slot in between some of my pocket pages, the 6x8 pad makes it super easy and of course the 6x4 element pieces from the 12x12 collection kit. 

I knew I definitely wanted to use the 2x2 element pieces which are also from the 12x12 collection kit, I simply cut them out, arranged them in a way that pleased me, drew around the edge of each one, with my trademark faux stitching and also did exactly the same for the reverse side! I’m so pleased with how both sides turned out...super easy, but oh so cute!!

Hope you like what I’ve done, and that maybe it inspires you to have a play around with filling some sn@p pockets! If you would like to see more pictures using Simple Stories products then checkout my IG account.

Supplies

Hello there, so who’s feeling Christmassy? I’m starting too, for me it’s the smells that get me in the mood, the Christmassy scented candles, the gingerbread lattes, the mince pies!! I thought I’d start my Christmas preparations by decorating the 6x8 SN@P! binder that I’m going to use for documenting our Christmas memories. I’m using the red SN@P! binder and decorating with the Holly Jolly Simple Stories Collection. 

These binders come with chipboard dividers included and are so easy to decorate using the 6x8 paper pad.

I simply just glued a sheet onto the front of the binder, and used a ‘tab’ sticker from the 12x12 sticker sheet.

Then I decorated each one by layering up a 3x4 element and of course, you guessed...I drew around each layer with a black fine tip pen!

To add a little more detail I chose a floral sticker for each divider and also used a few enamel dots! Easy Peasy! To decorate the front of the binder, I did exactly the same...so simple!! The only difference is I used a 4x4 element and a chipboard floral piece instead of a sticker. Now I’m all set, ready to start filling my SN@P! binder!


 If you would like to see more pictures using Simple Stories products then checkout my IG account  Heartsbyemma (@heartsbyemma) • Instagram photos and videos

Supplies

Pages