Hello again, hope you are all well, Emma with you today! I’d like to share with you how I’ve started using the beautiful Coastal collection by Simple Stories.
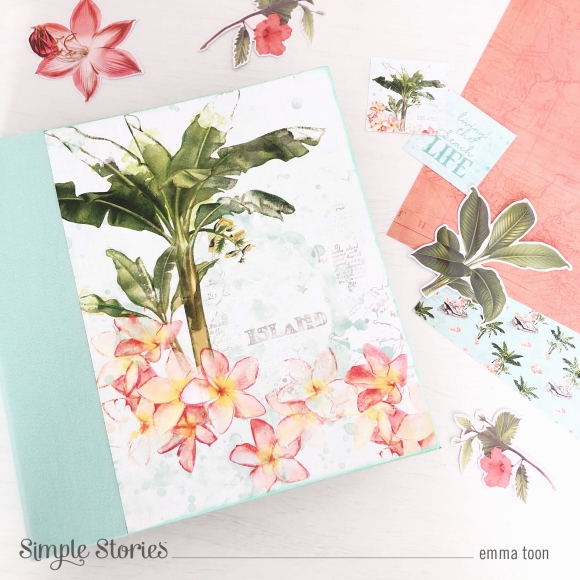
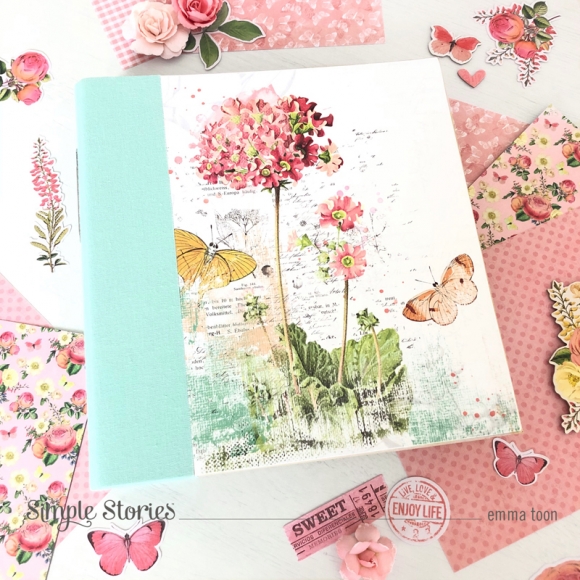
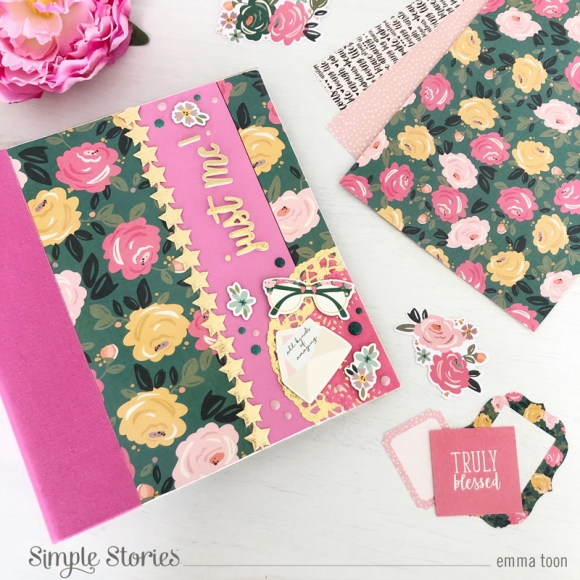
I’ve used one of the stunning 12x12 papers to cover the front of the 6x8 Robins Egg sn@p! binder and then used a chalk ink around the edges to finish it off. This print is so gorgeous I didn’t feel the need to add anything else.
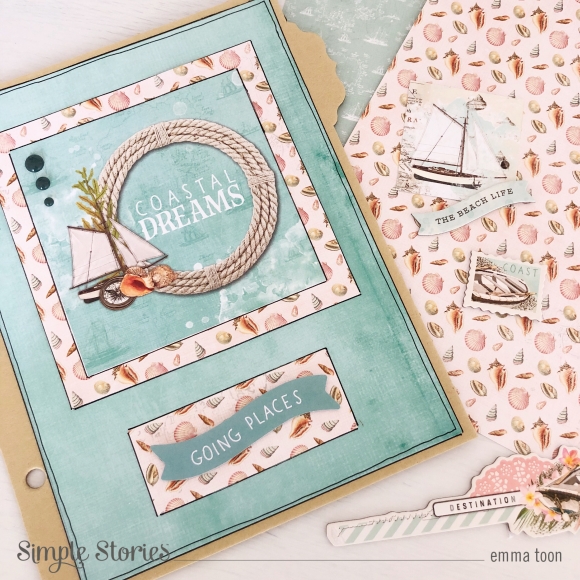
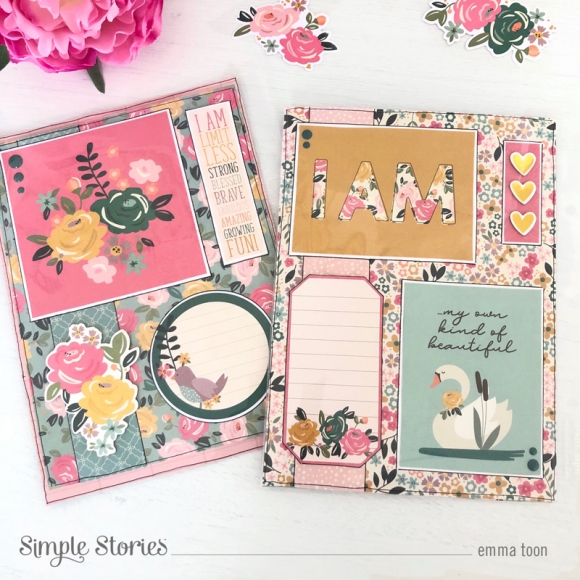
I really enjoy decorating the chipboard dividers that come with the sn@p! 6x8 binders! I thought it would be fun to show how easily you can get three completely different colour ways, using the 12x12 basics papers.
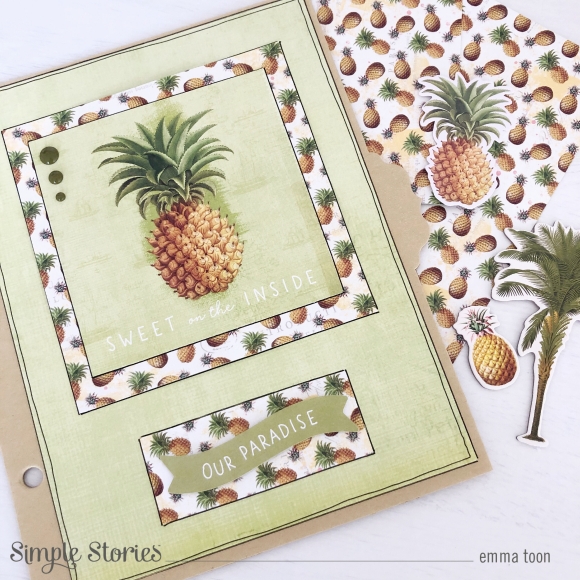
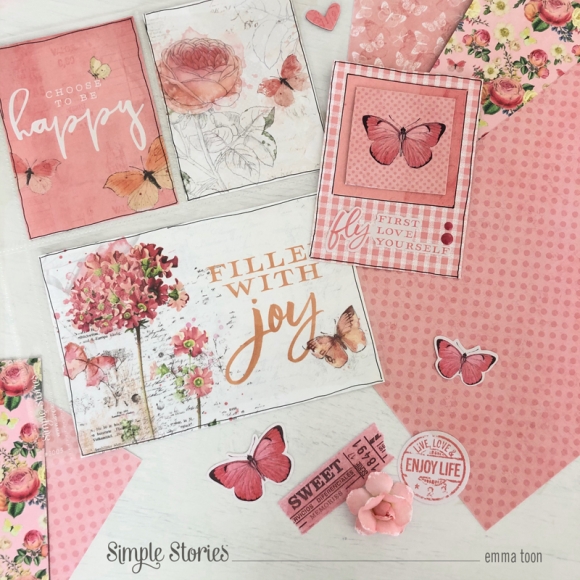
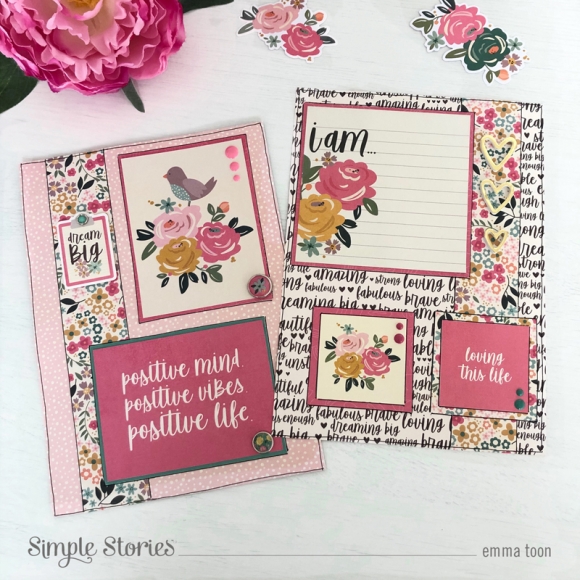
For each divider I’ve cut out a 6x8 size of paper and then layered it with a coordinating patterned paper & cut a part image.
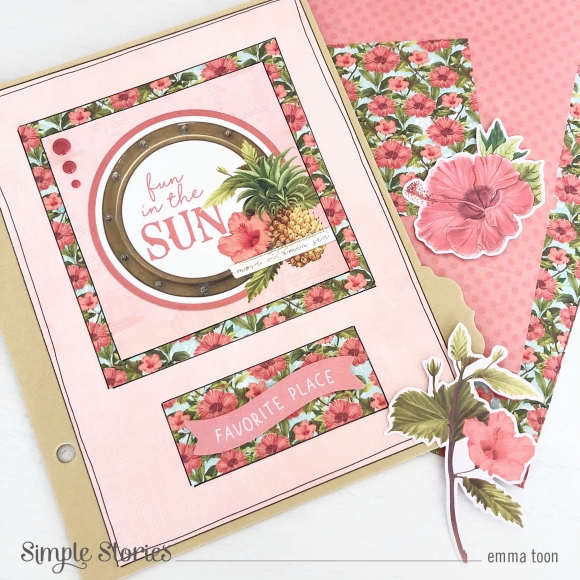
And then below I’ve used a smaller piece of the patterned design and one of the banners out of the ‘Bits & Pieces’ pack. ...oh, and of course, edged each piece with my ‘trademark’ black ink faux stitching!, and a few enamel dots!
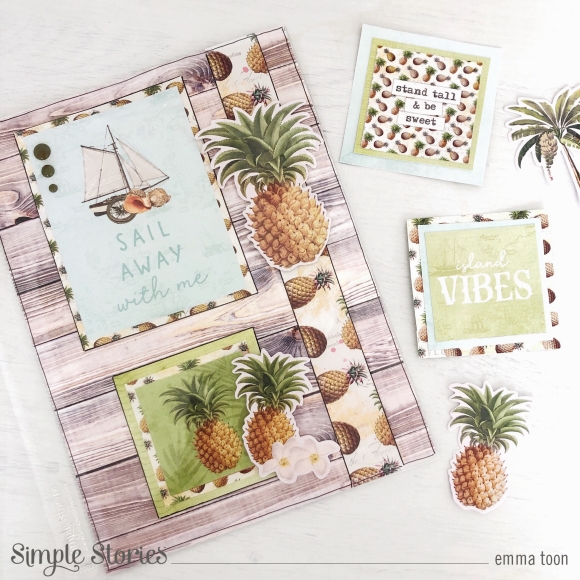
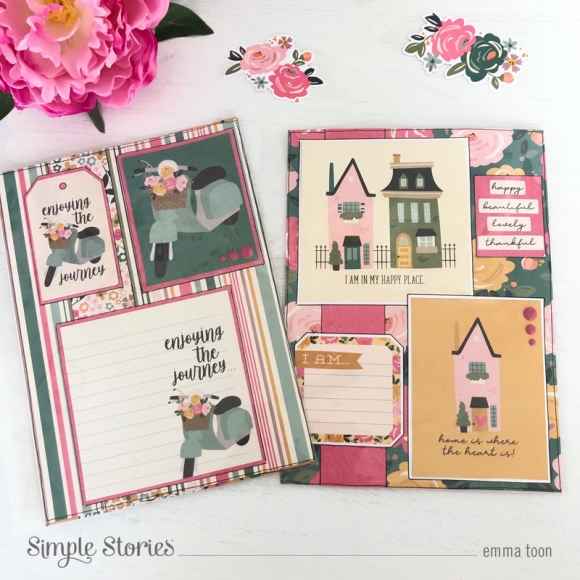
I love making large designs to fit in the full 6x8 pocket pages, these pineapples were screaming out to be used! I layered up the images and used some foam dots for the die cuts.
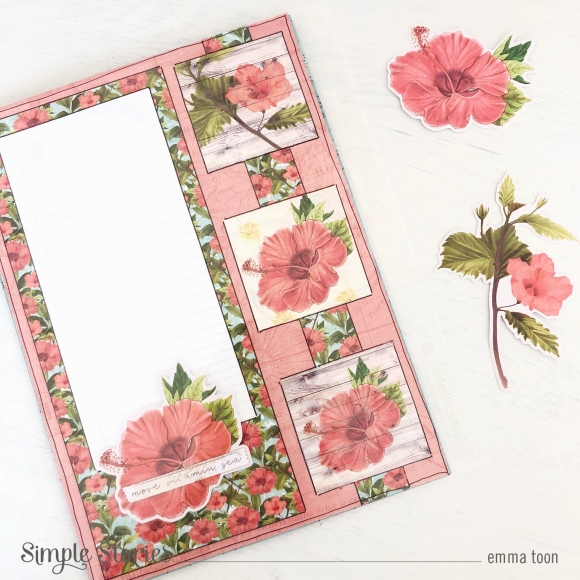
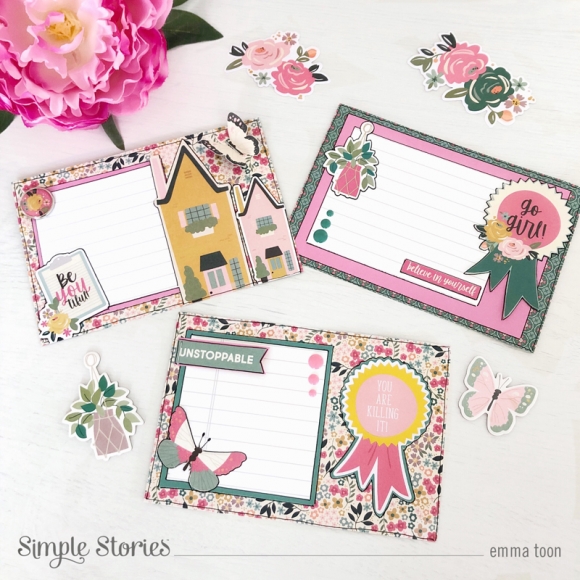
On this large design I cut some lined paper from the sn@p! Basics 6x6 paper pad, to use for journaling and layered it up on one of the floral designs out the 6x8 paper pad.
If you’d like to see more of how I use simple stories products, pop over to my IG page.
See you next time!

