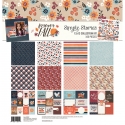
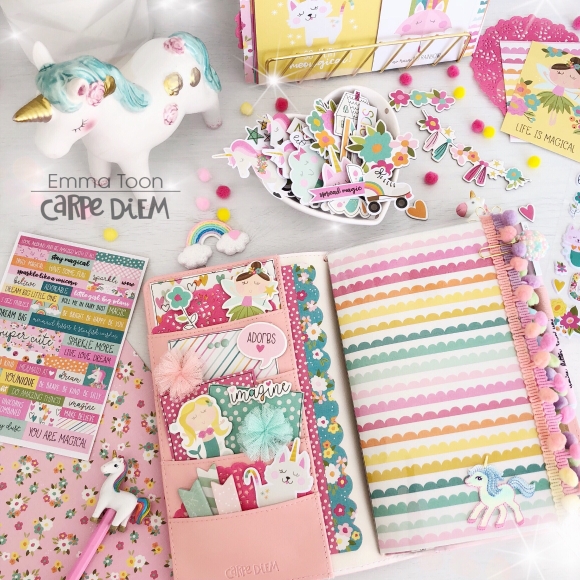
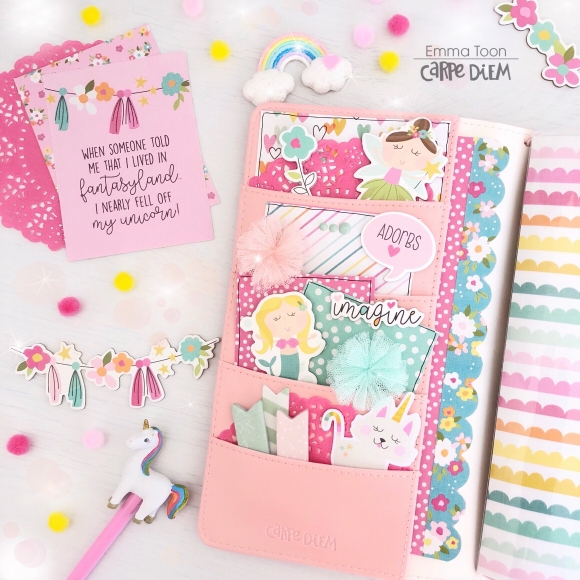
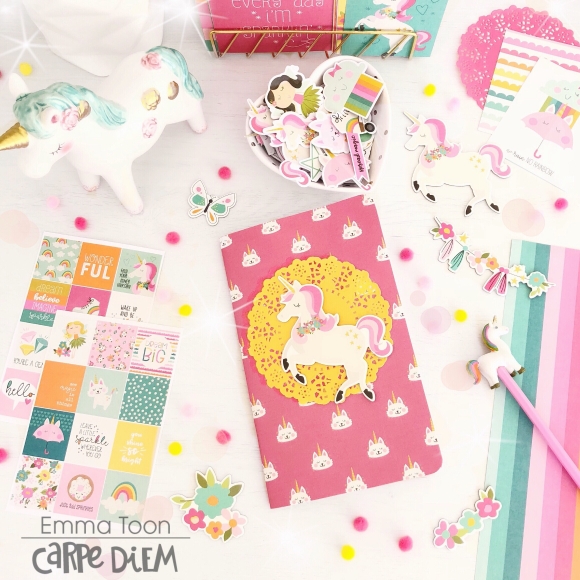
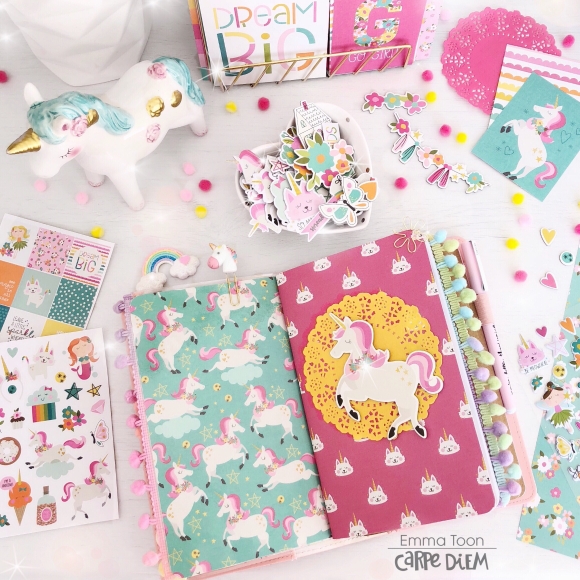
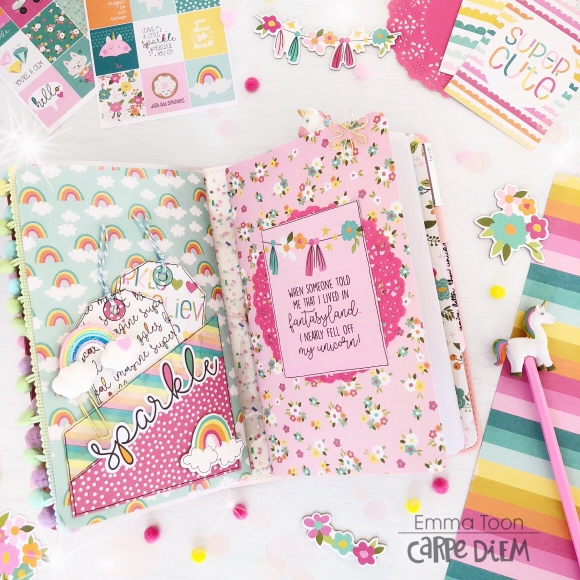
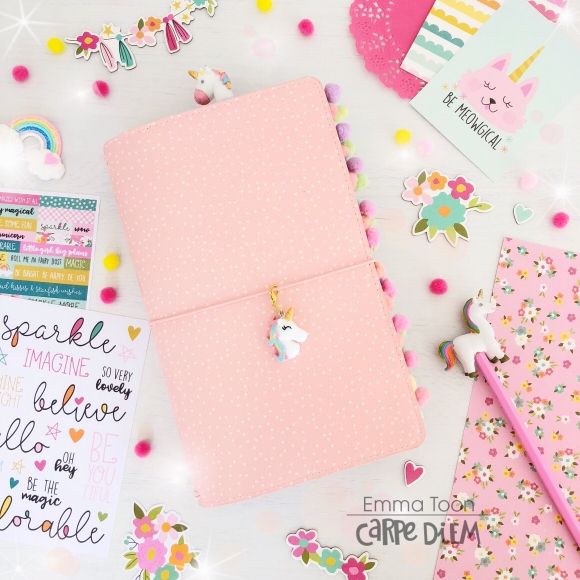
Hello, it’s Emma here, who’s ready for fall? I’d like to show you how I’ve set up my beautiful blush speckled tn. I chose the blush not only because it’s pink, and I love pink! but I thought it would pick out the delicate pinks dotted throughout this collection, and soften some of the darker colours, oh and yes, I should mention, it’s the Forever Fall collection that I’ve used!
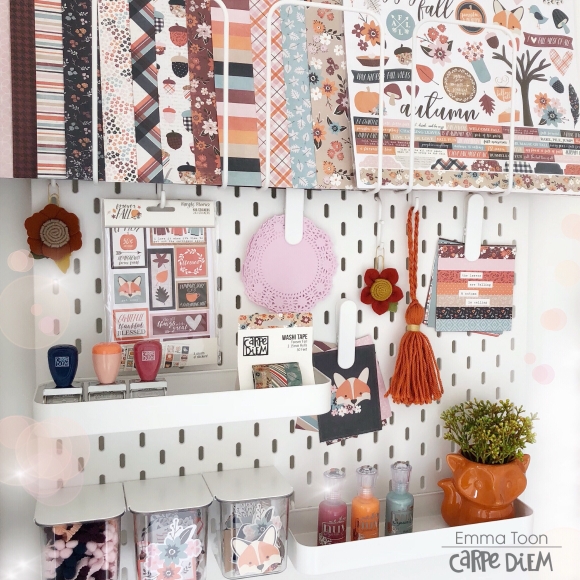
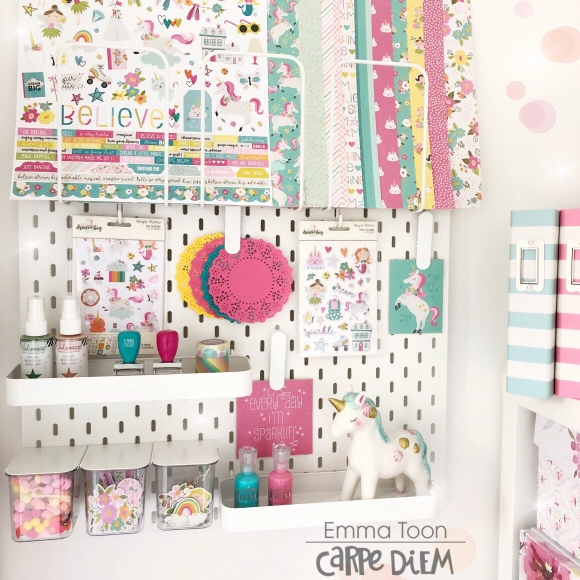
I love to display whatever collection I’m using on my pegboard, it makes my crafty area look pretty, but also, it keeps everything in one place for when I’m doing a new set up.
Now, I’ve been playing around with different ways to cover my tn inserts, and I’ve found a new way, it’s a little bit fiddly, I’m warning you now, so if you haven’t much patience, this isn’t going to be for you!
I wanted to be able to have a cover without it being a permanent cover, but I also didn’t want a loose cover where you could still see the ‘original’ cover...if that makes sense? Bare with me, I’m getting to the good bit!
So! My idea light bulb lit up and I decided that pulling the staples out of the inserts, taking off the ‘original’ cover and then in a very fiddly fashion reinstating the staples back into the insert, minus its cover, was the way forward!! See, I told you’d need patience!!
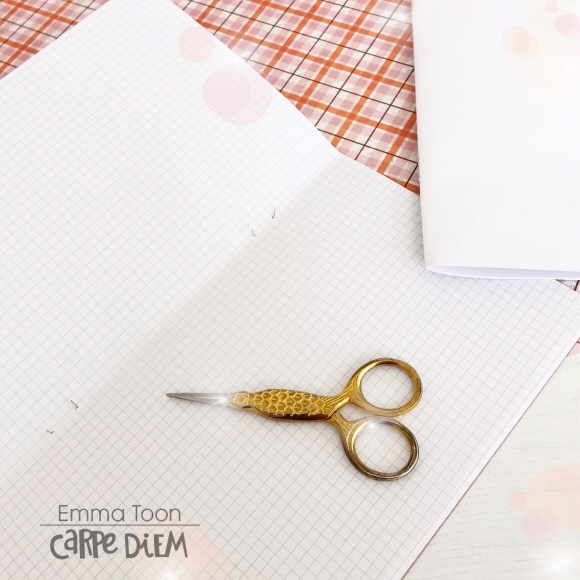
This then left me with ‘naked’ inserts! Perfect, It meant then I could make new loose pretty covers but not have to look at undecorated ‘original’ covers, and when I move into a new set up, I just move the ‘naked’ inserts, ready to dress them up with new loose covers! Yay!!
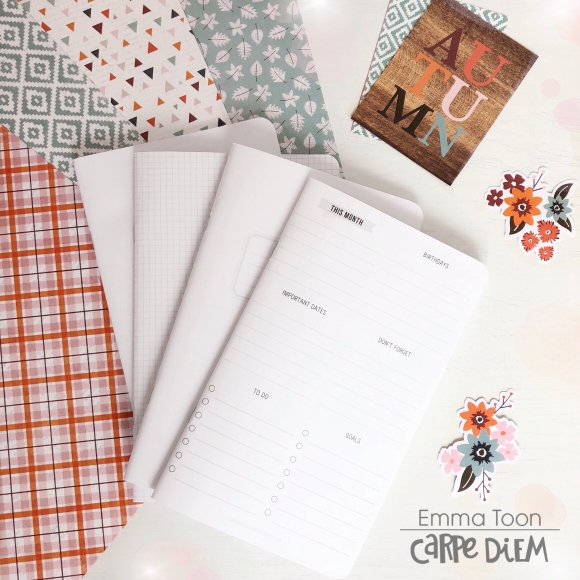
Don’t be tempted to throw away the old ‘original’ covers, keep one back to use as a template for making your new loose covers.
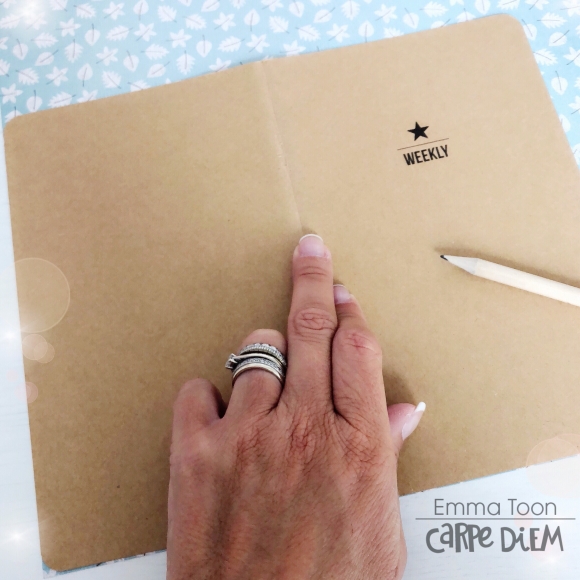
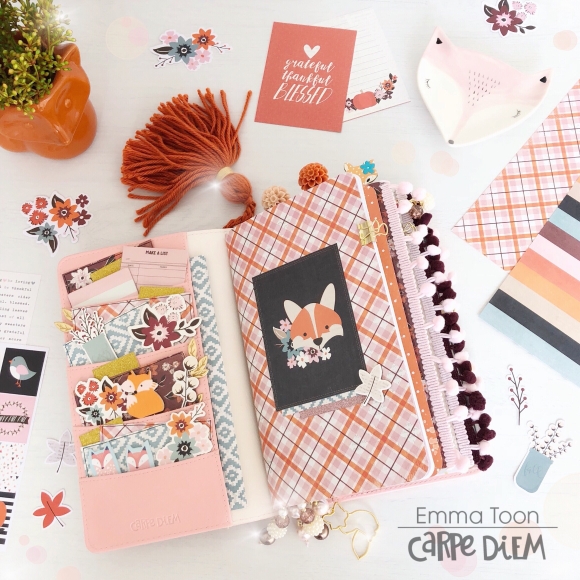
It’s now time for my favourite bit, setting up my TN, we’re talking pretty pockets, decorated inserts, page markers, all the things that make your TN unique to you, yes, we all have our own ‘style’, you could have a whole room of us, all using the same collection, setting up the exact TN, but each one would be very different, and that’s what I love about creativity!!
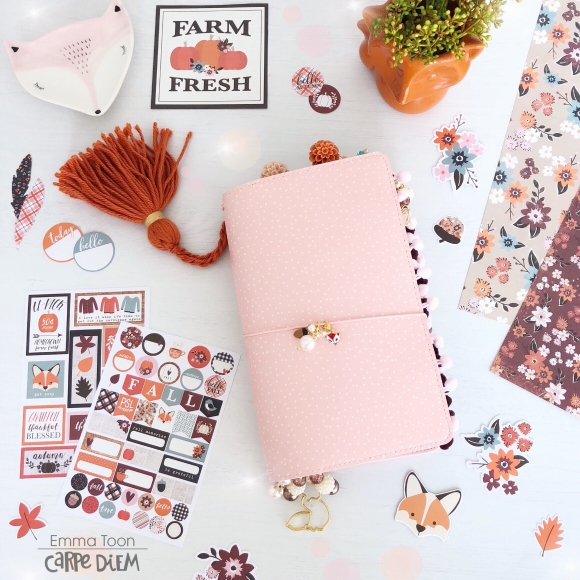
Simple Stories make all these awesome products for us to use, but it’s our own creativity, no matter how basic you might think yours is, that brings the collections to life!
What I’m trying to say, is don’t feel intimidated when you see some of the incredible set ups that people do, you are just as incredible and totally unique, so, always remember, you rock girl!!
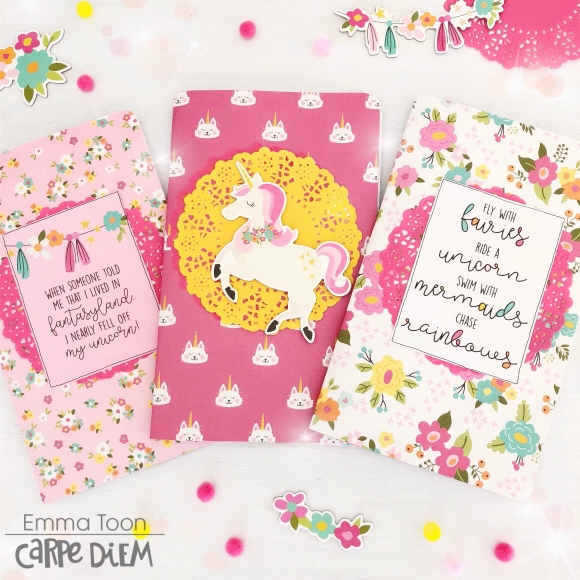
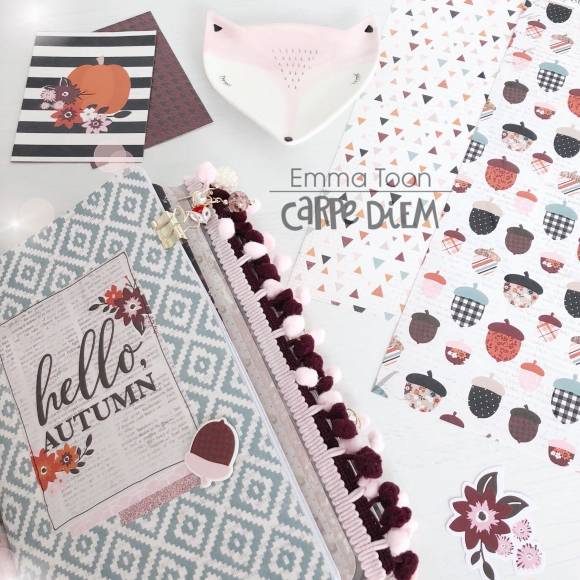
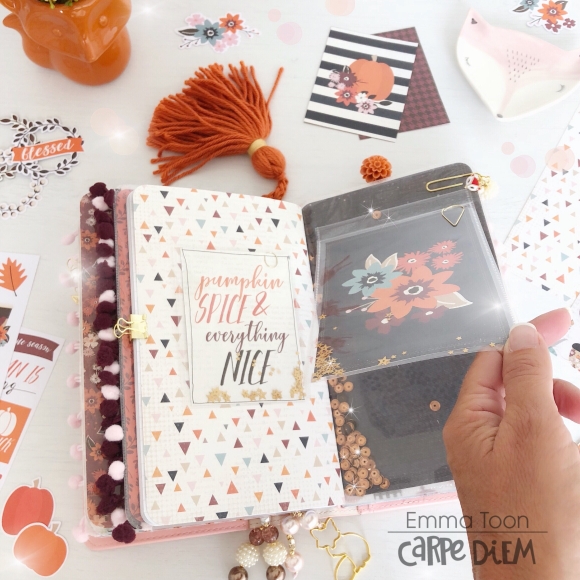
There’s so many fun ways to jazz up your tn, here’s one of the loose covers I’ve decorated really simply by using a 3x4 card cut from the 12x12 page included in the collection kit, a bit of glittery washi and a cute acorn chipboard sticker! See, easey peasey!!
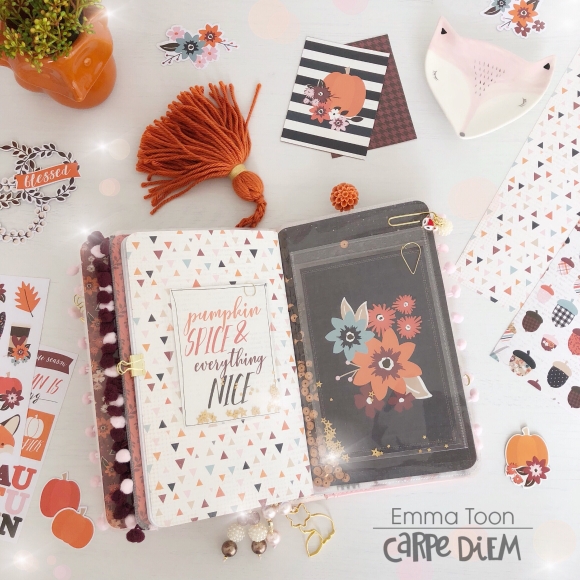
Hands up who loves sequins?? Well, here’s another really easey way to add some sparkle, I’ve cut out a 6x4 card, again from one of the 12x12 papers in the collection kit, slid it in a 6x4 photo flip pocket, chucked a few sequins in the pocket, used a dinky little paperclip to clip the card to the front of the photo flip pocket (this stops the sequins falling out) and stuck it on an insert cover!! You don’t even need to have any double sided sticky tape, as the photo flips come with a strip already attached!!
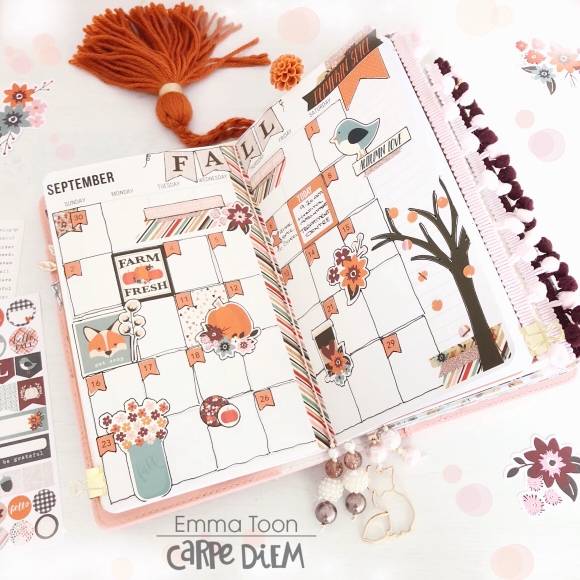
Carpe Diem planners have recently brought out, monthly, weekly, daily and various other tn inserts. Here’s how I’ve set up September in my Monthly insert.
The Forever Fall stickers are perfect to fit in the boxes and pretty up the pages, I’ve also used some of the stickers from the 12x12 sheet.
To number the days I’ve used the Numbers sticker tablet, this is great, full of number stickers in every size & colour you’ll ever need!
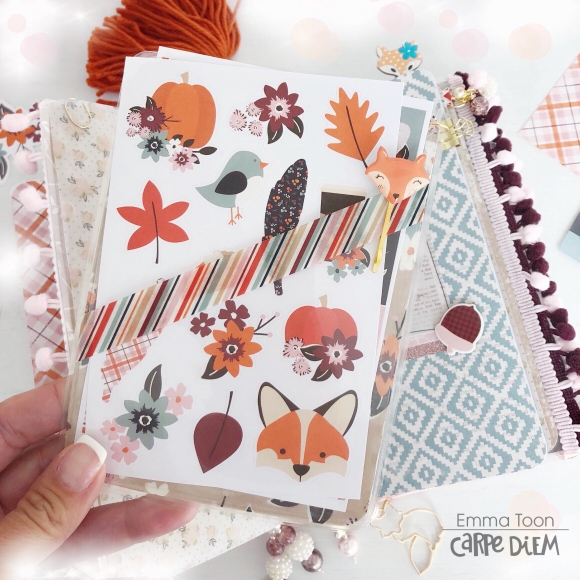
I also made a page marker, it’s quite simple, I cut down 2 12x12 papers, stuck them together for added strength, laminated (but you don’t have to!) and stuck a 6x4 clear pocket on, I cut at an angle across the front of the pocket and stuck some washi on for decoration. It’s a great place to store your stickers and to mark your page.
I hope you’ve enjoyed having a peek inside my TN and possibly even taken away a few ideas from it.
If you would like to see more pictures using Simple Stories products then checkout my IG account https://www.instagram.com/heartsbyemma

