Emma Toon's Blog Posts

Happy New Year! Emma back with you, and today I’d like to share with you my ‘heartsbyemma’ twist on divider making! Now, it’s a trade secret, so this is purely between you and me! ;)

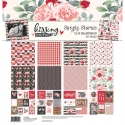
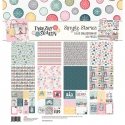
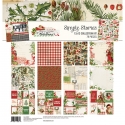
I’ve chosen to use the delightful Kissing Booth Collection that Simple Stories have brought out as the ‘Valentines’ collection. Firstly, let’s scrap the whole ‘valentine’ theme!! The florals in this collection are far to beautiful to only be seen in February!! I want to use them all year round! ...if you fancy it too, then, keep reading!!

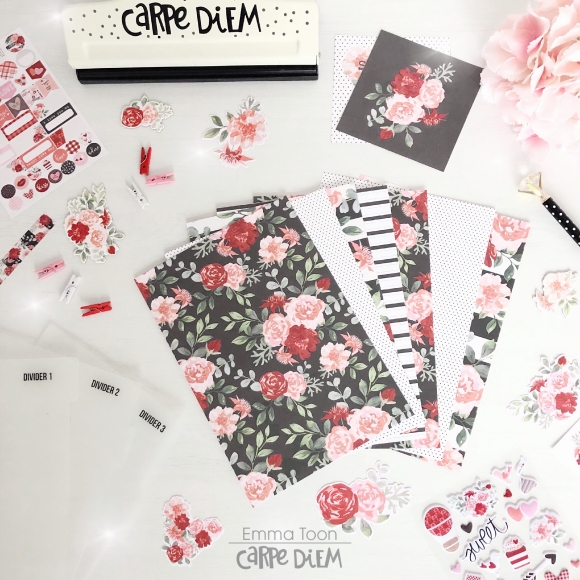
I picked out my favourite sheets of paper from the 12x12 collection pack, grabbed my divider templates from Carpediemplanners essentials and got cutting! You need to cut out as many dividers you’d like to have for your planner and one extra for the dashboard (pretty front cover) When you cut them out, there’s no need to cut the tabs out for each one, leave them off. So, really, it’s like cutting out lots of dashboards...you still with me? 

Hearts! Yep, I know I said I was skipping the whole ‘valentines’ thing, but, this is my ‘heartsbyemma’ secret! You need to cut out or punch out twice as many hearts as you have dividers. I’ve done six dividers, so, punched out twelve hearts. Oh, and don’t forget to use your trusty Carpediemplanners A5 hole punch, every planner girl needs one! 

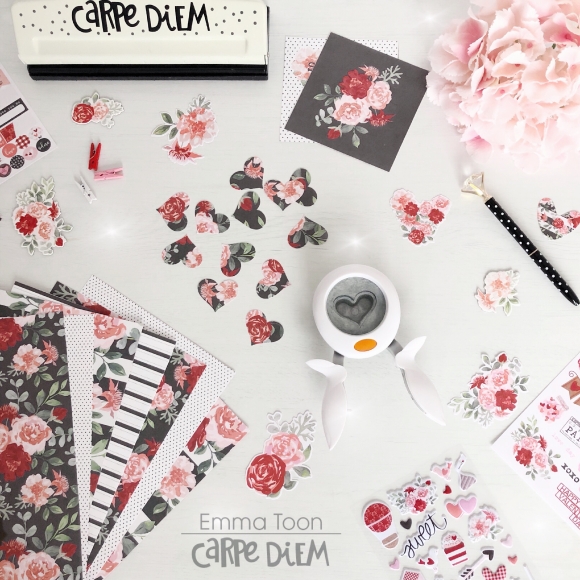
Using a punch makes this much quicker than handcutting each heart, but it’s not essential! I like to use, just an ordinary stick glue, as this gives you time to manoeuvre your hearts around into the perfect position! You want to evenly place the hearts as you would with your usual style tabs, depending on the number of dividers you have chosen, will depend on how big or small the gap is between each one. You’ll need a heart on both sides of the divider, this makes them look visually nicer, but also double the thickness, gives double the strength! 

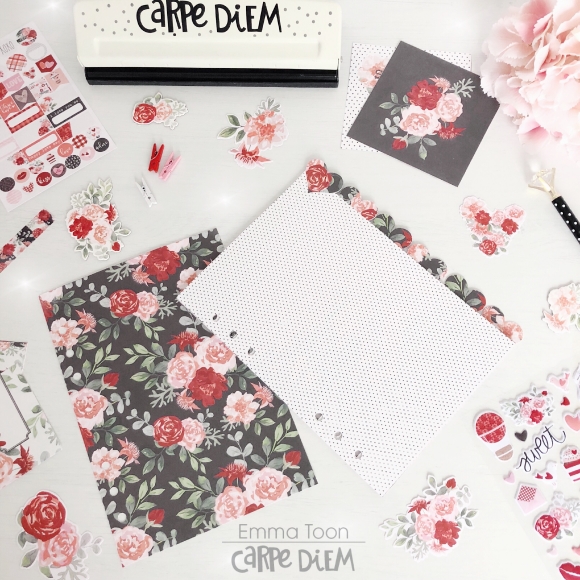
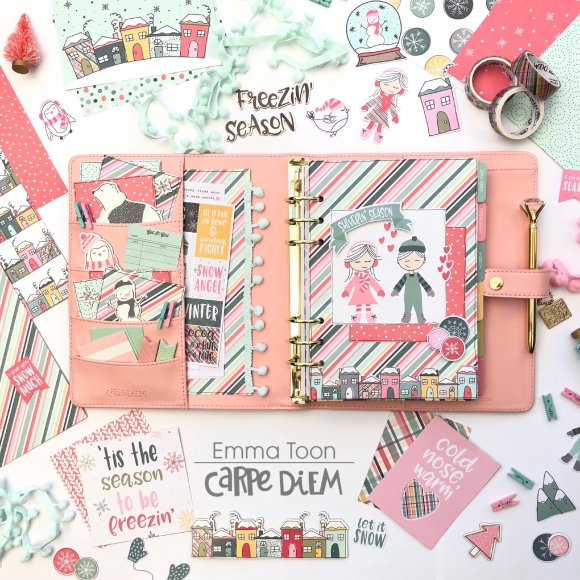
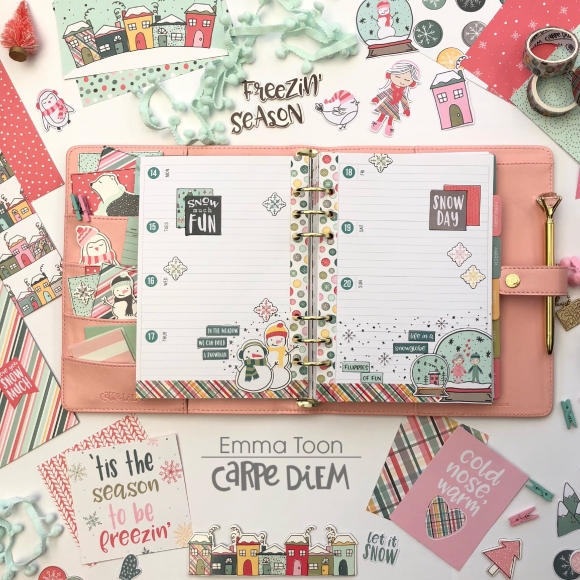
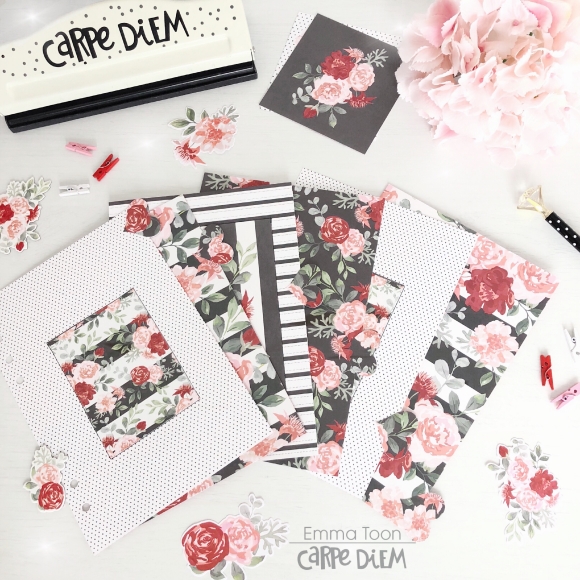
You can see here how the finished result gives a wonderful scalloped effect! Now it’s time for the fun bit! Decorating!! I have to warn you, you’re going to be shocked when you see my ‘minimal’ decoration! 

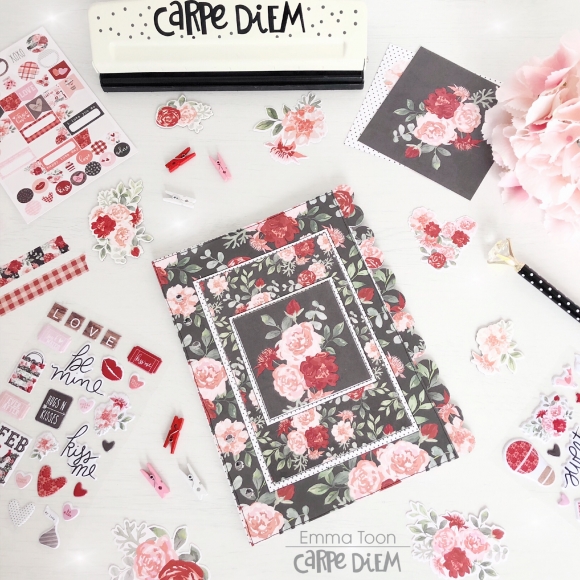
I know, I know, Emma, Minimal?? You never thought you’d see that did you! Let me explain myself! I have chosen big, bold, in your face, florals! These florals are centre stage, they speak for themselves, why cover something up when it screams beauty, like these florals! 

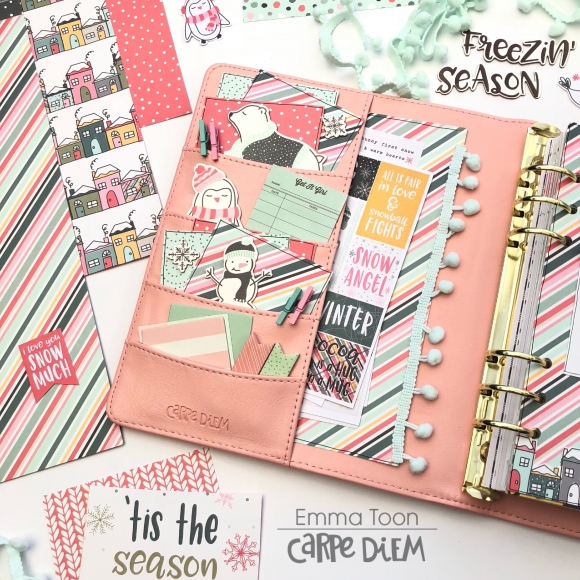
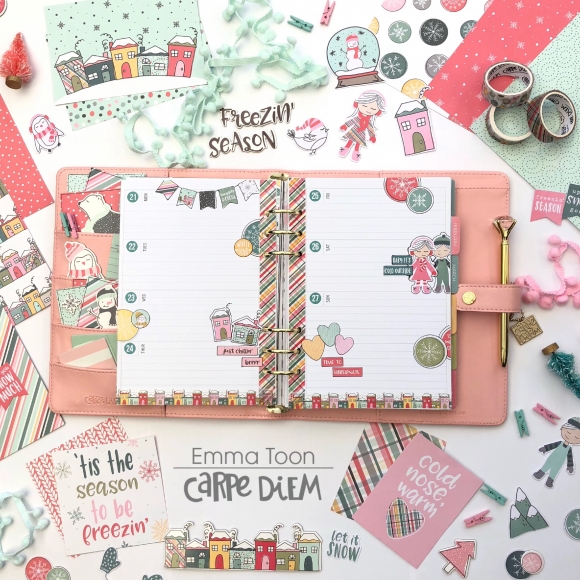
I have interspersed the florals with polka dots & stripes, this is to break up the florals, making them stand out and shout even more. Here is where decoration can be added, but, you guessed it, I’ve gone minimal again!  

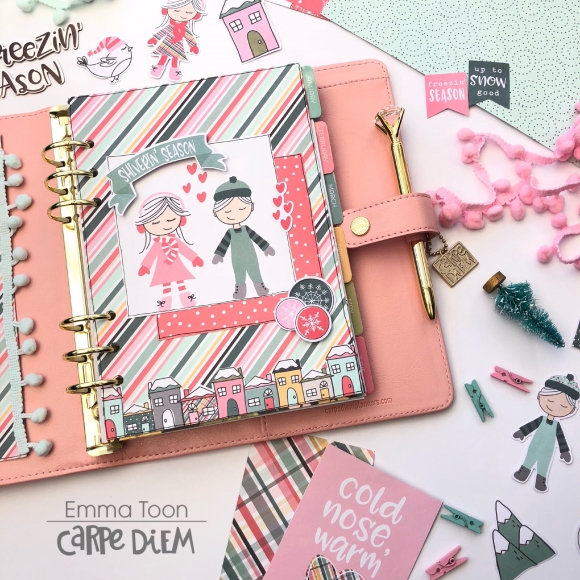
Using only images from the 12x12 cut apart sheets for decoration. You could just as easily cut out some pieces from the floral sheets if you prefer. To make the journaling cards ‘pop’ , I have simply drawn around the edge of each one with a black ink pen, and as daft as it sounds, it really makes a difference! 

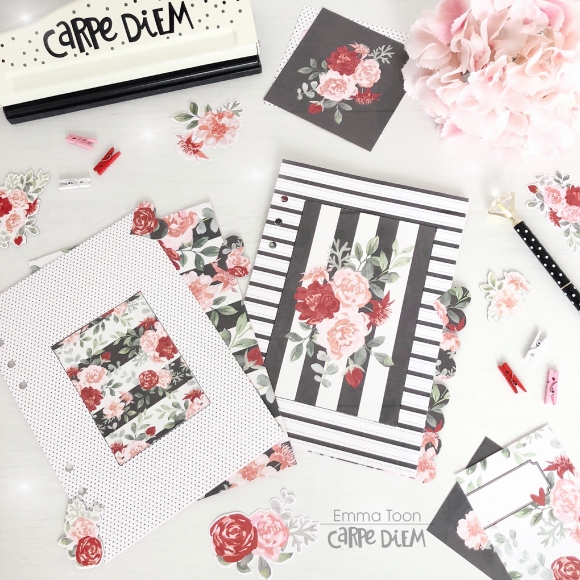
There we have it, a full set of dividers, which although the papers are from a ‘valentines’ collection, these can be used all year round! Always look beyond the title, I say! Well, thank you for sticking with me, I hope you’ve perhaps taken some ideas from this blog, or, if it’s just made you smile, then, I’d say that’s pretty good! If you would like to see more pictures using Simple Stories products then checkout my IG account  https://www.instagram.com/heartsbyemma

Supplies

Happy Christmas! It’s Emma here with you today and I’d like to show you how I’ve started setting up my Blush Carpediem A5 planner for 2019. I’ve used the new ‘Hello’ Monthly Inserts and the Freezin’ Season Simple Stories Collection. 

Look how well the tab colours from the ‘Hello’ monthly inserts work with the Freezin’ Season Collection! It was as if they were made to go together! I also love how the splashes of colour on the monthly pages tie in beautifully with this collection!

You know how I love my pockets to be pretty and I haven’t scrimped on adding prettiness to them with this set up. I have literally used off cuts of papers to tie the colours in and then my favourite pocket accessories which are chipboard pieces and sticky tabs! 

For the dashboard I’ve used one of the cutest images which is of the girl & boy,  I cut this down from one of the large cut apart 12x12 sheets and then at the bottom I’ve put a row of the stinkin’ gorgeous houses which I fussy cut out from one of the 12x12 sheets. I used some foam sticky pads for a few of the bits & pieces to lift them and also with the ‘shiverin’ season’ banner.

With the monthly insert packs, each month there’s a ‘this month’ page where you can add birthdays, to dos, goals, important dates ect, I’ve choose to add decoration on this page covering those various titles as I don’t tend to use this page and prefer to have it more as an inspiration board, but it’s great to have the option there if it’s something you like to use. 

I love to have a monthly spread that’s full of colour and decoration and I’ve used washi tape and stickers to achieve this look. This is where you can see those watercolour effect splashes of colour I was talking about before. Don’t you agree they look awesome with the Freezin’ Season colours? 

If there’s one thing that’s an absolute must have item it’s the number Sticker Tablet! I would be lost without it! I enjoy choosing a colour that works well with that months collection and not only for the monthly spread but also for every page throughout the month! 

You can see here on the first pages of January how I have used a teal blue colour for the number stickers and decorated really simply by dotting around the coloured circle stickers, over lapping them and having them half off the pages makes them stand out and I also go round each one with a black ink pen, which makes them pop!

You’ll notice on each page I have used washi tape up the sides of the pages and then used the A5 Carpediem punch to repunch the holes. 

To add a little more fun detail to these two pages I’ve used my black ink pen to add little snowflakes which work well with the glorious snow globe stickers.

For these two pages I’ve thrown a little bit of everything at them! Why not ‘eh?! The super cute boy & girl stickers, houses, the colourful circles, hearts and my possibly all time ever favourite washi with the dinky little houses! I’ve even used some of the stickers to make a flag banner across the top of the page. 

I hope I’ve shown you how decorating your pages can literally go from one extreme to the other, you can go all out and chuck everything but the kitchen sink at them or have a little more decorum and go for the less is more option! Whatever your style this collection will have something in it for everyone and with Carpediemplanners bringing out not one but three new monthly insert sets, you’ll definitely find one that’s right for you. 

Enjoy the rest of the festive season and I will be back with you again in the new year! If you would like to see more pictures using Simple Stories products then checkout my IG account.

Supplies

Hello again, as promised I’m back with a little look at my Christmas set up, all ready for December. If you remember last time I showed you how I’d made some pockets & insert covers using the Simple Vintage Christmas collection. Well I’ve now finished decorating and setting up my Aztec Black & White TN by Carpe Diem Planners.

So, shall we take a look? You know by now that I love to stuff my pockets nice and full, well, I’ve been quite restrained this time! I know! Not like me at all!!

I haven’t held back on any of the other areas though, just look at those pom poms!! I’m often asked how I fix my pom pom trim to my insert covers, it’s dead easy, I just use double sided sticky tape and it works a treat!! I’ll let you into a secret, I used to add a little dollop of super glue to the ends to stop the edges fraying or lifting, but I don’t do that anymore since getting the trim stuck fast to my finger!!!

You’ve seen me use snap pockets on my inserts before, making them into shaker pockets, this time I’ve cut down some of the 4x4 pockets. I used some of the little cards out of the snap pack and a few cute snowflake sequins. You guessed it, I used double sided sticky tape to attach it to the back of my insert cover. I do love double sided sticky tape, it’s so useful! 

I think I’ve said this before, but since Carpe Diem planners brought out the monthly, daily, weekly inserts, it’s completely changed the way I use my TN’s!! I used to be an A5 girl all the way, but now, it’s all about my love for TN’s! I would say that an absolute must buy is the Numbers Sticker Tablet!! It’s bursting full of every size and colour numbers, there’s enough in there for a good year!! I choose to use the red circle numbers for December but there is also a sheet of number stickers that come in the sticker pack for this collection. 

I’ve decorated my monthly spread in a very similar style to my October Halloween spread, lots of washi tape all around the edges and then some of the fabulous stickers that are on the 12x12 sheets! I’ve said this before, but I’ll say it again, don’t ever be afraid to cut your stickers to make them fit where you want! 

I like to draw around the edge of the stickers & washi, but also I draw around each box too!...don’t ask me why, I haven’t a clue what started me off doing it, but it’s  just something I do! 

So there we have it, my set up for December. 

I hope you’ve enjoyed a little peek inside my TN and possibly taken a few ideas, if nothing else, you’ve learned not to stick pom pom trim to your finger with super glue!! If you would like to see more pictures using Simple Stories products then checkout my IG account  Heartsbyemma (@heartsbyemma) • Instagram photos and videos

I've also included a little process video here as well

Supplies

Pages