Emma Toon's Blog Posts

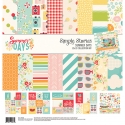
Hi again, it's me Emma, I'd like to share with you today what I have been doing with the Summer Days collection which is one of the fabulous new simple stories releases. Now, I'm from the U.K. and you may be aware that we are all pretty much obsessed with the weather! Mainly I think because we often manage to have all four seasons in one day! I myself am at my happiest when the sun shines and that's why this Summer Days collection is perfect for me to use in my summer planner! 


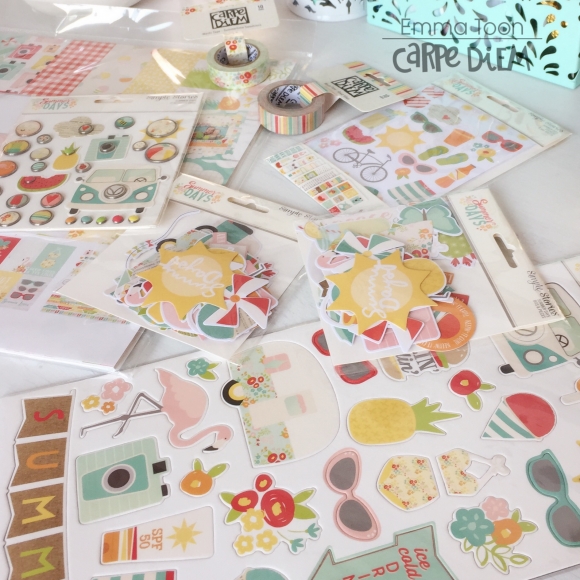
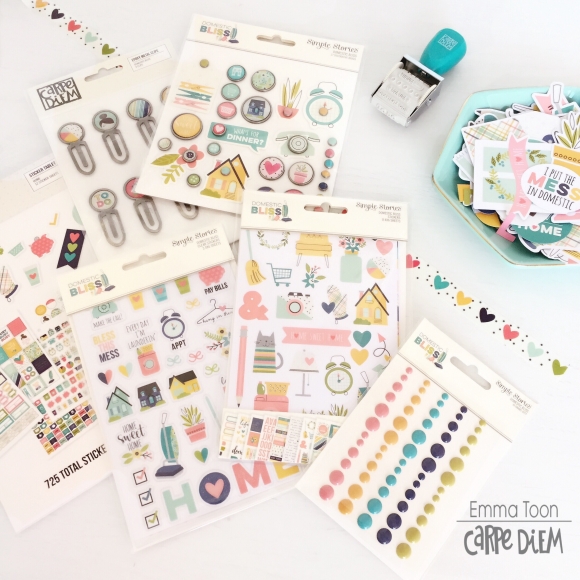
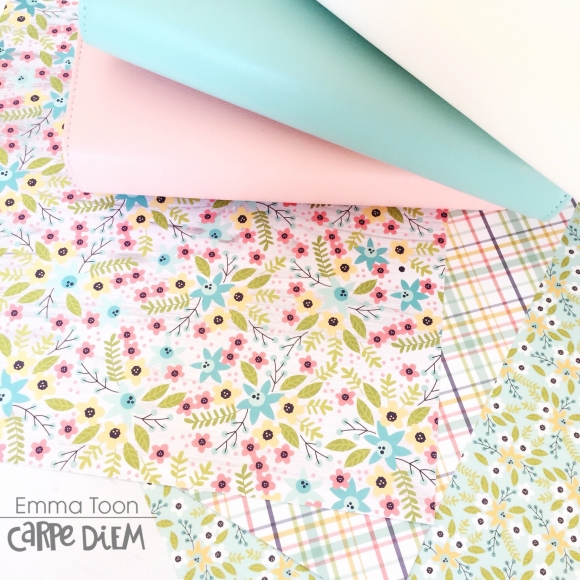
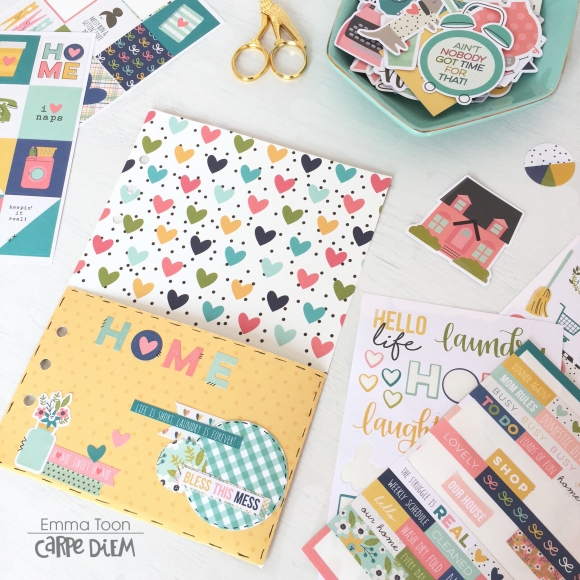
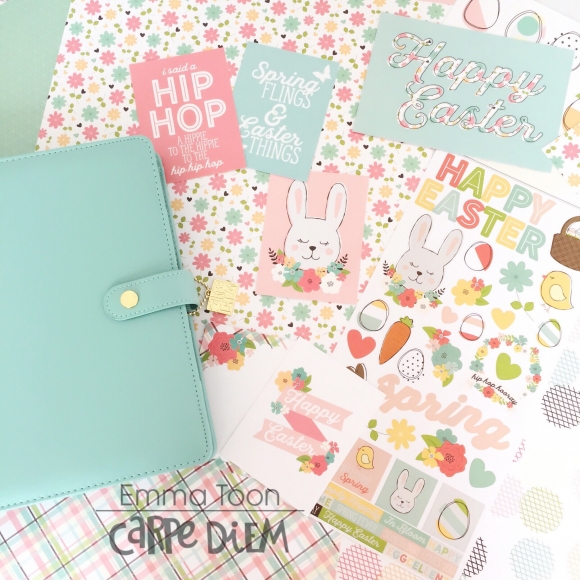
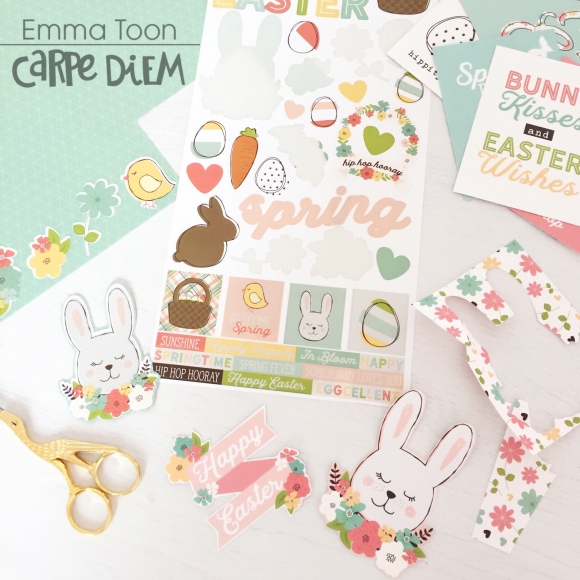
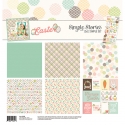
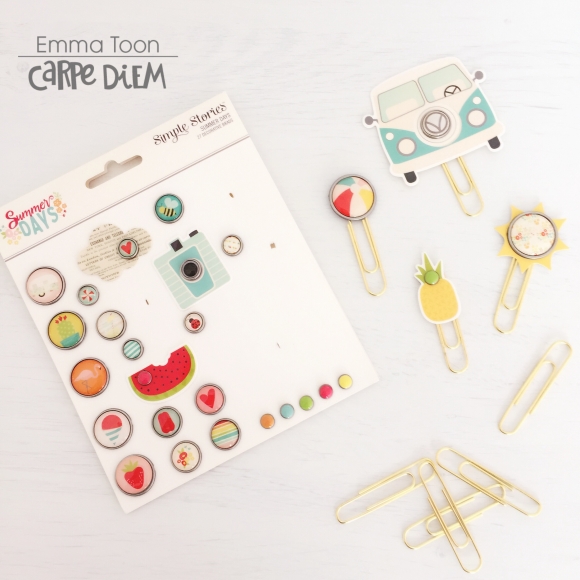
There are so many items that come with this collection, papers, stickers, washi tape, bits & pieces, brads and chipboard stickers. This is what I find so wonderful about simple stories as you can find everything you are looking for, all co ordinating and working so beautifully together! 


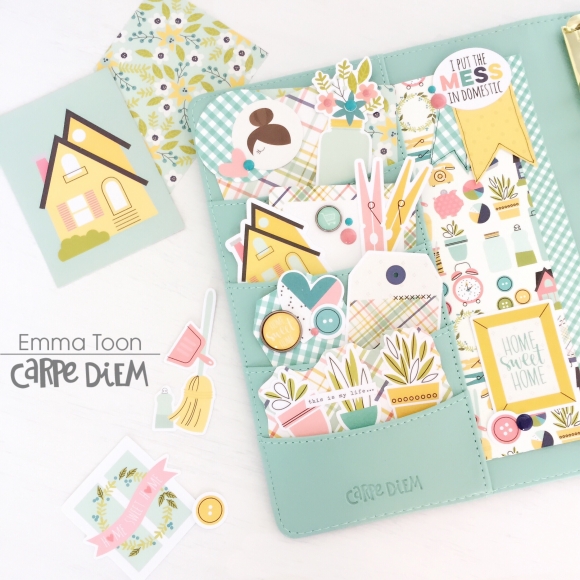
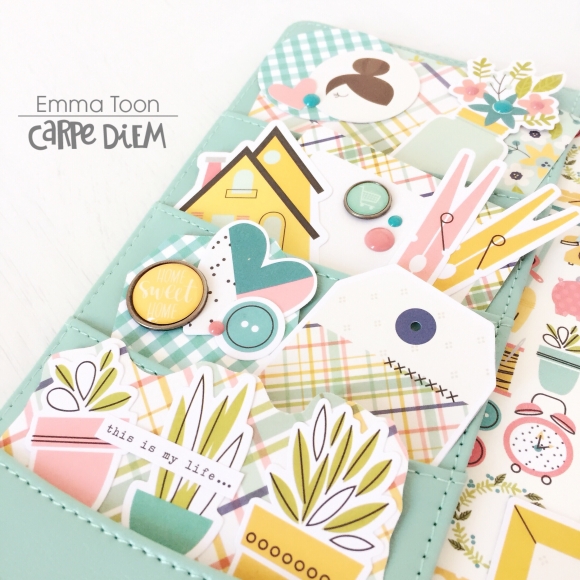
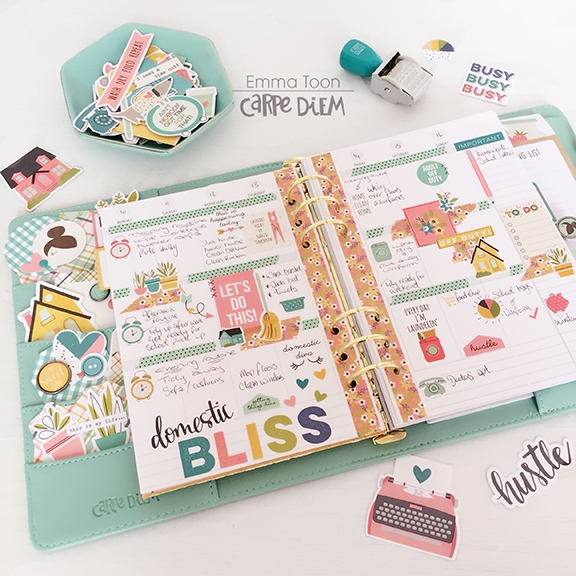
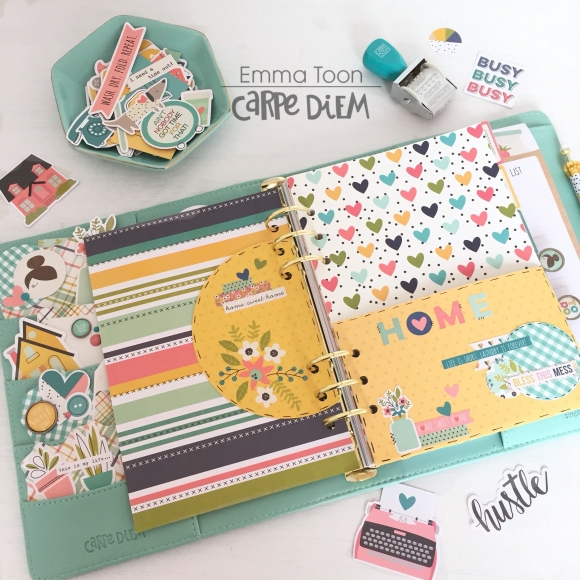
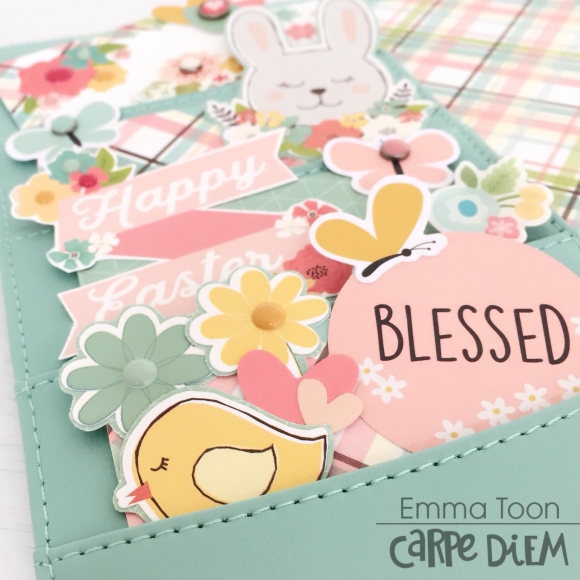
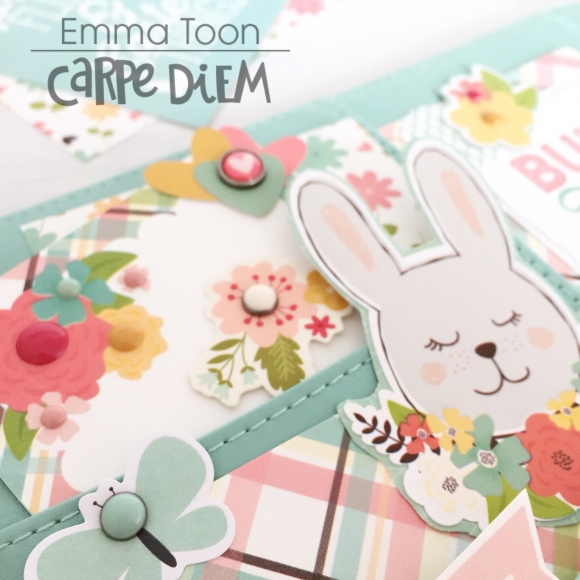
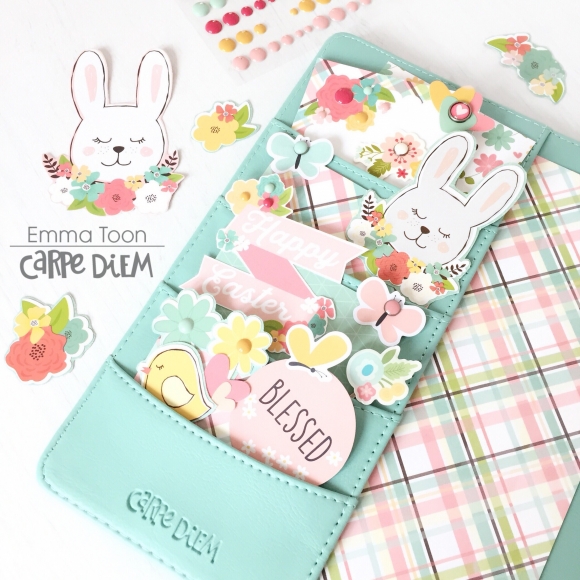
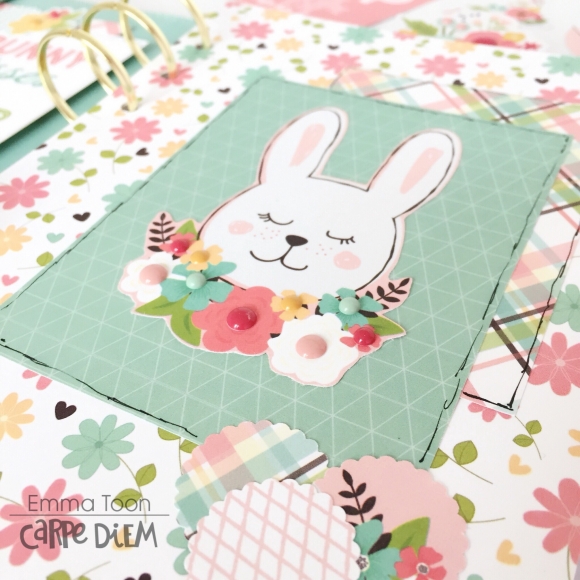
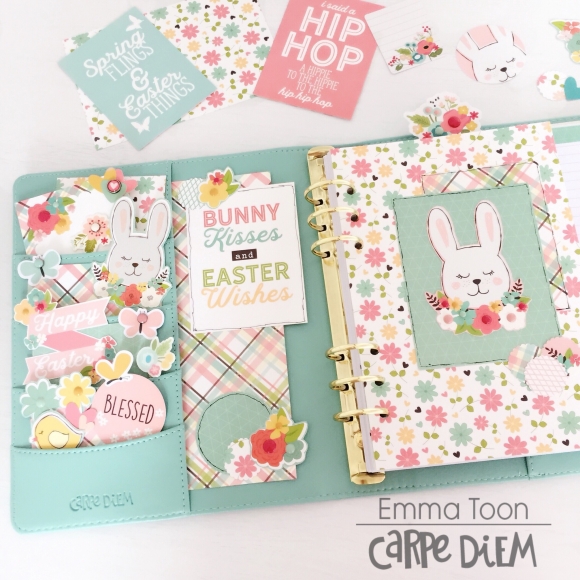
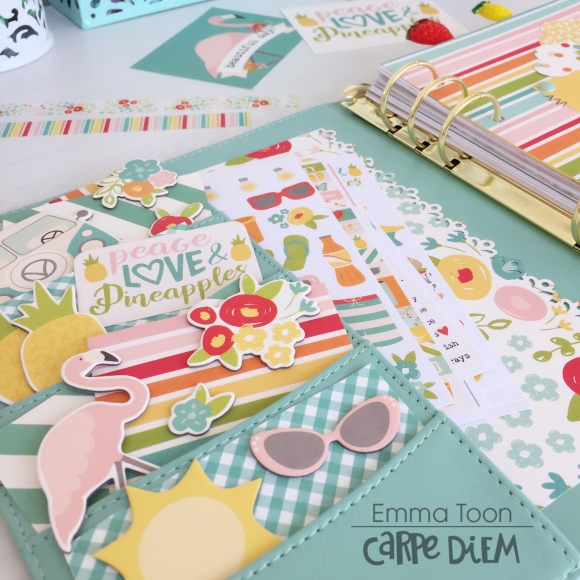
As always I set up the front pocket of my planner first. I have used an assortment of the bits & pieces, chipboard stickers and cut out some of the elements from the 12x12 collection kit, they are full to bursting and I think look fabulously summery! 


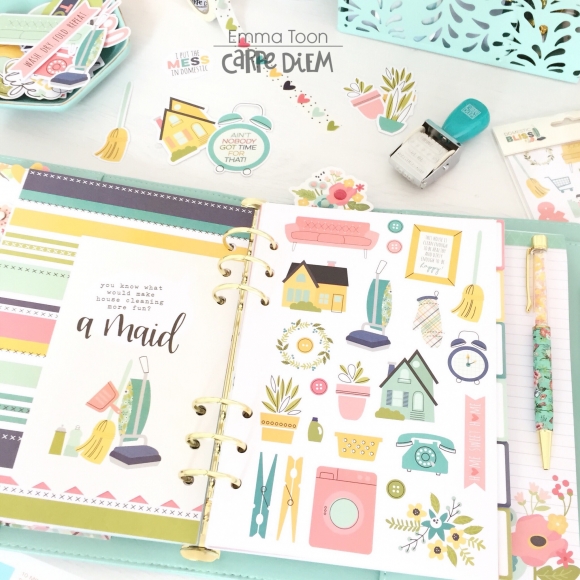
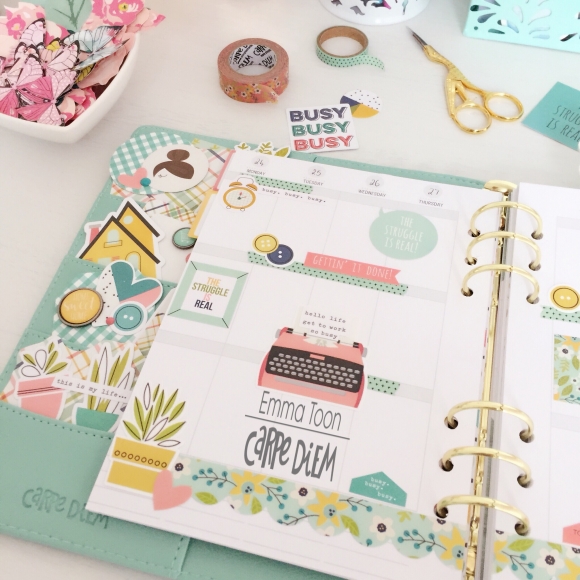
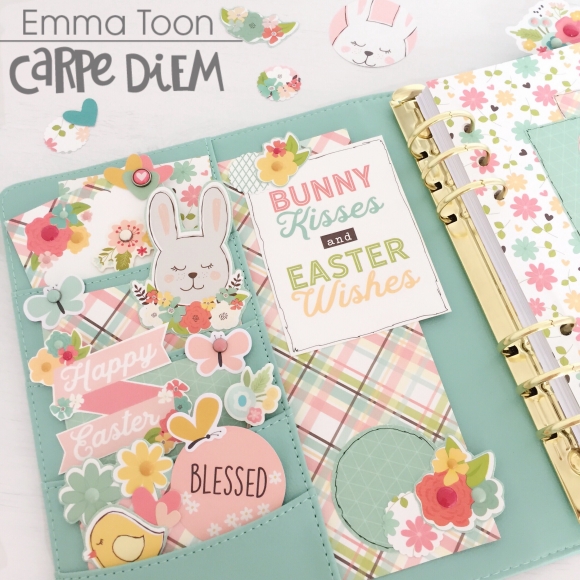
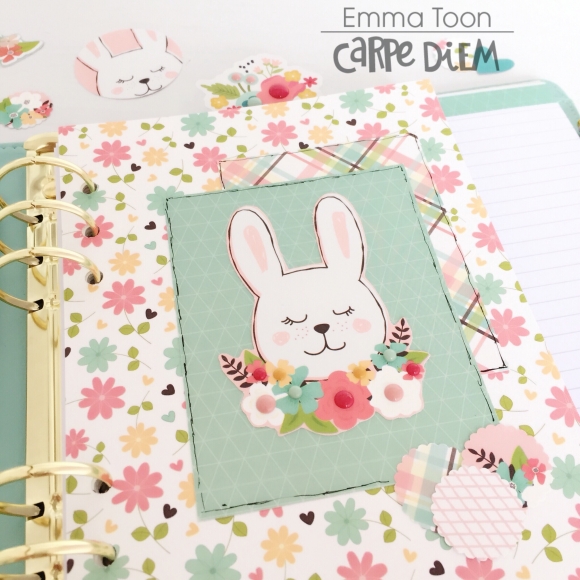
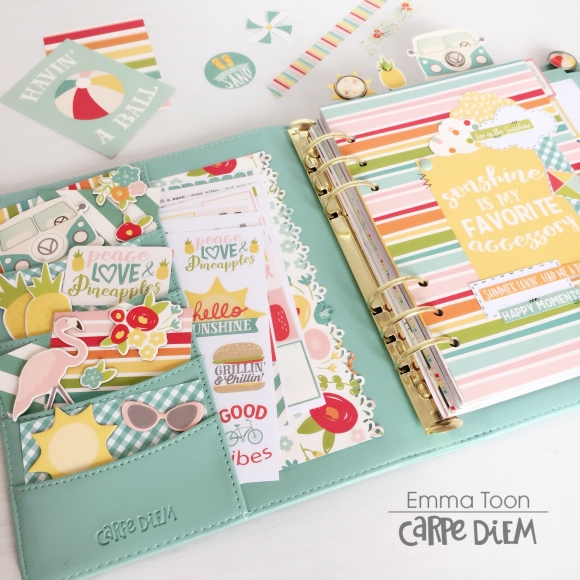
I've then made a dashboard using paper & elements from the 12x12 collection kit and adding extra details with a black fine liner. 


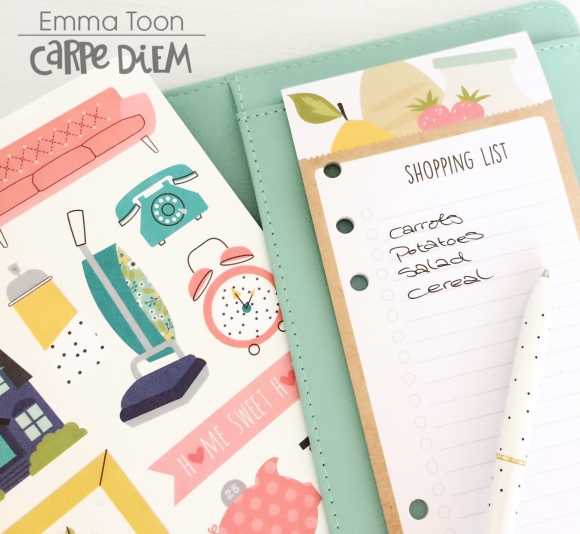
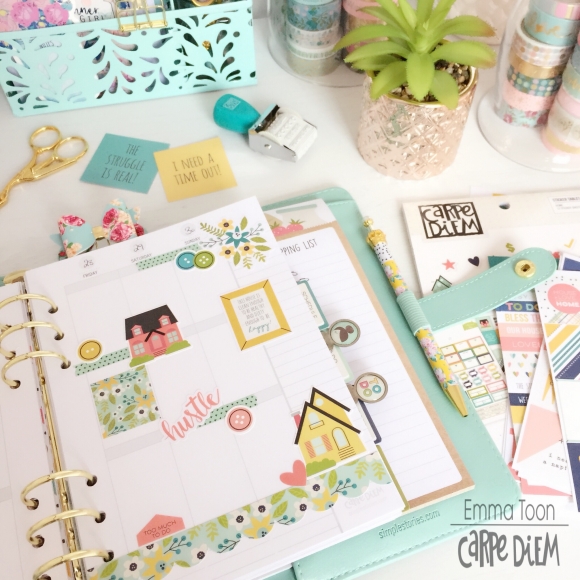
I like to tie everything together by tucking papers into the Large side pockets and I use a border punch to just pretty up the edges. I have also slid the sticker sheets in here so I always have them at hand. 


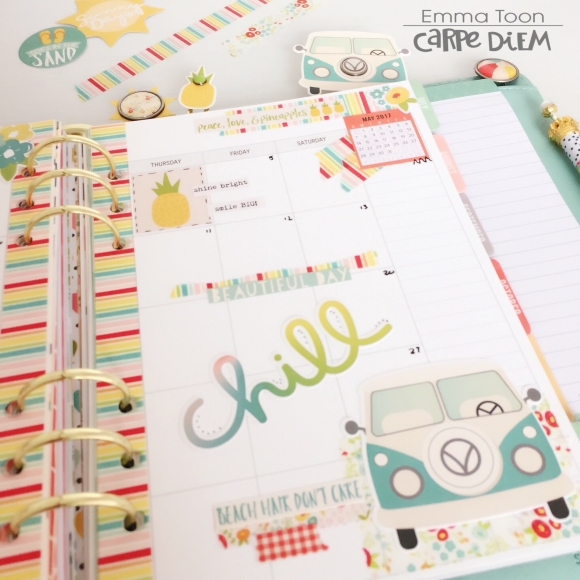
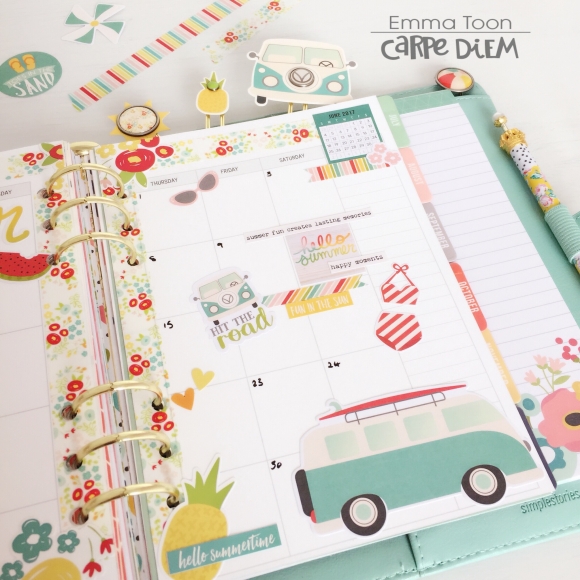
I've used lots of the stickers and bits & pieces on my May monthly spread and the gorgeous washi tape...I'm a sucker for washi tape and I'm never disappointed with the choices that Simple Stories release, you will nearly always find that you can mix and match with all their other collections! 


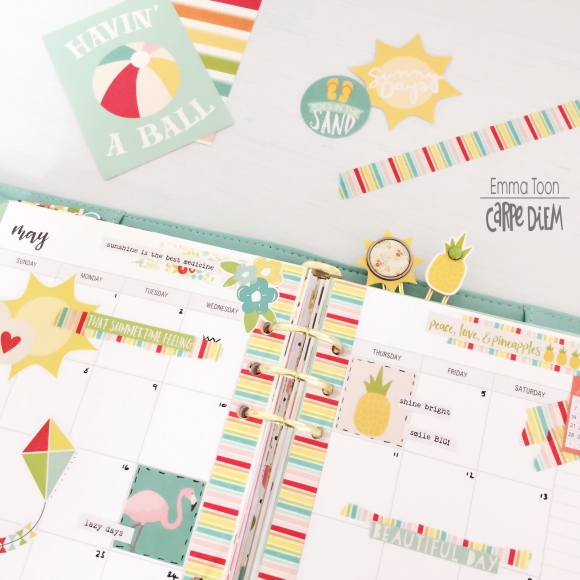
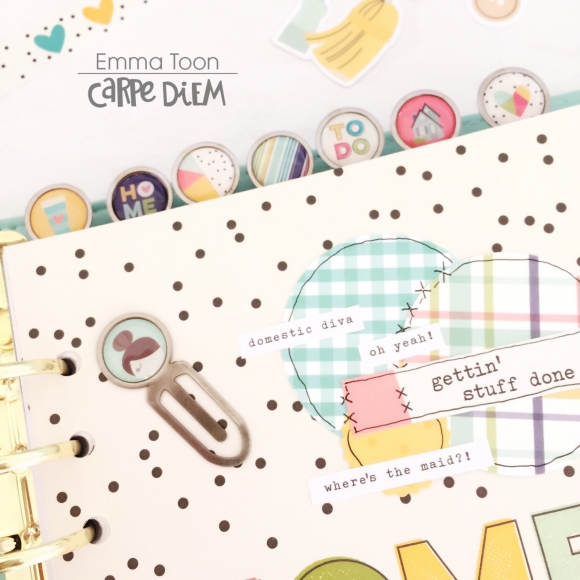
I decided to make some fun paperclips with the decorative brads, it was super easy, just poke the split pin through the top end of your paperclip and then squeeze tightly once you've opened it. They actually hold in place really well! 


You'll notice on my monthly spreads I like to use the monthly date stickers, I also add these on my weekly pages, I find it handy when I'm planning things that I don't have to flip through to find dates, it's all there at the top of my page for me. 


I pretty much always have a doc it journal tucked into the back pocket of my planners, I like the idea that they are always at hand if I want to quickly do a couple of pages. 


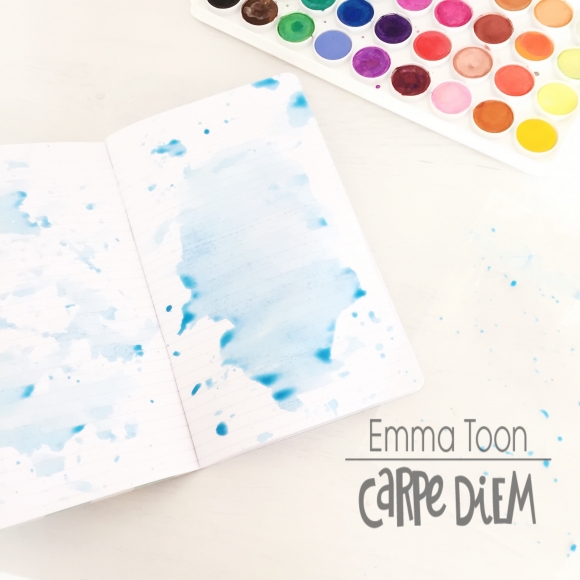
A fun way to add some base colour to the pages is by using watercolour, I like to get a piece of clear cellophane and add splashed of paint to it, then press it onto the pages and it leaves an awesome organic splodge!!...yep! that's my technical term for it!! 


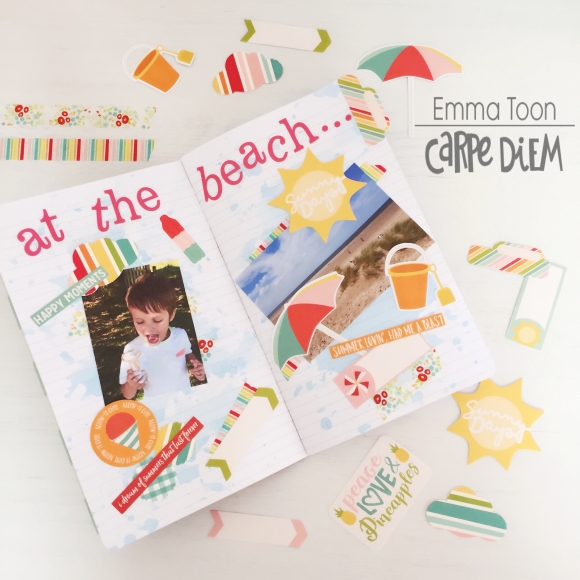
My handwriting is dreadful so I tend to journal in pictures, avoiding having to write!...I use pictures I print out, bits & pieces, washi tape and have fun sticking it on the pages. 


I hope I've given you a few ideas on how you too could use the Summer days collection in your planner or for journaling. 


If you would like to see more pictures of how I use this collection over the summer months then please pop over to my Instagram account https://www.instagram.com/heartsbyemma

Supplies

Hi again, it's Emma here, I'm back this time to show you what I've been up to with the Domestic Bliss collection, it's a fabulous new line which I'm using in my Carpe Diem A5 planner.  There are so many different items to choose from. 

First things first, which planner to choose? I picked out some of the 12x12 papers from the collection kit and put them against my Ivory, Robins Egg and Ballerina planners to see what looked best, to be honest I liked them all but in the end went for my ever faithful Robins Egg. 

The humour in this line is brilliant, I love all the quotes used, like 'housework can't kill you but why take the chance'!!, it's so important for me to have elements throughout my planners that make me smile, and with this collection they even make me chuckle which can't be a bad thing!

The pockets and dashboard are the first impression you get when you open your planner and for me it's all about stuffing the pockets full of pretty things, I certainly didn't struggle to do this when I had all the bits & pieces and cards from the snap pack at hand! I also used some of the decorative brads and enamel dots for more texture. 

As I said this collection is perfect for the Carpe Diem planner as it has specific items like the 54 piece Home Planner Insert Set which includes home planning inserts, menu & financial pages, dashboard, die cuts, storage pocket, stickers and 6 tabbed dividers. The dividers can be labelled with the stickers included.

The domestic bliss line is full of images of fun household items like the retro vacuum cleaner which you'll find throughout the collection, even on the epoxy metal clips. The doc it journal cover has all these on it, it's so handy to keep in the back pocket of my planner, I also have the shopping list bookmark tablet tucked in the back ready to scribble down what's needed! 

I have filled my weekly pages with washi and stickers and tried to put together a basic routine for housework. I'm using the planner for a multitude of things to try and make the home run more smoothly. Decorating the pages is a pleasure with the 725 stickers you get in the sticker tablet!!

One of the ways I'm using the planner is to keep all the notes that my little boy brings home from school, although you get a pocket divider included with the insert set I wanted to make a few more as they are so handy, it's really easy with the 12x 12 papers to make a simple pocket divider, and then using all the other elements to decorate. You can then store your receipts, stickers, coupons etc in each one. 


I hope you've enjoyed looking at a few of the ways I've used the Domestic Bliss collection, I'm certainly enjoying using it all!

If you would like to see more pictures of how I use all the simple stories Carpe Diem products you can find me at Instagram https://www.instagram.com/heartsbyemma

See you next time.

SaveSave

Supplies

Hi there planner friends, it's Emma here. I'd like to show you how I've set up my Robins Egg A5 Carpe Diem planner with the Easter Simple Set.

The first thing I always do when setting up a planner is make the pockets pretty.  It's really important to me that when I open my planner it makes me smile.  I enjoy fussy cutting flowers and pretty things out to add to my pockets but also backing stickers with cardstock and cutting those out too. 

I like my pockets to be full and to have plenty of depth.

I've used decorative brads and enamel dots from the Faith collection to add texture.

A simple way to tie in the theme is to slide a piece of cardstock in the large side pocket.  This then gives an additional area to decorate.

Using a 3x4 element from the Easter set and a few cut out shapes I've been able to add even more interest to my planner set up. 

Another important aspect of the initial look to my planner theme is the dashboard.  I've layered with papers from the Easter Simple Set and placed more enamel dots on the super cute bunny which I cut out from one of the 3x4 element pieces.

To finish the look I placed the Floral bookmark Tablet in the back pocket and tucked in a floral element from the Faith Bits & Pieces pack to use as a page marker. 

I hope you've enjoyed looking at my Easter planner and reading how I put it together.  See you next month! 

Supplies

Pages