Emma Toon's Blog Posts

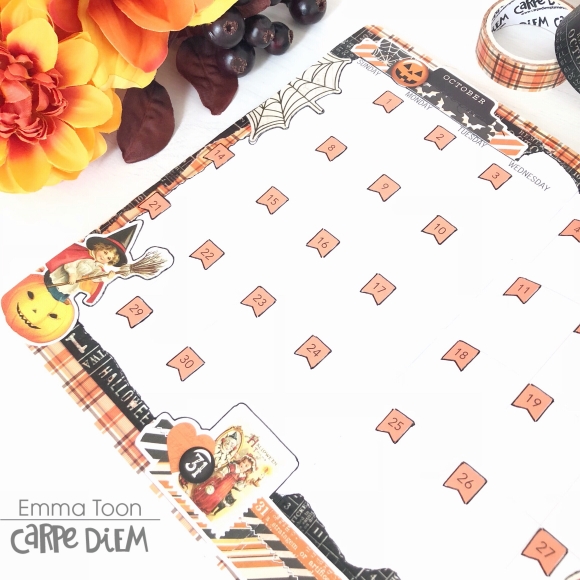
Hello again, it’s Emma back with you, and this time I’d like to show you my early preparations for Christmas!, I know, I know, it’s only early November, but this year I’m determined to be all organized and ready!

I decided to use the Simple Vintage Christmas collection, and I wanted to set up one of my TNs this year to organize everything ‘Christmas’.

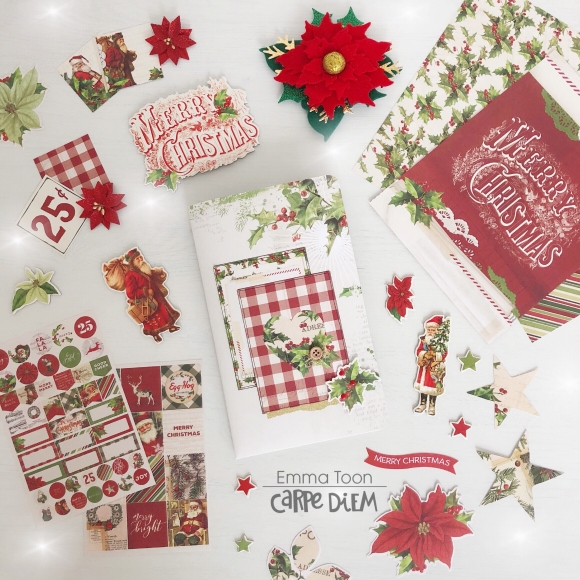
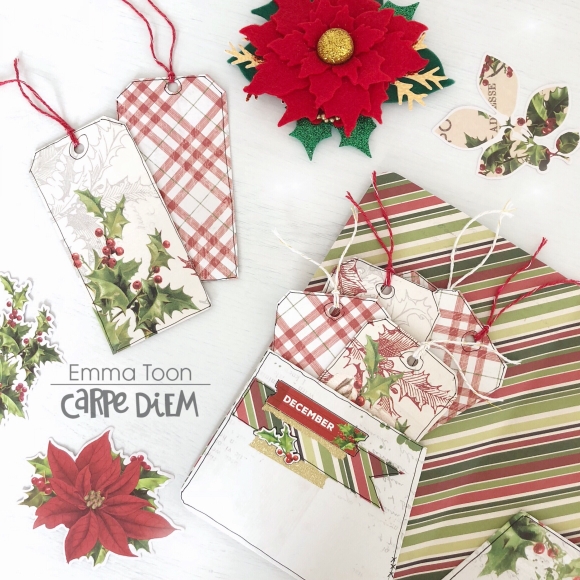
So, the first thing I wanted to make was a folder to fit neatly inside my TN, for it to have good sturdy pockets to house lots of tags. Here’s a picture of how the folder looked before I stuck it all together, hopefully you’ll find it helps if you’d like to try it for yourself. 

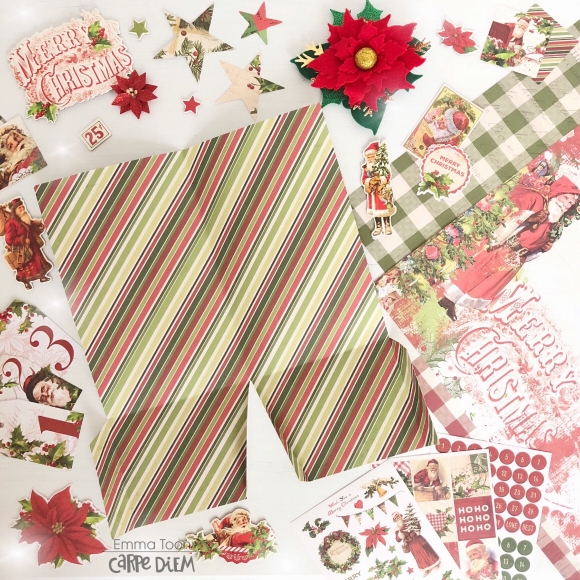
It was quite easy to make, I used one of the 12x12 sheets and double sided sticky tape to fasten together.

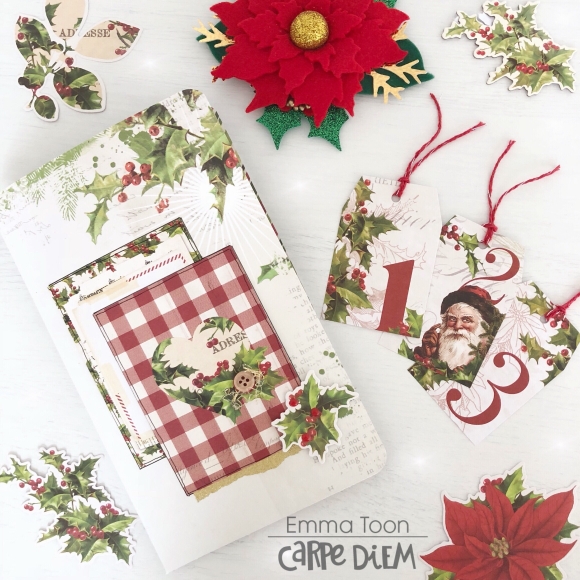
I decorated the front using two of the cards from the snap pack, I find the selection of sizes and designs in the snap pack so useful for decorating my planners and of course for journaling on.

You’ll see when the folder is open that I’ve made good sturdy pockets to store my tags. 

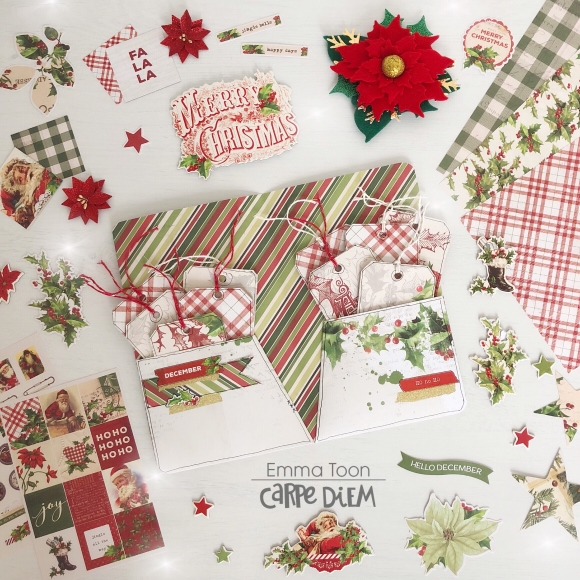
What I’m wanting to use all these tags for varies, I’m going to write lists on them, gift lists, Christmas card lists, food ideas, all sorts of things, I thought it would be a fun way to get me organized. 

The great thing about the lists being on the tags is I can pull out the tag, chuck it in my purse when I’m off to the shops, and easily tick off the items as I buy them! 

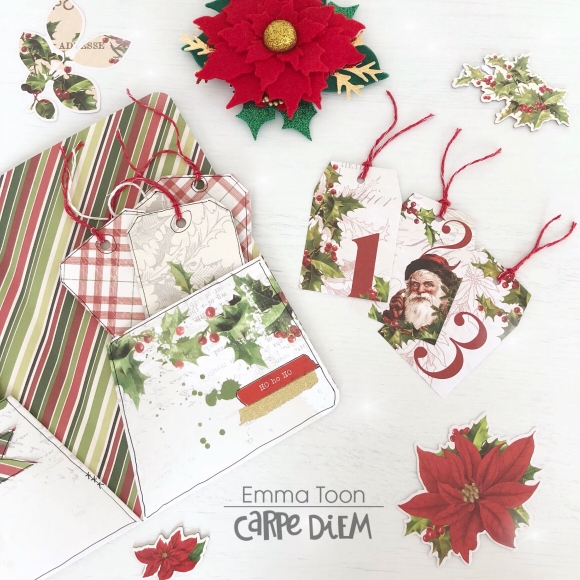
This collection also comes with tags that are numbered, I’m going to use these to journal on the back of each one, just a little something about that day in December, I won’t find it too daunting then as it’s not a large area to fill. 

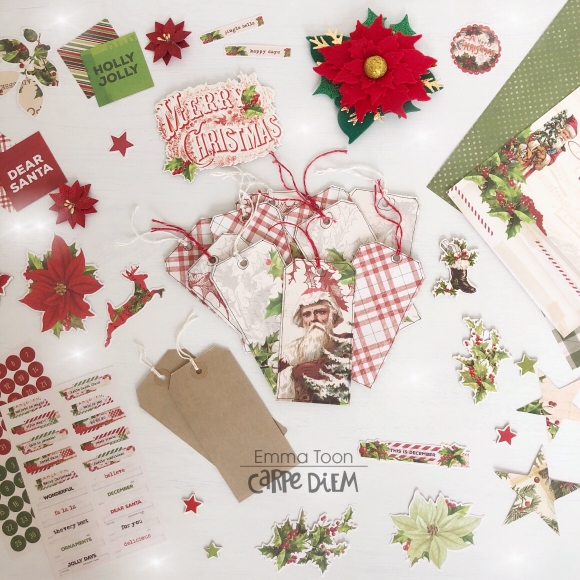
I made my tags quite simply by using a 12x12 sheet from the Simple Vintage Christmas collection, I stuck ordinary paper luggage tags all over the sheet and cut them out. You’ll be amazed at how many you can cover with just the one sheet! I then tied some bakers twine on each tag. So simple! 

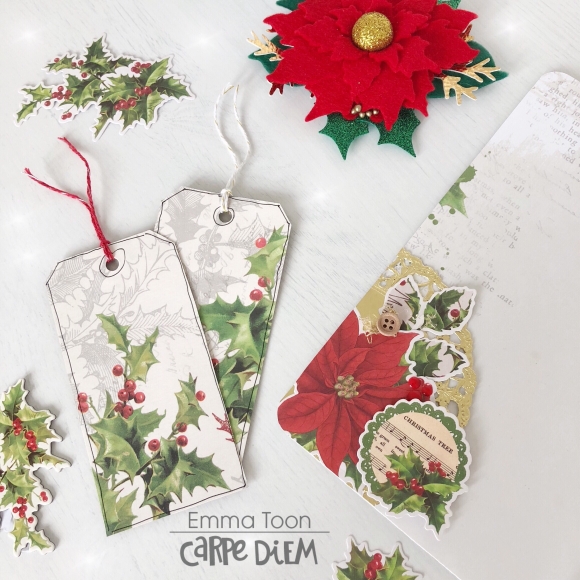
I even decorated the back of my folder, so once it’s slid inside my Carpe Diem Traveler's Notebook it will look super pretty. I hope you have enjoyed taking a look at my Christmas folder, next time I will show you how I set up the rest of my TN.

If you would like to see more pictures using Simple Stories products then checkout my IG account.

Supplies

Hi, I’m back this month with the fabulous Halloween collection, Simple Vintage Halloween. I’m not normally one for decorating my planners for Halloween, but I loved this collection so much, that I went all out and decorated both my A5 Persimmon and my Cream Dot TN! 

Just take a look at all the gorgeous papers and embellishments that come with this collection! The first thing I did was cut out the 12x12 papers to make my insert covers for in my TN. 

I used the 12x12 paper with the 3x4 cut aparts for decorating my inserts and then used washi and ephemera to add some more detail.

I also love to make little shaker pockets to decorate my inserts, this is so easy! All you need is some of the Simple Stories Snap Photo Flip pockets, some of the cut aparts and some sequins! Slide your 3x4 card into the snap pocket, tip some sequins in and then use clear tape to seal the top. Add double sided sticky tape to the back and hey presto!!!...you’ve got a shaker pocket!!

Another fab use for the Snap Photo Flip pockets is to use them as card & sticker storage! I like to cut mine on a horizontal, just stick a line of washi horizontally across your snap pocket and cut, add double sided sticky tape to the back and stick on your insert...and as easy as that, you’ve got yourself more storage!

Here’s my A5 Persimmon all set up, Pockets are stuffed full and I’ve made a fun dashboard, which is so easy with the Carpediem A5 punch! I cut out the word BOO and made a little banner by adding them to some string and then stapling into place. 

My Cream Dot TN is decorated in a similar style, pockets full to bursting! I like my TNs to be nice and chunky, so I have four inserts, each with a decorated insert cover, and I also add a page marker with pockets and a washi card, I’ll have to show you on another blog how I make those!

So there we have it, the gorgeous Vintage Halloween set up in both my tn & A5. 

Thank you for joining me again this month, I do hope you’ve enjoyed looking at my Halloween set ups and will join me again, next month. 

If you would like to see more pictures using Simple Stories products then checkout my IG account 

Supplies

Hi there, it’s Emma back with you today. I’d like to show you in this months blog how you can decorate your monthly spread without having to spend a fortune on products! Can’t be done?...it sure can!! Take a look! 

Here I’ve laid out the only products you’re going to need,and this can apply to any monthly spread, wether it be your A5, Personal size or TN insert pages, I’ve chosen to use my tn monthly insert by Carpediemplanner to show you. You’ll need a pen, washi tape, 12x12 combo sticker sheet and the Carpe Diem sticker tablet. The sticker tablet is optional, you can always write in your dates without it really affecting the look of this spread. 

Ready?...ok, let’s start! I have used a selection of the Simple Vintage Halloween washi tape to go all around the edges of the pages, you really don’t have to be neat, I like to rip pieces along the sides to add different textures and avoid blunt edges, it softens the look. Layer your washi until you’ve covered all the blank white spaces. 

Now it’s time to start adding some stickers from the 12x12 sticker sheet. Don’t ever be afraid to cut your stickers to make them fit where you want. You can add them to corners and then trim any overhang. I’ve done this with the huge cobweb sticker, and then with the piece I cut off, used it on the other side of the page. 

On the left hand bottom corner I’ve used the sticker of the little girl dressed as a witch and cut the overhang off, I like the finish that this technique gives.

You can also see here in the top corner where I’ve covered over the ‘October’ on the original insert and used one of the stickers that has the word ‘october’ on it. The design of this sticker is where I got the idea for this spread, it’s made to look like lots of different layers, all stitched together. This is another sticker which I cut to make it fit!

On the right side of the page I’ve almost mirrored what I did on the left, adding a witch sticker in the bottom corner, there’s the cobweb sticker that was cut and at the top a layered style sticker, which again, I cut to fit, and then the piece I cut off I used below it. 

I kept the centre of the spread really simple by literally just adding the number stickers, I used orange ones to tie in with the colour scheme and used my black ink pen to draw around each one, I also did this around the whole edge of the pages, it just makes the decoration ‘pop’! 

You can see on the used sticker sheet, just how a very small amount of stickers can go along way!! ...and don’t worry, the remaining stickers can then be used on your daily/weekly pages throughout the month! So, I don’t think that’s bad is it?!, a whole month of decorating your pages, only using one sticker sheet and some washi! 

The main thing to remember is, have fun! Enjoy decorating your pages, they are for you and nobody else, so as long as they make you smile, that’s all that matters!! As I’m always saying, there’s no right or wrong when it comes to planning...it’s what works for you! 

Thank you for joining me again this month, I do hope you’ve enjoyed looking at this spread and will join me again, next month. 

If you would like to see more pictures using Simple Stories products then checkout my IG account  Heartsbyemma (@heartsbyemma) • Instagram photos and videos

Supplies

Pages