June 2020 Blog Posts

Hi everybody! How are you? I´m Celes from GuiadeManualidades.com and I have a new project for you! Let’s get started… we have a lot of pieces to cut… YAY! The first time I saw the Kate & Ash collection I remembered my high school days… so much fun with my friends! The happiest days of my life. So that was the inspiration behind my new mini book.

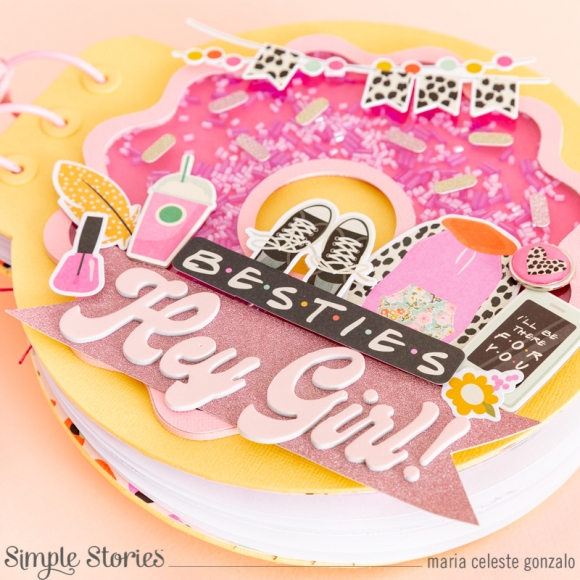
Besides the happy moments, the times we went out together, the parties… all I can think about was… donuts! Yes! We loved to eat them. The idea came to my mind: “I will make the donut album”. So, here we are! I prepared all the cutting files for this mini book. You will find the archives in .FCM (Brother ScanNCut), .SVG (for other cutting machines) and .PDF (for printing and cutting by hand) at the end of this post.
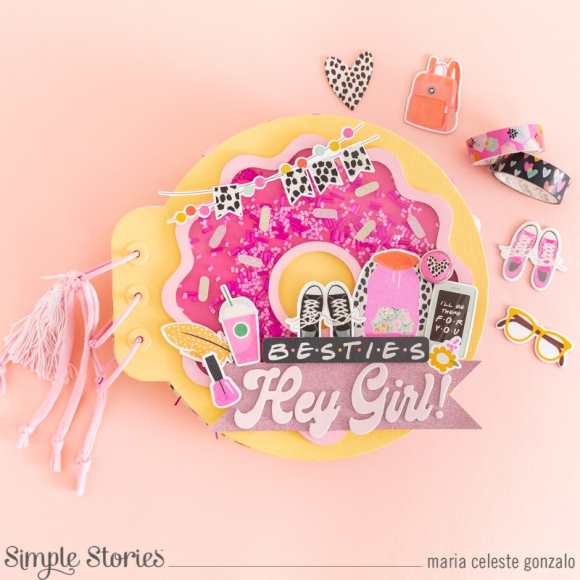
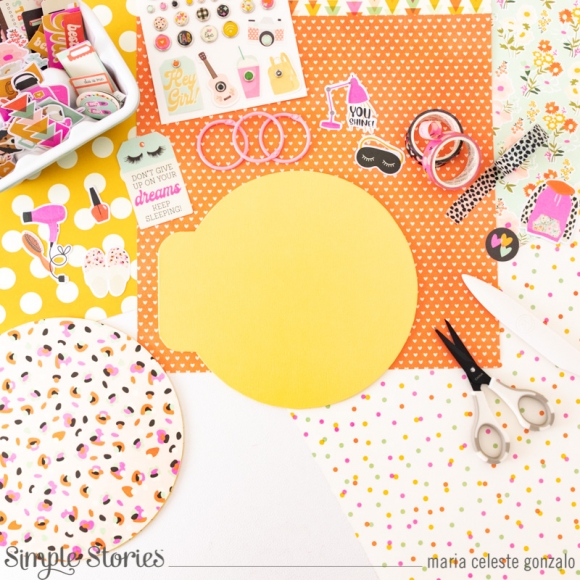
The first thing you need to do is download all the cutting files. My final project is around  6 3/4” w x 8 1/4” h. I cut 2 pieces of the house silhouette in stable cardboard adding 1 piece of 2” w x 3 3/4” h.

I will explain some details of the cutting files first. You will find 4 cutting files. The first one is “BODY-PAGES DONUT”: use it to cut 2 pieces of stable cardboard and as many pages as you like. The final size of it is approximately 9” w x 8” h. The second one is “INTERIOR-PAGE DONUT”: use it to cut 2 pieces of design paper per page. The third one is “BANNER-SPRINKLES DONUT”: use it to cut as many sprinkles as you like and 1 banner for the cover. The fourth one is “SHAKER DONUT”: you will find 3 pieces. You have to cut #1 in solid pink cardstock (1 piece), #2 in solid fuchsia cardstock and acetate (1 piece of each material),  #3 in white foam (2 pieces).

When you have all the pieces cut and ready… time to start!

I used two papers for the mini book: one of the collection kit papers and one solid color paper. The solid color paper to cover all the structure and the other one for the inside. I cut the inside paper using the same body-page-donut file.
Next, we are going to make the shaker. You have to glue together the 2 pieces of white foam. Place the fuchsia piece at the center of the cover. Add the new piece of foam all around and the other one on the center. Then, put some chunky glitter, shape sequins or what you prefer to fill the shaker. Finally add the front pieces (pink pieces) with the acetate piece. Lovely shaker!
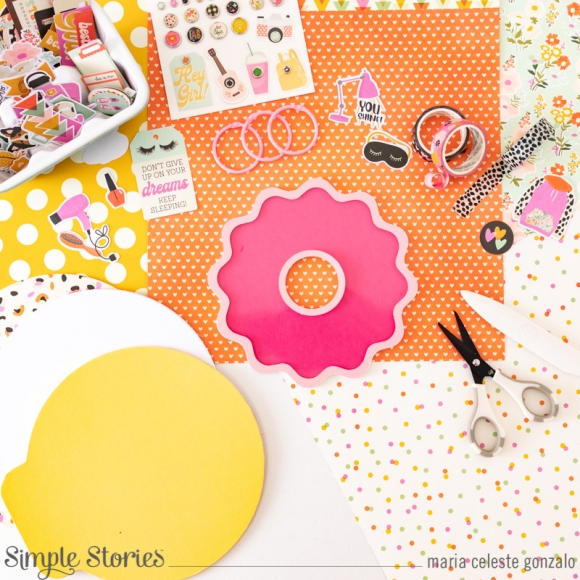
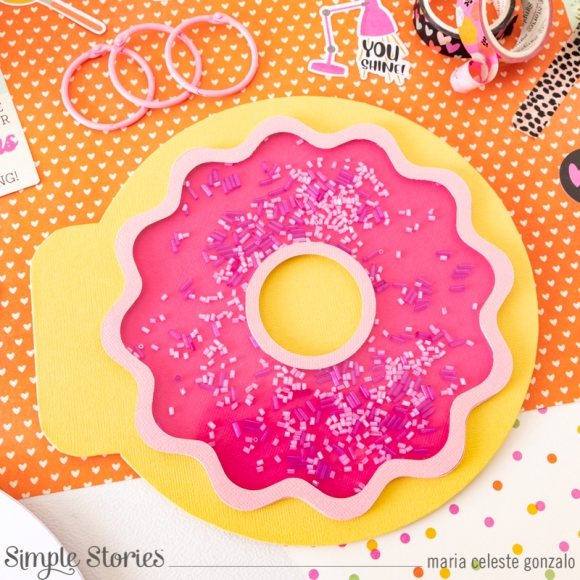
Now we are going to complete the cover. We need to prepare: die cuts, stickers, chipboard, foam stickers and brads. You will need the “Banner-Sprinkle Donut” pieces that you already cut. Combine all your embellishments as you like. Here you will see how I decorated my cover… I love colors and design! But you can change it as much as you like. It’s amazing how it looks! Remember to add 2 or 3 eyelets for binding your mini  book.
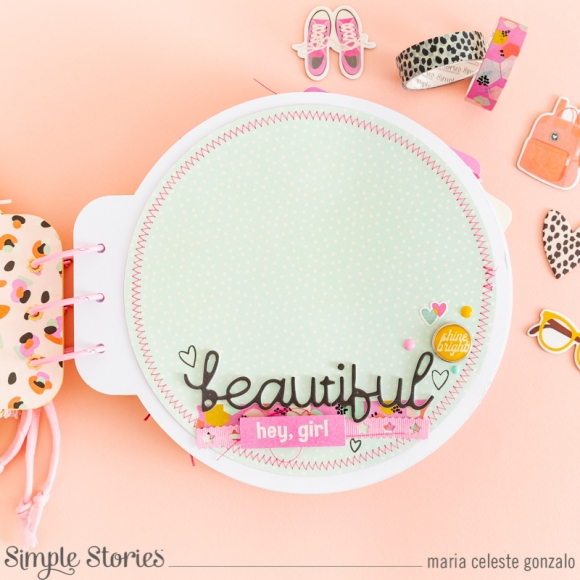
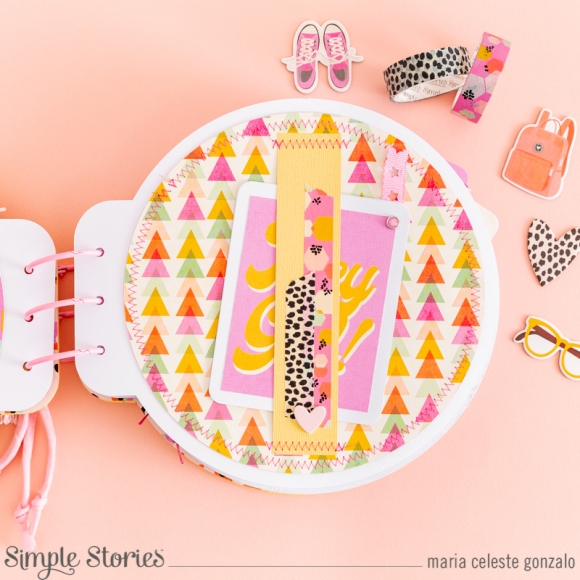
Let´s go to the inside! We are going to decorate all our pages. You can use all you have. Die cuts, stickers, chipboards, enamels dots and washi tapes. The idea is to leave as much free space as we can to add a lot of pictures. You will see that I added some hidden pockets and sewing details (I love the way it looks!)

IMPORTANT: If you are planning to make some inside structures as cascade or anything else, you have to add them before you glue the pages together. The same thing happens if you are planning to decorate with some brads as I did.
I hope you like this idea! Time to play with papers and your cutting machine and create something beautiful.

See you soon!

SVG Files

PDF Files

FCM Files

Supplies

Hello Simple Stories friends!!

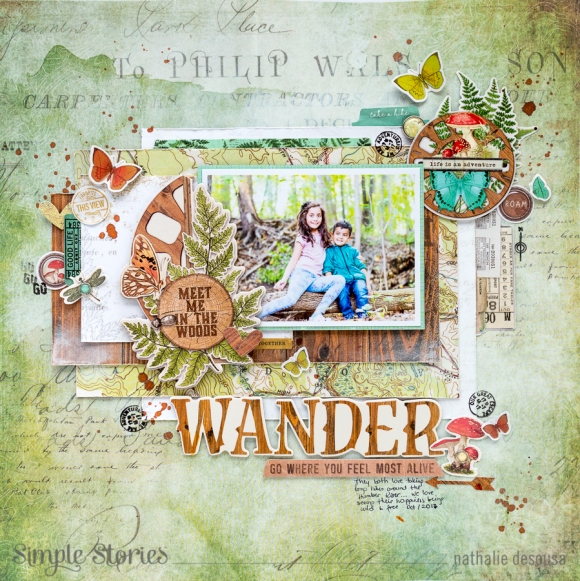
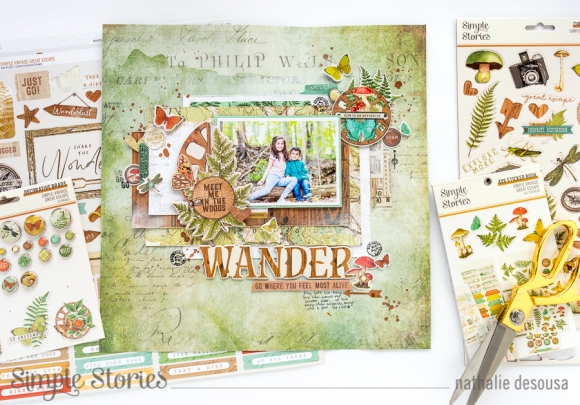
Nathalie with you today with  a new project using the beautiful Simple Vintage Great Escape collection.  As soon, as I received this collection, all i could think about was documenting our hikes around the river bank.  We live next to a river, so a large part of our neighbourhood is a part of a provincial park, which means i get to experience nature 5 minutes from home!  So, I pulled a picture of my littles enjoying our hike for this page...

I loved the papers in the collection so much, that i decided to play with them to create the page.   I started by adding a little bit of white acrylic paint to the b-side of Born to Roam paper - that creates the soft white halo around the papers -. 

While the paint dried, i started to create the paper layers.  First, i backed the picture with a piece of the Fern/Juniper Basic paper.  I wanted to emphasize the color of the picture, so i decided to use lots of green and wood grain papers.   I cut layers from the Wild and Free, Time  for Adventure, Let's Explore, and Made to Wander  papers; along the way, i distressed the edges of the papers and added a bit of white paint to some of them, s too.

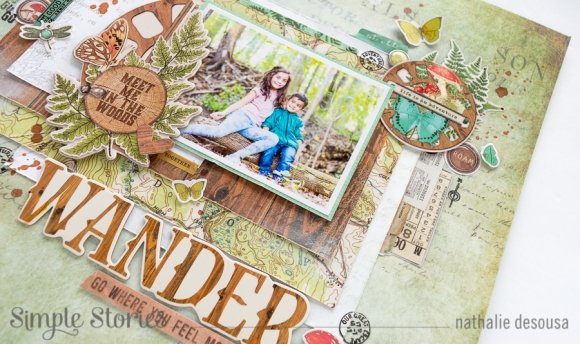
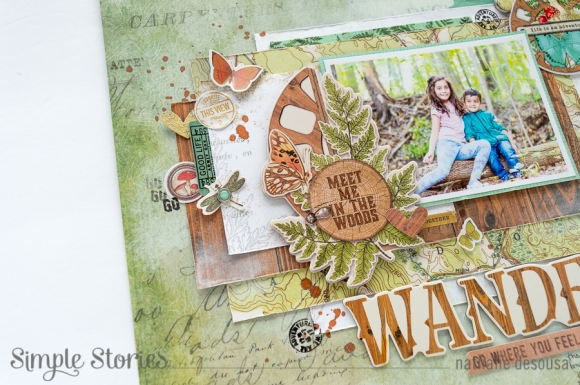
I love the layered Chipboard frames in this collection, and have learned that sometimes, i need to alter elements to make them work for my page.  So, i trimmed the frame part of the chipboard, and used the clustered elements as an embellishment for my picture.  In addition, i added a few more stickers from the collection.

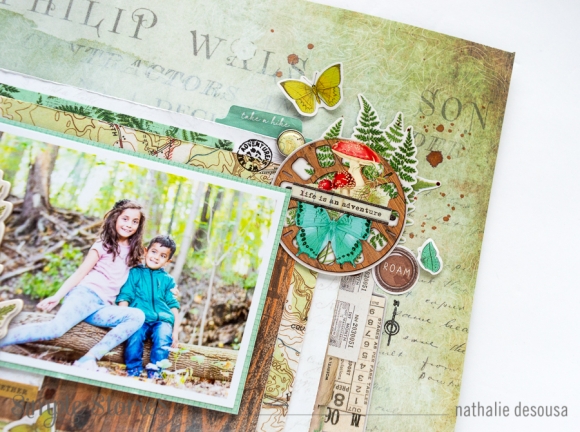
To balance the page, i added a large cluster of embellishments to the top right corner of the picture.  First i added a strip of washi tape in between the bottom two layers -this helps to give the impression of more paper layers-, then used some of the banner stickers to add more layers to the right side, then just added the large sticker at the very corner of the picture.

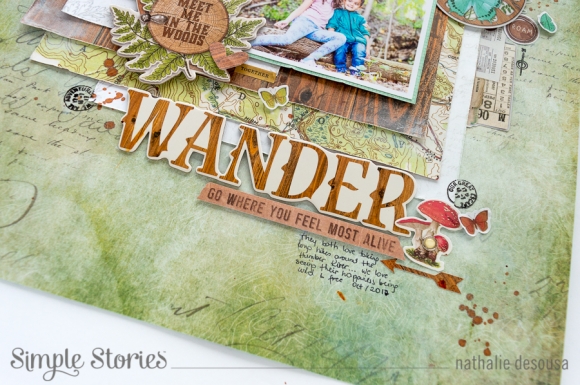
The large chipboard "WANDER" word is the perfect size for a title. So, i combined it with some ephemera and those cute mushroom brads to create my title.  I added small butterflies to create movement through the page starting at the title, and zig zaggiing through the page.  In addition, i added a few stamped images to bring extra sentiment to the page.

I love how this page came together, i just played with paper and embellishments to bring the rustic look of nature to the page.  I am sure you are going to love the new Simple Vintage Great Escape collection for all your outdoor adventures.  Cannot wait to see what you create with it!!

XO

Supplies

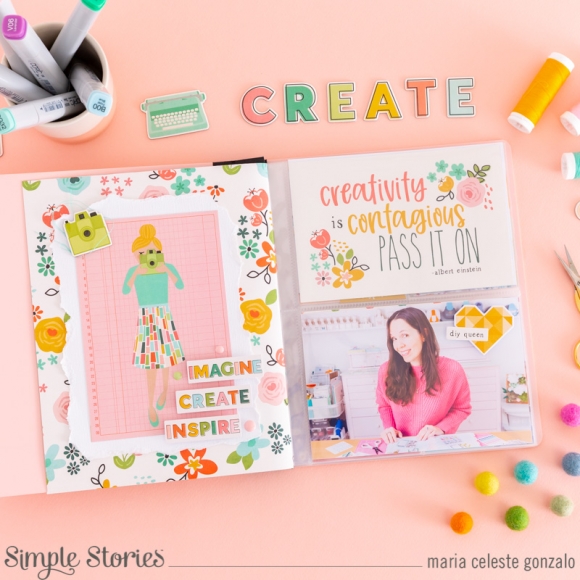
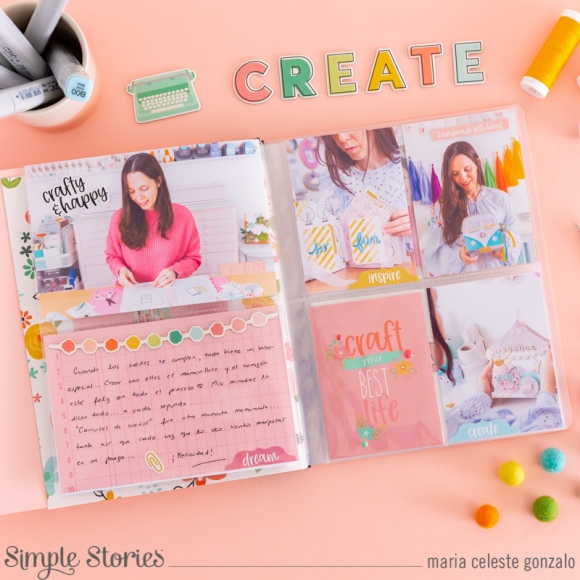
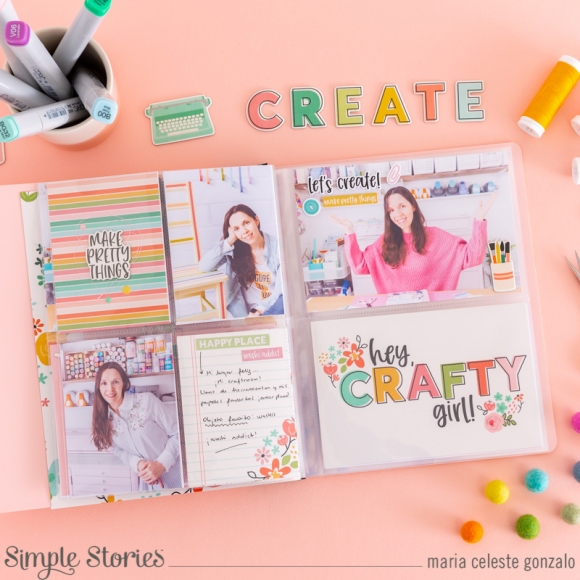
Hi! How are you? I´m back with a very special project… Have you seen the new Sn@p! Flipbooks?  I'm completely in love with them! They are beautiful and their colors are amazing. I´m Celes from GuiadeManualidades.com and I’m inviting you to create a lovely flipbook for all your “crafty” memories of the year.

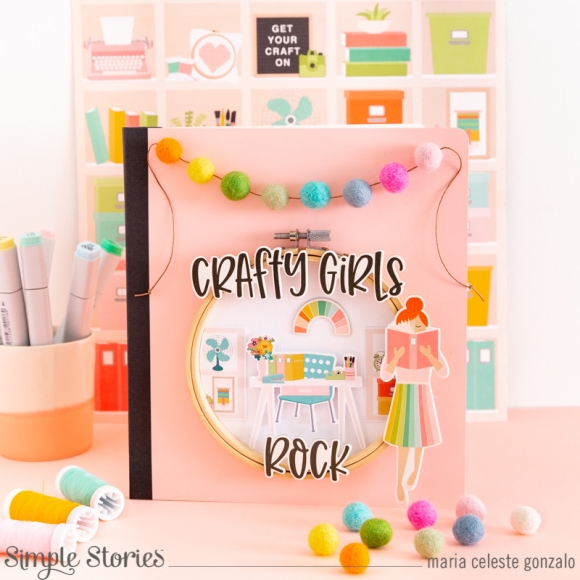
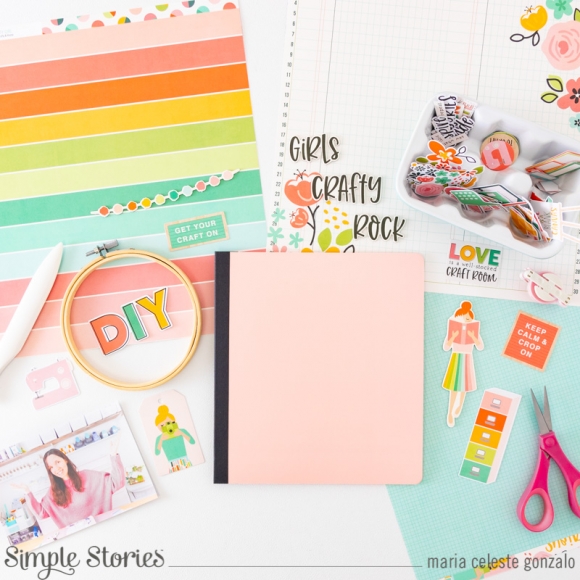
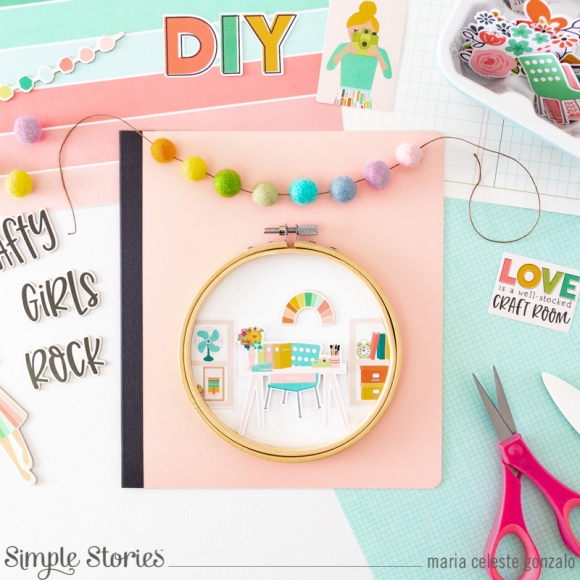
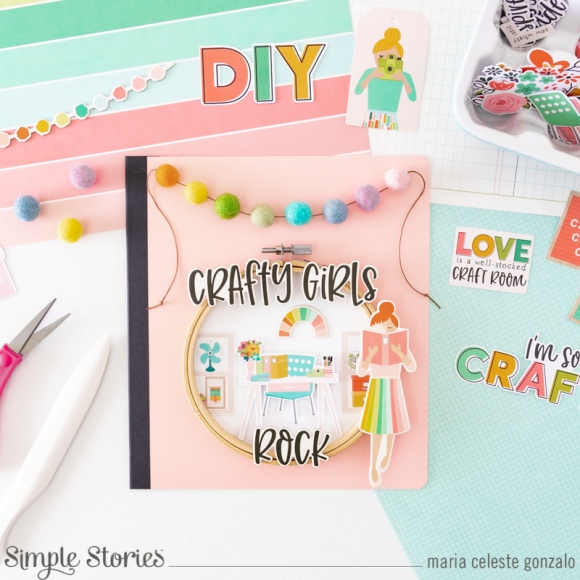
This is the perfect option to document in a very easy way my entire crafty year. I chose the Hey Crafty Girl Collection, it is such a wonderful collection! It had everything I needed. First thing I did was prepar the cover. I decided to use an embroidery hoop, white cardstock, some stickers and chipboards to make a small craft room. As you can see, I added foam 3D to some of them. Besides, I made a pom pom garland (I used felt pom poms). After I pasted  the embroidery hoop to the cover, I added a phrase and a crafty girl chipboard… it’s a beautiful cover!

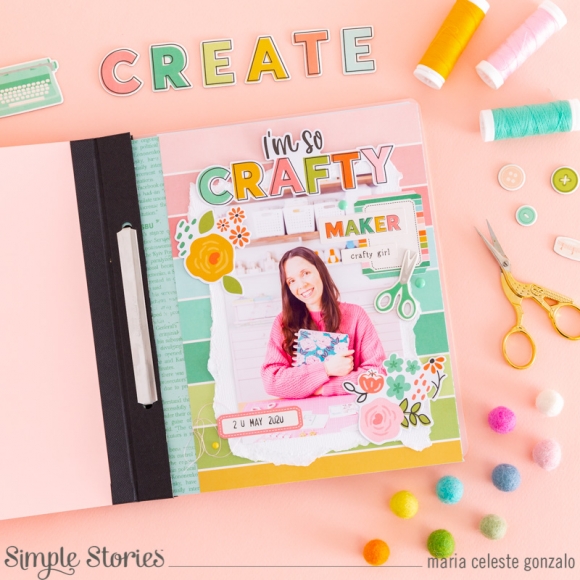
Once the cover is ready… let the fun begin! We can start to add photographs, writing memories, stickers, chipboard, washi tapes… all you want! If you like, you can make special pages, pockets and tags to document all your scrapbook ideas, special moments and memories.  You will find the flipbook a very relaxing and easy way to document all your year. In just a few hours I prepared the cover and 7 pages… I love it!

I hope you like this idea and I would love to see your projects!

See you next time!


Supplies

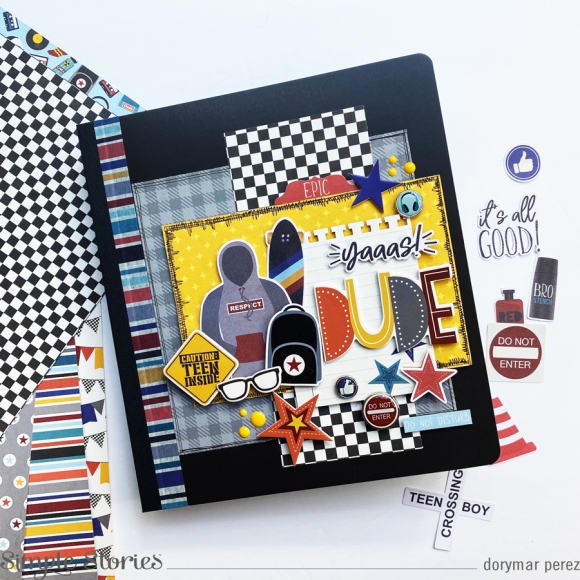
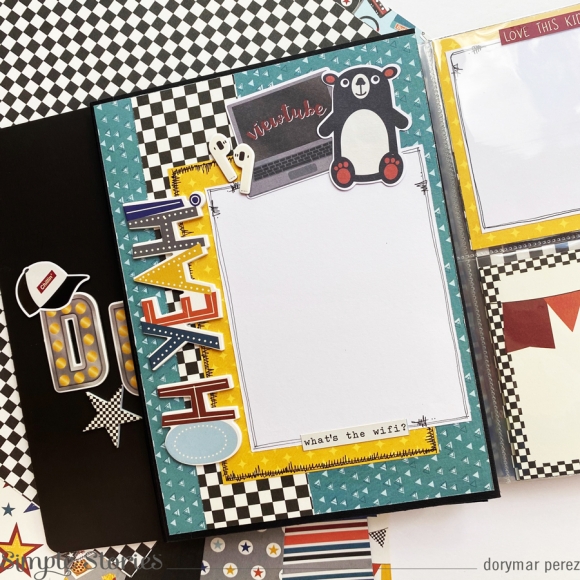
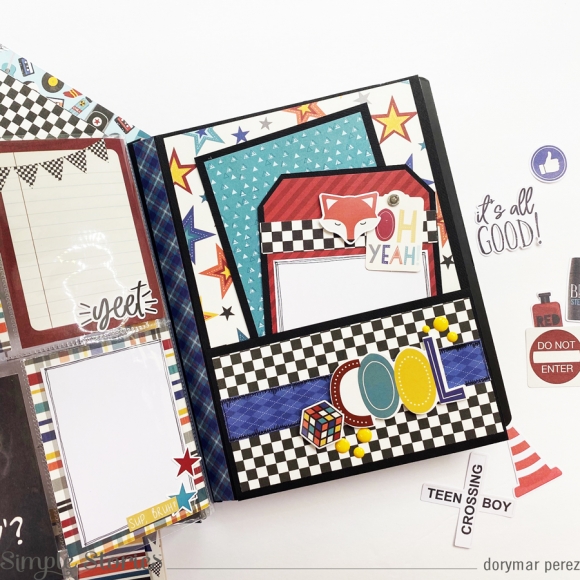
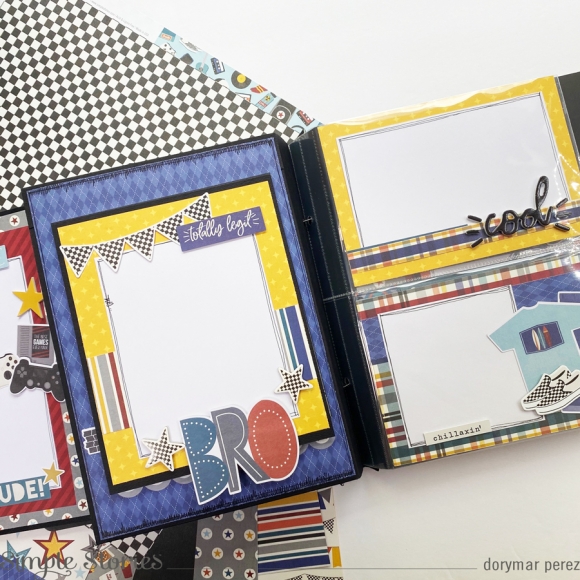
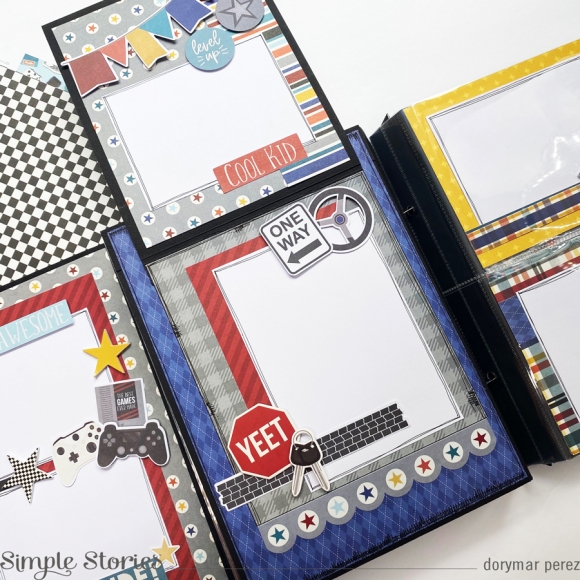
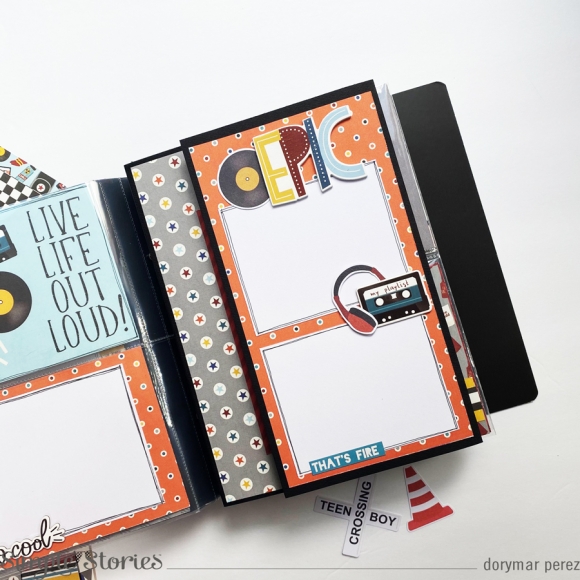
Hello friends, it’s Dorymar today and I’m super excited to share with you my first Sn@p! Flipbook!  I am so in love with the new Simple Stories Flipbooks and the Bro & Co Collection.  I have two girls and making this project was a challenge for me because I wanted it to look super fun and youthful. But the collection helped me a lot because it is just fantastic!

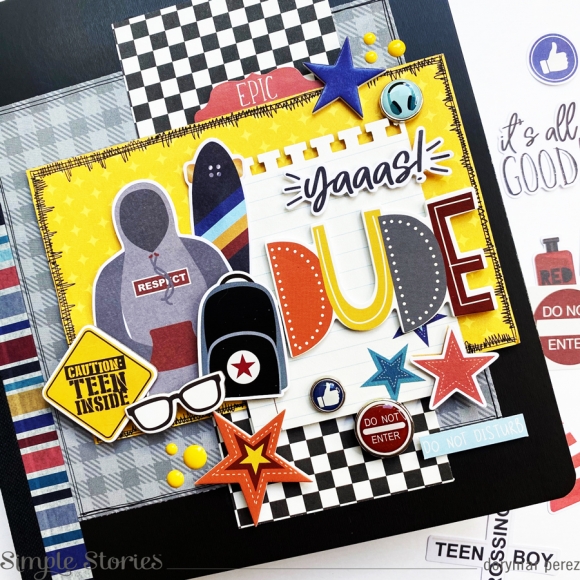
I decided to use a black flipbook because is the perfect match for this collection. On the cover, I wanted to showcase the papers from this kit and of course the assortment of colors. That’s why I used a few patterned papers for my background and created a few layers.  The collection has the funniest and most youthful elements I have ever seen, so I used as many as I could to make my cover look perfect.

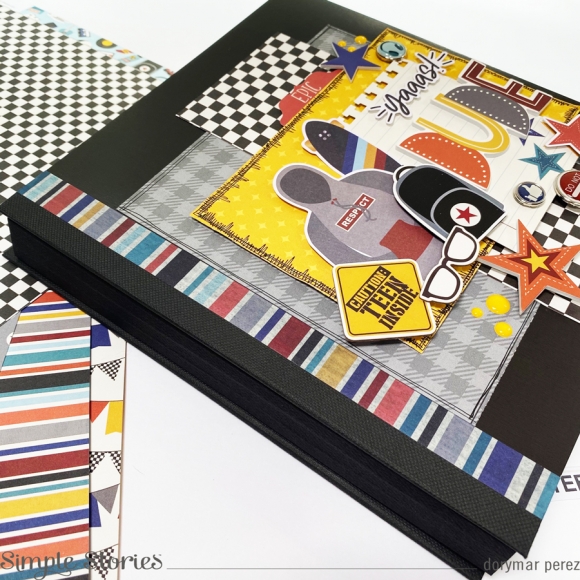
The flipbook allows you to add many pages and pocket pages because the binding system expands as you add. I used a lot of the really cute foam stickers because I love to add dimension to my project, I made a piece with a 1/2 "piece of chipboard and black cardstock folded and perforated in coordination with the pocket pages to bring more space to my dimensional pages.  So that the flipbook was not too open.

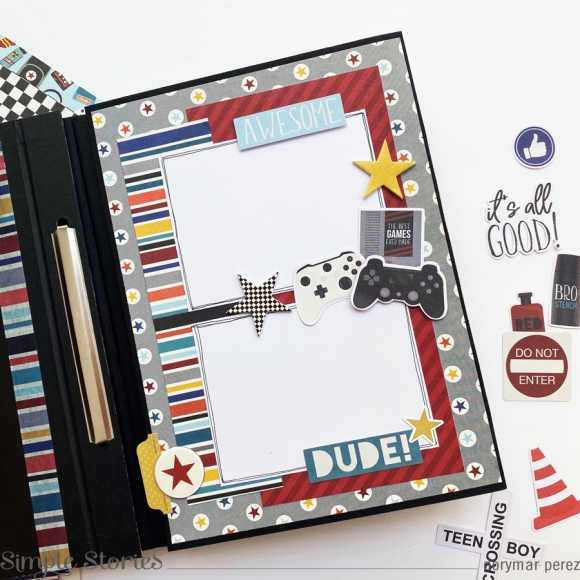
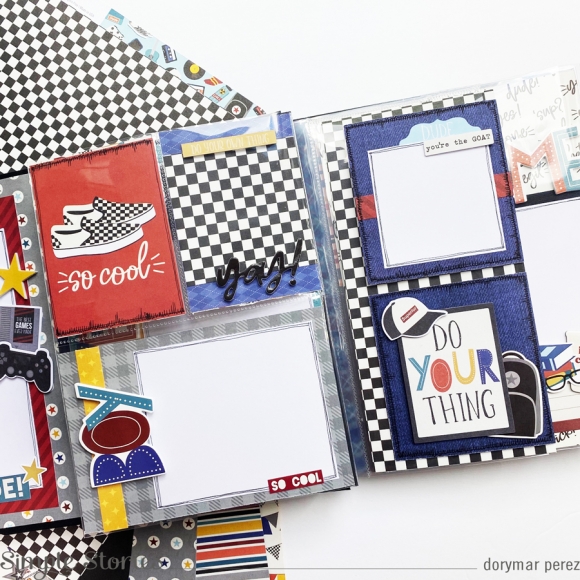
The flipbooks includes 10 pocket pages, but I love to create my own pages, to make them I used black cardstock from my stash and punched and scored to match with the bend of the pocket pages. This allowed me to have more space and to be able to use all of this beautiful collection.

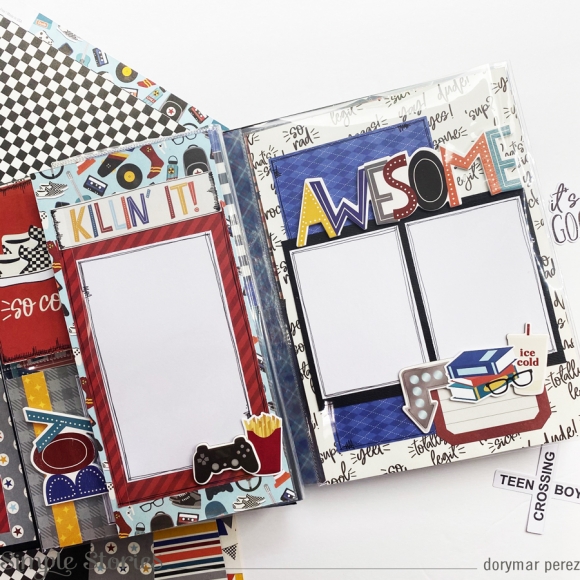
I reduced one of the pocket pages from 6x8 to 4x8 to make two fun flip outs.

One of the elements that I adore about the collections of Simple Stories are the new foam stickers. They are super practical to add phrases, titles, and beautiful elements and dimension in the project. Here you can see how attractive they are and how they make my page look spectacular.

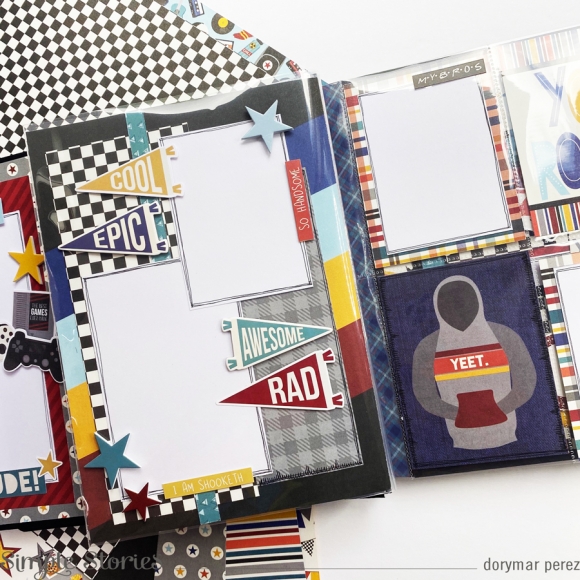
Flipping pages and pockets are my favorites in my projects, below you will be able you can see my favorite ones that I decorated with the beautiful goodies from this super cool collection.

Look how fun all of the die cuts and stickers from this collection are. They always are the perfect touch for every page.

This collection is too easy to use for any project of your handsome boy.  I hope this project inspires you to create your own!

Happy crafting!

Supplies

Hello Simple Stories friends! How is your summer? Are you making new memories that will be fun to document during cold winter months? Anya here today and I am happy to share with you another mini album that I created using a gorgeous Simple Vintage Great Escape collection! This paper line can go so many different ways and can be used to document travels, camping, hiking, picnics and so much more!

I can't say enough how much I enjoyed creating with this line, from patterned paper to chipboard and chipboard frames, to ephemera and stickers! Sticker book can also go a long way, and it always has just that perfect little addition I am looking for.

This mini book measures about 5x7” and has twelve page spreads with lots of space for photos and stories to be added later. As always, I love to create little “cards” from white cardstock which I decorate on the front panel with patterned paper or element cards and leave inside of this folded card for photos.

I used up pretty much entire collection to make this mini album and realized I just have to grab another set before it's gone. Thank you for visiting Simple Stories blog and we hope you'll stop by for more inspiration soon!
Supplies

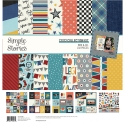
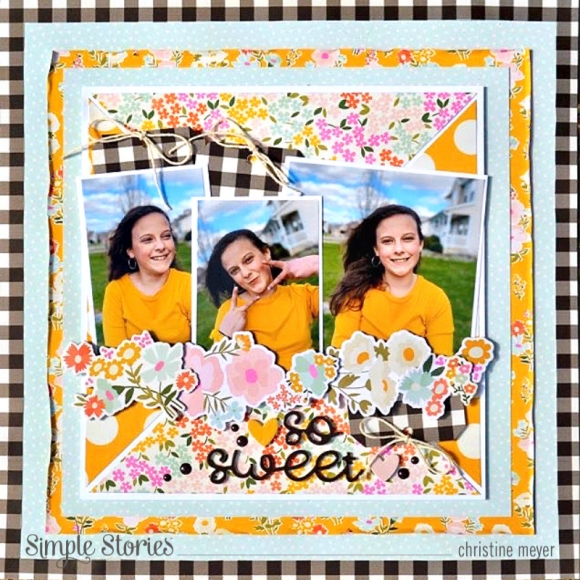
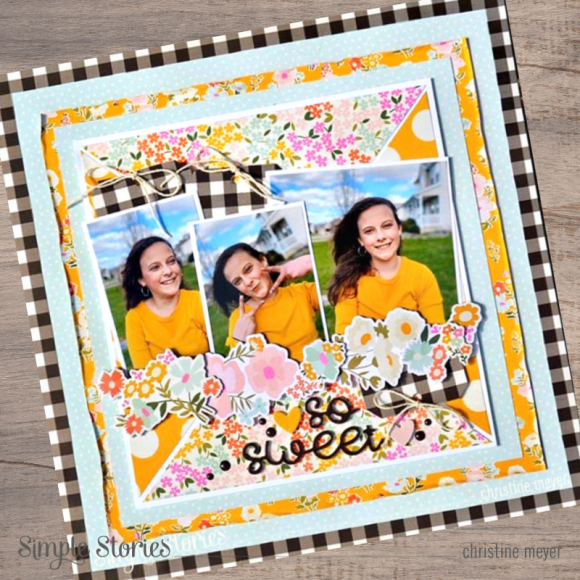
My daughter is at a beautiful in-between age.  She's not a little girl anymore but not a full grown adult either.  That has called for a shift in my scrapbooking style for her as well.  The brand new Kate & Ash collection is perfect for telling her story as she grows into a young lady! Christine joining you today with a layout about my thirteen year old!

This collection showcases a variety of icons and shapes that will make telling that teenage story easy! There's a little bit of sass mixed in with sweet all tied together with a bunch of fun!

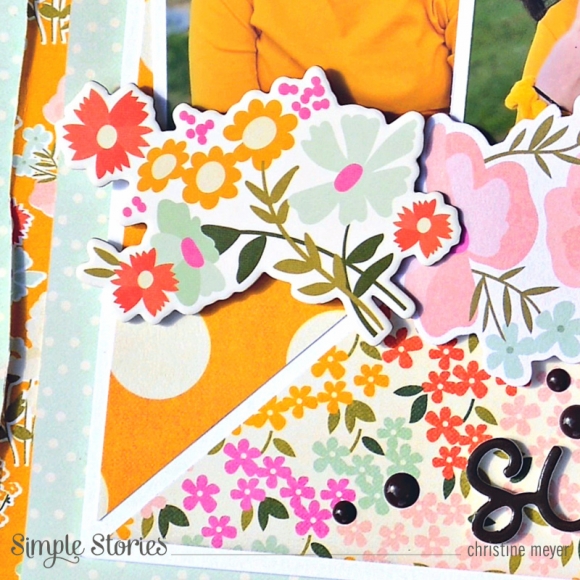
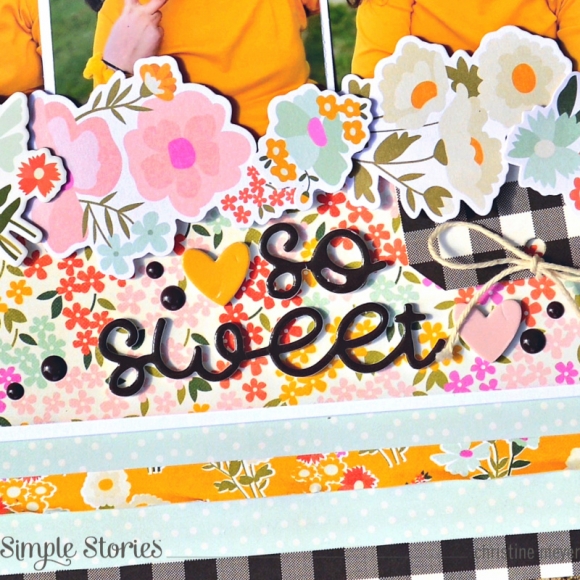
Kate & Ash has an amazing color combination that makes the patterned papers just gorgeous!  I wanted to use as many as possible!  So I created a huge layer of the papers on my layout. I used layers of large squares and then the top layer (before the pictures) was triangles put together to make a square.  I carefully chose my papers mixing light and dark backgrounds. The colors are some of my daughter's favorite - making it easy (as you can see) to match them to her pictures!  My title is made up of Foam Stickers in a fabulous script font.

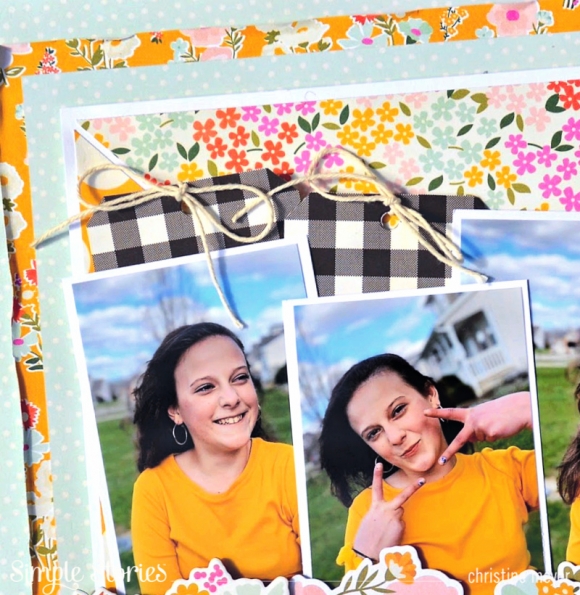
Black is a big part of this collection and I wanted to make use of it with the other colors.  Having it in my title was a good start.  I also used the buffalo check paper for my layout border.  Additionally I cut out some tags from hat same paper and tucked those underneath my pictures.

Any time Simple Stories includes flowers in a collection, I gravitate to them.  This collection has flowers in all shapes and sizes, including chipboard, ephemera, stickers, and of course patterned papers. I used them for this layout to create a border beneath my pictures.  By adding foam adhesives, I was able to have a variety of dimension throughout.

If you'd like to see more of how the layers of this layout came together, you can find the whole process on my YouTube Channel!

Supplies

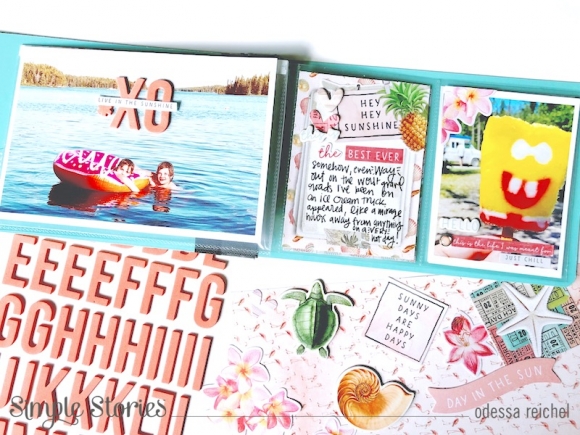
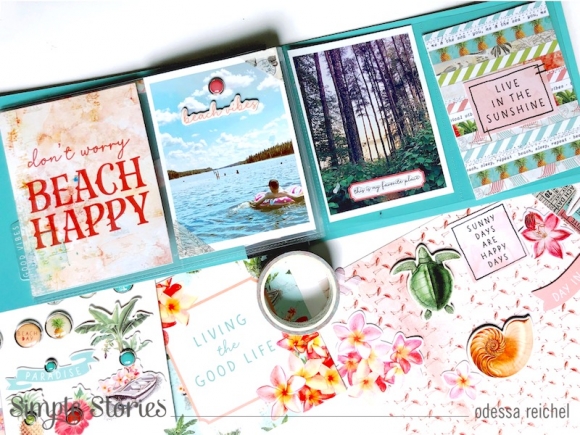
Hi everyone! Odessa here with a fun little project I just finished working on. The new SN@P! Flipbooks are soooo cute, I couldn’t wait to use them. Today I am sharing some of a mini album I worked on in an SN@P! Flipbook using the Simple Vintage Coastal Collection.

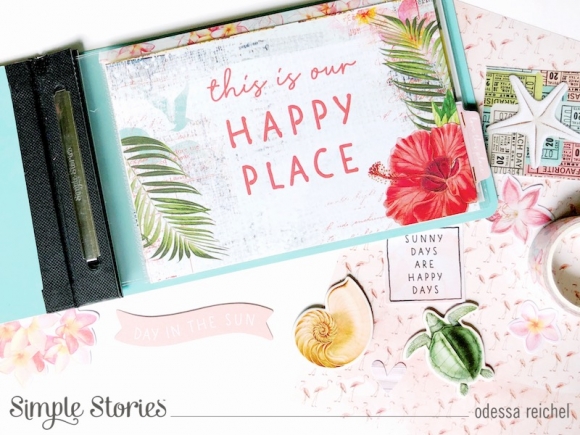
Hello beach vibes! I started off by decorating the cover of the Teal Flipbook. I used some paper from the 6x8 Simple Vintage Coastal 6x8 pad to cover the album and then used the cute little paint chip stickers from the Combo Sticker Sheet. The 4x6 size is perfect for documenting a short family trip.

I couldn’t stop there! I then matched up various Simple Vintage Coastal stickers, chipboard pieces and brads that matched the colour of the chipboard to add a little more to it. I love tone on tone layers.

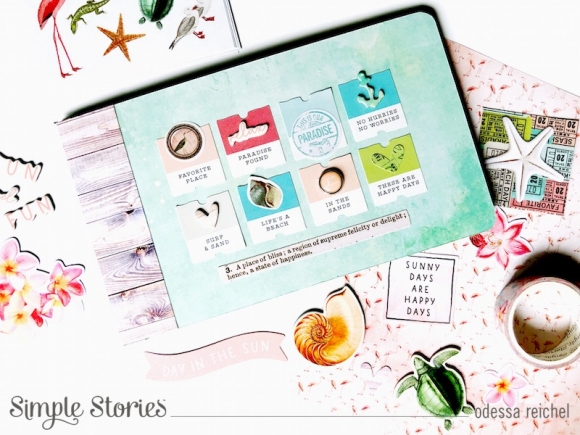
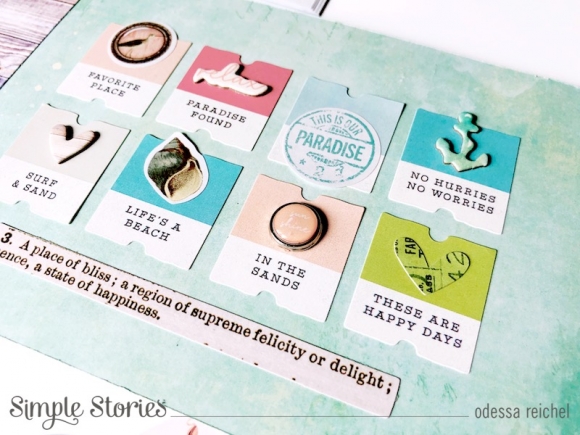
This collection gives of a relaxing paradise feel so I started off my Flipbook with this journal card that sums it up for me. It’s not just a journal card in a pocket though, it’s actually a Photo Flip that I attached to a page protector that flips up for some interactive documenting.

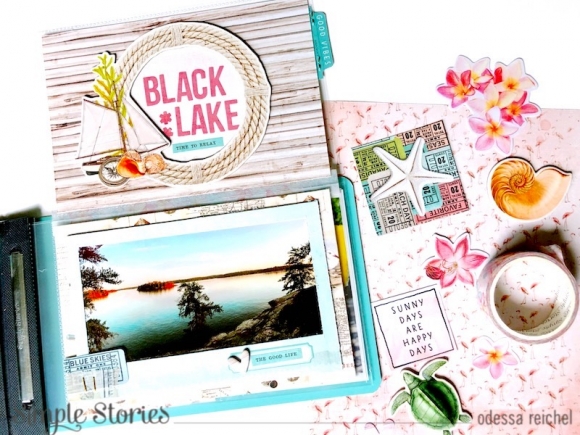
Flip it up and there’s a lot going on under there! The top card is a piece of cardstock from the Simple Vintage Coastal 6x8 Paper Pad cut down to 4x6. On top I used one of the Layered Frames with some alpha stickers from the 4x6 Sticker Book to create a title for my Flipbook. Under that I used a blue Cardstock from the Simple Vintage Coastal 12x12 Basics Kit to create a faux instant photo frame for a landscape photo I wanted to use with a few embellishments on top.

Next up is a big 4x6 photo. I used the Coral Colour Vibes Foam Alpha Stickers on them with a phrase sticker from the Simple Vintage Coastal 4x6 Sticker book. Simple yet bold. The pockets next to it are a little busier with some journalling on a cut out from the 3x4 Elements page with layers of stickers and chipboard on it to tell a cute story related to the photo next to it. Which has brads and stickers and chipboard and die cut flowers to keep up the beachy vibes.

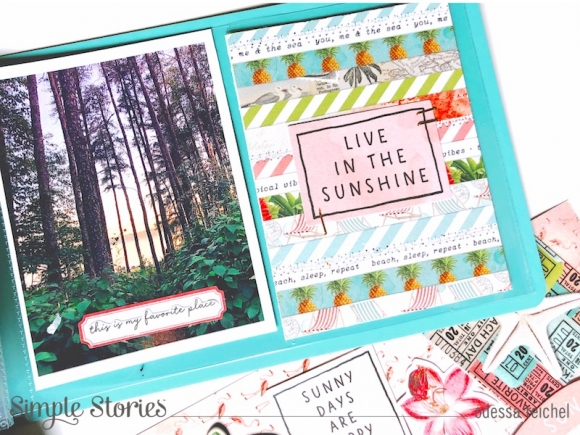
Here I have some more 3x4 Elements along with some photos and simple embellishing. Simple Vintage Coastal looks great all layered up, but also does simple well too. It’s a very versatile collection. Here I used brads, chipboard, phrases and labels to add some simple text to my photos.

These layered striped patterns in the Simple Vintage collections are some of my favourite and I always include them. Here I used the 3x4 Element with a die cut phrase for a simple yet adorable pocket. If you’re looking for some beachy and tropical cardstock and embellishments to go with your photos this collection is it!

Supplies

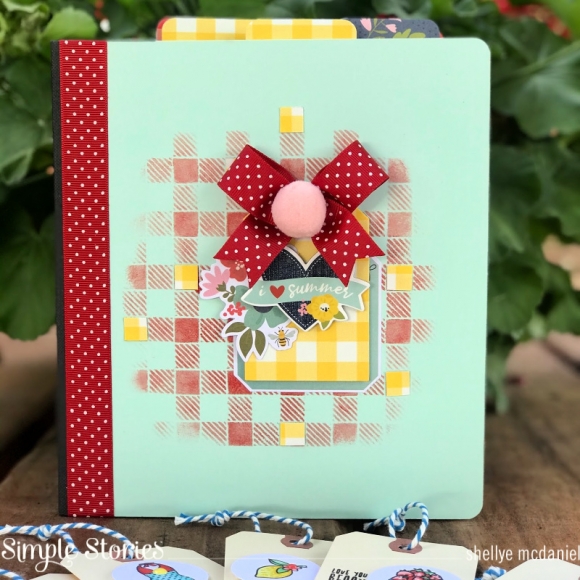
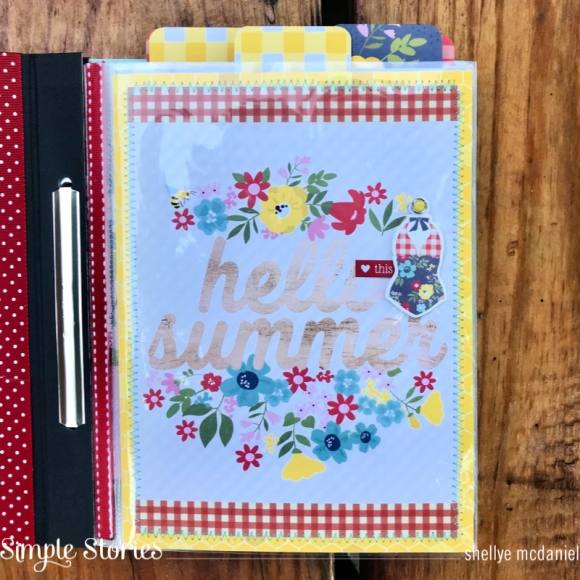
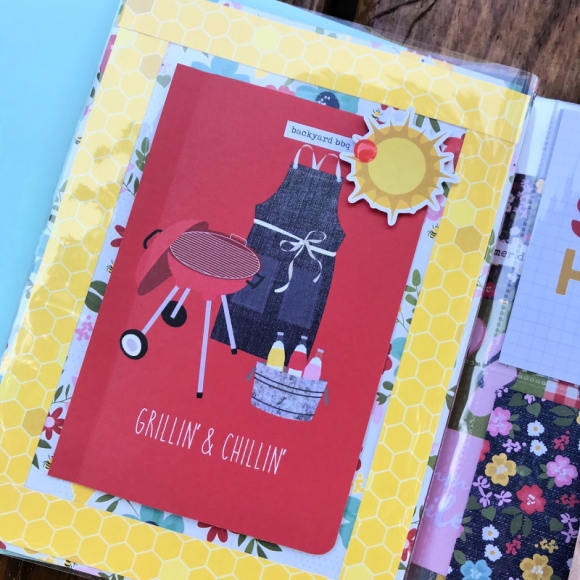
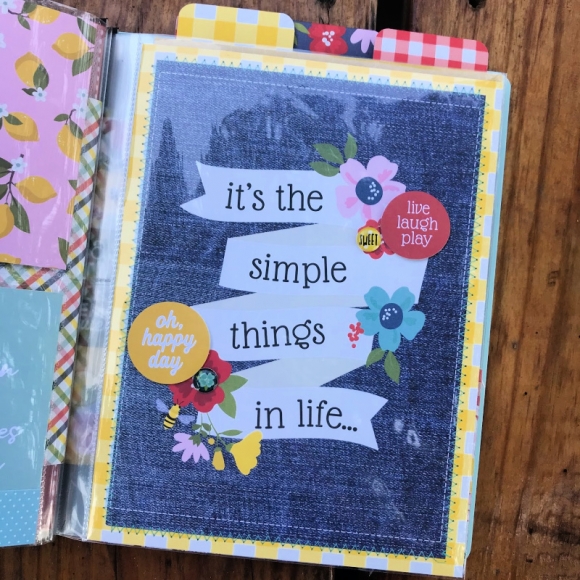
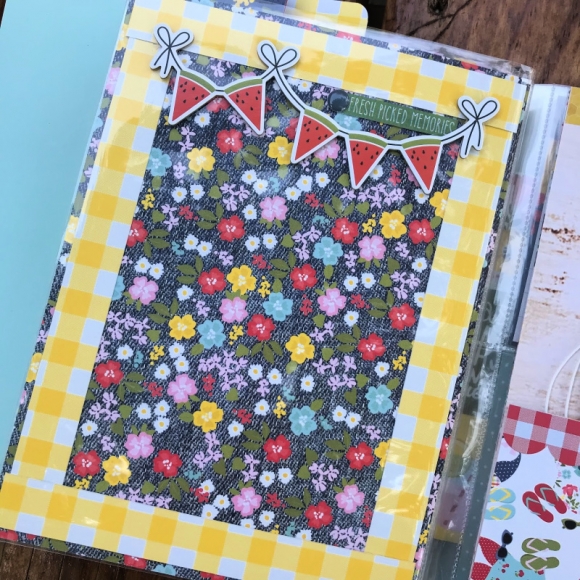
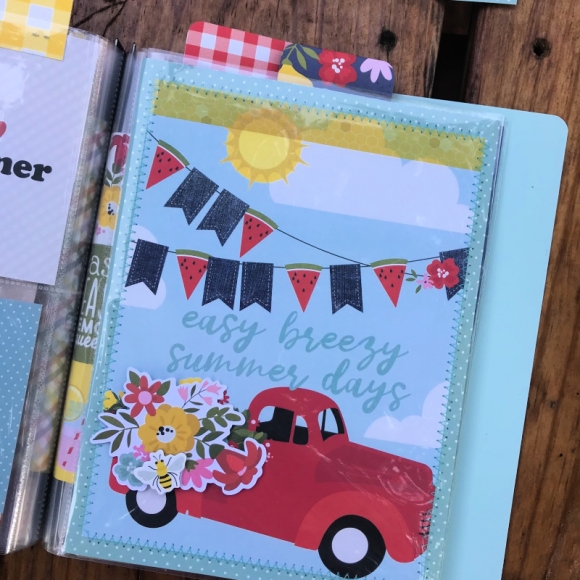
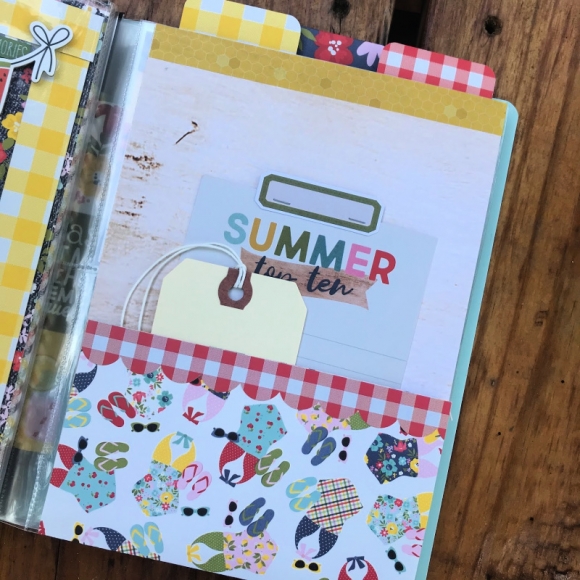
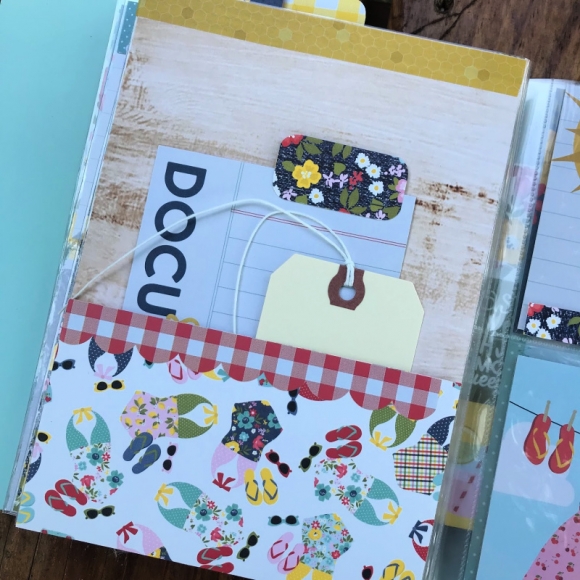
Who doesn't love Summer and Farmhouse!  Today I'm sharing a sweet summertime gift that features the Summer Farmhouse Collection and the Robin's Egg Flip Album.

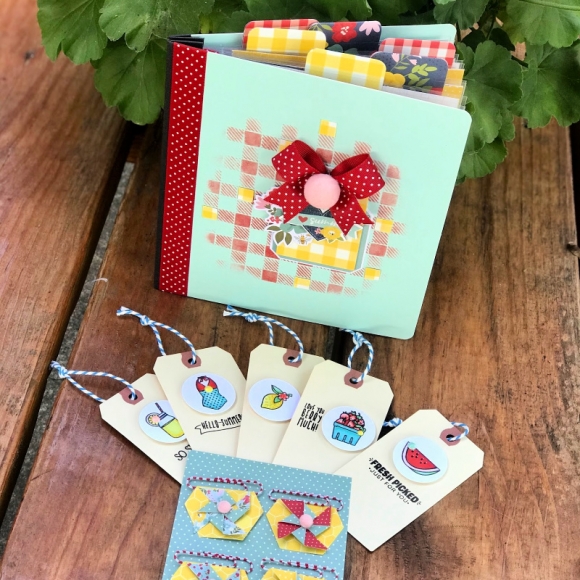
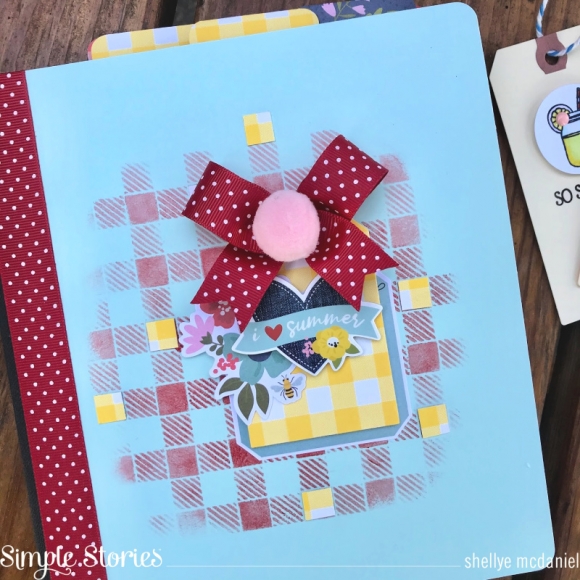
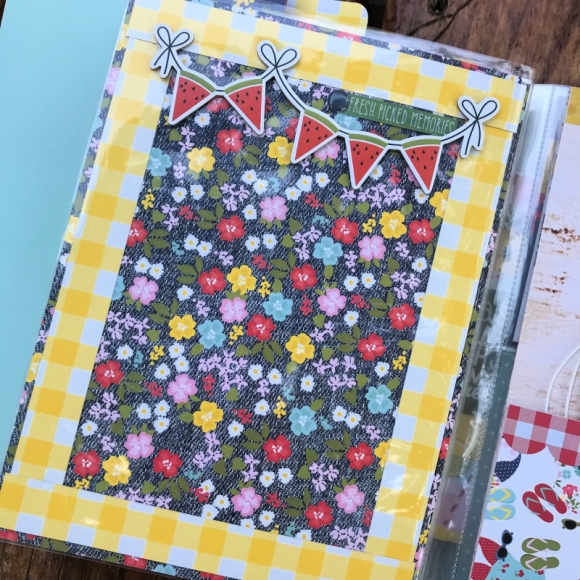
I prepared the cover of the album by first using the gingham stencil and a drybrush of red acrylic paint.  After the paint dried I added a layer of die-cuts and a chipboard accent. I also highlighted a few of the squares of the gingham with small pieces of leftover yellow gingham paper. 

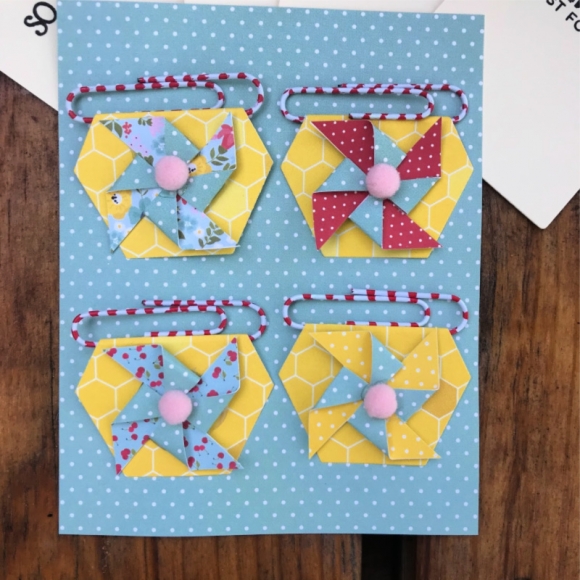
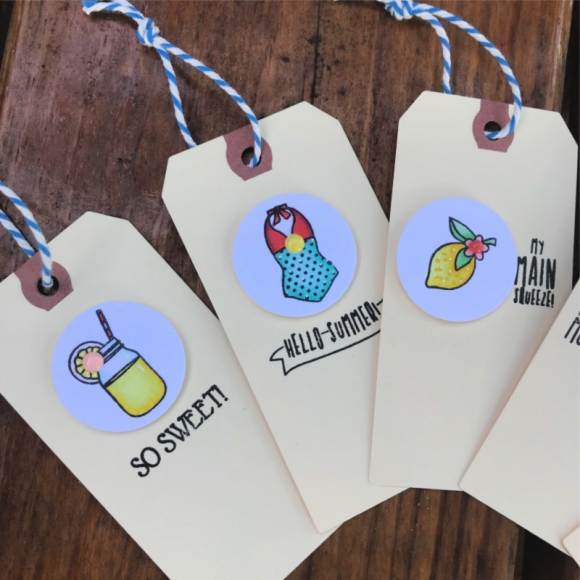
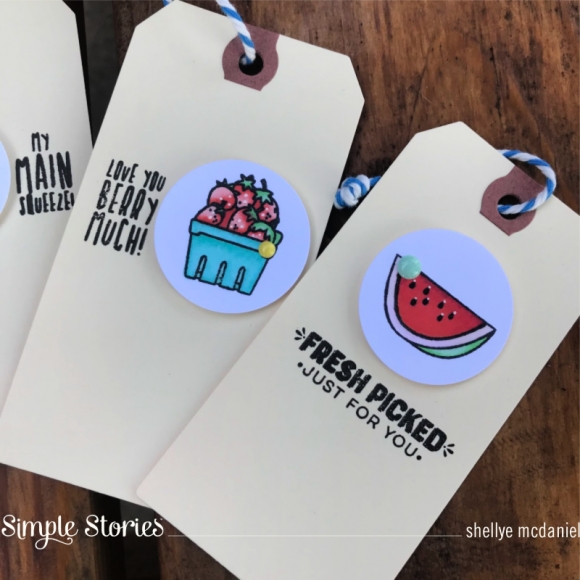
As a part of the gift set, I crafted embellished paperclips and also stamped and colored a collection of kraft tags!

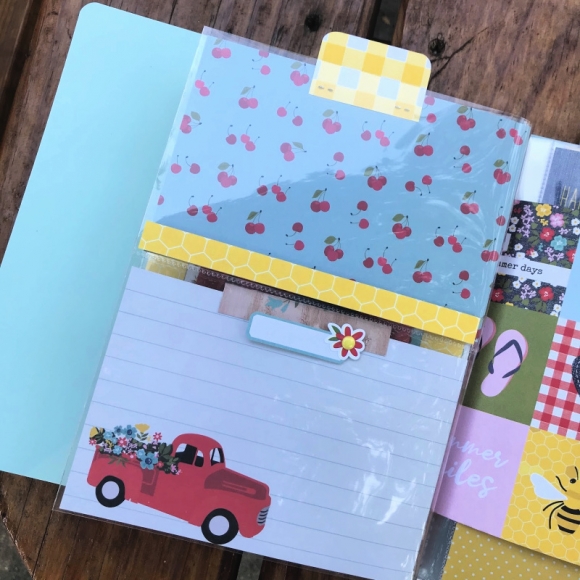
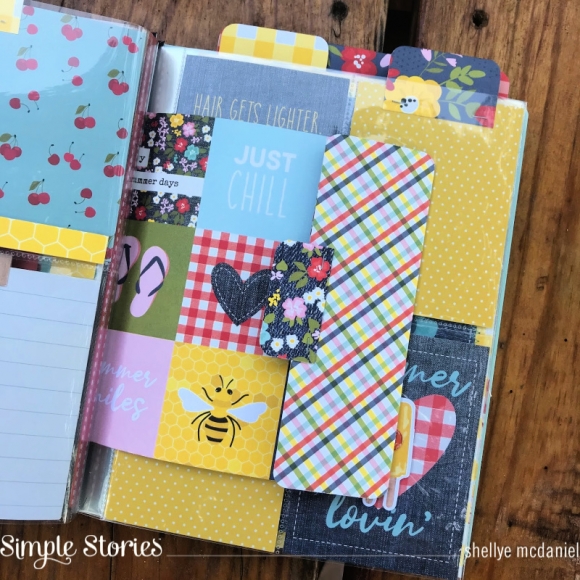
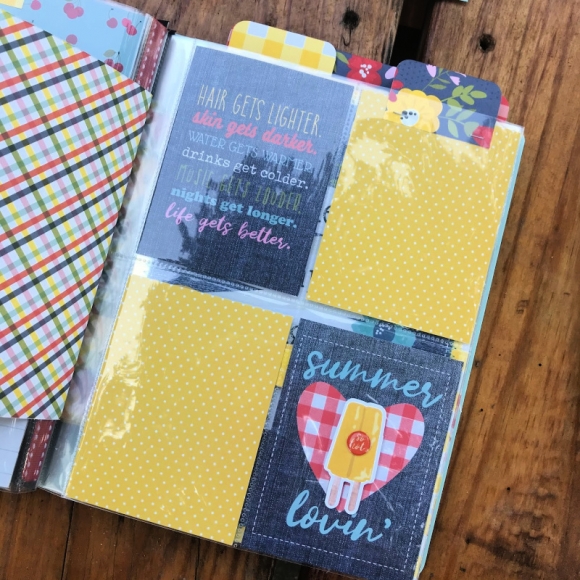
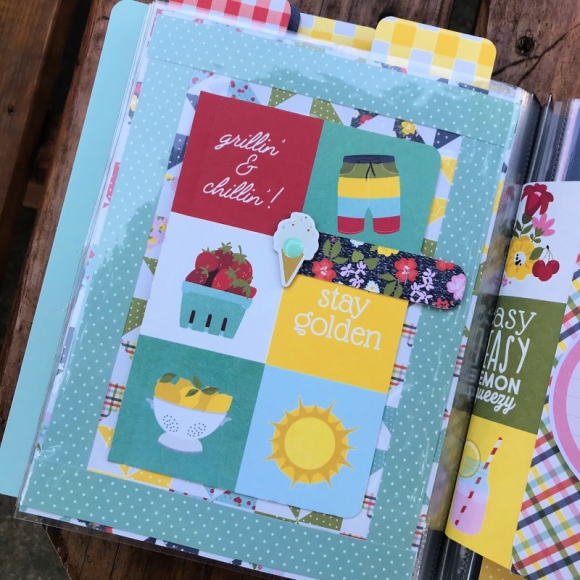
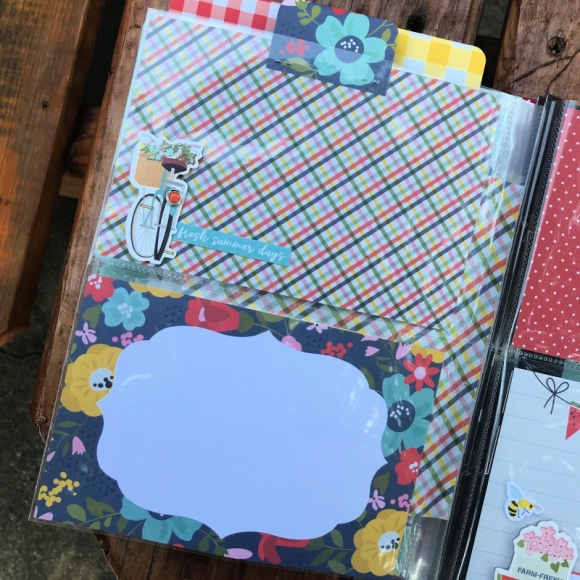
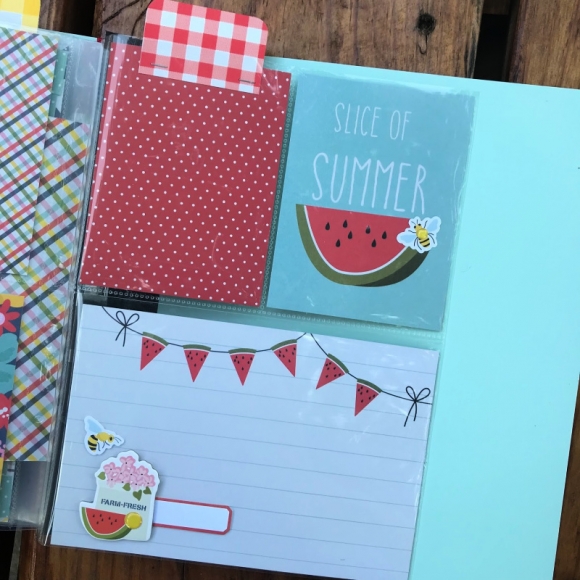
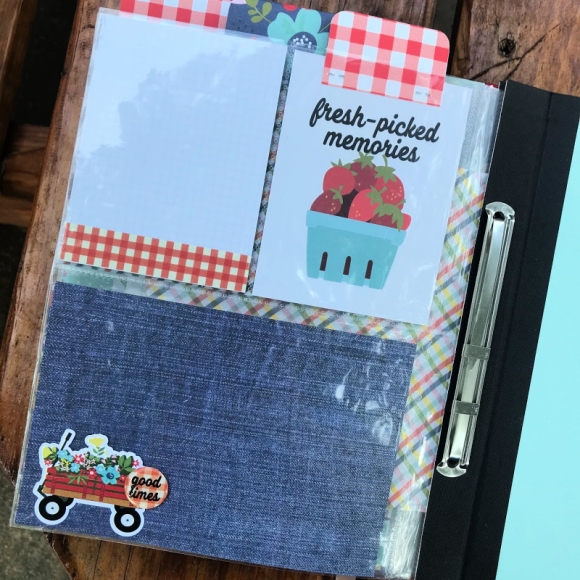
Moving to the inside of the album, I incorporated the SNAP Cards as well as a couple of freestanding pages created from pieces of scrapbook paper. 

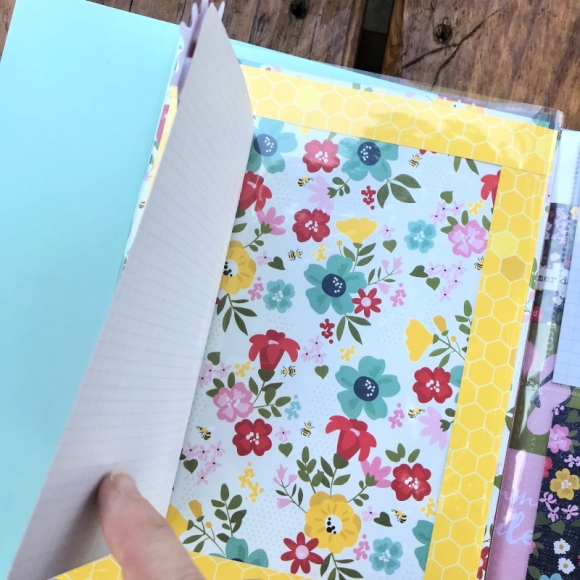
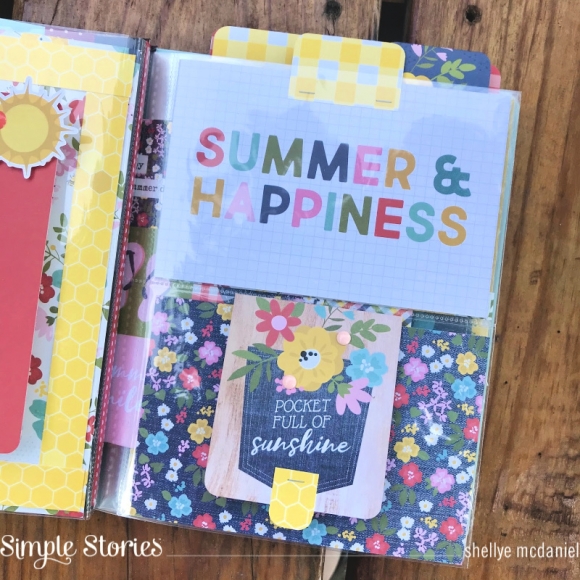
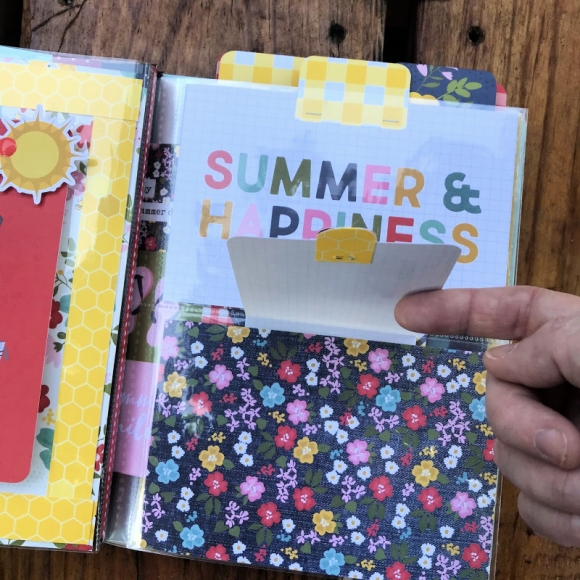
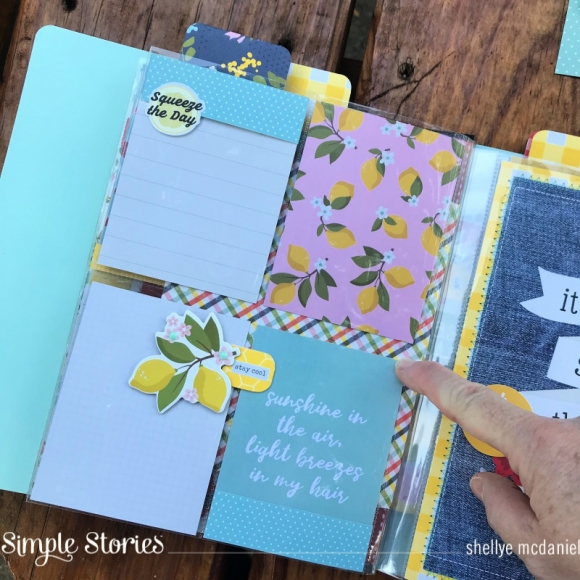
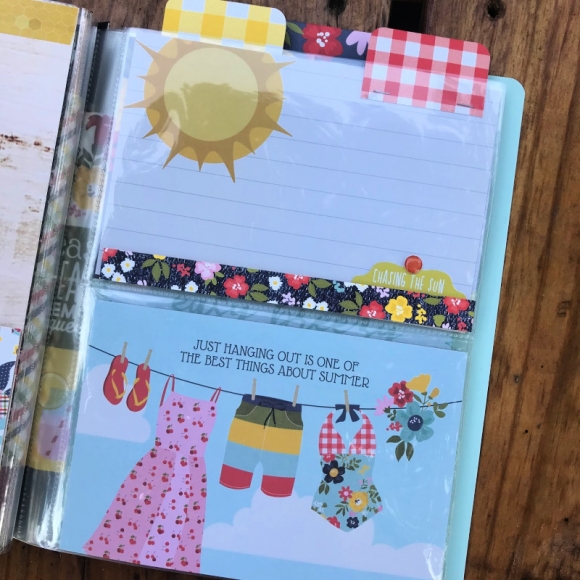
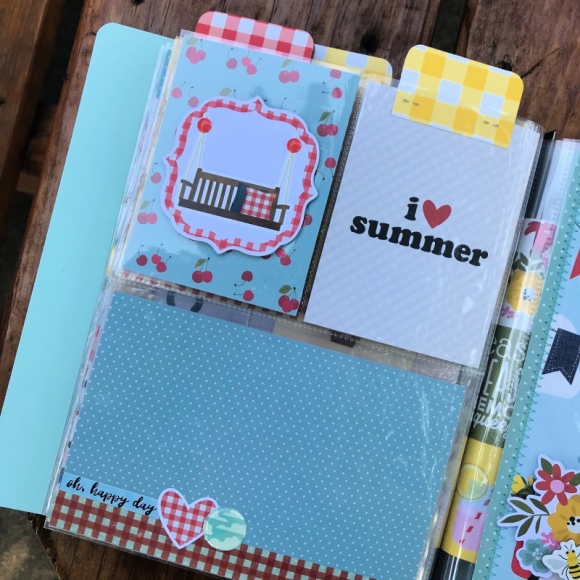
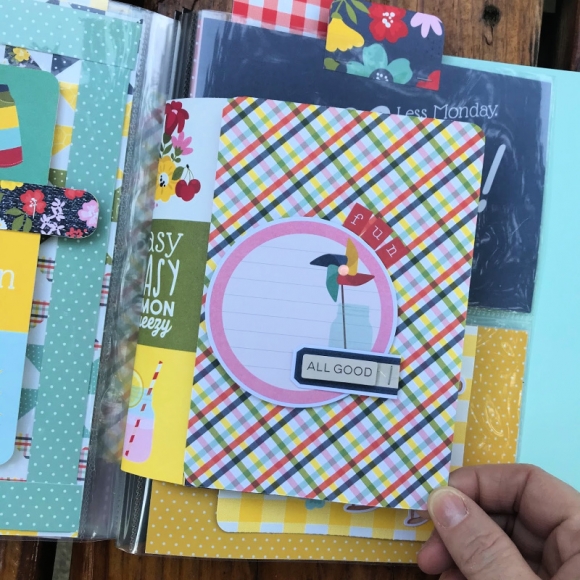
Below I'm sharing each of the pages throughout the album!  Take note of the flip-up cards that were attached to the outside of the plastic sleeves.  I also made tabs for several of the pages with scrap paper.

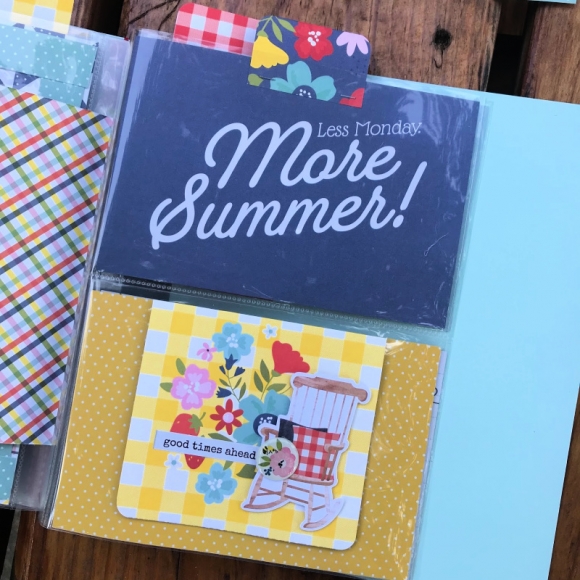
I had an extra sleeve from the album that I wanted to transform into a larger pocket page.  To do so, I crafted two pockets by folding scrapbook paper along the bottom and turning up to make the pocket.  I attached each page to the page protector with high tack adhesive as shown below:

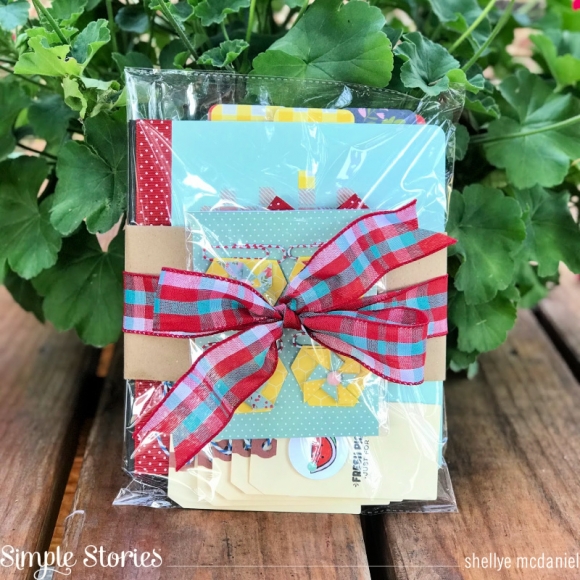
To prepare the ensemble as a gift, I tucked the album and tags into a cellophane bag.  The paperclip embellishments were attached to a piece of scrapbook paper with repositionable glue dots and slipped into a clear bag.  A band of kraft paper was wrapped around the packages and completed with a tie of ribbon!  Add a to and from tag and it's ready for gifting!
Thanks for joining us today! Be sure to check out my YouTube Channel for a walk-through and a few how-to's!

Supplies

Pages