June 2020 Blog Posts

Hello Simple Stories Friends! Nathalie with you today with a new layout that celebrates the splendorous Summer days, and what better way to document those sun-filled memories than with the new SUMMER FARMHOUSE collection from Simple Stories.  
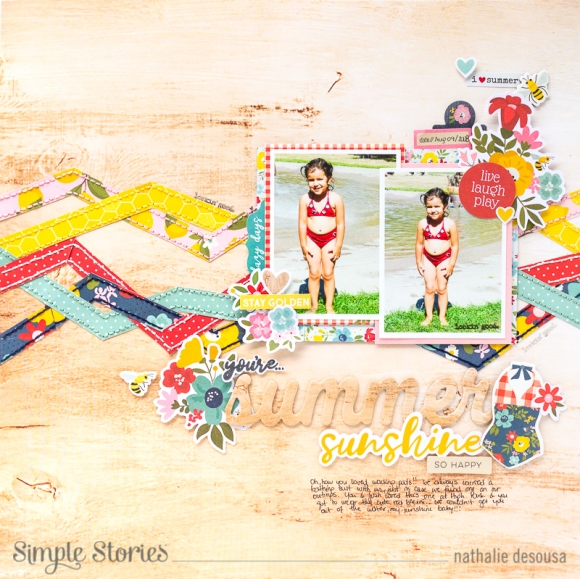
I love the country feel of this collection, so i decided to "modernize" a weaving design for the background of the page.
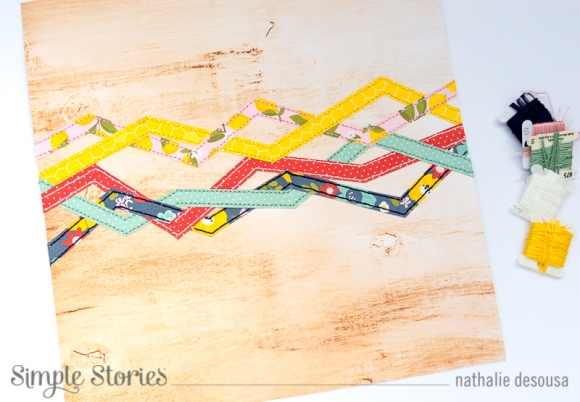
I cut zig zag strips from a few of the papers in the collection, and literally weave them along the width of the paper.  Once they were in place, i brought back the homemade feel of the collection by hand stitching each strip to the woodgrain paper -Sunnies and Sandals-
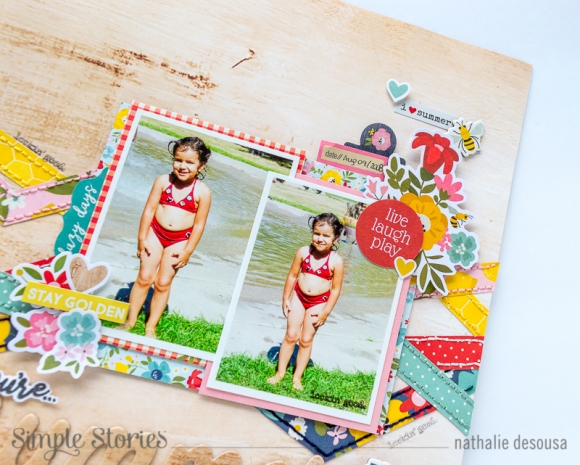
The lovely red color in the palette matched the color of my daughter's bathing suit  -12 yrs ago-, so  i printed a few of the pictures, and layered some papers (3x4 elements and 4x6 elements) behind the images.  Once i set them on the right of the page (along the stitched weaved strips), i embellished the  images with pieces from the ephemera, sticker sheet and tablet. All the florals in this collection are amazing!
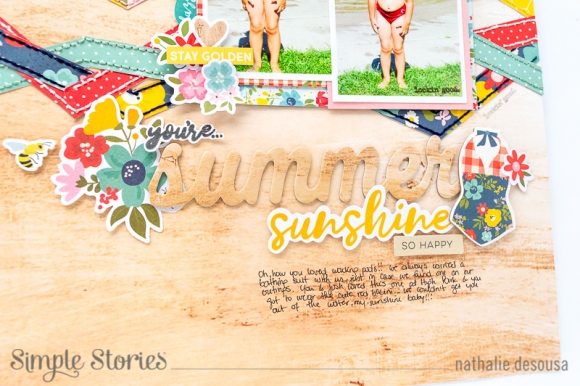
I love the tone on tone look of the Summer chipboard piece on the background; so, i mixed it with a die cut piece and a stamped image ( the collection matching stamp is awesome,and so versatile!) to complete the title.  A few more embellishments completed the page.
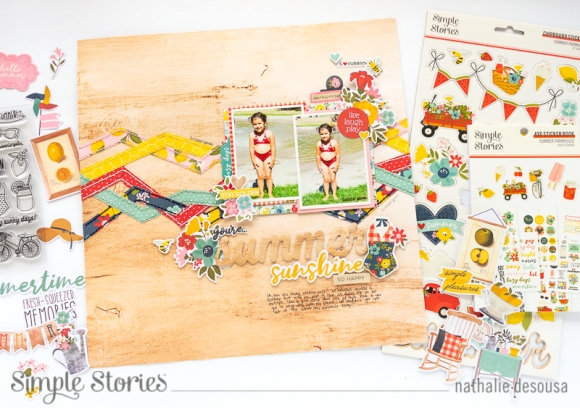
This layout was truly so much fun to put together using the beautiful  Simple Stories' Summer Farmhouse collection.  I am sure you are going to love all that you can document with it this summer!

XO

Supplies

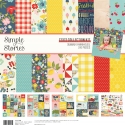
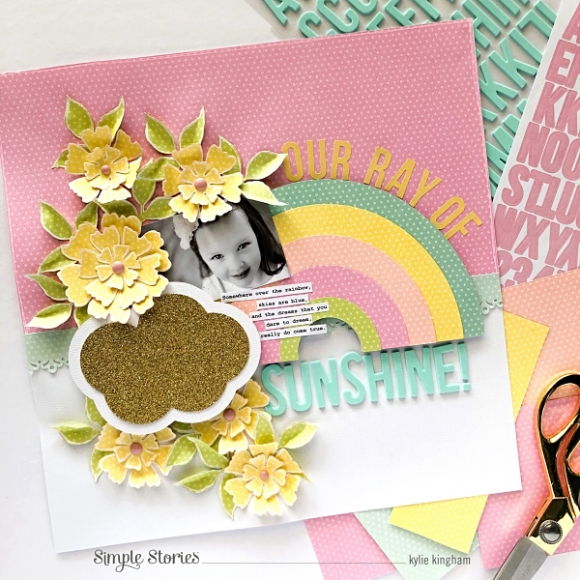
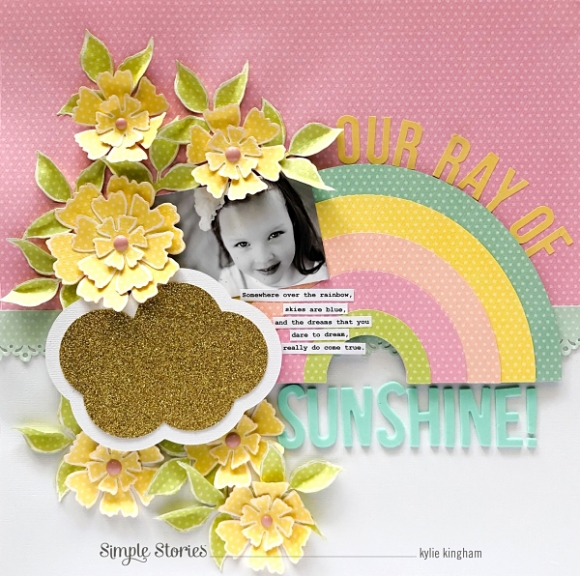
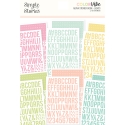
Hello everyone! Thanks so much for stopping by the blog today. It’s Kylie back with you all, to share a brand new layout I have created featuring elements from the super fun Color Vibe collection. I have a ‘thing’ for pastels so the Lights Textured cardstock kit, teamed with some of the Foam Alpha Stickers and the Lights Alpha Sticker book were a perfect combo. I immediately thought of a rainbow seeing all the colours together, so that became the inspiration for my layout.

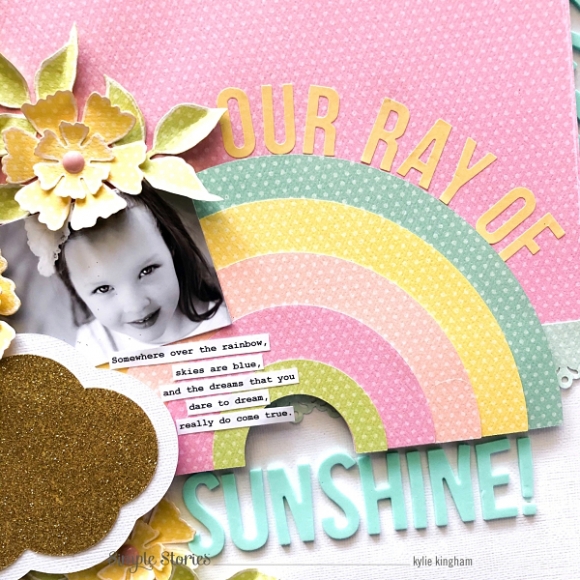
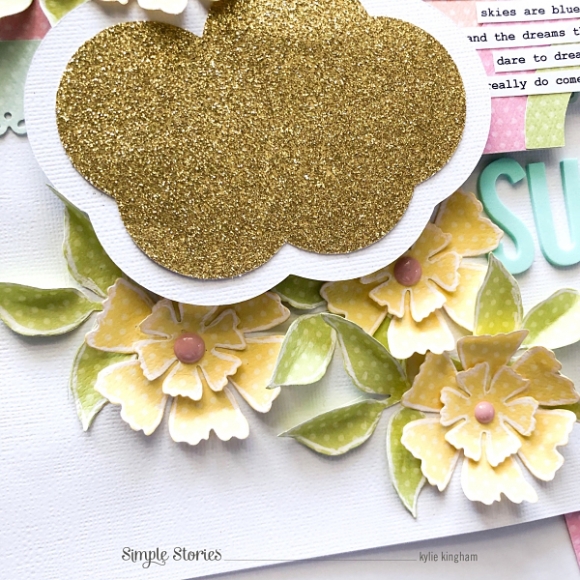
I added half a sheet of the ‘Bubblegum’ paper over the top of some white cardstock from my stash to form the background base. I also added a strip of the ‘Mint’ that had been run through a decorative border punch. Once my rainbow had been cut out and layered together, I adhered it to the background with foam tape so that it looked like it was floating. I created a cloud from more white cardstock as well as some gold glitter card which I had been saving for a special project. This was also adhered with foam tape before I created my title for the page. I love the Foam Alpha stickers! They really added a lovely dimension to my page, teamed together with the Alpha Sticker Book.

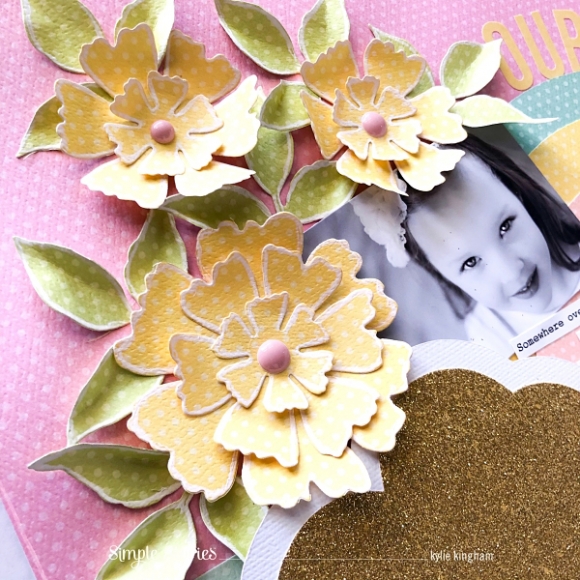
At this point I decided to add some pretty paper blooms to my design. Using the ‘Buttercup’ paper and a simple flower punch, I created some layered flowers. With a white marker pen I edged each flower petal as well as the leaves to highlight them a little. Then, I curled the petals up a little before adhering them together. I found some enamel dots from a past Simple Stories Christmas collection that were a perfect colour to centre each bloom.

I created two different sized layered blooms for effect. The leaves were added to fill any gap and to provide balance.

Once completed I also added a very fine, free hand drawn border with the white marker pen to the edge of the ‘Bubblegum’ paper. This detail is only very faint, but I like the effectiveness it gives.

I hope you have enjoyed seeing my latest creation today and it gives you a little inspiration for your own scrapbooking layouts.

Take care!

Kylie.

Supplies

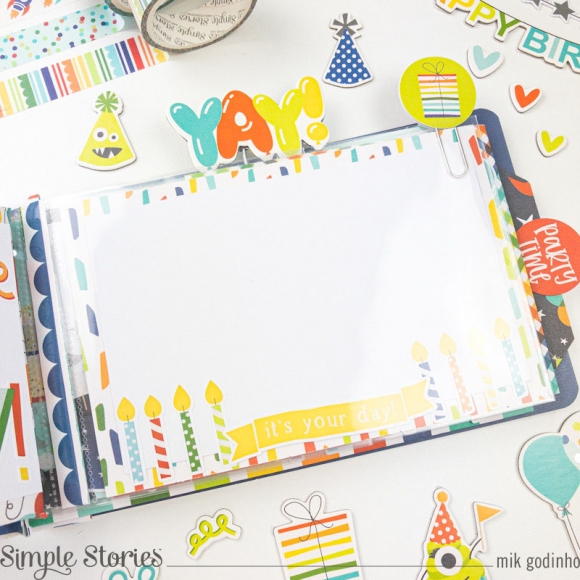
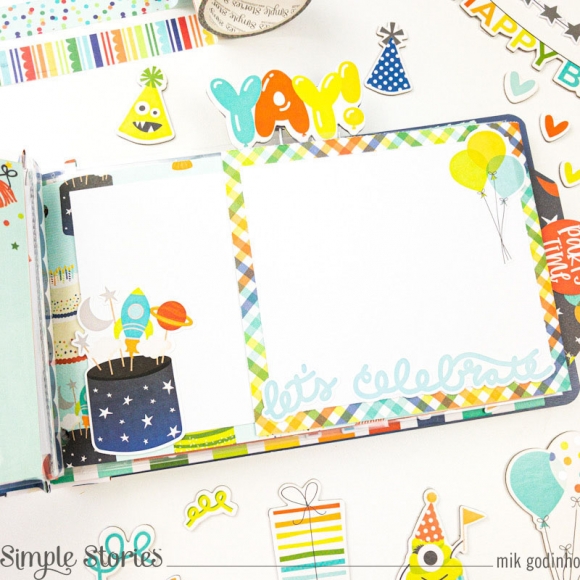
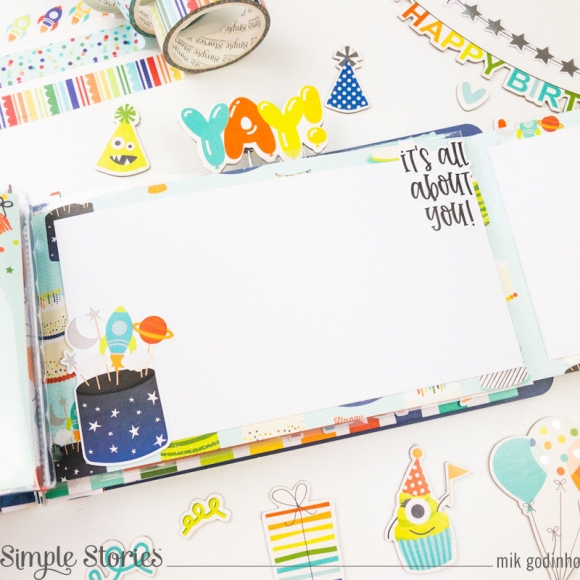
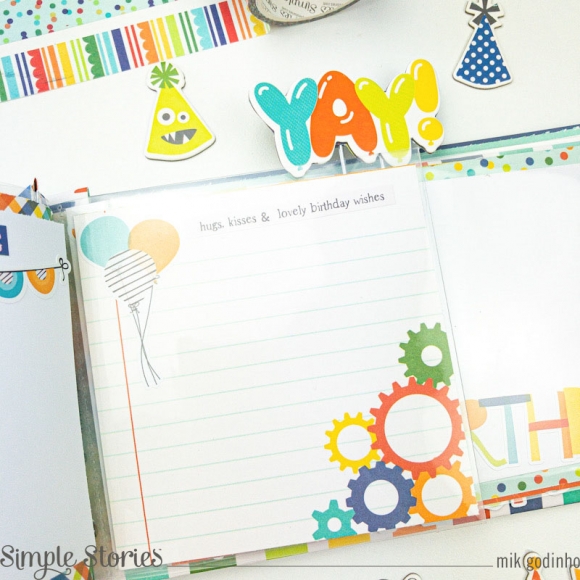
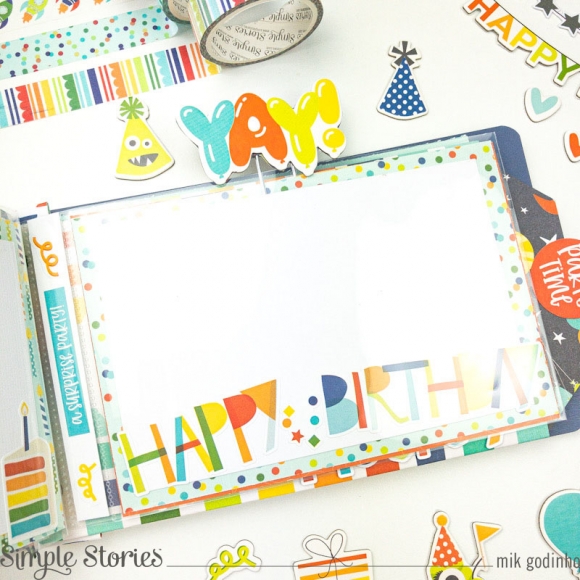
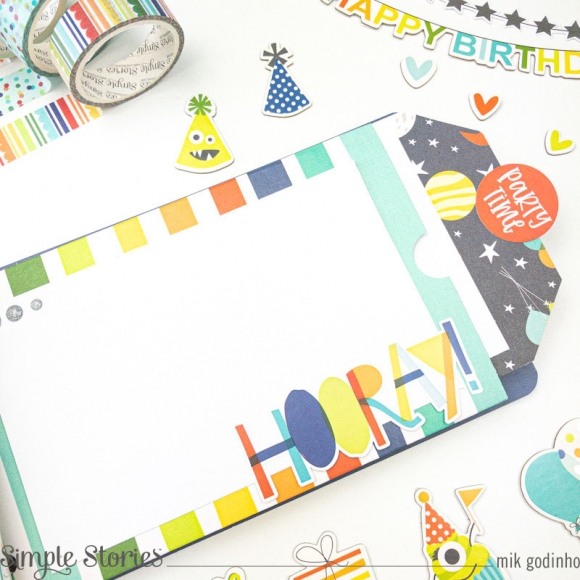
Hello, friends! It’s Mik here on the blog today! Today I’ll show you my very first flipbook album. I’m absolutely in love with the new Sn@p! flipbooks by Simple Stories. They are so beautiful and versatile! You can find them in two sizes and a rainbow of colors.

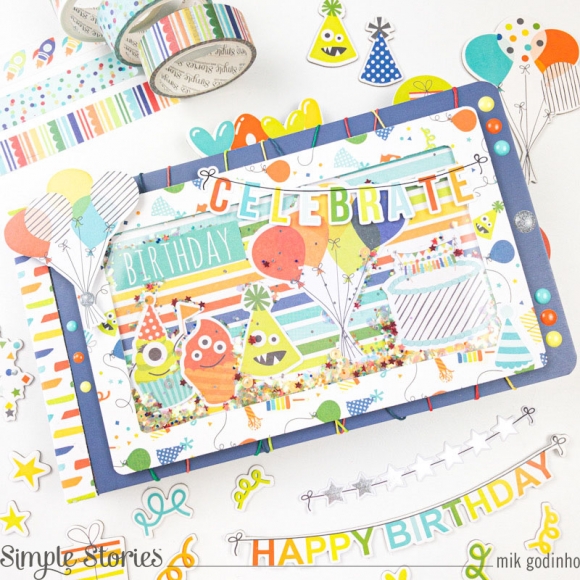
Here I used a Navy 4x6 Sn@p flipbook that match perfectly with the lovely Birthday Blast Collection. Birthdays are moments of great joy, so for my cover I made a shaker using a paper from 6x8 Paper pad; the same you can find on 12x12: Best Day Ever and It’s my party.

I filled the shaker with tiny sequins and decorated the cover with additional stickers, die cuts and enamel dots. I also covered the black paper with 4x6 elements paper.

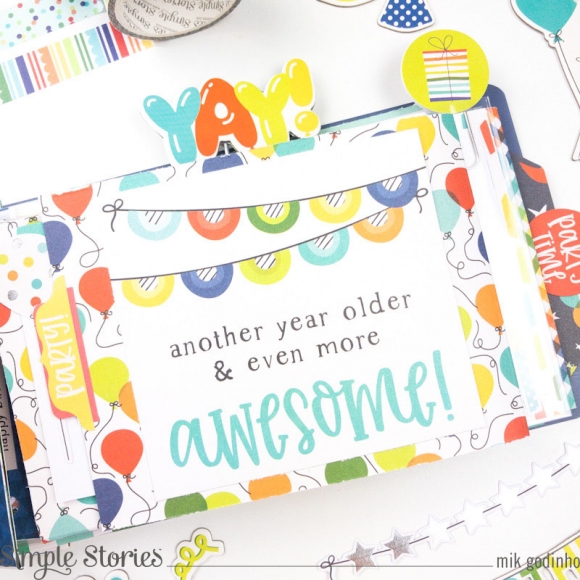
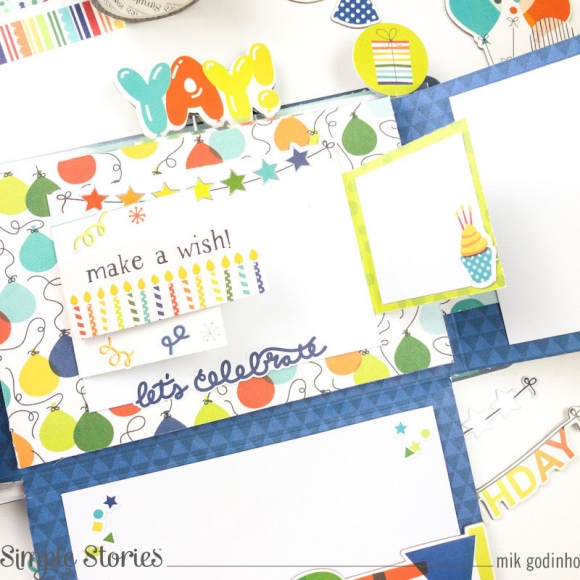
I love to add flap pages. I feel that it gives a fun touch to the project.

Another item that I love to add is paperclips. You can use either the bits & pieces or the chipboard stickers to make it. It's super easy and fun to make.

Adding pockets is always a good idea. With that in mind, I made a paper pocket and a tag, to add more photos. I hope you’ve got some inspiration from this idea! If you have any questions, or if you would like to talk about Sn@p! or maybe watch a video showing the inside of the album, come and check out my IG account.

Thanks for stopping by and have a creative day!

Supplies

Pages