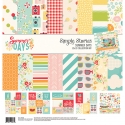
Today creative team member Andrea Bethke joins us with a beautiful 6x8 pocket page SN@P! album with our Summer Days collection -
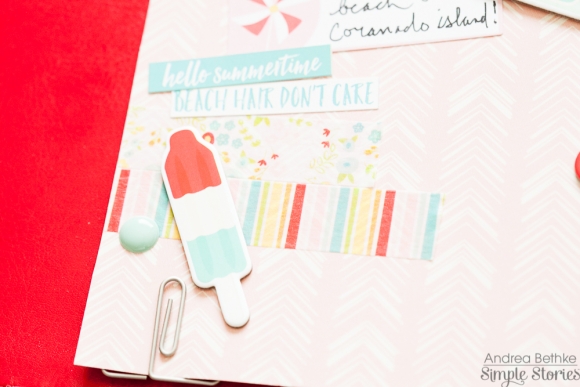
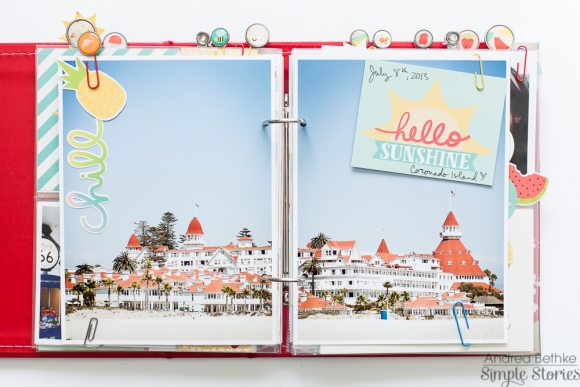
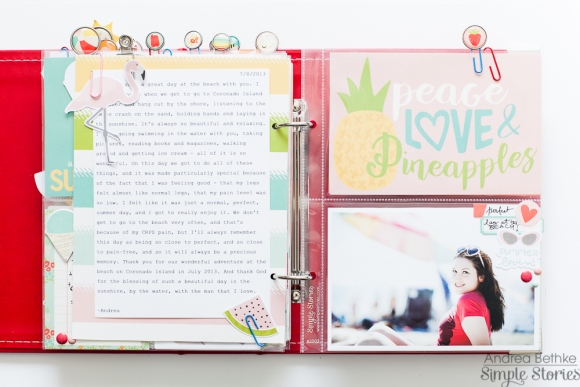
Hey everyone! It's Andrea here today and I want to share with you all a really fun mini album that I made using the new Summer Days collection and also a few goodies from Maya Road! I had a great time using the collection to document an older summer story that I had been meaning to put into an album for a while now. You see, every summertime, I try to go at least once to the beach at Coronado Island in San Diego... My husband and I love it there! However, we don't always get to go. With my health issues, its hard to go. But whenever we do go, we always have a really amazing time! The mini album I made using “Summer Days” and the red SN@P! album, is all about a day on Coronado Island, on the beach, swimming, eating ice-cream, reading, and relaxing in the sunshine on July 8th 2013. It was a perfect summer day!
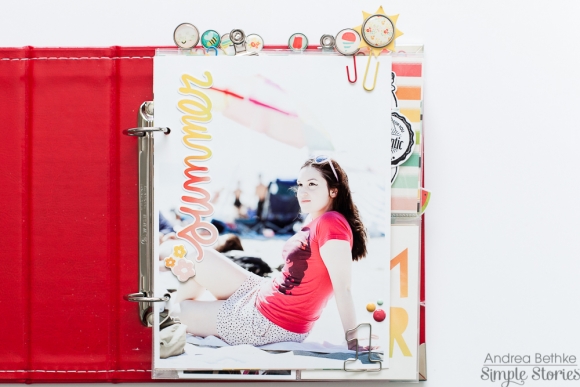
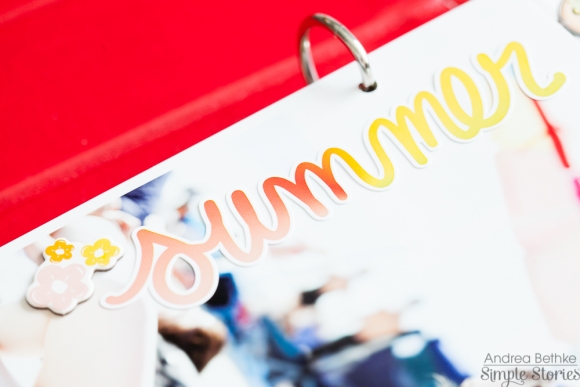
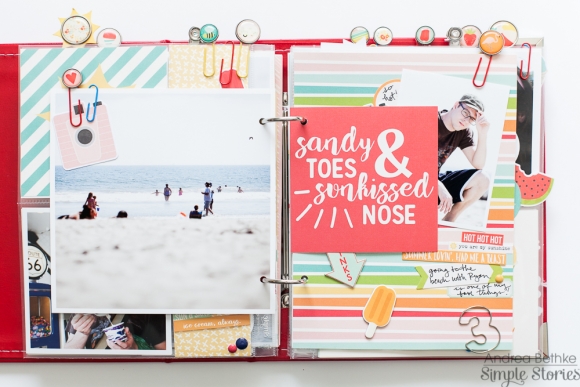
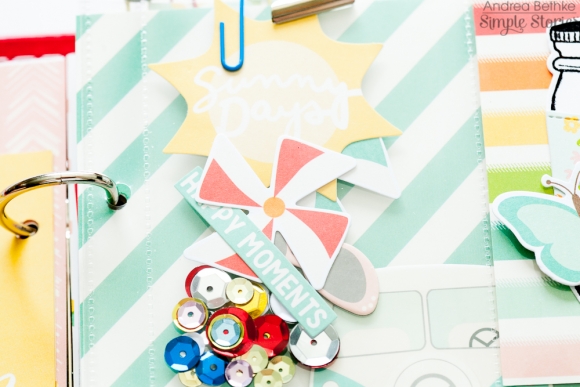
I started out my album with a large 6x8 photo page. I love intermixing large photo pages like this in my mini albums – with the pocket pages and the mini-layouts! I think it just makes the album more interesting to look at, with the variety of pages. And some pics I think just need to be showcased in such a way! I chose a pic of me on the beach that day that I thought was cool and I added the sticker word “summer” along the side (from the 12x12 sticker sheet that comes in the collection). This serves as a kind of title and title page for my album. I also added a few other little things to my title page – like a chipboard flower sticker, a few enamel dots, and a couple of decorative paperclips to the top of the page...which I made using regular paperclips, a glue gun, and some of the super cute brads that come in the collection.

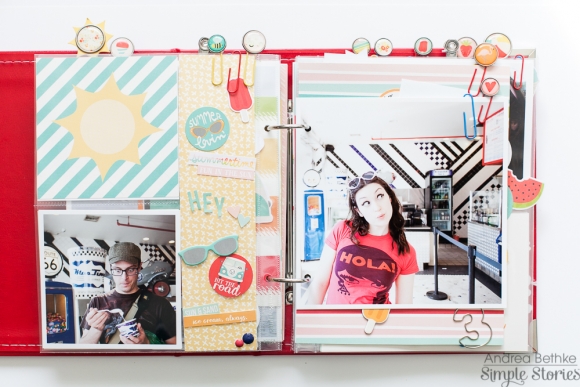
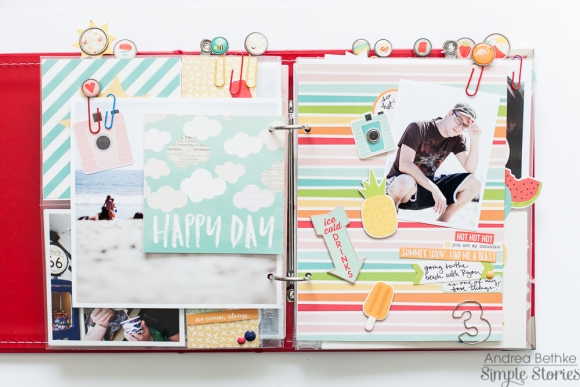
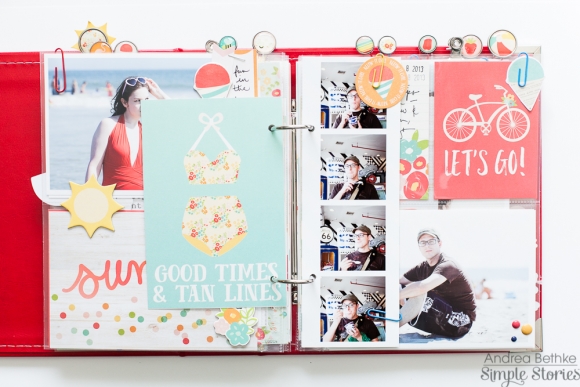
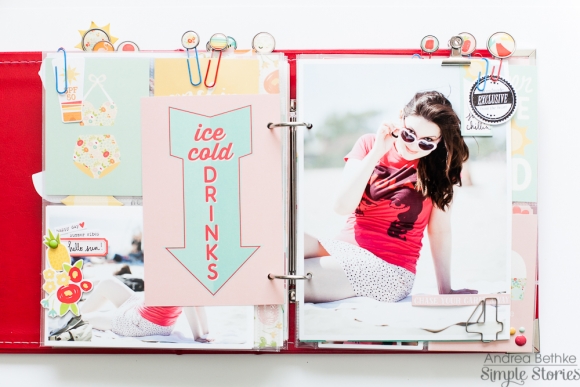
Like I said, the album consists of a mix of pocket pages, large photo pages and mini-layouts. For my mini-layouts, I used the pretty 12x12 patterned paper that comes in “Summer Days” and cut it down to 6x8 to fit in my mini. These served as my backgrounds for my layouts. I simply used a small 3x4 photo, and added it to the page with some cute stickers (chipboard and cardstock), and some other embellishments like washi-tape and ephemera pieces, in order to create simple and cute little layouts for my mini album.
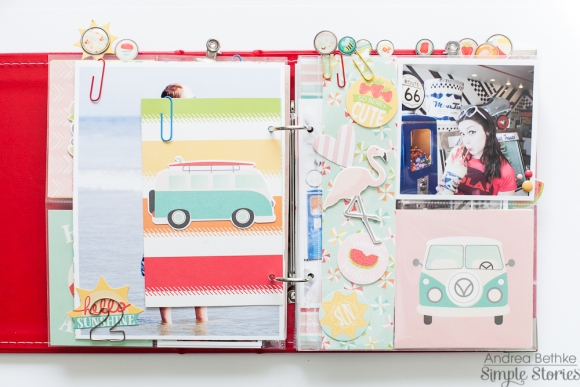
Many of the pages in the album are pocket pages. I love the SN@P! pocket pages, they are so great for so many things, but especially for mini albums like this!
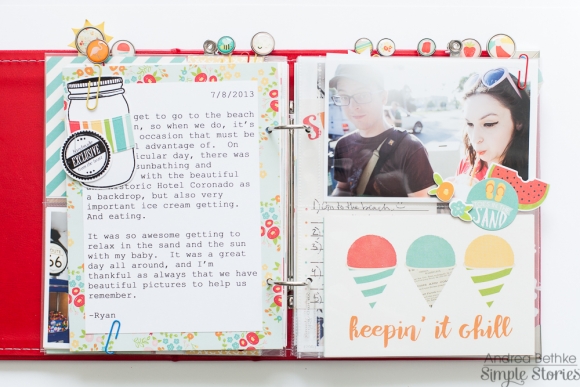
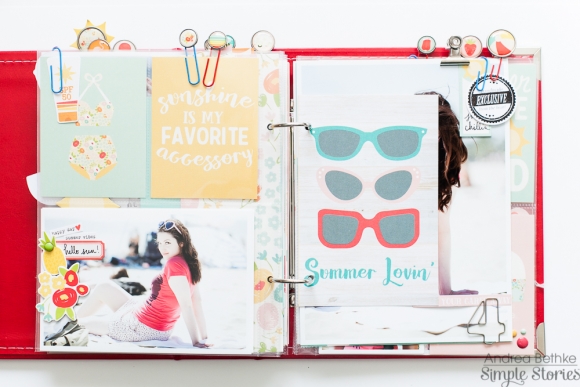
It is easy to use the cool cut-apart Element sheets that come in the collection and just cut the pocket page cards out (in 3x4 and 4x6 and 4x4) and then simply slip them into the pockets of the pocket pages. You can just add writing and photos and you are done...or you can add a few other little embellishments and such like I did!
In one of my pocket pages, I made a little shaker pocket where I used sequins along with small ephemera pieces and even a chipboard sunglasses sticker (with the backing still on). All these together make for a fun, interactive pocket page! On other pocket pages, I used other embellishments to add pop to the page, embellies like ephemera pieces, the little word stickers, labels and the cardstock and chipboard icon stickers...which I clustered together to create interest on my pocket pages...specifically for the pockets with pics that I wanted to draw a little more attention to.
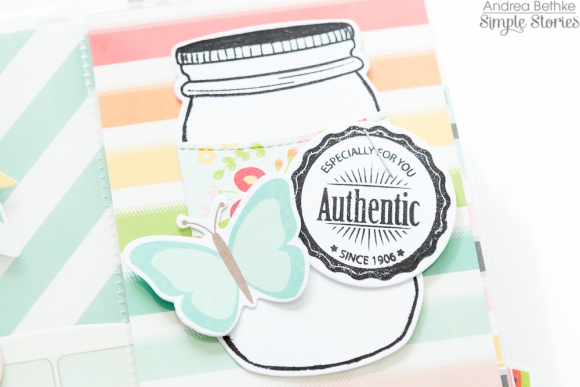
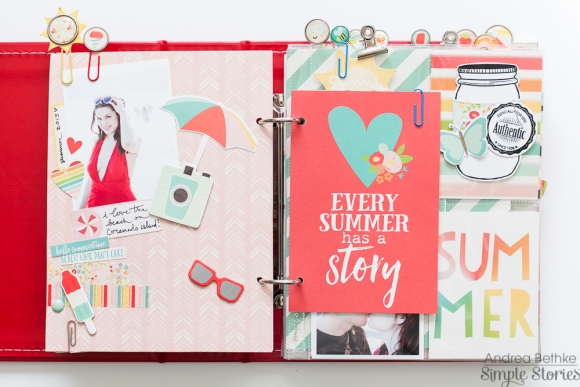
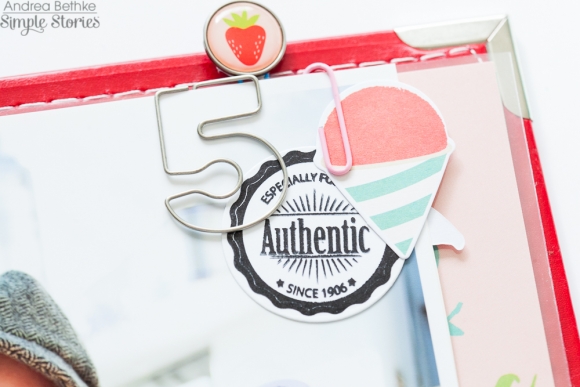
In my album, in addition to using the Simple Stories “Summer Days” collection, I also used a few things from Maya Road (as I had mentioned). I had fun using the Maya Road Mason Jar stamp set and dies to create a few little jars for my mini album. I used one of them for one of my pocket pages. I stamped the jar on some white cardstock and then cut it out using my Big-Shot die cutting machine and the little jar dies. I added a strip of patterned paper (cut out with another one of the dies) to make it look like the jar label, and then stapled on a round circle with “Authentic” stamped on it (also cut with one of the dies). This I put on a pocket page with some rainbow patterned paper behind it and a butterfly ephemera piece just floating on top of it (attached only in the middle, with wings sticking up to create an awesome, dimensional look to the page).
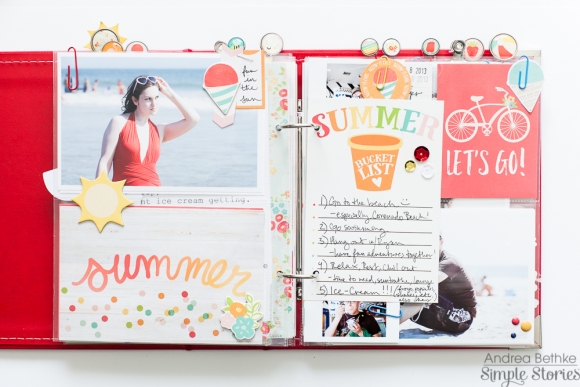
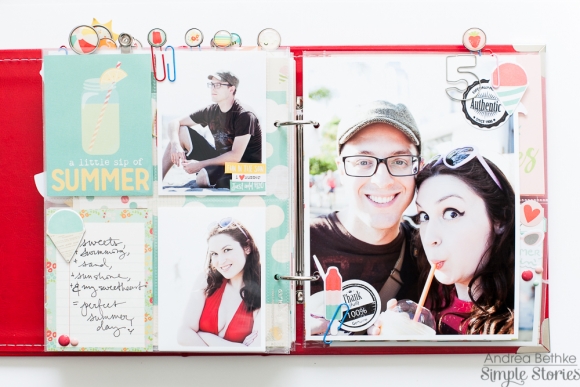
Another item I used from Maya Road, that you can see here and there throughout that album is the number paperclips. I used the “Summer Bucket List” 4x6 pocket card and I listed out 5 things that were on my bucket-list that summer – the 5 things that we did on that special summer day that I documented in my mini album.
Here is my list: 1) Go to the Beach, 2) Go Swimming , 3) Hang out with Ryan, 4)Relax, Rest, Chill out, 5) Ice-Cream!!!
And for each item on the list, I used the correlating number from the number paperclips and attached them to a photo that I thought perfectly represented that summer item on the list!
I really hope you enjoyed my Summer mini album and that I have inspired you to make a fun summer mini of your own!!! Summer is a great time to Scrapbook! And I also want to point out, that a lot of the fun techniques and things I showed in this album can be used for your project-life pocket page making, and for your planning as well! Happy Summer everyone!!!
__________________________________
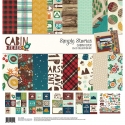
Now for even more fun!! Enter via the Rafflecopter widget below and we'll draw one lucky winner next Monday to win both a Summer Days & Cabin Fever collection kit!
a Rafflecopter giveaway
After you enter, head on over to the Maya Road blog to see what their team has created.
Want to follow Maya Road and keep up with all of their great projects & products? Here you go!
Join us again here tomorrow for more inspiring projects!