Shellye McDaniel's Blog Posts

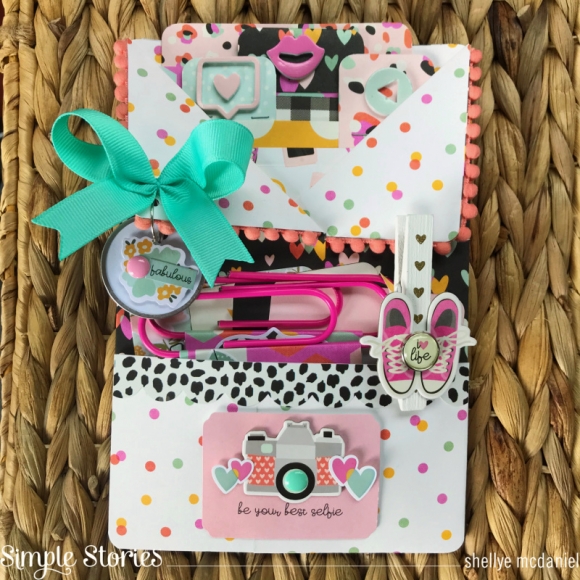
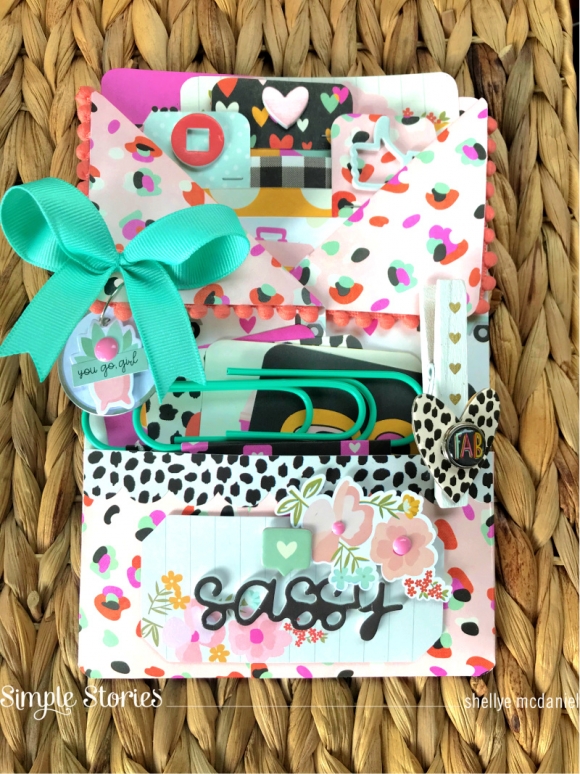
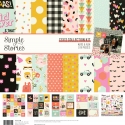
Are you looking to host a bridal shower or need a house-warming gift for a recent graduate? Today I'm sharing a unique Recipe Keeper featuring the new "Apron Strings" Collection!

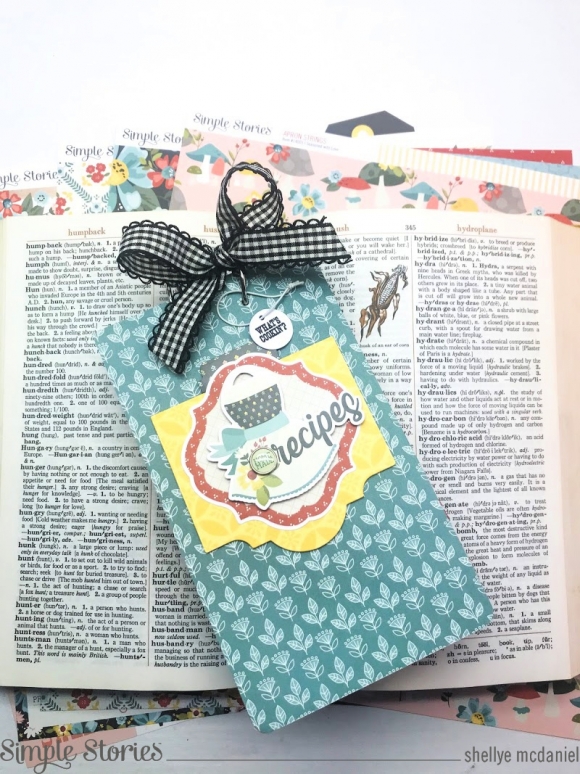
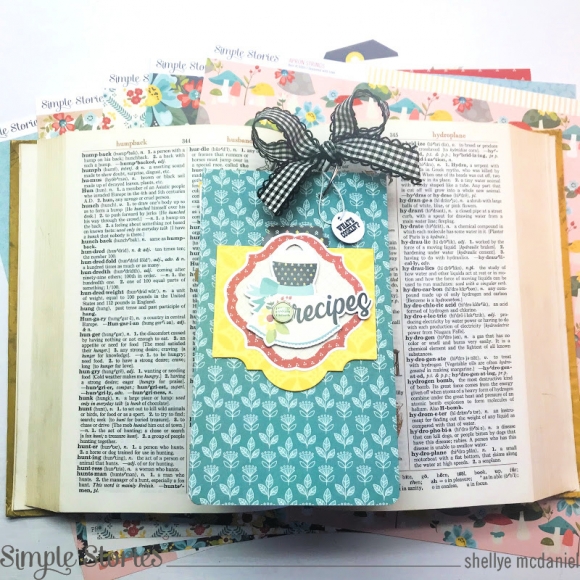
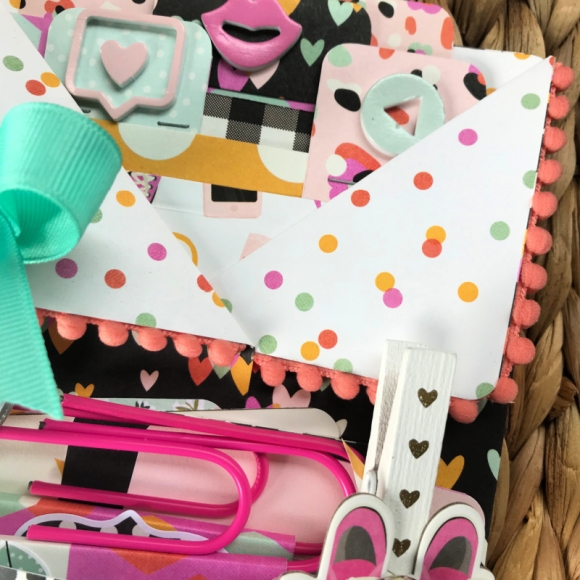
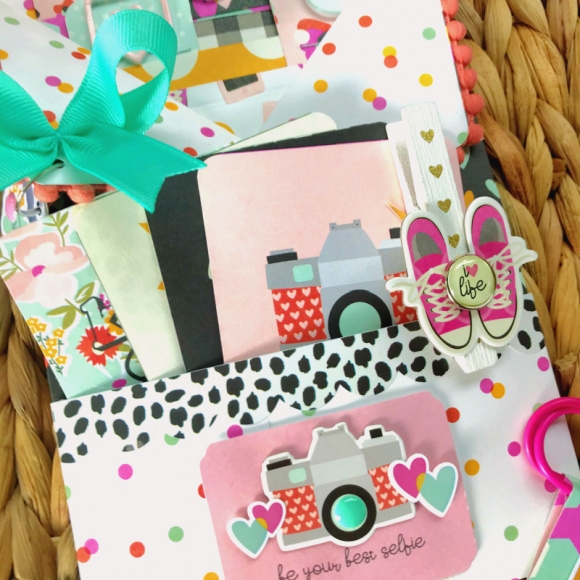
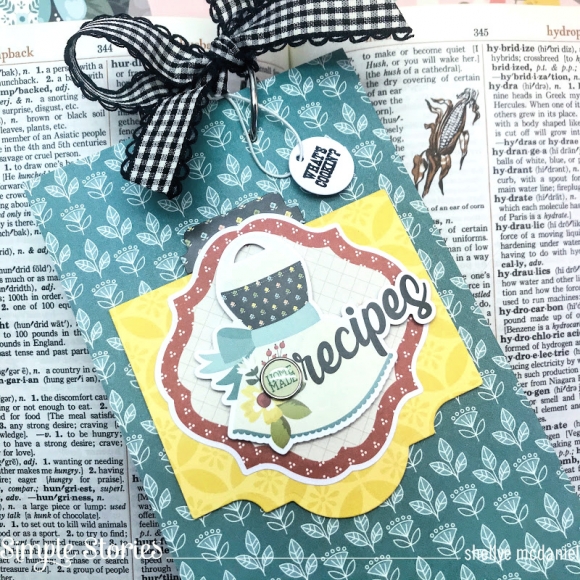
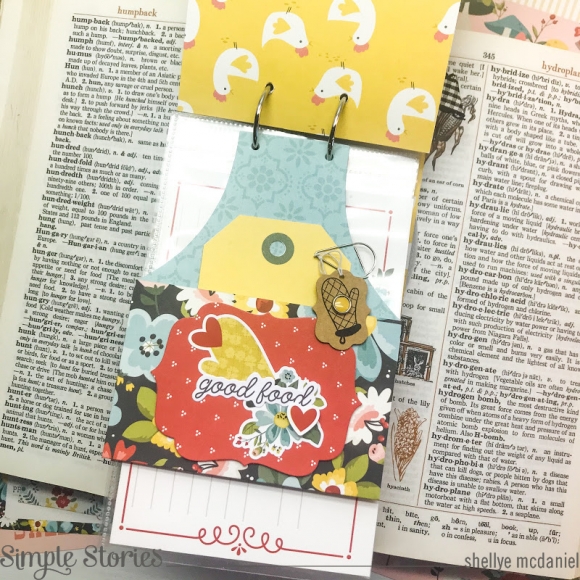
The keeper starts will two pieces of 4.25"X7.25" chipboard dressed in patterned paper for the covers.  To the front cover, I added layering of die-cuts and stickers.  

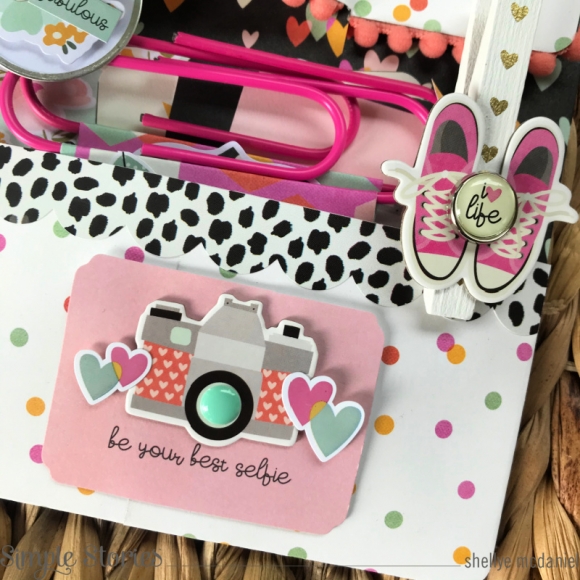
For the inner pages, I used an assemblage of die-cut apron shaped pages (see the PDF to create your own!) and sheets of 6X8 page protectors that were cut in half to accommodate the 4x6 recipe cards in the collection kit.

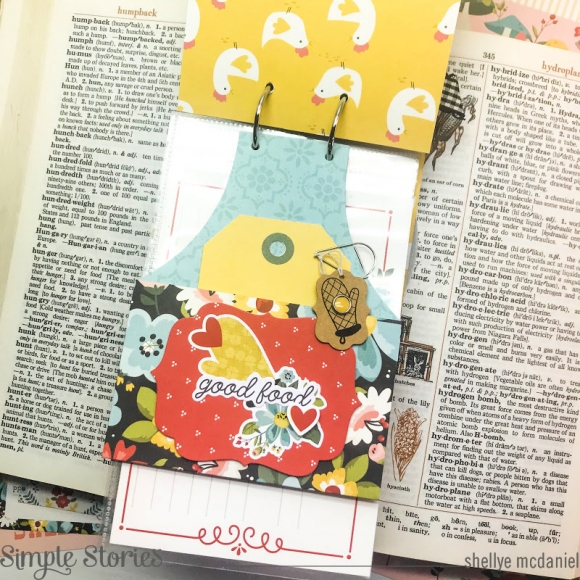
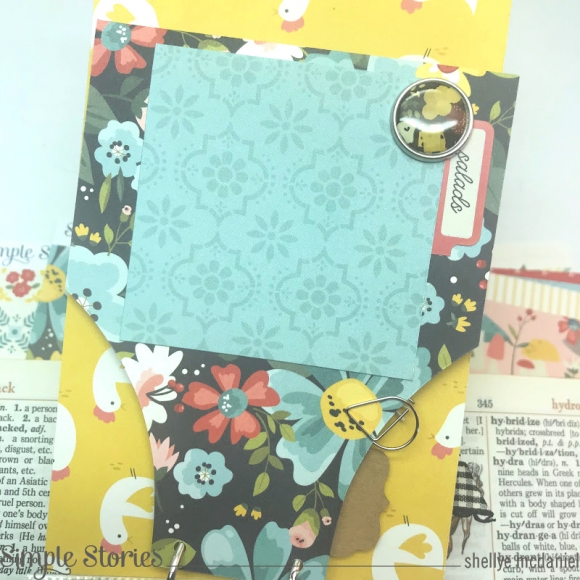
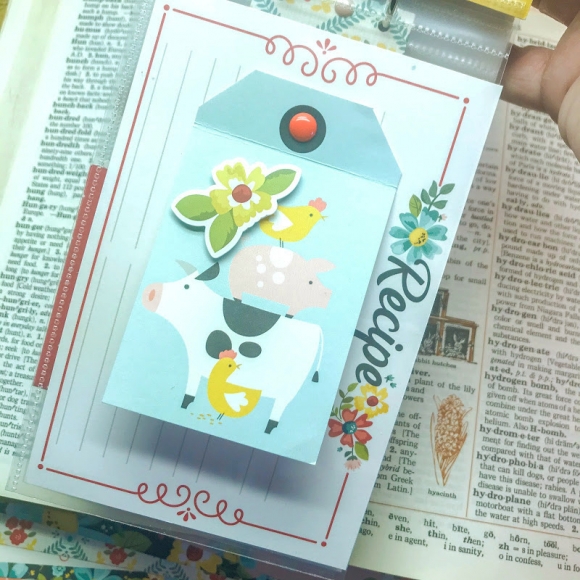
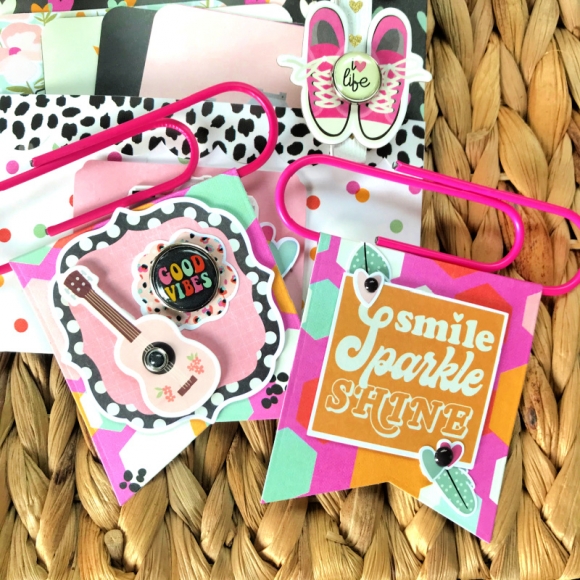
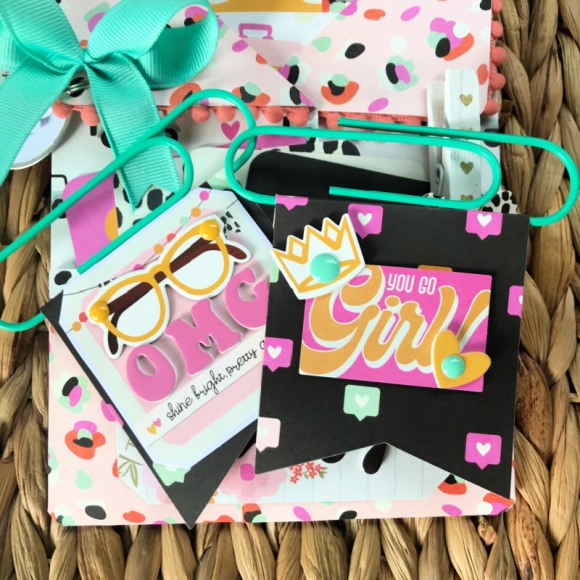
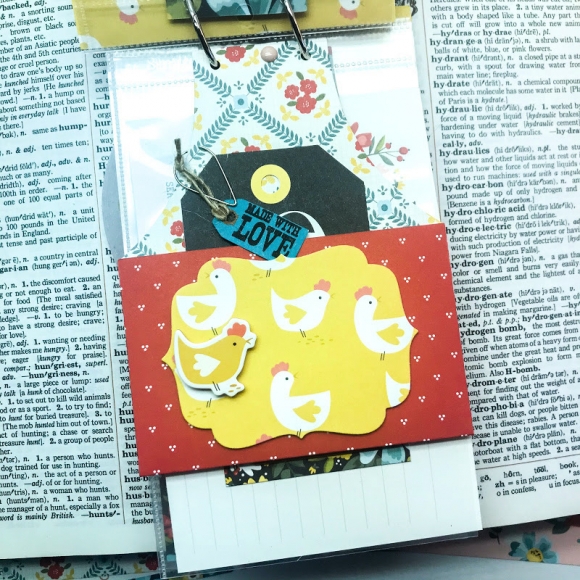
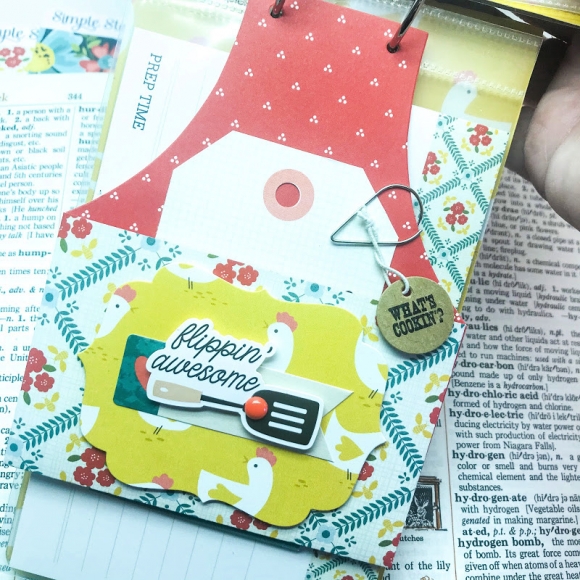
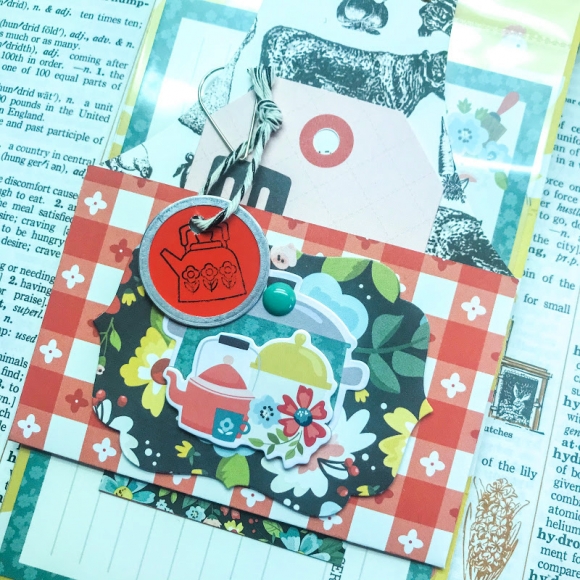
After assembling the apron pocket page, tags were cut from the Tags paper and tucked inside of the pockets.  I used left-over tags and attached them (by the top tab) to the top of the clear page protector.

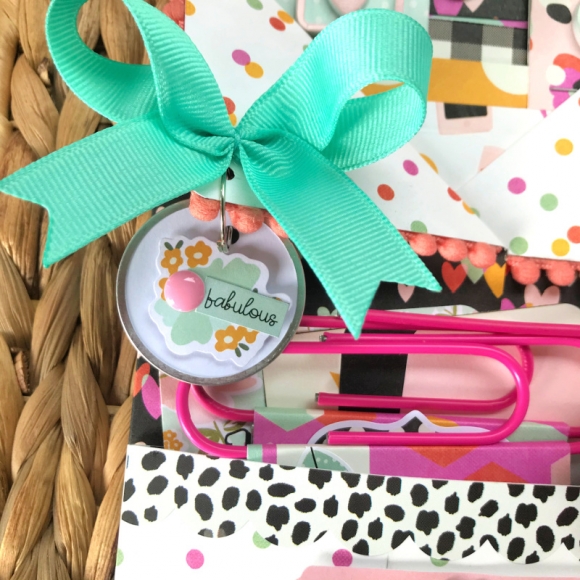
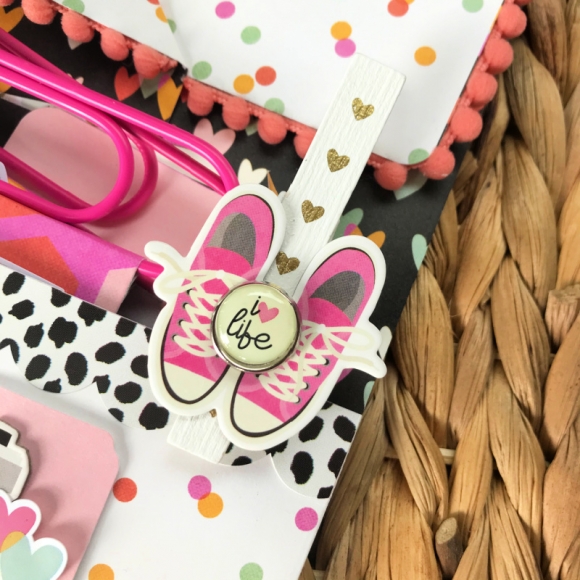
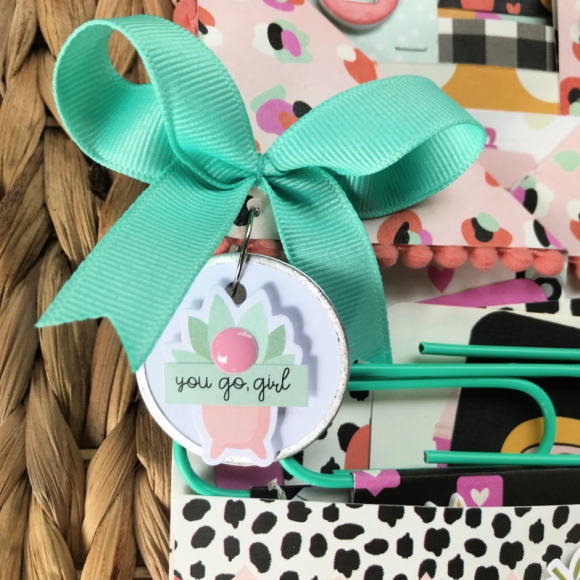
I used various images and sentiments from the clear stamp set and added them to small premade tags.  These tags were attached to the clips that were used to hold the tags in place.

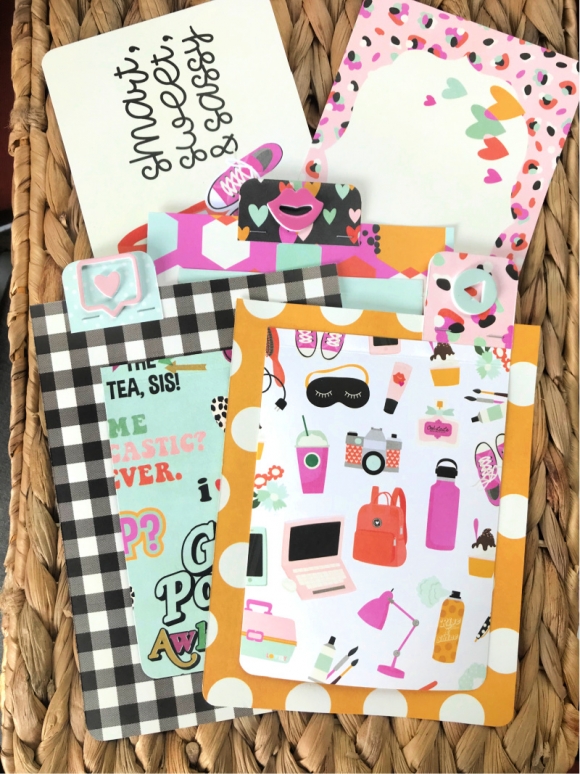
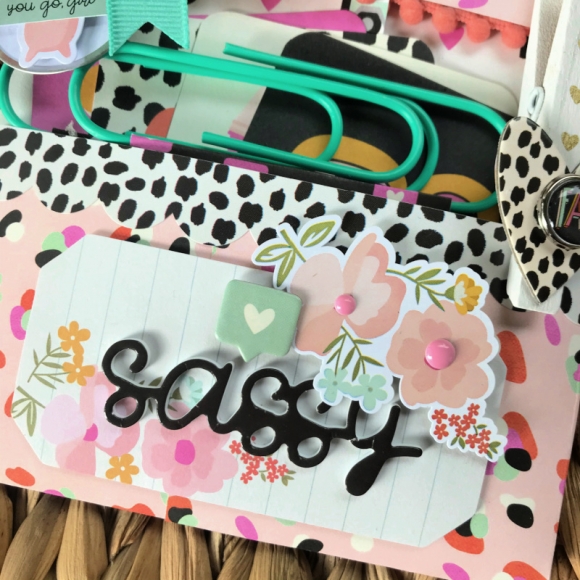
To the back of each apron page I added a small photo mat and tab stickers.  These pages can be used for photos of completed dishes or working in the kitchen!

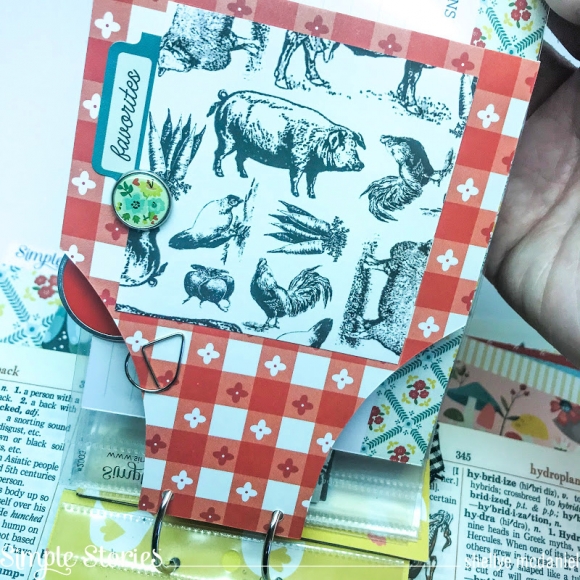
In finishing, two holes were punched at the top of each page, page protector and cover page, and 1.25" rings were used to hold the pages together. If you're planning a bridal shower, have guests complete the recipe cards and add tips and tricks to the tags...such a meaningful keepsake!

NOTE: To use the PDF template simply print, trim out and trace.  You may also wish to scan and reduce the size to fit your project.

Thanks for joining!

Shellye

Supplies

Make your next unicorn-themed birthday party fun and functional with this tiered cake "Favor Tower". Not only does it make an adorable centerpiece, but kids will love picking out their treats and favors from the different sections!

You most certainly can make this in any heights and circumferences that you wish, but here are the measurements that I chose: 

Bottom-7.5D X 3.5"H

Middle-5.5"D X 5.5"H

Top-3.5"D X 8.5"H

For the side walls I cut strips of paper that were 1/2" more than the heights listed above. I made a 1/2" fold along one edge to create a flap.  I made small cuts all along the flap (up to the score line) so that the strips could easily be formed into a round shape.  The flap was then used as a footing and glued to a base circle that was also cut from patterned paper.  The process was repeated with the other two tiers.

Inside the bottom tiered I added pre-packaged brownies that were then wrapped in strips of paper!  You could also add stickers, or let the kids decorate the fronts with die-cuts and stickers.

To the middle section, I packaged glassine bags with candies and then topped it with a bag topper and a cute charm.

Did you know: (most) paper straws fit easily over a 3/16" wooden dowel!  After adding paper straws, I embellished the tops of the dowels with a layering of papers, stickers, die-cuts and ribbon bows!  Kids love these fun wands and will enjoy sliding the straw on and off for use.

In finishing the tiers I also used some of the foam stickers, washi tapes and chipboard stickers from the "Magical Birthday" Collection.  

Thank you for stopping by!

Supplies

The idea of a pajama party may be the furthest thing from anyone's mind right now, but when the time comes (or make them now for the people in your household) these will surely be a hit!  

I took the idea from "loaded pockets" or "loaded envelopes" that are very popular snail mail or exchange gifts.  The folding of this design will be shown on my YouTube channel; I've explained it below, but it can be confusing if you don't have a visual. 

To start: Cut your favorite "Kate & Ash" patterned paper to 12"X11".  Place the 12" edge onto a score board and score at 3.25" and 8.75".  Turn the paper and score at 8".  Keep in mind that the backside pattern will fold up, so make sure the design isn't upside down!

Working below the 8" score mark: make cuts along the 3.25" and 8.75" marks UP TO the 8" mark; trim away the rectangle flap on both sides.  The flap that remains at the bottom: cut away a small section in the middle, leaving a 1/2" border around the sides and top; this will be the flaps to glue down and make the pocket.  

For the folds: Fold the two side folds in towards the front (the 3.25" and 8.75" sides).  The folds will overlap; glue them in place.   Fold the flaps at the bottom and bring up to adhere to the top.  

Now for the decorating!  After corner-rounding all of the sides, I aded pom trim around the "collar" and then added a bow and embellished metal rimmed tag.

I used another patterned paper and cut to create cards for the top pocket.  I made three in different sizes and then added tabs to the tops.  In the bottom pocket, I cut apart the 3X4 cards and tucked them inside.

Jumbo clips were embellished with a die-cut banner and fun embellishments.  I also topped a clothespin with a couple of chipboard pieces and decorative brad.

The tags in the top would make a great place for pictures.  Set up a little printer station and let everyone print pictures from their phones or computer!  Have each slumber partier write little notes and share inside the pocket :)

Don't forget, I'll have a quick video of how the pocket is constructed on my YouTube Channel!  

Thanks for stopping by!
Shellye

Supplies

Pages