Shellye McDaniel's Blog Posts

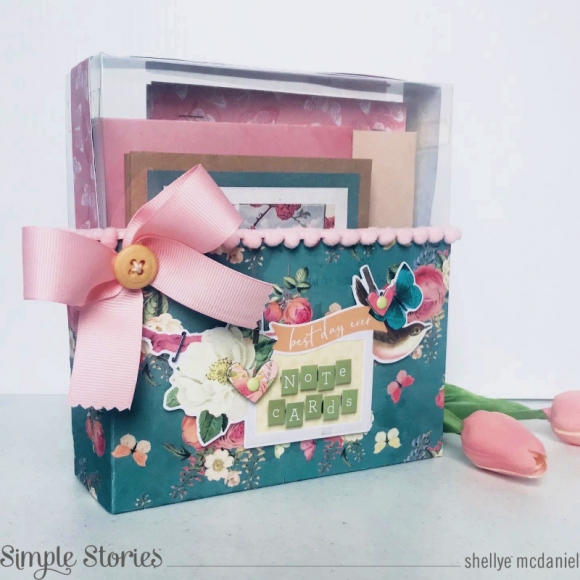
With Mother's Day and Graduation around the corner, let's think about creating those "useful" gifts!  Today I'm sharing a tutorial on crafting a beautiful "Note Card Gift Box" using the Simple Vintage Garden District Collection.  This project is built from the ground up, but if you have an empty box and lid just adjust the measurements to fit.

Let's get started by making the box:
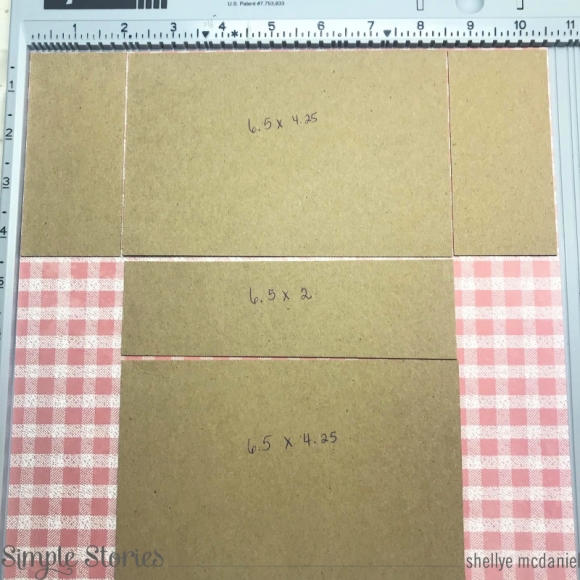
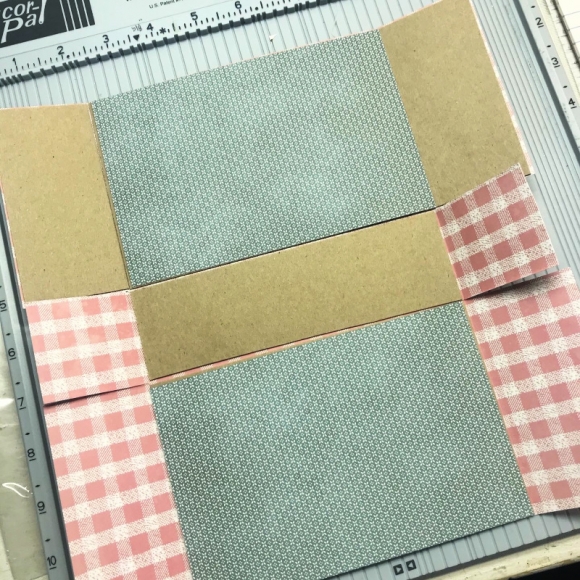
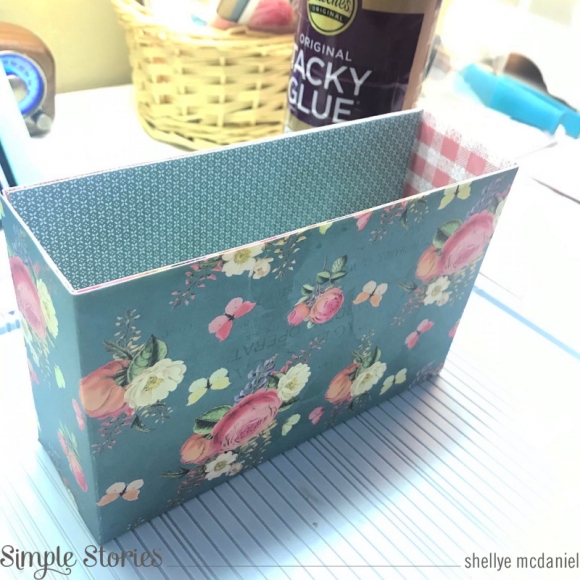
I started with three strips of heavy chipboard (use a cereal box, etc if you don't have sheets on hand).  You will need two pieces that measure 6.5"X4.25" and one piece that measures 6.5"X2". A piece of patterned paper was cut to 10 5/8" squared. The chipboard pieces were adhered to the square of paper, leaving an 1/8" gap between (to allow for folding).  Two pieces of 6.5"X4.25" scrapbook paper were attached as shown above and then the sides were folded in to create the box:
For the lid I have used the non-stick portion of an 8.5X11 laminate sheet from Scrapbook Adhesives; simply peel away the sticky sheet.  I scored the sheet at 1" and 7.5"; turned the sheet and scored at 4.5" and 6.5". The acetate is quite thick, so you may want to use a stylus to create a better score.  Next, only four small cuts were made at the sides where the vertical marks meet the horizontal marks.  After folding I used an extreme double-sided tape to attach at the 1"X2" tab.  For decoration, I added a 1" strip of patterned paper around the sides and top of the lid; you could also use ribbon or trim!
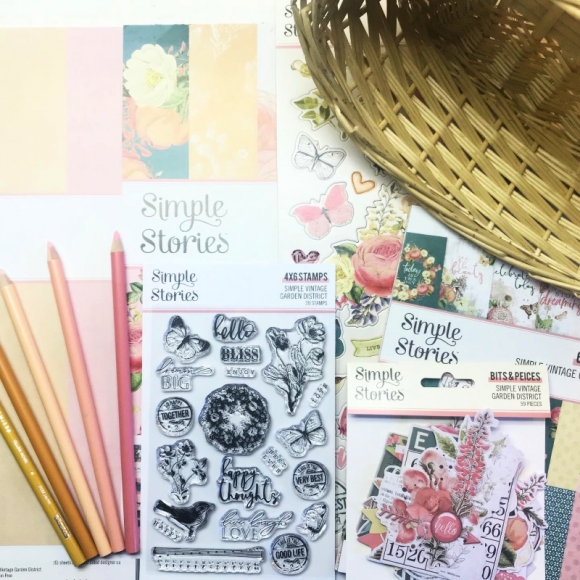
The A2 envelopes were crafted from solid sheets of colored papers.  I've used an envelope making tool, but premade envelopes could also be used.  

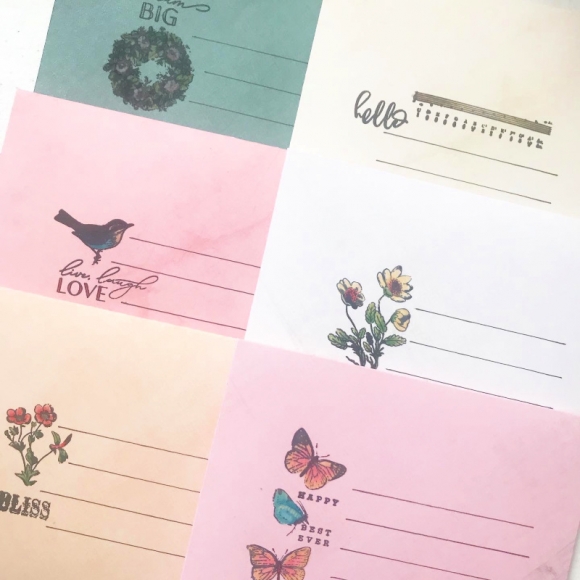
Next, I stamped and colored the fronts with colored pencils and used a pen and ruler to create the lines:
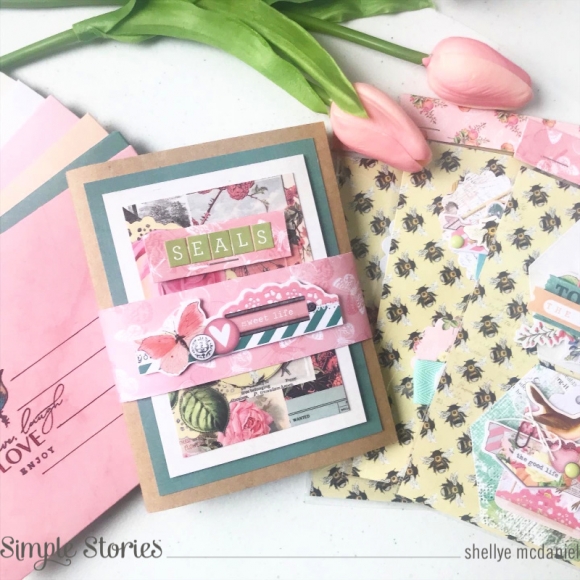
I chose a set of premade kraft card bases and then layered on mats with the leftover papers from the envelopes.  One of the layers was attached with foam adhesive, with the final layer being one of the 3X4 journal cards.  A band of scrapbook paper holds all of the notecards together.

Envelope seals were created from a simple duo of adhesive paper, scrapbook paper and a 1.5" circle punch!

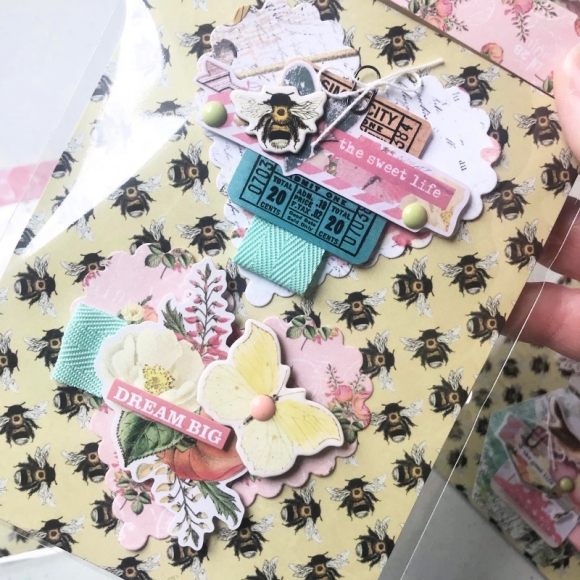
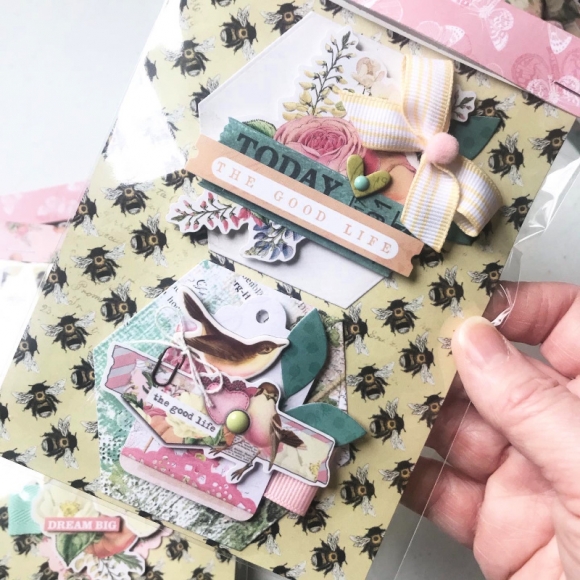
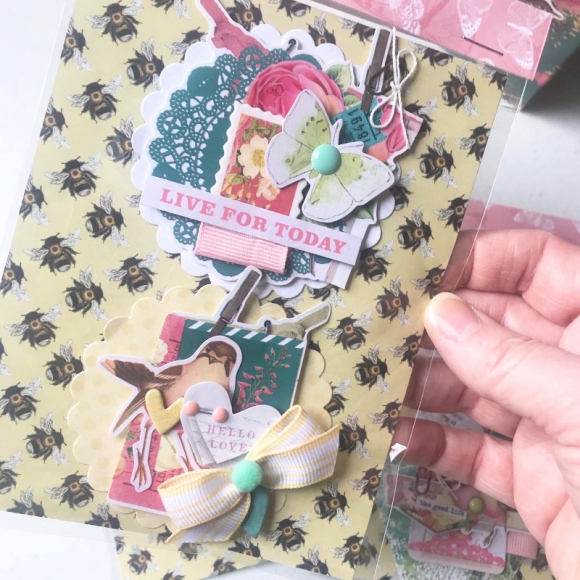
To finish off the notecard set, I made six unique embellishments for card toppers!  Again, I used the leftover solid papers to die-cut a small design (circle, heart, octagon) and then layered them with all sorts of die-cuts, stickers, chipboard and enamels:
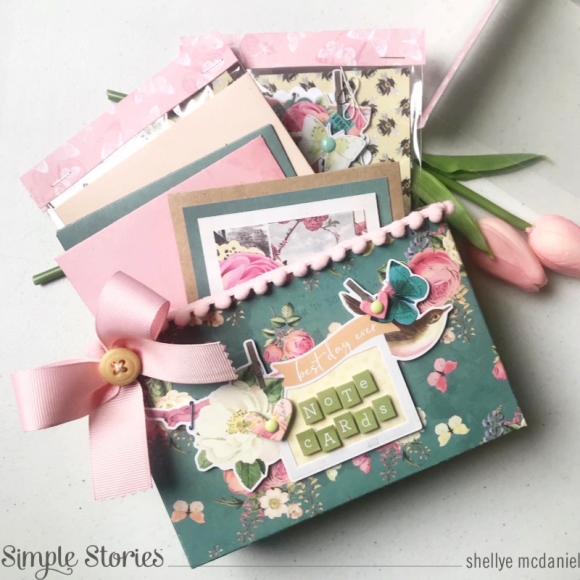
The front of the box was decorated with stickers, trim and a hand-tied ribbon.  Finally, the acetate top slides right down into the box opening for a perfectly completed gift!
I'm also sharing a YouTube video that includes a bit of a tutorial, as well as a walk-through of the pieces! 

Thank you for joining!

Supplies

Create this pumpkin duo with your favorite pieces from the "Pumpkin Spice" Collection, a couple of recycled glass jars and burnt orange acrylic paint!
 

Before decorating either jar, a generous amount of burnt orange acrylic paint was squirted into the bottom.  After reattaching the lid (securely), the jar was shaken and rolled around until the interior was completely coated.  Next, I placed the jars upside down onto a thick mat of newspaper and allowed the excess paint to drip off.  You may need a sponge brush just to touch up some spots if needed.  I also used a heat tool (or hair dryer) to complete the drying process.
 

The largest pumpkin is a standard Mason jar size.  To it, I cut a strip of "Autumn Splendor" paper to 3.75"X12" and taped it in place around the jar with high tack adhesive.  I used a couple of dies that I had on hand to create a cute tag for the front.  The tag was distressed around the edges with a walnut ink and then embellished with goodies from Pumpkin Spice.
 

The second pumpkin is a smaller 2.75"X5" jar.  The same paper was cut to 2.5"W and just enough to wrap around the jar completely.  After threaded the chipboard buttons with jute, they were attached with a glue dot.
 

The bands of the lids were covered in a strip of the turquoise barn wood paper from the Simple Basics pack.  A wooden spools was inked with walnut ink and added to the top for the stem.
 

What an adorable display or gift for the upcoming Autumn season!  I can't wait to share them with my visiting guests soon.  I hope you've enjoyed!

Supplies

Hi, it's Shellye!  Today I'm sharing a trio of cards that focus on the brand new "Life Documented" Collection.  The collection is a series of bright colors, trendy patterns and cute icons...perfect for a set of cards!

First up is a 6X6 card entitled "Hello"

I was inspired by the diagonal patterns on the backs of the 2X2 Insta Squares cards.  I arranged them in a grid pattern and added a strip of the woodgrain washi tape to the sides of the two pieces on the right.  I focused the design on the left by simply accenting with a cut-out portion of the "hello" 3X3 card, a couple of chipboard pieces, enamel dots and matching polka dot bow.

Next up is a 4X6 birthday card showcasing the Washi Paper Tape:


I cut a swatch of paper that was the same width as the 3x3 "1 great year" card and then applied various strips of the paper washi tapes to it.
The banner chipboard sticker was the perfect divider and just says CELEBRATE!

Lastly is a heavily layered card that features some of the softer, feminine sides of the collection:

Squares, squares, squares!  Using the three different sizes of squares found in the Insta Squares Pack made this a really quick card to put together.  Again, I trimmed out the speech bubble sentiment and added a few cute chipboard stickers around it.  
 

Supplies

Pages