May 2016 Blog Posts

Hi planner friends!  Vanessa here with you today to show you how I used the new Sunshine & Happiness collection in my Robin’s Egg Carpe Diem planner.  I’ll leaving for a little road trip during the first week of June and this collection is cheerful and fun for vacation spreads.
 
 
As we’re transitioning into the hot summer months, the Sunshine & Happiness ephemera pieces and cardstock stickers are so bright and refreshing in a planner.  I used a few of the chipboard stickers to attach to paper clips because of their sturdiness, but also the larger size stands out more.
 
 
As usual, I made another pocket folder with one of the beautiful papers from the Sunshine & Happiness collection and decorated it with cardstock stickers, chipboard paper clips, and a few of the adhesive bradz. 
 
 
For the weekly spread, the alphabet cardstock stickers were perfect for my little road trip to Las Vegas and the Grand Canyon, with enough space to add any memories I want to fill in or activities that I did.
 
 
My favorite journaling card in this collection is this adorable girl with her   chic sunglasses and scarf and I had to include her in the spread.  The journaling cards are double sided and can be used to add photos on as well.
 
 
Whether your heading out on a summer vacation or enjoying the sunshine with family and friends, the Sunshine & Happiness will definitely brighten your planner with its citrus colors and florals.  Until next time, I hope you enjoy planning your summer activities in your Carpe Diem planner!


Supplies

Hello Scrapbook Friends, It’s Kristine Davidson with you today.  I created 2 layouts for this post using the new summer collection called Sunshine & Happiness. Full of bright pinks, yellow, and pops of red made this collection so much fun to play with.

The first layout I'll be sharing is called " You are Everything "

I didn't make this layout too much about summer, but I still added some summer embellishments such as the chipboard letters, a small sticker and the rest were everyday elements.  I didn't want to add too much journaling so I cut out journal strips from the 4x6 elements paper. Those small strips are perfect if you don't like your handwriting or if you really don't know what to journal about. It's often stressful to find the right words to say and it's just as meaningful to add something that's already been done for you.

I also used the first part of the journal strips as my title ( You are Everything ), I thought it was perfect for this page since it wasn't necessarily about Summer.

Of course with my love of layers, this layout was no exception. I took most of the papers from this collection and cut up strips measuring 1" x 8" ( give or take ) and layered them on my page. It added tons of color, and those little pink crocs from 2007 had to be the focus! ;) 

Adding some extra color from enamel dots and sewing on my Summer chipboard gave my page some extra texture.

____________________________________________

My Second layout for you today is called "Happy Day"

This was a fun page to create. I added 4x4 filler cards from the elements paper which made it really easy to create a page. You can do this too! Select 4 of your favourite 4x4 cards from the SN@P! Pack or Vertical Elements paper. To add more color you can cut extra pieces measuring 4.25"x4.25" and back them up behind your 4x4 cards. I did this to all 4 of my squares and also added dimensional adhesive for even more of a 3D look.

I love adding diecuts to my projects so I took my favourite Bits & Pieces and added them to each individual card. It's kind of a mini layout on a 4x4 pieces of paper.   

Again on this page I used one of the diecuts as my title. It was Happy Day that stood out to me and really did fit my photo. It was a hot chocolate kind of day in the middle of July.  It should have been an Iced Cocoa or something but instead it was a hot beverage. It was enjoyed and made it a happy moment!  Adding small strips of paper from the Expression Stickers such as I Was Made for Sunny Days and YAY! are fun little stickers to add to a photo or as an embellishment.

I hope you enjoyed my layouts today and enjoy creating your own pages with Sunshine & Happiness!   If you are interested in seeing more of my work you can find me on instagram with user name @KristineDavidson. Thank you so much for reading and being a fan of Simple Stories!


Supplies

Howdy!  Layle here with you today.  We've got a fun week planned for you - a Simple Stories & Petaloo Product Swap! 

Both design teams have swapped products and will be sharing on our blogs all week long.  Join us for some great inspiration as well as a chance to win a prize package from both Petaloo & Simple Stories! 

Creative team member Mary-Ann Maldonado joins us today to wrap up the week with 2 summery layouts!
_____________

Nothing screams summer lovin' like the colors in the new Sunshine & Happiness collection.  I have plenty of summer photos taken in our pool.  I can see that I will be using every single bit of this collection!  
 
For this layout, I wanted to use pattern on pattern.  Making my entire layout pop with color!  I combined the Petaloo flowers in my chipboard flower vase, with one flower dropping off.  Here's my layout - 


I love using clumps around my projects.  Hoping that it brings your eye around the page.  Again, I have used flowers on a boy layout and it works!  It works because both products blend so well together.  I do hope that you will challenge yourself to use flowers on your next layout.  Double challenge you to use them on a boy layout!  
____________
For my next layout I used the Bloom & Grow collection.  Yup, this is how the entire 3 seasons of soccer went down.  My boy was not a fan of running, sooooo sitting on the ball, picking flowers was more his style.  FYI, he no longer plays soccer!!
 
 
How fun are the Petaloo flowers mixed with the Bloom & Grow collection?  The flowers help emphasize the activity in the photo, don't you think?  Definitely the perfect combo for my photo.  
 
I decided to keep things simple with the flowers cascading down the page, collecting in the wheelbarrow.  
 
 
I combined the Petaloo flowers with a few sticker flowers to create the clump.  I removed the center of the flowers and added the rust brads to match the color of the flowers in my 12x12 paper.  Also, the flowers were double layered, I pealed them apart for a simpler flower.  


Thank you for checking out my project for today; I had fun adding flowers to my boy page!
 
 
________________

Now for even more fun!!  Enter via the Rafflecopter widget below and we'll draw one lucky winner next Monday to win a Bloom & Grow collection pack & Petaloo flowers!  

a Rafflecopter giveaway

After you enter, head on over to the Petaloo blog to see what their team has created & enter to win a prize pack there as well!  

Want to follow Petaloo and keep up with all of their great projects & products?  Here you go!

Website

Facebook

Instagram

Blog

Join us again here tomorrow for one last day of more inspiring projects!

Supplies

Howdy!  Layle here with you today.  We've got a fun week planned for you - a Simple Stories & Petaloo Product Swap! 

Both design teams have swapped products and will be sharing on our blogs all week long.  Join us for some great inspiration as well as a chance to win a prize package from both Petaloo & Simple Stories! 

Creative team member Chantalle McDaniel joins us today -
_____________

Hello Simple Stories and Petaloo fans. I’m sure you’ll agree that the gorgeous new Bloom & Grow and Sunshine & Happiness are perfectly suited to oh-so-pretty Petaloo blooms! I’ve created two projects to share with you today using these new lines. Read on to see how they came together.
 
My first page, entitled Hooray Sunshine is about those first few days of early summer. Heading out to the beach at the start of the season, when you still need a cardigan against the breeze! It started life out as one part ‘Happy Day’ and one part ‘6x12 Elements’. 
 
 
I really love the floral print on the Happy Day paper so I decided to hoard the other half for another project and make use of the same print on the 6x12 Elements paper. By adding the two halves together I have created my own unique background paper and also given the page a good sense of movement across the horizon.
 
I mounted this new combo background onto some plain white cardstock for a bit of strength. So that my pattern didn’t end abruptly, I then went about echoing the floral print with lots of beautiful Petaloo flowers. In the pic below you can see how I have mixed in some hot pink Gerber daisies with some light pink canvas Dogwoods. In amongst there I’ve also added some super cute Sunshine & Happiness die cuts. I’ve picked up most of the colours in the pattern. The reason I have left one or two out is so that it doesn’t all become too ’the same’ if you know what I mean! By adding some flowers and leaving some printed paper it adds interest by way of texture and dimension.
 
 
For a few green tendril pops I curled some Petaloo white DIY Baby’s Breath around a pencil. I then echoed this spiral shape by creating paper tendrils of my own.
 
 
To create these, simply run a craft knife along the length of a metal ruler, really close to the edge of your paper. They are pretty delicate so go quite slowly. What you will be left with are lots of pretty paper tendrils to use as embellishments.
 
 
My title was created using the alphabet stickers from the Sunshine & Happiness 4x6 sticker pack. Tip: Line your letters along the edge of a ruler to transfer to your paper so they are evenly spaced.
 
 
For the finishing touches, I have gone about highlighting some areas with Glossy Accents, added some pom pom trim and a few bright enamel dot pops.
 
 
_______________
 
My next page makes use of the new Bloom & Grow. This collection is such fun! This photo was taken a couple of years ago when my little girl was in Kindergarten. She has grown up so much in such a short space of time - blooming and growing for sure!
 
 
I’ve created a large pennant shape in the centre of my page. I’ve used some natural twine as a guide, which you can find in a pack of Petaloo Teal Blossoms (Bulk Pack). I’ve used my staple board to attach the twine to my paper and then went about mirroring matching flowers on each side of the pennant, starting at the top, moving down. 
 
 
Inside the large triangle are lots of smaller ones which help the eye down the page. I’ve used some plain cardstock and some patterned paper and layered them in a haphazard style overlapping each other.
 
 
A view from the other side. 
 
 
Mr Gnome and these buzzy bees were just way too cute not to include on this project! I’ve used a paper piercer to pop through a few guide holes and then hand stitched my bees a little trail.
 
 
Pinks, blues, wood tones - this line is fun for so many themes!
 
Thank you for joining me today!
 
Happy Crafting
 
 
________________

Now for even more fun!!  Enter via the Rafflecopter widget below and we'll draw one lucky winner next Monday to win a Bloom & Grow collection pack & Petaloo flowers!  

a Rafflecopter giveaway

After you enter, head on over to the Petaloo blog to see what their team has created & enter to win a prize pack there as well!  

Want to follow Petaloo and keep up with all of their great projects & products?  Here you go!

Website

Facebook

Instagram

Blog

Join us again here tomorrow for one last day of more inspiring projects!

Supplies

Howdy!  Layle here with you today.  We've got a fun week planned for you - a Simple Stories & Petaloo Product Swap! 

Both design teams have swapped products and will be sharing on our blogs all week long.  Join us for some great inspiration as well as a chance to win a prize package from both Petaloo & Simple Stories! 

Creative team member Stacy Koo joins us today -
_____________

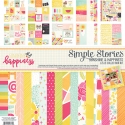
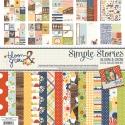
Hello crafters! It’s me, Stacy here today with 2 layouts using the Sunshine & Happiness collection and gorgeous flowers from Petaloo! I am so excited to use these flowers on my layouts! The idea came about pretty quick, inspired by the bright and vibrant colors!

The photos used here were taken last year where we went for a photoshoot. It has been close to 16 years since I knew the both of them. The memories were filled with laughter and sunshine!

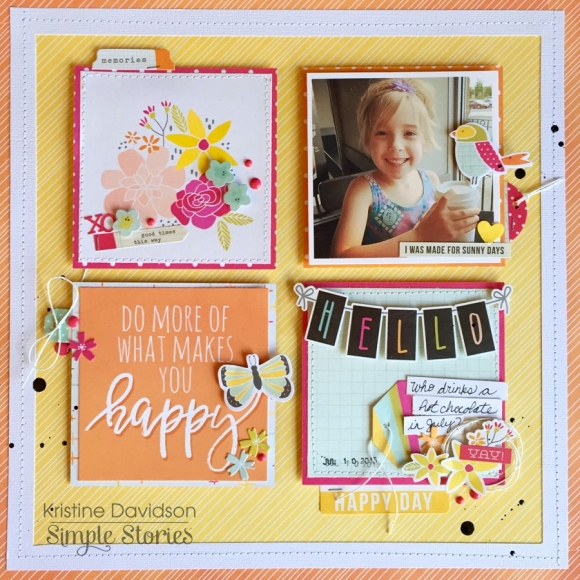
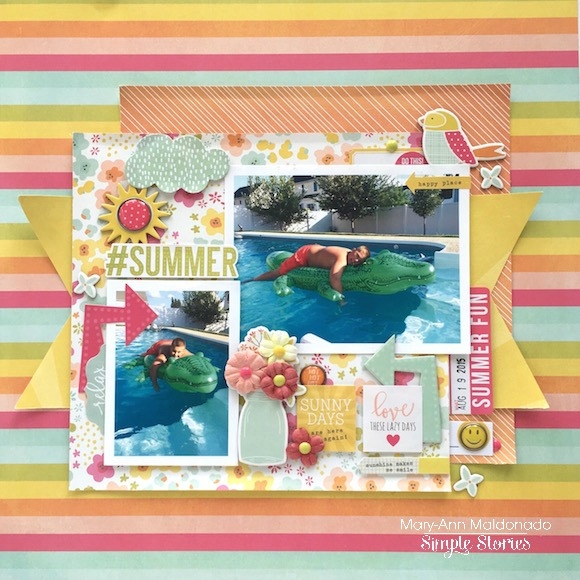
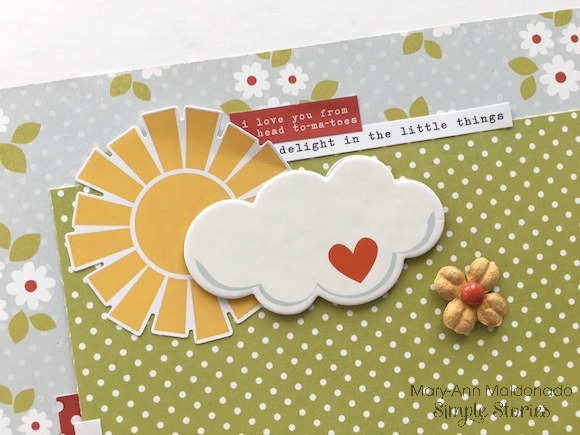
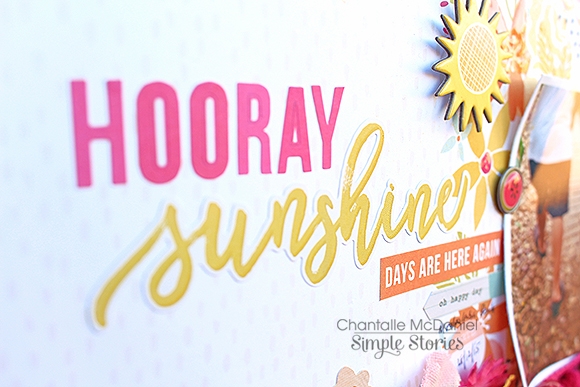
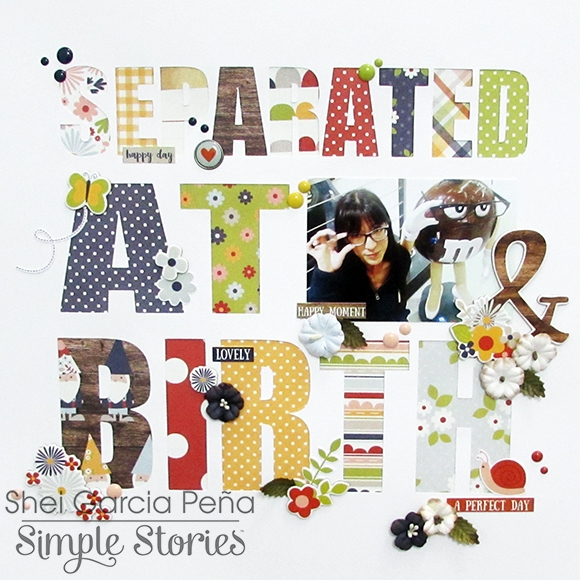
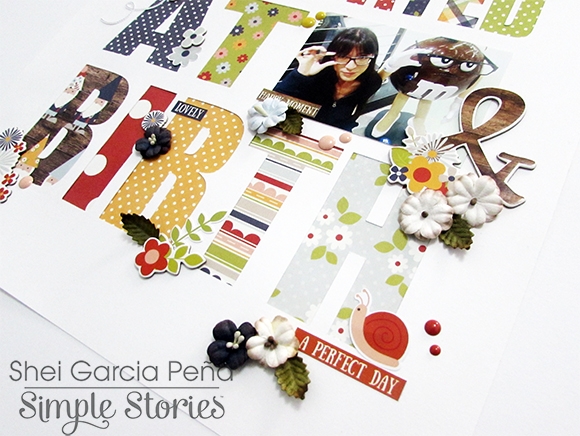
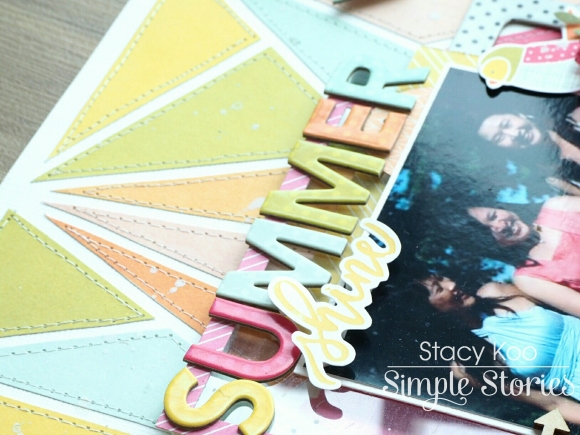
The first layout is titled “Summer Shine”.

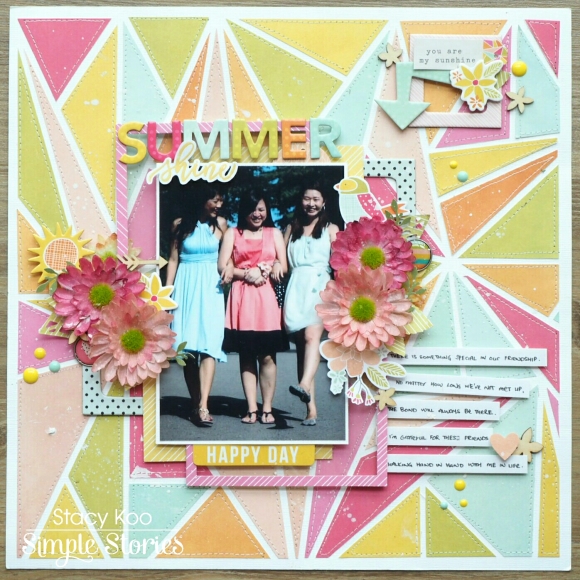
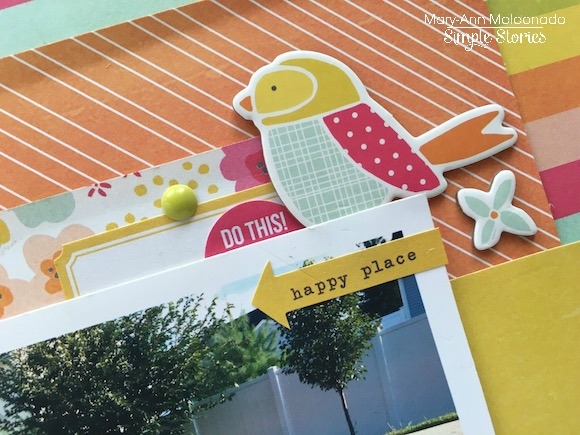
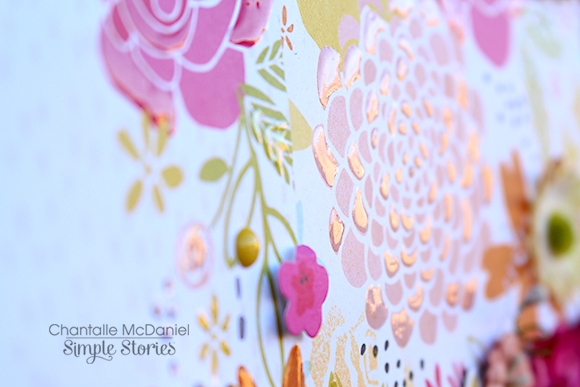
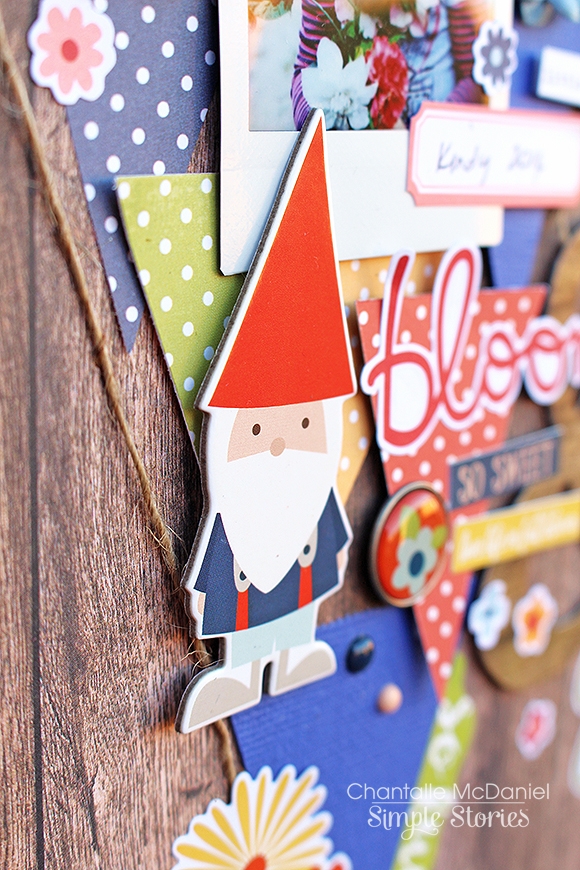
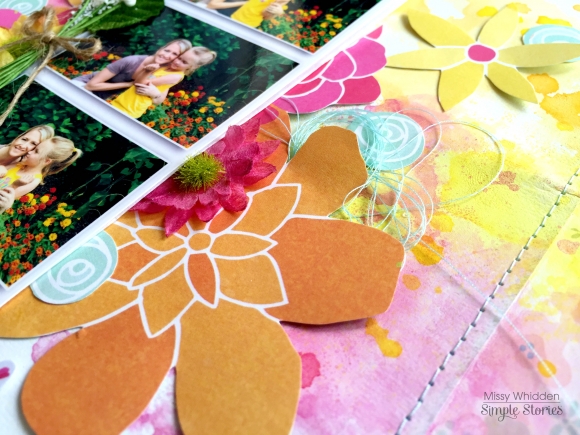
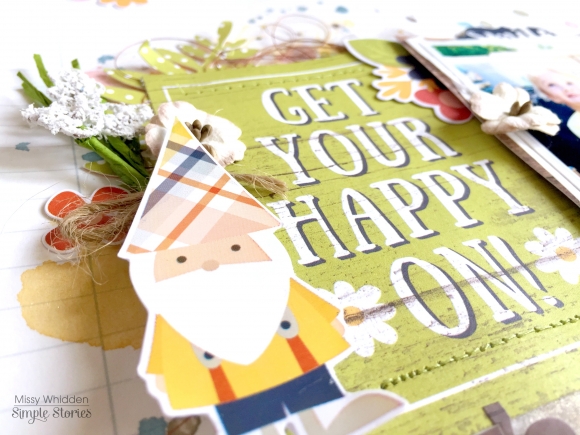
The papers remind me of my best friends pretty much, especially for the smiles and sunshine they bring me! The first piece that called out to me was the pattern paper High Five. I felt this urge to cut the whole piece of the paper up! So I went with the flow, and filled the entire background with the cut out pieces, sewing each cut piece onto the cardstock. The finished background looked like a completed jigsaw piece which depicts how I felt with my best friends. When I craft, I like to go through a process which fits the story I am telling.

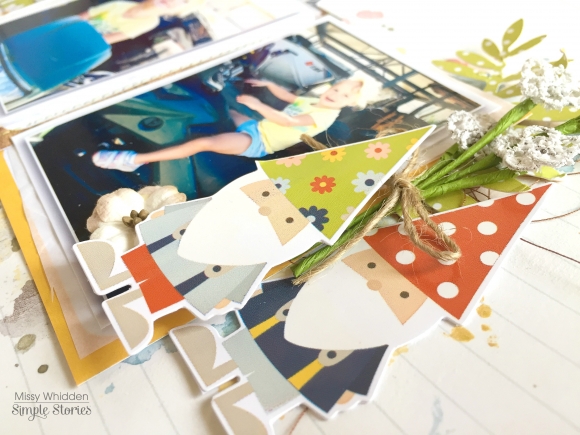
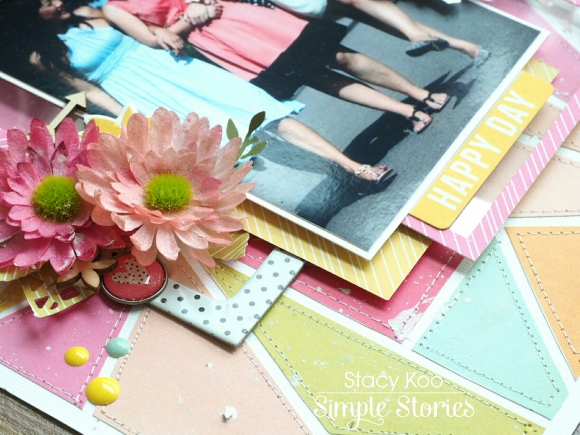
The background was so captivating and I did not want to cover up the photo area with too many papers, so I used some transparency for the layering instead. Here I cut some rectangular pieces with a window in the centre and backed it up with transparency. In addition, I added some chipboard frames (Life in Color Collection) to the sides as well. I cut them into 2 pieces, so I can really utilize more with 1 piece. (I am still very much in love with the stitched background!)

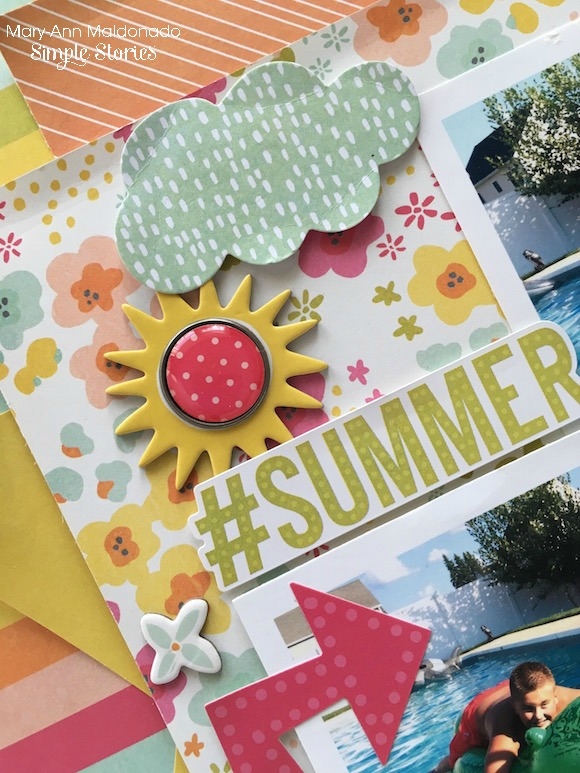
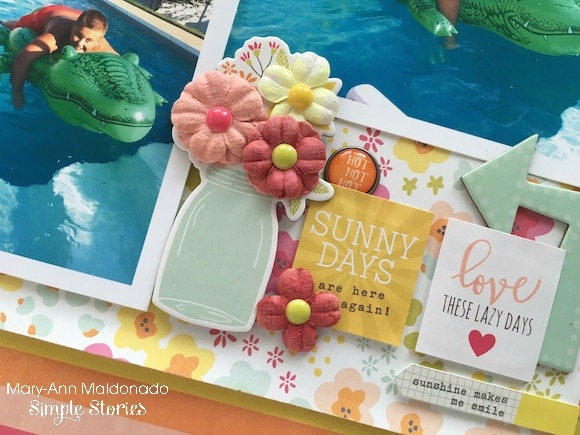
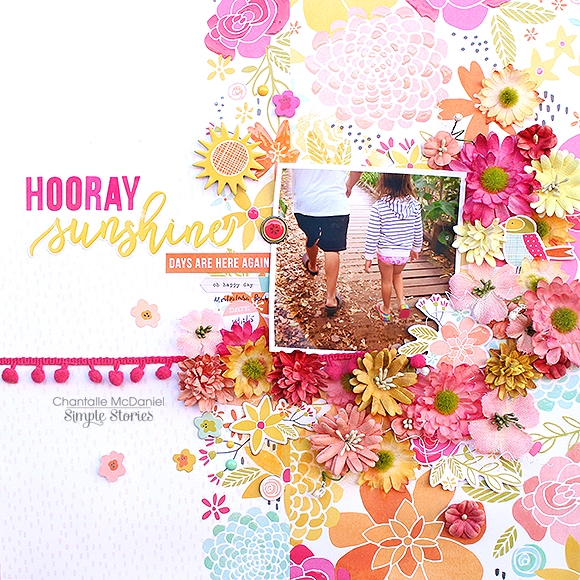
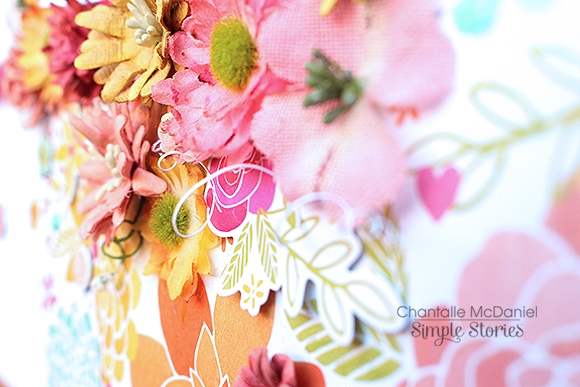
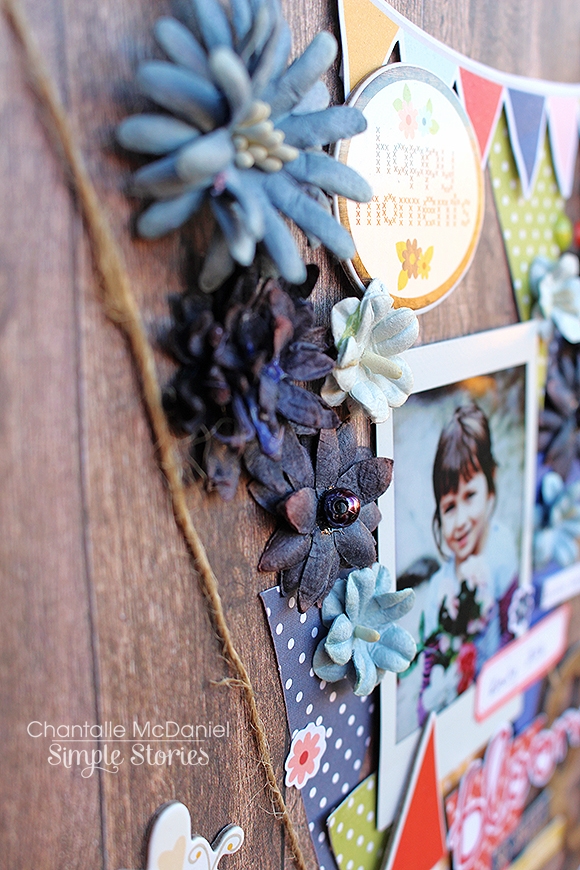
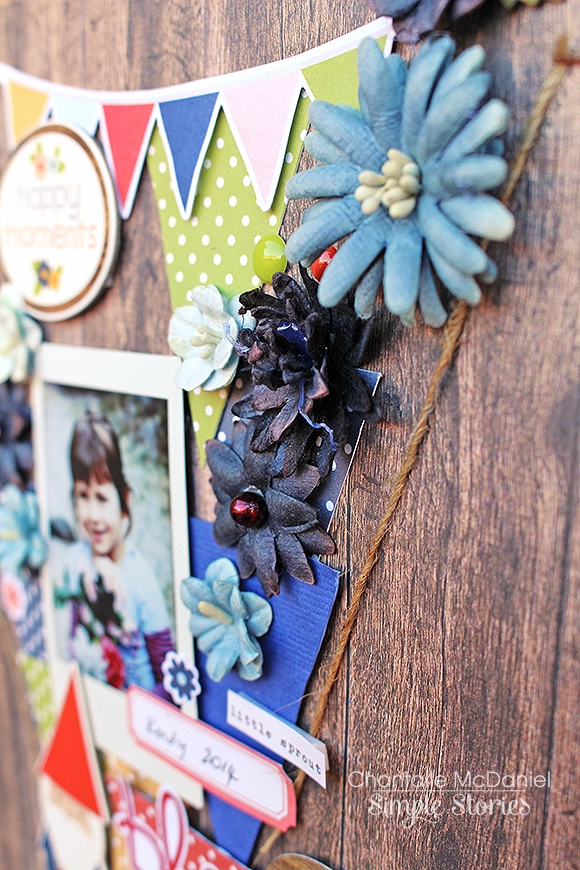
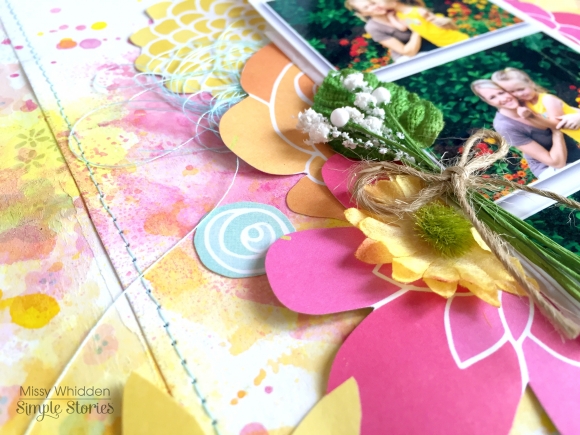
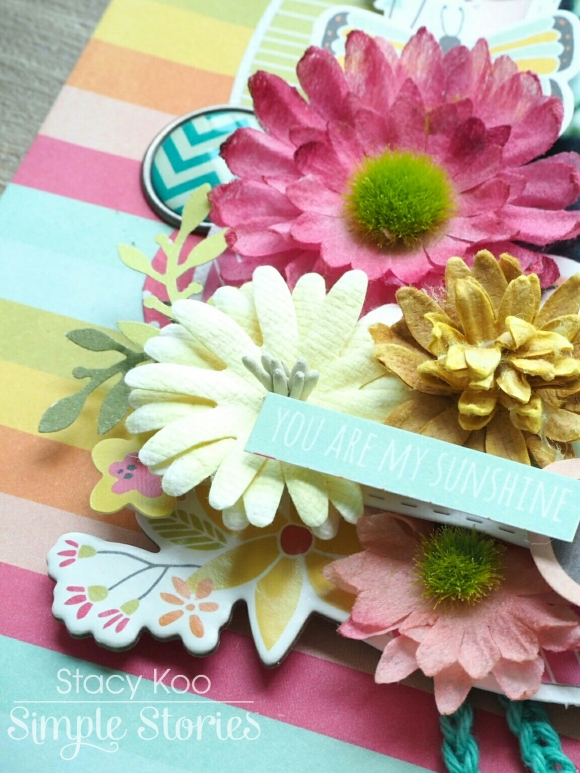
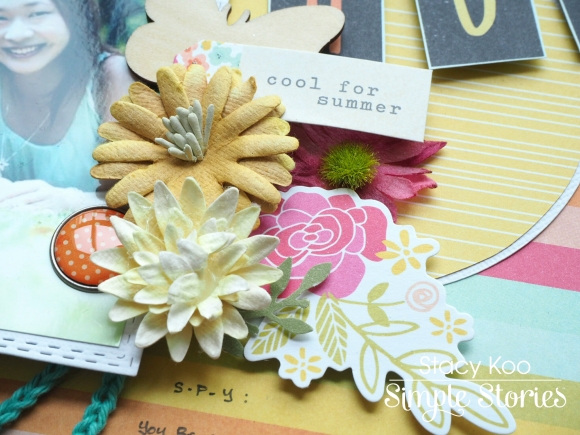
Petaloo flowers are extremely pretty! They highlight the entire layout immediately and I am drawn deeply towards the photo instantly with the gorgeous blooms! Here I first misted the flowers lightly with silver shimmer, adding a slightly glittery look to the flowers. Layer the flowers with diecut or punched leaves and SS embellishments to highlight the entire area!

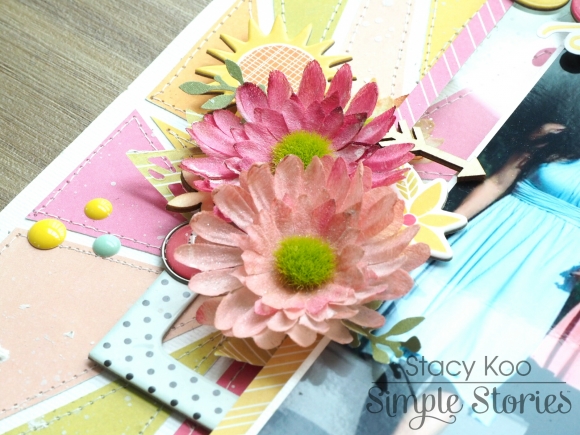
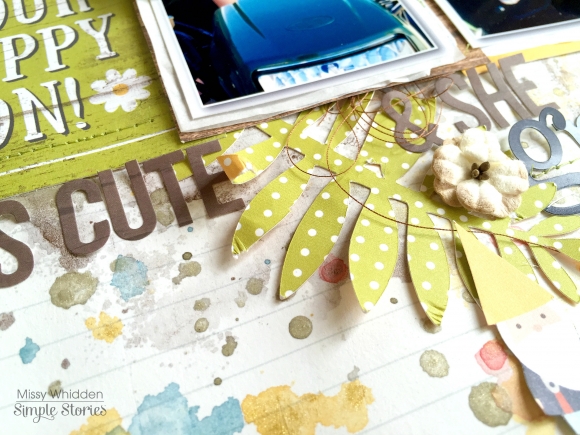
In order to flow the entire page with the same concept, i used another chipboard frame for this cluster of embellishment as well. I must say that SS has done it yet again in the Bits & Pieces pack. This pack really packs a punch! I totally love the pieces in here!

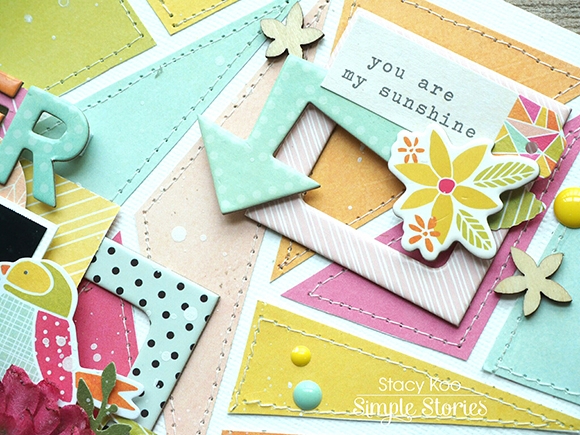
When I saw the chipboard pieces, it was immediately clear what the title would be. With such sunshine and joy in the photos, Summer Shine just seemed the most appropriate title for me!

Lastly, to finish up the entire layout, I covered up the photo with a napkin and added some splashes of gesso for a finished look. 

____________

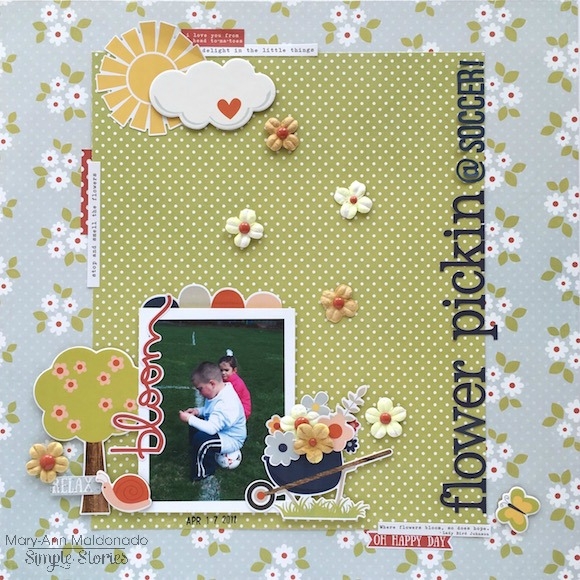
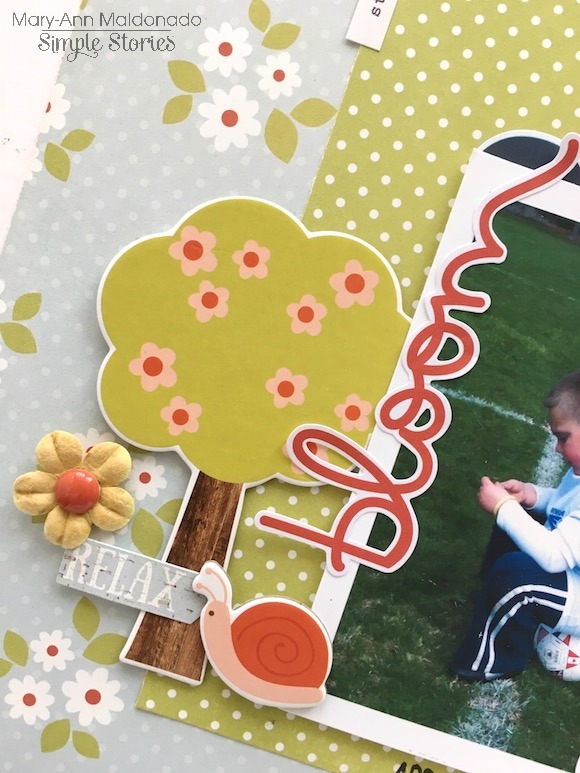
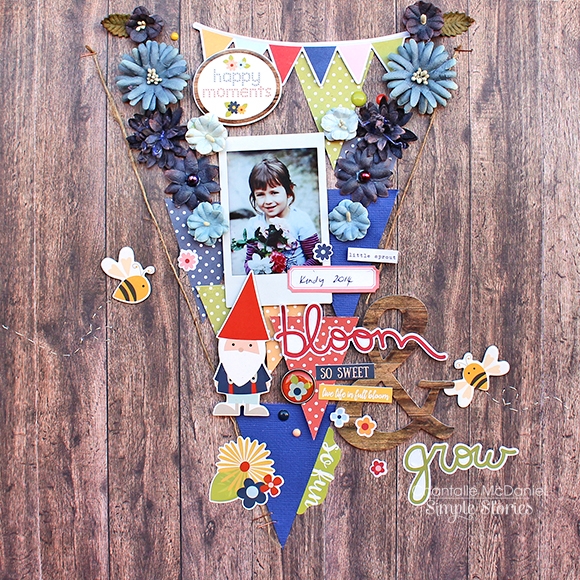
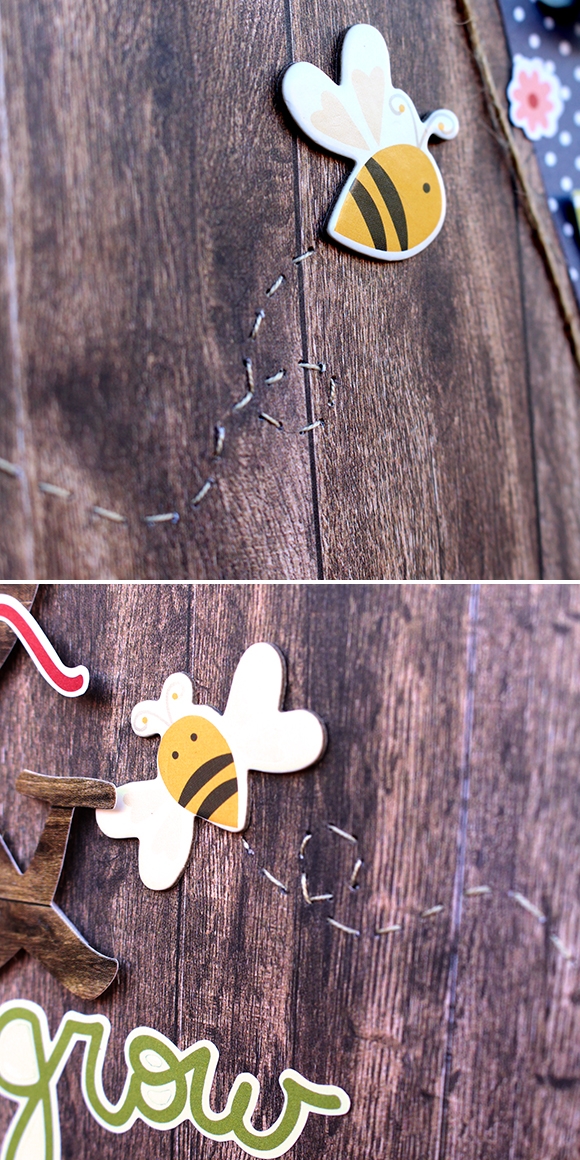
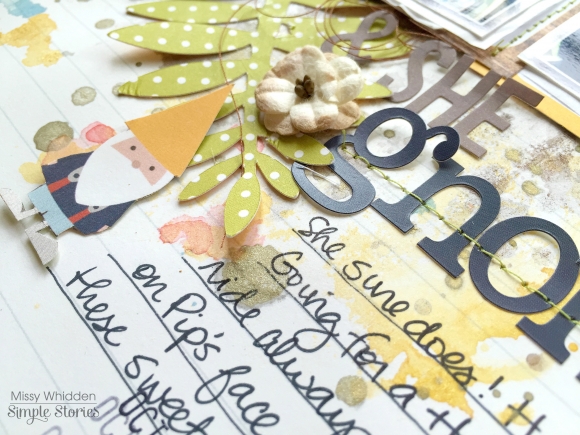
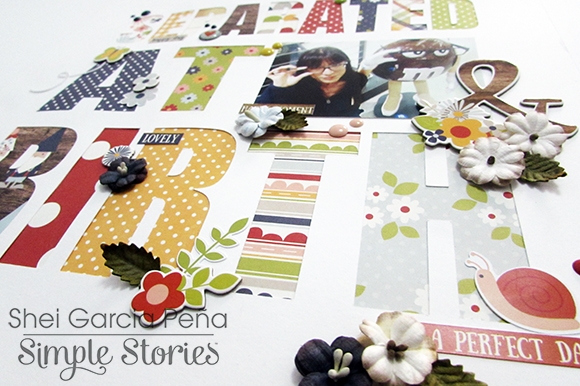
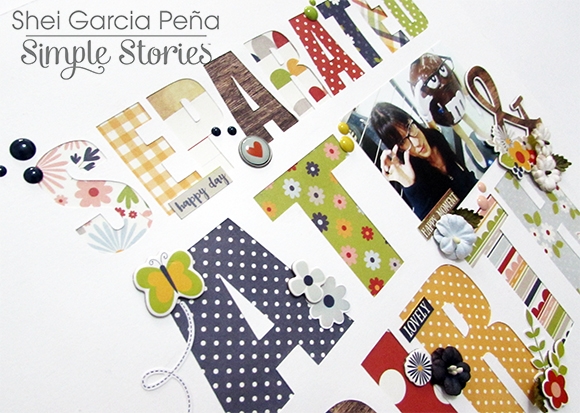
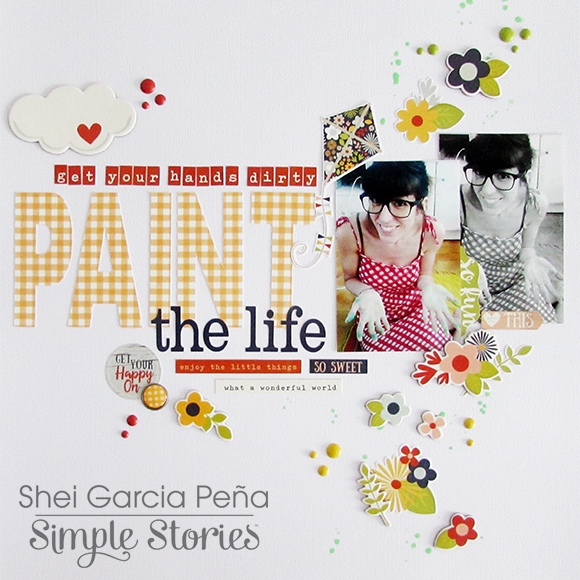
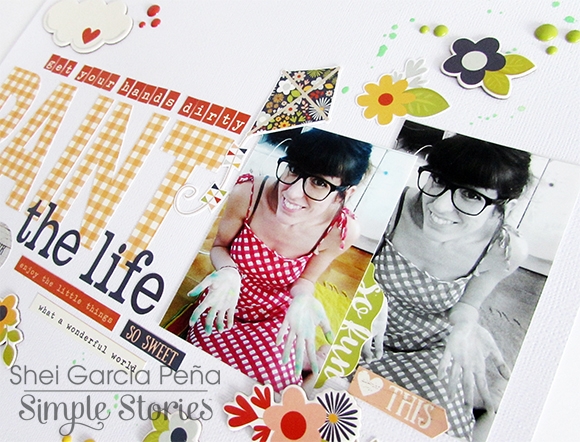
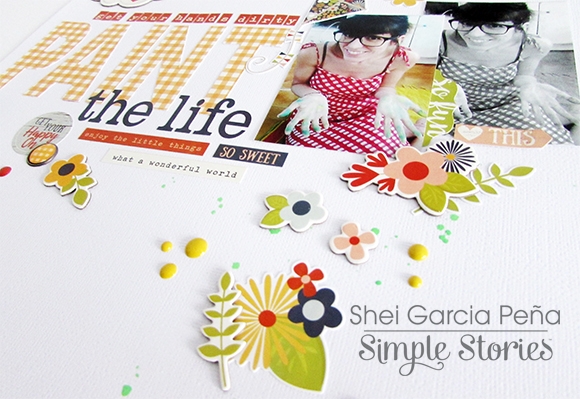
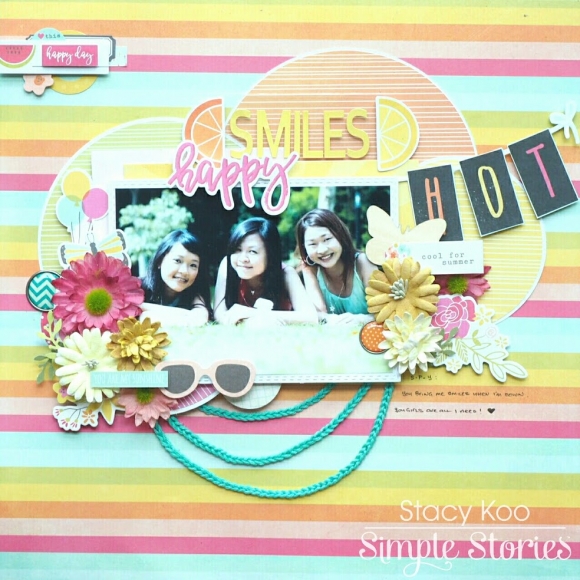
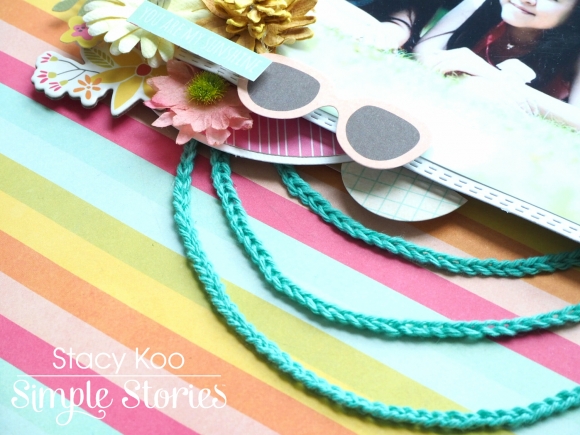
On the next layout “Happy Smiles”, I wanted to work with some stitching that signifies the friendship.  This time, I added the chain link. It helps me signify the chain of friendship and the memories we had together. 

You could sew the chain link stitch onto the layout, but for this time, I decided to add it as a dangling piece from the photo so I sewed it seperately.

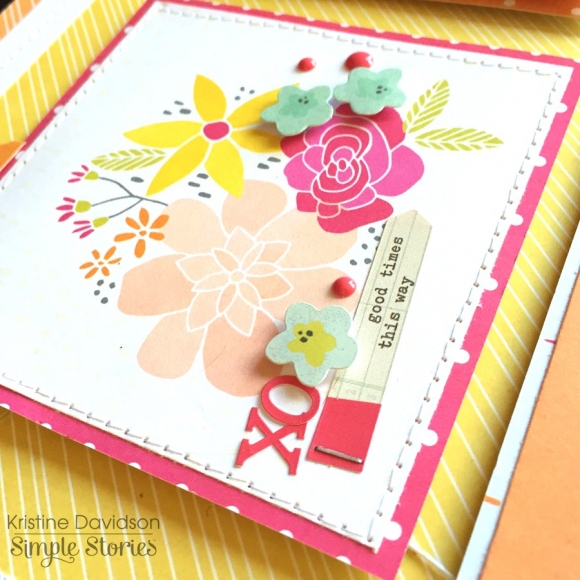
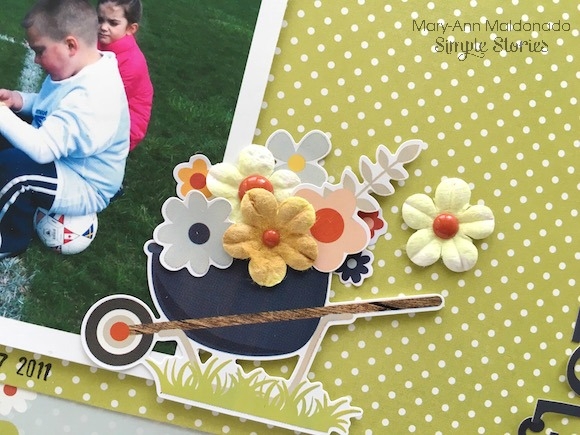
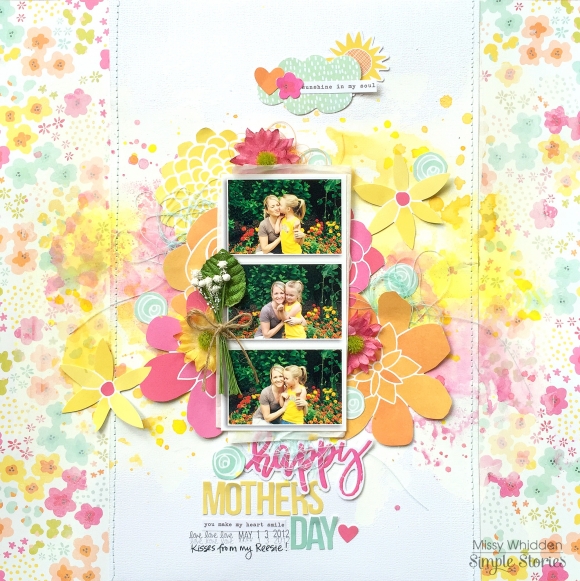
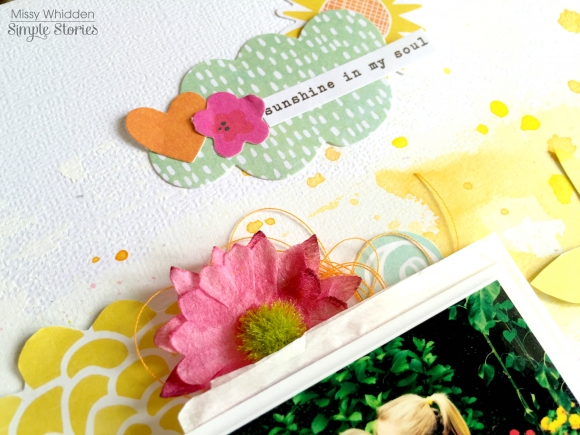
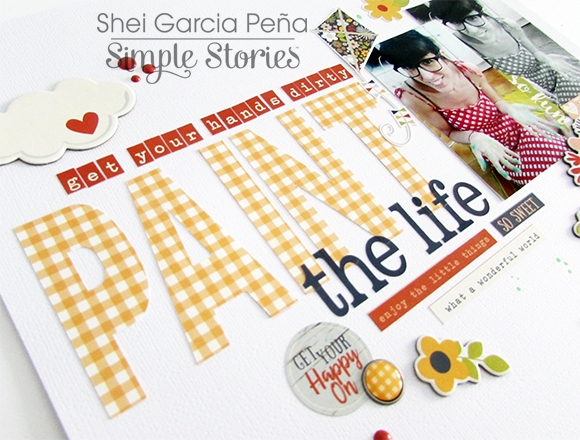
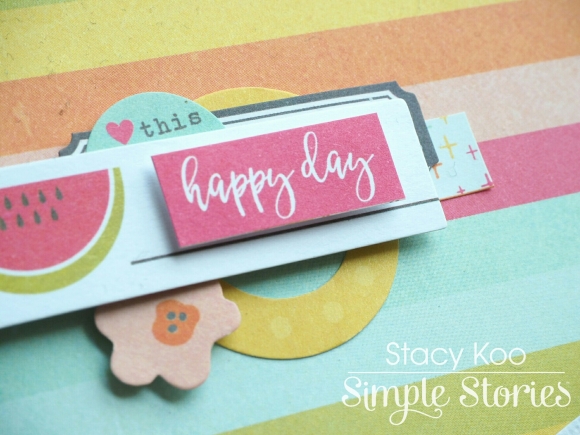
Aren't the papers gorgeous and bright? I love how much the circular elements displays behind the photo and the vibrant colors of the background.  After the layering, I added Petaloo flowers to enhance the circular elements. This time, I took a mix of Petaloo flowers for a different look. I wanted different flowers and shapes in this layout because the elements are kept simple to avoid over cluttering the page.  In addition, I added some phrases (from the stickers and Bits & Pieces pack) on top of the flowers. It is one way to highlight subtitle!

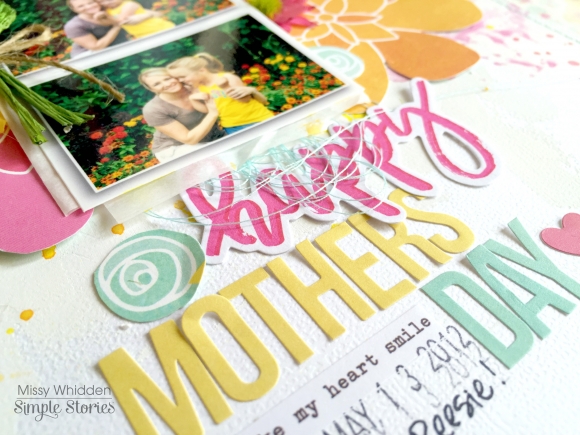
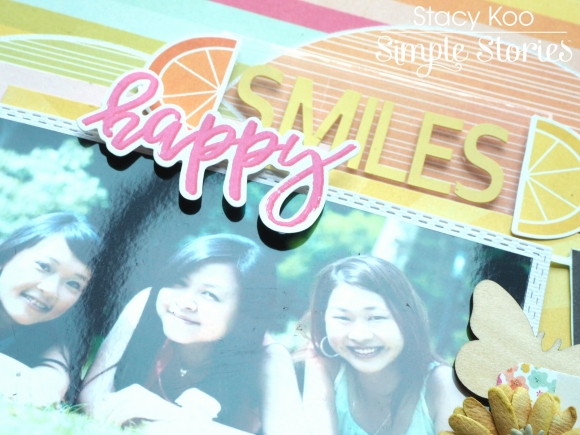
Using transparency behind titles also help to lift the title without covering the background or overwhelming the word. In this case, I added 2 pieces from the Bits & Pieces pack to provide emphasis to the word “Smiles” too. I like the sticker sheet. It gives me possibilities of any title in mind!


Lastly, i added stickers and embellishments in this cluster to finish up the entire look of the whole layout, keeping in mind the circular theme thoughout this layout.


Hope you like these layouts!

Don’t forget to drop by again for more goodies by the Design Team installed for you this week for the Simple Stories & Petaloo Product Swap!
________________

Now for even more fun!!  Enter via the Rafflecopter widget below and we'll draw one lucky winner next Monday to win a Bloom & Grow collection pack & Petaloo flowers!  

a Rafflecopter giveaway

After you enter, head on over to the Petaloo blog to see what their team has created & enter to win a prize pack there as well!  

Want to follow Petaloo and keep up with all of their great projects & products?  Here you go!

Website

Facebook

Instagram

Blog

Join us again here tomorrow for more inspiring projects!

Supplies

Howdy!  Layle here with you today.  We've got a fun week planned for you - a Simple Stories & Petaloo Product Swap! 

Both design teams have swapped products and will be sharing on our blogs all week long.  Join us for some great inspiration as well as a chance to win a prize package from both Petaloo & Simple Stories! 

Today creative team member Violet Ballew joins us with some Carpe Diem planner inspiration using the Sunshine & Happiness collection -
_____________

Hello, everyone! May is my favorite month, maybe it's because of all the beautiful flowers that bloom or that it is my Birthday Month and we get to celebrate Mother's Day. I just love everything about May. This month was very exciting to me because I was very fortunate to incorporate Petaloo elements to my Simple Stories and Carpe Diem planner layouts.

I started off this month by making a dashboard for my planner and filling my pockets. By adding Petaloo flowers it just really added some dimension to the dashboard.

The Sunshine & Happiness collection is so gorgeous!  I absolutely had a blast decorating my side pockets with it. All the yellow and pinks just remind me of a sunshine happy day. I tried to create that inside my pockets.

Talk about planner swag, this Simple Stories girl says it all! Pony to the side and huge shades is a must for may.

Of course I had to make paperclips, one of my favorite accessories for my planner.

Last but surely not the least is my monthly planer spread before the pen. Let's Party stickers were used and it definitely felt like one in my planner this month. Thank you to everyone who took the time to stop by the blog.

____________

Now for even more fun!!  Enter via the Rafflecopter widget below and we'll draw one lucky winner next Monday to win a Bloom & Grow collection pack & Petaloo flowers!  

a Rafflecopter giveaway

After you enter, head on over to the Petaloo blog to see what their team has created & enter to win a prize pack there as well!  

Want to follow Petaloo and keep up with all of their great projects & products?  Here you go!

Website

Facebook

Instagram

Blog

Join us again here tomorrow for more inspiring projects!

Howdy!  Layle here with you today.  We've got a fun week planned for you - a Simple Stories & Petaloo Product Swap! 

Both design teams have swapped products and will be sharing on our blogs all week long.  Join us for some great inspiration as well as a chance to win a prize package from both Petaloo & Simple Stories! 

Today creative team member  Missy Whidden joins us with two gorgeous layouts -
_____________

Hey there!  Missy back with you, and I’m excited to be participating in the Simple Stories & Petaloo Product Swap!  For my first layout, I used the new Sunshine & Happiness collection.  All of those gorgeous flowers jumped out at me, and so I decided to fussy cut several of them out and create a Mother’s Day layout.  I added a portion of some white cardstock on top of the Shine Bright paper and added some white gesso and watercolors to it.  I created a photo strip of some sweet Mother’s Day photos of me and my daughter, and the yellow and orange flowers matched this collection so perfectly.  I used the Petaloo Mini Gerber Daisies and one of the Baby’s Breath to accent my photos.

These pink Gerber Daisies were a perfect match for these fussy cut flowers.  I love these bright colors so much!  I added some light blue thread to bring out that light color in the patterned paper.  Here you can also see the watercolor background closely.

Here’s a look at the other side of the photo strips.  More fussy cut flowers, and I also added that beautiful Baby’s Breath.  It seems like it was just meant to be there!  I did a little light blue machine stitching on the edges of the cardstock for an extra pop of that light blue.

I used a few stickers and die cuts to create this cute little sun & cloud cluster above the photos.  I also added a bit of orange thread behind this pink daisy.

To create my title, I combined the “happy” die cut from the Bits & Pieces with some of the alpha stickers from the Color Vibe Lights SN@P! Stickers; they are the perfect size and color for making titles.


____________

I used the new Bloom & Grow collection for my next layout.  The colors and patterns make me think of outdoor fun, so I decided to scrap a layout with photos of my daughter on the 4-wheeler.  She gets so excited when we go for a ride!  I fell in love with the cute little gnomes in this line, so I wanted to incorporate them onto my page.  I also create a silly title to go along with them!  I did add a bit of clear gesso to my background paper before adding lots of watercolor.  I used one of the 3x4 cards from the Journaling Card Elements paper as a third photo.  I used three gnomes from the Fundamentals Cardstock Sticker sheet and used them as embellishments around the photos.  Around them was the perfect spot to add some of the Petaloo Queen Annes stems and Cream Petites flowers.

I combined some of the alpha stickers from the Expressions Cardstock Sticker sheet with the Light Snap Stickers.  I thought it was cute & clever since it matched the gnomes!  I fussy cut this little guy from the Chillin With My Gnomes patterned paper.  I also ran the Green Dot paper through my Cameo to create those leaves.

I created lots of layers and texture here.  I raised this gnome up with pop dots, and that gave a little bit of space to add the Petaloo stem.  I added that little red flower sticker to give that side a little pop of red, and I also added some brown tangled thread and then stitched through this green 3x4 card.

More cute gnomes and more pretty flowers!  I used a few of the Snap Pack cards as layers behind my photos as well as some white tissue paper.

Here’s another look at the title area and the mixed media work.  I love how the die cut leaves turned out, and these alpha stickers are so awesome for titles!  I added a few small Petaloo flowers here and there.  I love that they look like they have dirt on them…so perfect for an outdoor page!

____________

Now for even more fun!!  Enter via the Rafflecopter widget below and we'll draw one lucky winner next Monday to win a Bloom & Grow collection pack & Petaloo flowers!  

a Rafflecopter giveaway

After you enter, head on over to the Petaloo blog to see what their team has created & enter to win a prize pack there as well!  

Want to follow Petaloo and keep up with all of their great projects & products?  Here you go!

Website

Facebook

Instagram

Blog

Join us again here tomorrow for more inspiring projects!

Supplies

Howdy!  Layle here with you today.  We've got a fun week planned for you - a Simple Stories & Petaloo Product Swap! 

Both design teams have swapped products and will be sharing on our blogs all week long.  Join us for some great inspiration as well as a chance to win a prize package from both Petaloo & Simple Stories! 

Today creative team member Shei Garcia Pena joins us with two Bloom & Grow layouts -
_____________

Hi there!  It’s Shei here today. I’m so happy to be back on the blog sharing two layouts. Let’s get started!  For my first layout I used the new Bloom&grow collection. This line it’s so cute! I really like it ‘cause it’s very nice and sweet.  I started this page cutting with my Cameo Silhouette the title on a white cardstock: “Separated at birth”. Then I glued my picture in a middle of the sentence creating this funny composition.

I really love all the papers of the line so I filled each hole letter with a different paper (you can see all the papers I used down below). I enjoyed mixing different patterns!

To finish my layout I added some elements from fundamental and expressions cardstock stickers sheets and some flowers from Petaloo all around the layout - the flowers match the Bloom & Grow collection perfectly and are a great addition!  I also glued some embellishments from chipboard stickers and some enamel dots. Oh! And obviously, my lovely Bradz!!

____________

The next layout I’m sharing with you today was again created with the beautiful Bloom&grow collection.

As is usual with me, I chose white cardstock as my background ‘cause I like the brightness that the white color brings to the whole project. For this layout I used one of my favorites photos. My boyfriend took it after a very funny crafty moment that ends with my hands painted. I really like this pic, so I used twice, one in color and a second in black and white. 

I cut with my Cameo Silhouette the cool “Chin Up, Buttercup” paper (b-side part) to make one word of the title, as my started point. I used this paper ‘cause the print is like my dress, hahaha! I cut the word “PAINT” and I completed the sentence with the blue alpha from the Expressions Cardstock Stickers.

Next came my favorite part: the embellishing! For that I used some stickers from the Fundamentals Cardstock Stickers and some sentences from the Expressions Cardstock Stickers. I also added some elements from the Chipboard Stickers (this cloud is so lovely) and a few enamel dots to give dimension to my layout.

Finally, I stained with green paint (like my hands in the pic) and glued one of my favorites Simple Stories’ embellishment: the self-adhesive brads (I love them!!).

Thank you so much for taking the time to read my post! I hope you enjoyed my layouts! See you next month!

Never stop smiling! Kisses!!
____________

Now for even more fun!!  Enter via the Rafflecopter widget below and we'll draw one lucky winner next Monday to win a Bloom & Grow collection pack & Petaloo flowers!  

a Rafflecopter giveaway

After you enter, head on over to the Petaloo blog to see what their team has created.  

Want to follow Petaloo and keep up with all of their great projects & products?  Here you go!

Website

Facebook

Instagram

Blog

Join us again here tomorrow for more inspiring projects!

Supplies

Pages