Kelly Alexandra's Blog Posts

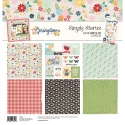
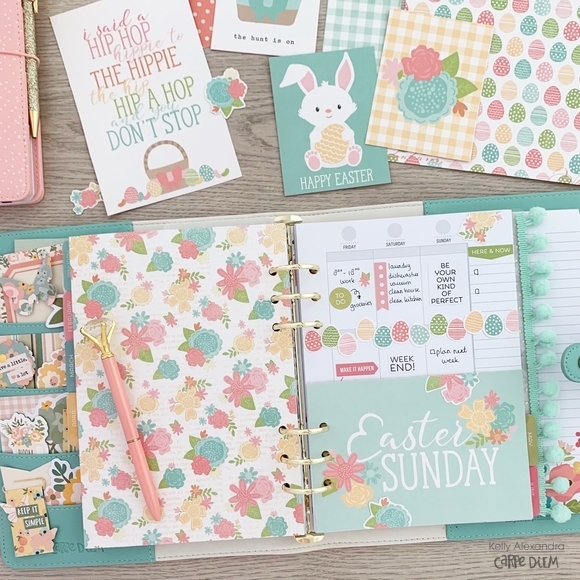
Hello, it is Kelly here today with a new blog. I am a bit ahead of time but I already created some fun happy Easter spreads in my planner with the new cute Easter Simple Set called ‘Bunnies and Baskets’.

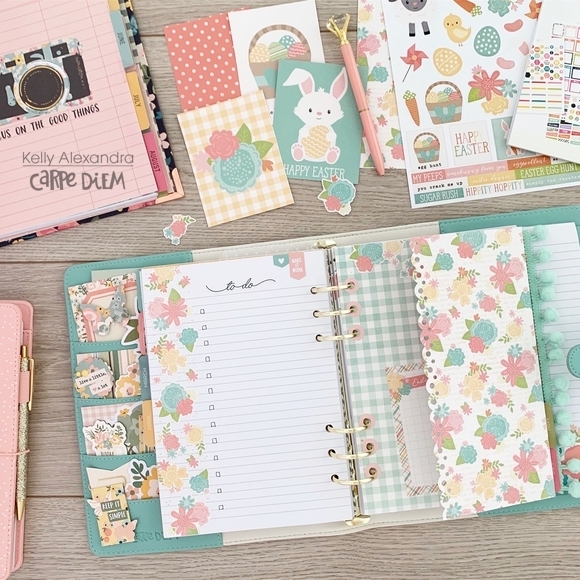
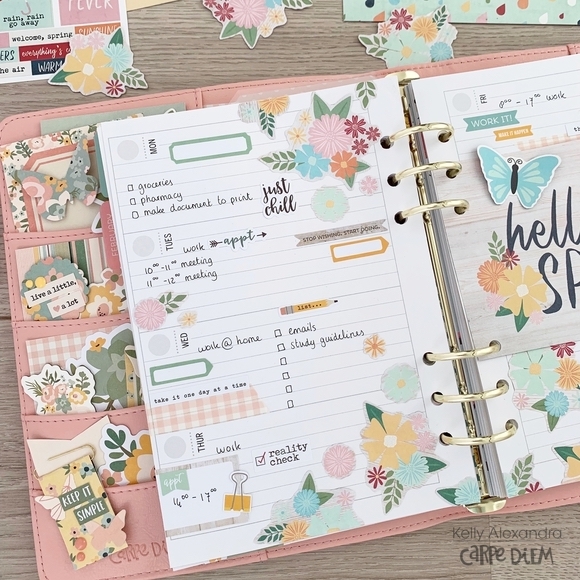
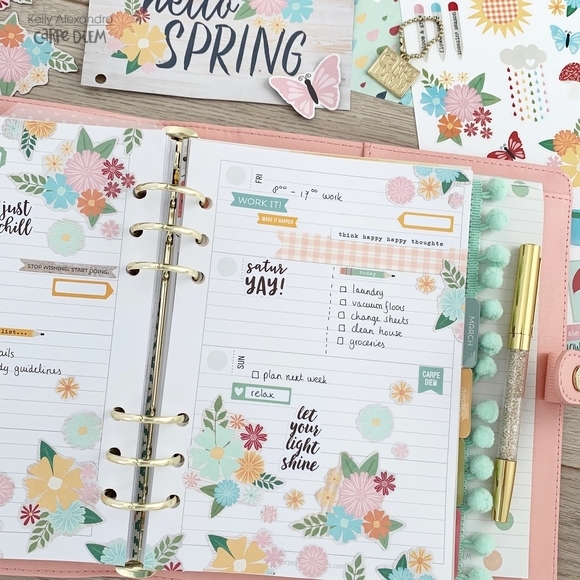
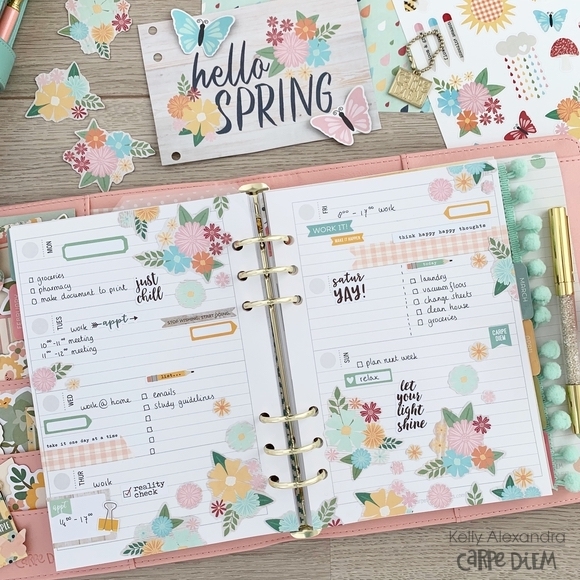
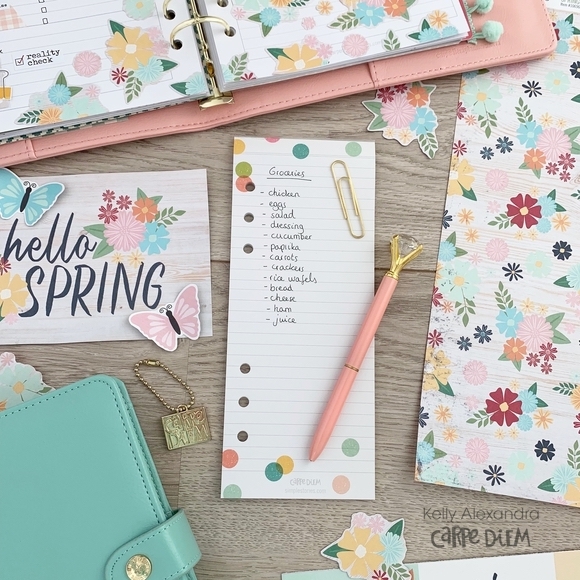
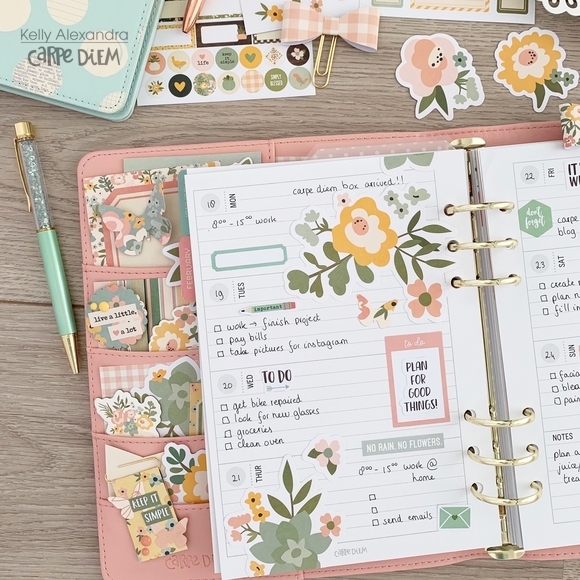
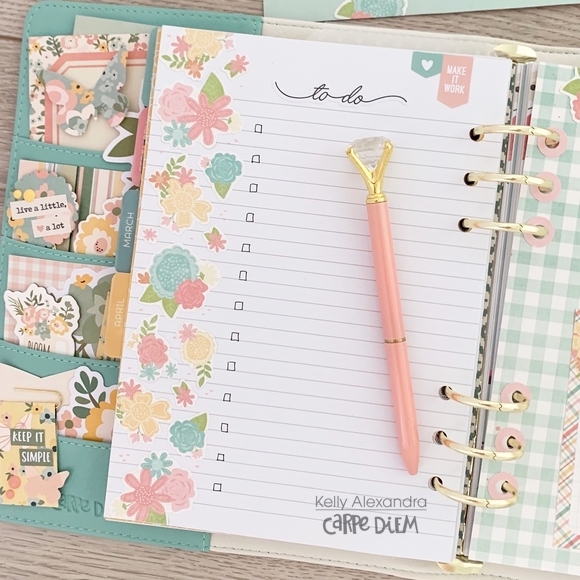
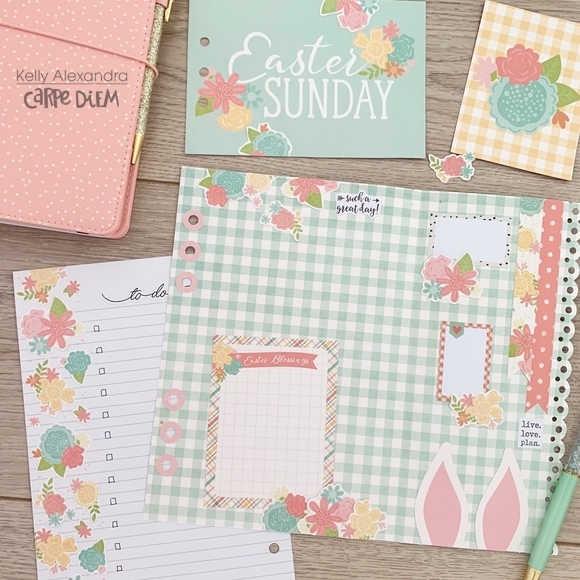
Because I know I have much to do in the Easter weekend, I decided to create a decorated to-do page. I used a basic lined paper and fussycutted florals from the ‘Easter Blessings’ paper (#10686). I fussycutted a third of the paper and glued them on the side of the lined blank paper. I draw some check-off boxes and used a to-do sticker to finish the page.

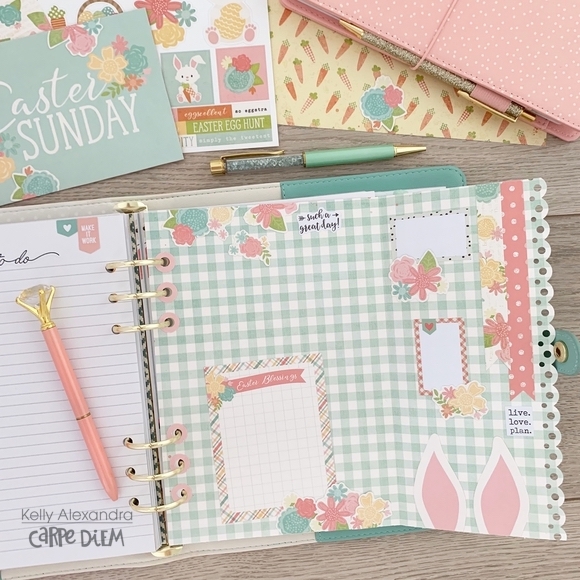
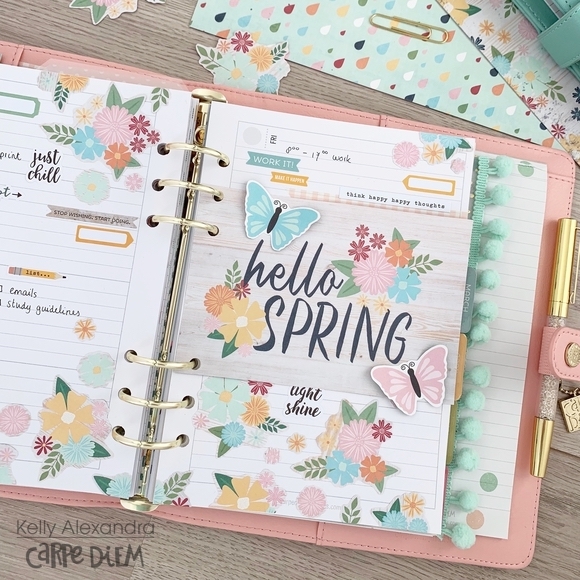
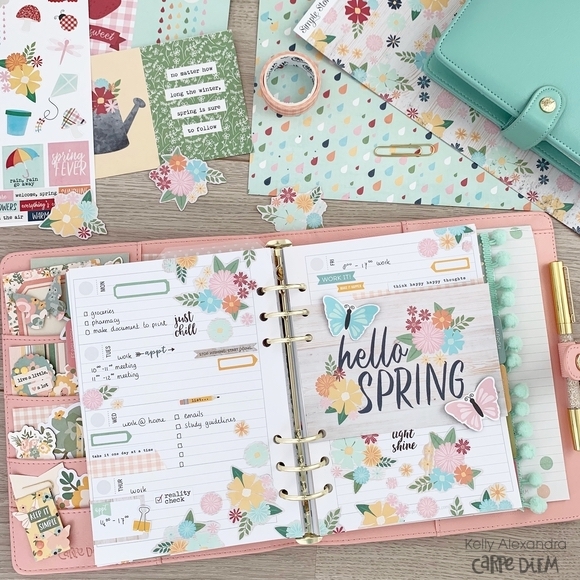
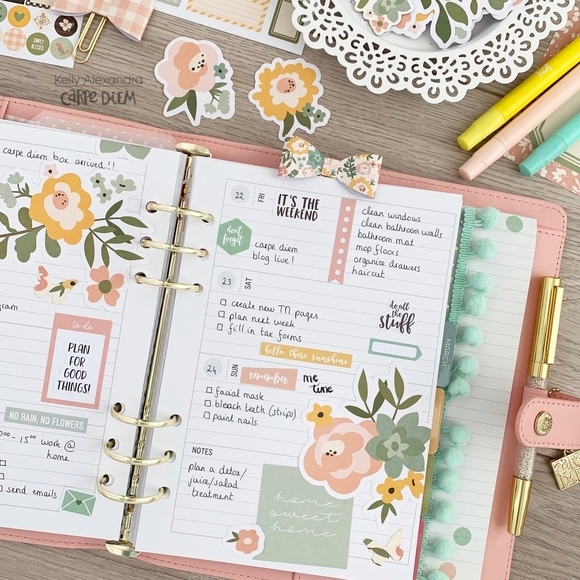
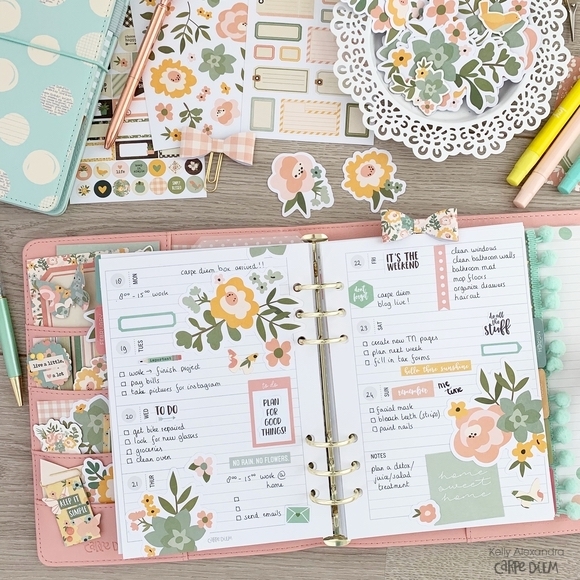
I always spend Easter with my family and to create a spread in my planner to document this year’s Easter celebration I created a flip-out page. I used a border punch from my stash to create a fun border of the part of the page that flips. I decorated the page with florals, pieces of paper and a notecard. The page is now done, I only have to add some photo’s and journaling. Love the little bunny ears at the bottom right of the page.

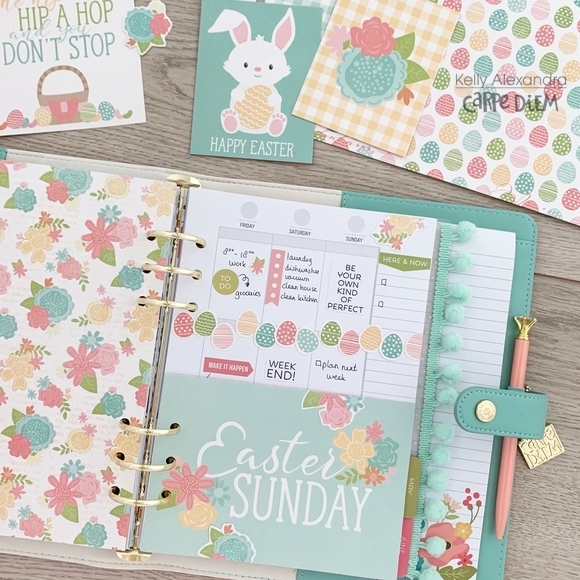
One of the papers in the Simple set is filled with little Easter eggs in fun colors (paper ‘The hunt is on’, #10687). I fussycutted a few of them and glued them overlapping in a row on the middle of the vertical planner page. I added some functional stickers to finish the spread!

I hope you enjoyed reading this little Easter blog and you can find more planner inspiration on my instagram account.

Have a nice day!

Supplies

Hello! It is Kelly here on the Carpe Diem blog and today I am going to show you how I use a few scrapbook papers to decorate a weekly spread. I am using the springtime Simple set in my blush A5 planner. 

The Springtime Simple set includes three different 12x12 papers and one half stickersheet. The Welcome Spring (#10696) paper is filled with cute florals. If you follow my style for a while, you know by now that I love to fussycut floral papers. Of almost half of the paper I fussycutted all the florals to use in my spread.

On the bottom of the two pages I glued lots of the florals in a fun arrangement. I also glued a few florals on the top page. The pink gingham washitape is from the Spring Farmhouse set and matches very well with this collection. I added some phrase stickers from the ‘Hello’ Carpe diem sticker tablet and some functional stickers from the ‘Planner Basics’ tablet. I think in almost every spread lately I am using this basics tablet, I love it!

The 3x4 and 4x6 Elements paper (#10698) includes a 4x6 card with Hello Spring on it. I cut it out and used the Carpe Diem plannerpunch to punch the holes so that it fits in my planner. I also fussycutted two butterflies from the Elements paper and only glued the middle part of them on the card, so that they can pop up a little.

Lastly, the bookmark tablet that fits in the back pocket of the planner is perfect for quick groceries lists! Just tear them off and bring it to the supermarket. I hope you enjoyed reading this blog and you can find more planner inspiration on my instagram account.

Have a lovely day!

Supplies

Hello everyone, it is Kelly here today with a new blog! I just got my creative team box filled with products from the new Spring Farmhouse collection and it is absolutely gorgeous. I decided to switch my A5 planner to the Blush color and setup the pockets with the new collection.

In this collection you can find a whole set of only floral bits and pieces!! I used them in my front pockets together with some pieces of paper and floral chipboard pieces.

Besides the floral bits and pieces set in this collection you can also find enamel dots and bow paperclips. These products got me inspired and I made some of my own paperclips. Two flag paperclips, a layered butterfly clip and a scalloped round clip. I decorated the paperclips with some word stickers, floral pieces and the enamel dots.

I cut the ‘Love a lot’ paper as a front dashboard and used the Carpe Diem punch to punch the six holes. I decided not to decorate the dashboard because I just love the floral print. However, I did cover the paper with a gold dotted acetate piece from my stash.

For my horizontal weekly spread I used a few of the floral bits and pieces as main decoration. I also used the Planner basics sticker tablet and the Bloom sticker tablet from Carpe Diem for some functional stickers to finish the spread. I left enough blank space in the spread to write down all my to do’s and appointments for the week.

I hope you enjoyed reading this blog and you can find more fun planner inspiration on my instagram account.

Have a lovely day!

Supplies

Pages