Kelly Alexandra's Blog Posts

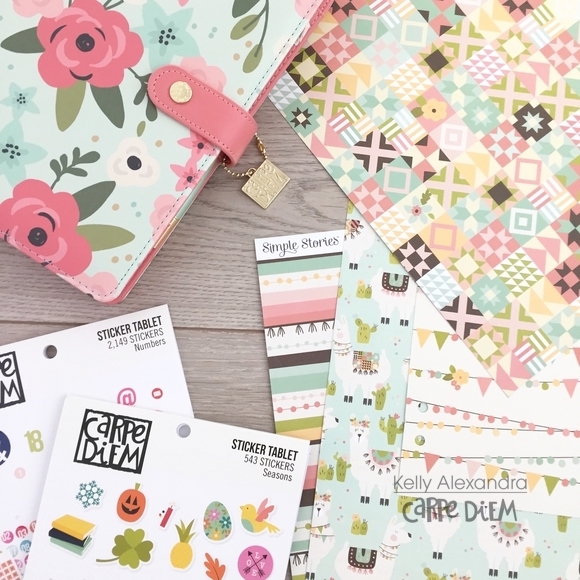
Hi everyone, it’s Kelly here on the blog today with my setup for May. This month I decided to change my Robin’s Egg A5 planner with the new gorgeous Mint Blossom planner. I used the Simple Set ‘Mama Llama’ and some sticker tablets to decorate my monthly spreads.
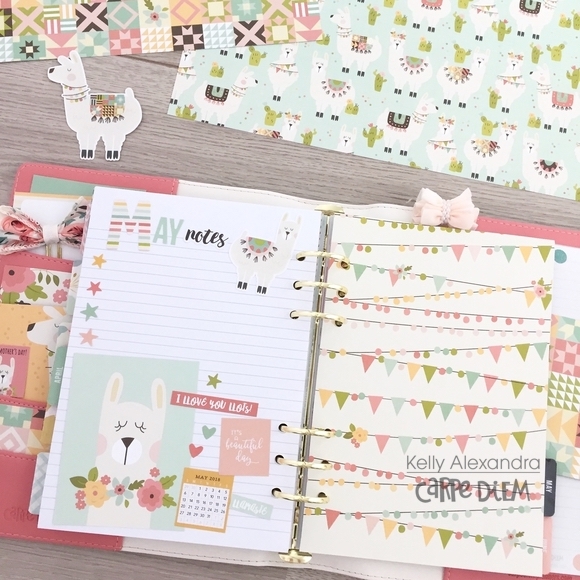
First, I made a notes page, to be able to write a few things I need to remember this month. Because I already knew I didn’t needed the whole page, I decorated half of it with some pieces and stickers from the Simple Set.
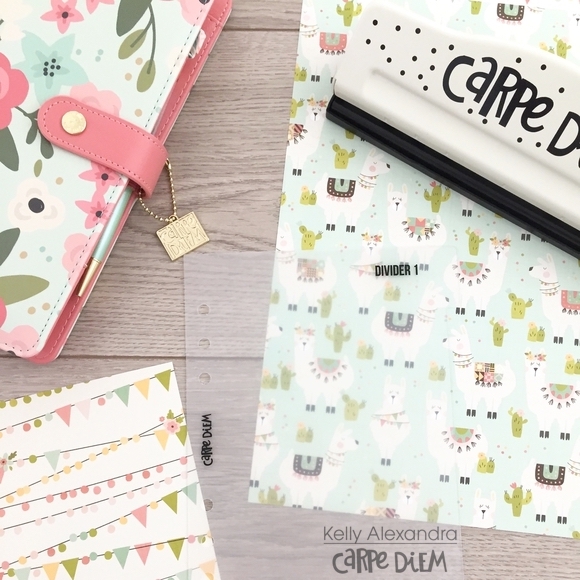
I used the A5 divider templates and my A5 planner punch to quickly make a divider from the 12x12 paper with the cute lama’s on it. It is very easy and the result is a fun divider that matches my decorations.
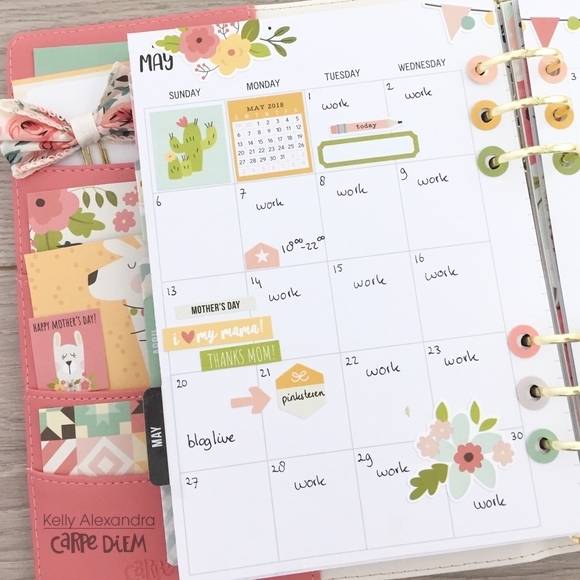
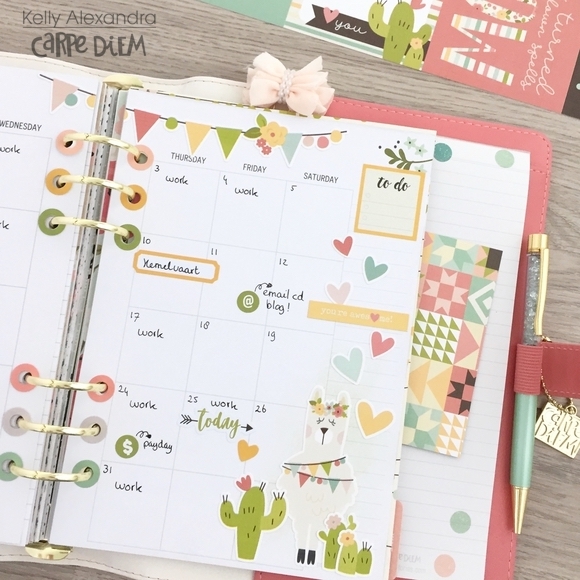
I love to decorate my monthly spreads but leave enough space to keep it functional and write down important appointments.
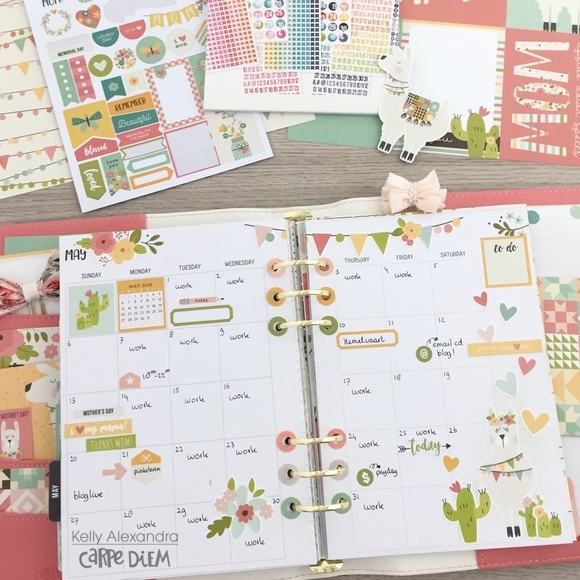
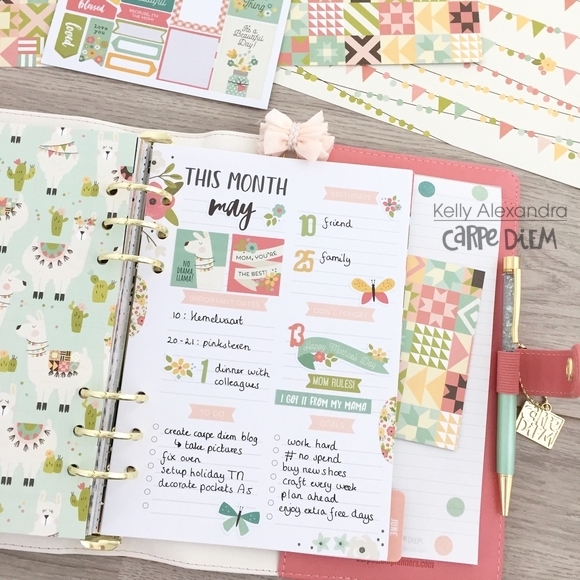
On the ‘this month’ page for May I used the new Number sticker tablet to mark the dates and the Seasons sticker to tablet to decorate.

I hope you enjoyed reading this blog! You can find more spreads in my Carpe Diem planner on Instagram createplannernl https://www.instagram.com/createplannernl/

Have a nice day!

Supplies

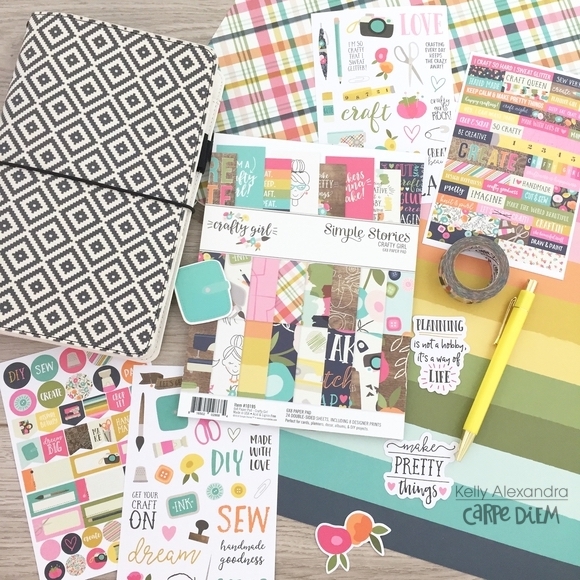
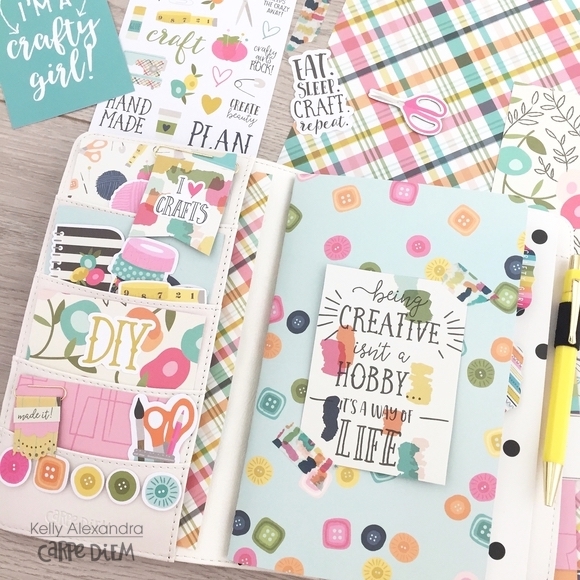
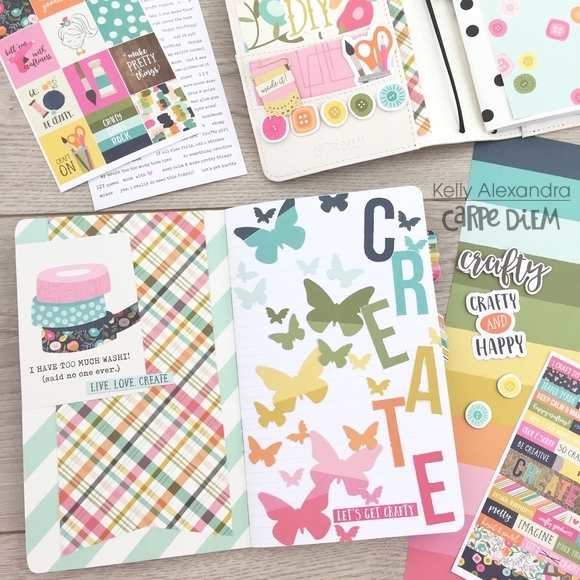
Hi everyone, Kelly here with a new blog all about my Crafty Girl Travelers Notebook (TN). For a while I wanted to dedicate a TN for all my craft projects. I wanted a place to write down ideas for special projects, spreads and layouts. But also a place to write down measurements, techniques and swatches of all my inks and pens. When I saw the ‘Crafty Girl’ collection I immediately thought about this project and started decorating my Aztec TN.

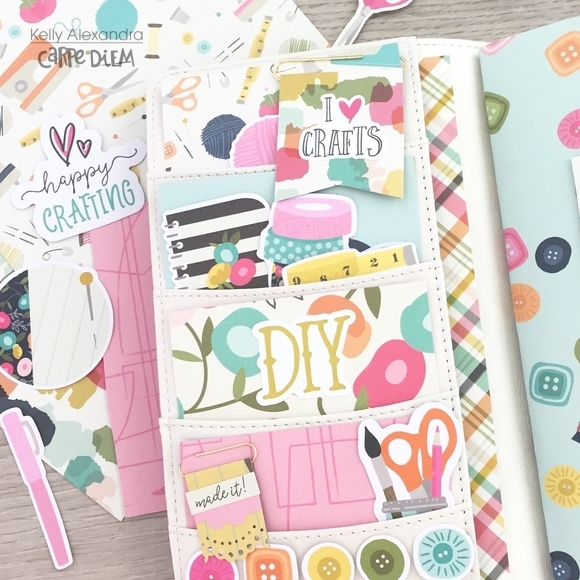
For decoration purposes only, I filled the front pockets with papers and bits and pieces from the collection. I covered one of my notebooks with a scrapbook paper and added a 3x4 card.

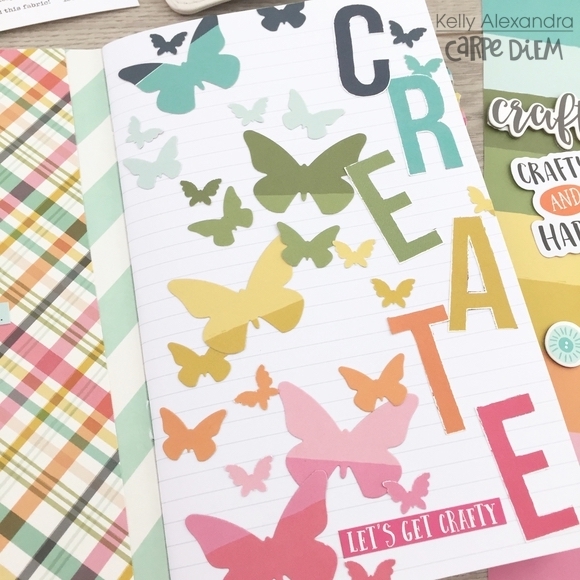
For the opening page in the notebook I made a special spread using the word Create and the ‘Hand made’ paper. I punched different sizes butterflies from the different colors of the paper and placed them in the same rainbow order as the paper. Love the end result!

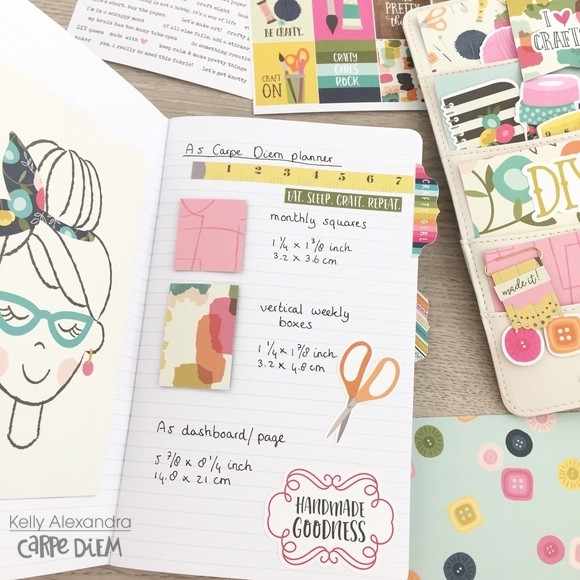
I used some tab stickers from the combo sticker sheet for the different sections of my notebook. In the first section I will write down all the measurements I need while planning. For example, I made templates and noted the measurements of the monthly and vertical weekly boxes for A5 planner inserts. I attached the templates with washitape on the page. This way I can easily grab them when I need them for a spread.

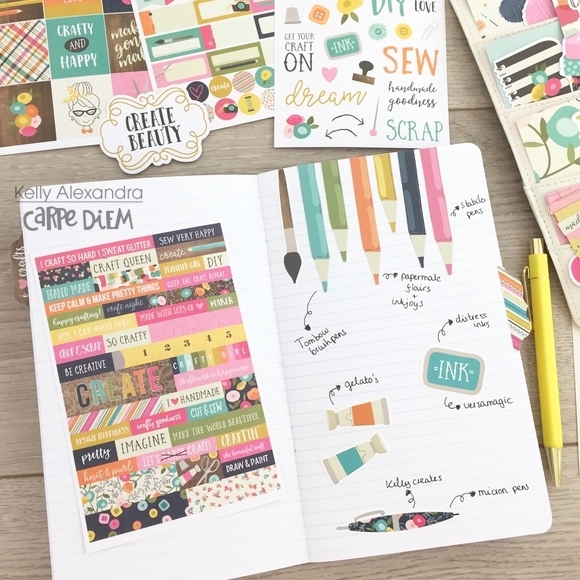
Lastly, I made an opening page for the swatches of all my color pens, brushpens, inks, etc. The collection has some awesome stickers and ephemera to match this theme, such as pencils and inkpads. In the pages behind this opening page I will swatch all my colors as a reference for use in my planner and projects.

For now, the setup of my Crafty TN is done and I can easily add more measurements, techniques, ideas etc!

Have a lovely day!

Supplies

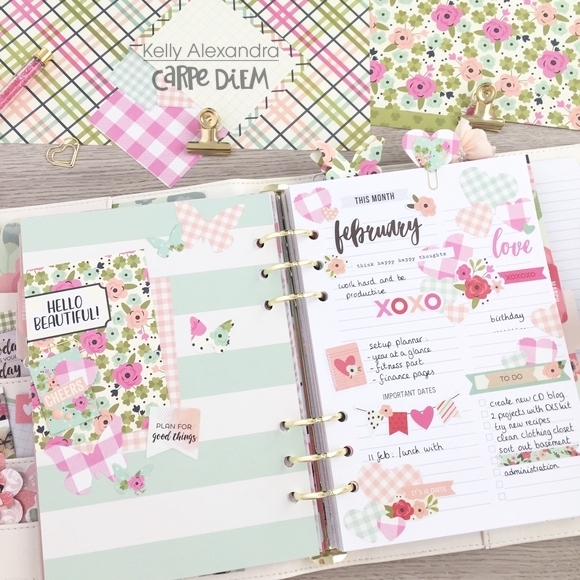
Hi everyone, it’s Kelly today on the blog with my planner setup for February. This month I used the St. Patrick’s day Simple Set, the Seasons A5 sticker tablet and the Wood and Gingham 12x12inch paperpad.

I punched some hearts from different color gingham papers and layered them on the ‘This month’ page. In addition, I used the February stickers from the Seasons sticker tablet.

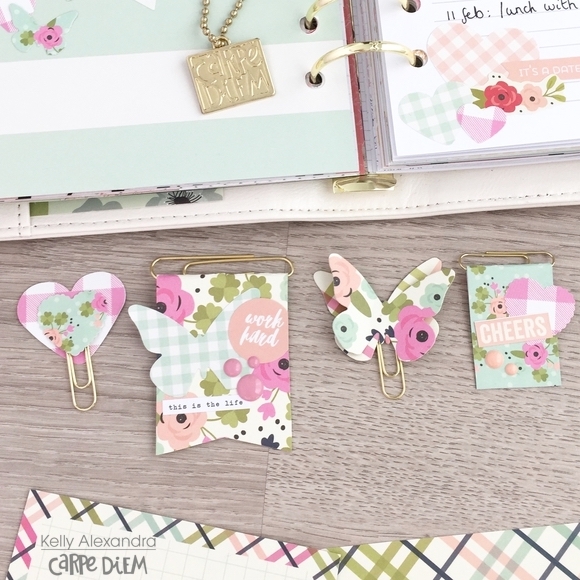
I have a confession: I looooove to make diy paperclips. It is so fun to do, it costs little time and the end result is so cute and functional.

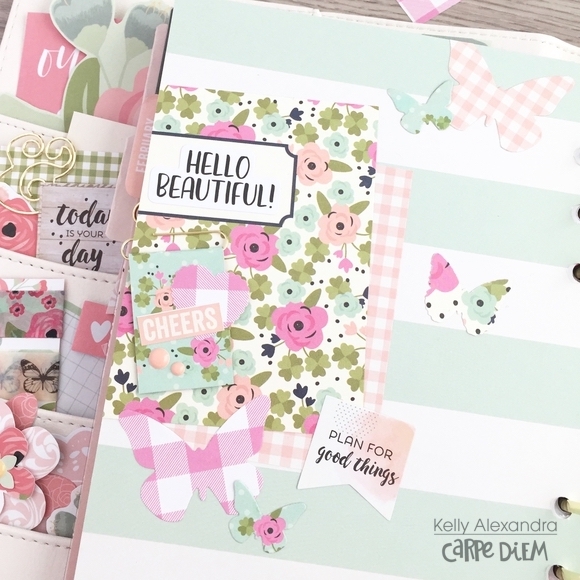
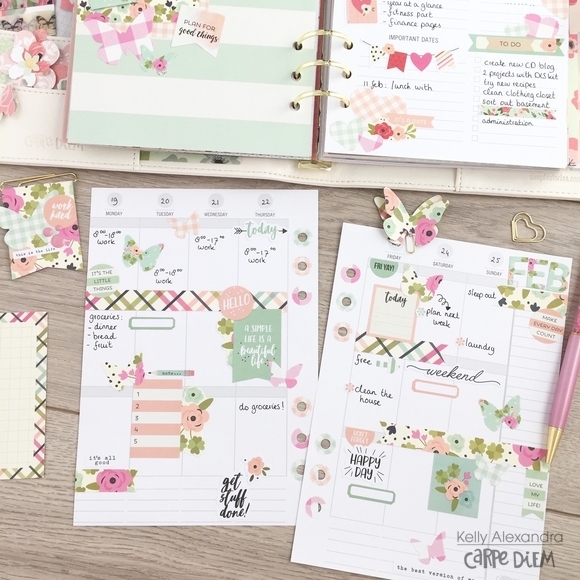
This week I decorated my vertical planner pages with some punched butterflies and stickers from the A5 Bloom stickertablet.

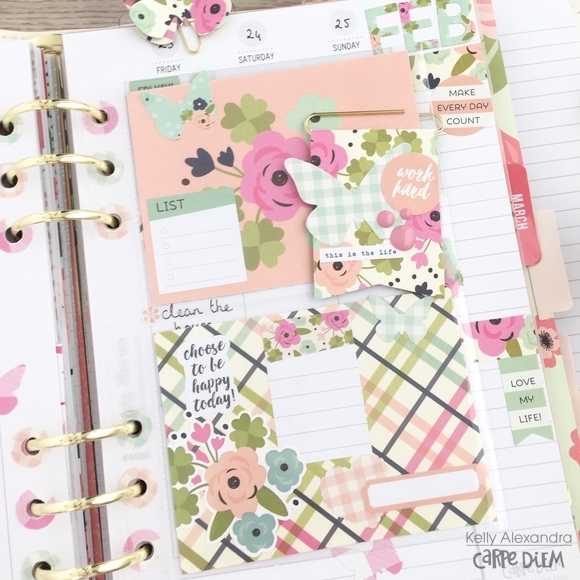
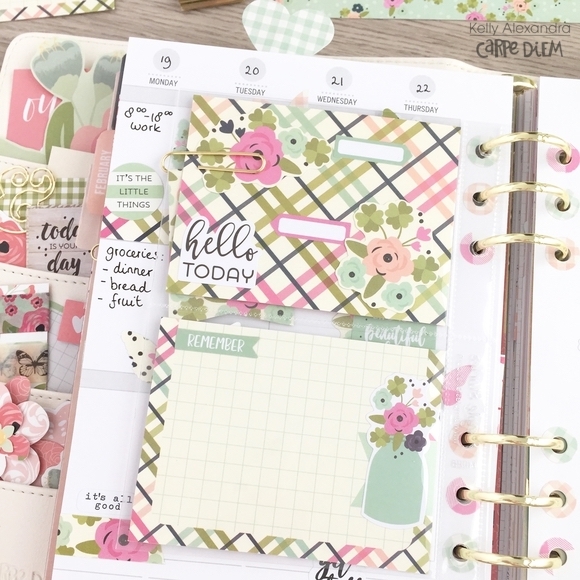
I used a SN@P 6x8 pocket page, punched some extra holes and created a pocket insert for my planner to write down some extra to do’s and things I don’t want to forget.

Thanks for reading my blogpost, have a nice day!

Supplies

Pages