Kelly Alexandra's Blog Posts

Hi everyone, it is Kelly here today on the Carpe Diem blog. I get asked quite often how I set up a new planner and what basic supplies I use. In this blog I will show how I have setup my new planner for 2019.

Step 1: choose a planner and monthly insert set

I love to use the A5 planner size, because this gives me enough room to have functional and creative spreads. The planners come in different colors and floral prints and you just have to choose which one you like the most. Or like me, buy multiple planners and switch them often. Carpe Diem released three new beautiful monthly insert sets, but I decided to go for the floral ‘Hello’ set for my main 2019 planner setup.

Step 2: choose weekly pages

There are different kind of insert sets available; weekly, daily and hourly sets. I love to use the horizontal and vertical weekly pages, so every other month I switch them out.

Step 3: basic supplies

In my opinion, there are a few basic supplies that you need when you are setting up a new planner: the A5 planner punch, a bookmark notepad that you can out in the back pocket of your planner and sticker tablets. Of course, you need lots of stickers! I recommend to buy at least the ‘planner basics’ and ‘numbers’ tablet, because they are useful in every spread.

Step 4: personalize your planner

The fun part of setting up a new planner is that you can create your own dashboards and extra dividers. The A5 planner punch makes it really easy to punch and add your own dashboards in your planner.

I made a fun little washitape card with some samples of my favorite washitapes. I made the card by laminating a piece of acetate and punched three holes on the left side. You can also use a piece of paper instead of the acetate.

Step 5: make a future log

For this basic planner setup, I also made a future log. A future log is a place in my planner where I can write down future appointments and to-do’s. For the basis of this future log, I used the grid pages of the basic inserts pack and the mini monthly calendar stickers. I decorated the pages with some stamps, flowers and stickers.

I hope you enjoyed reading this blog, you can find more inspiration on my planner instagram. Have a nice day!

Supplies

Hi everyone, it is Kelly here today with part two of my fall planner blog. In my last blog I have shown how I have setup my A5 Blush planner for fall and in today’s blog I will continue with some fun fall decorations in my planner.

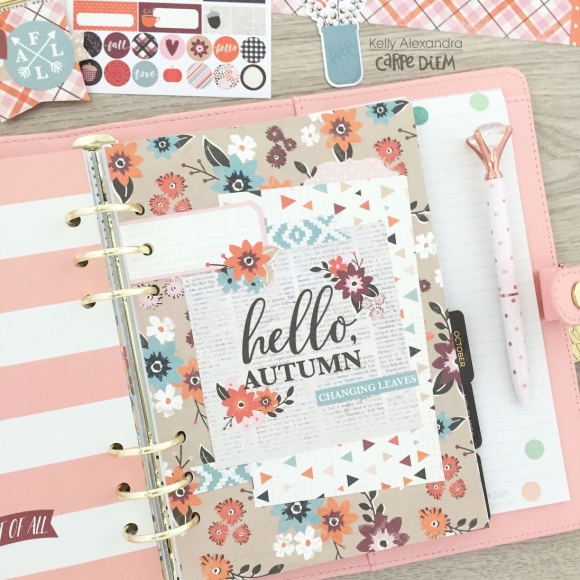
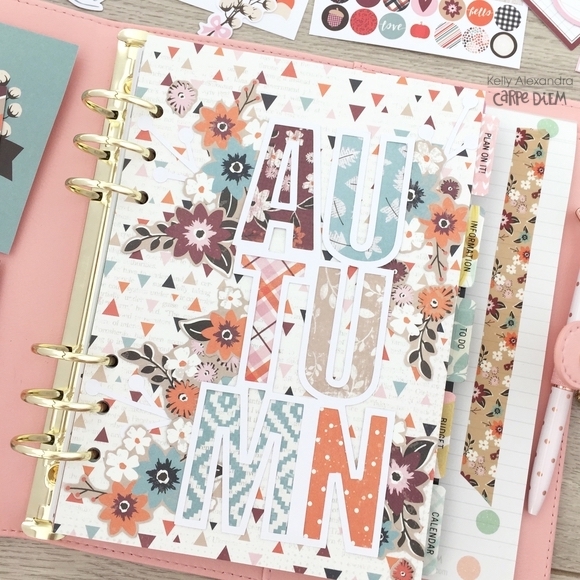
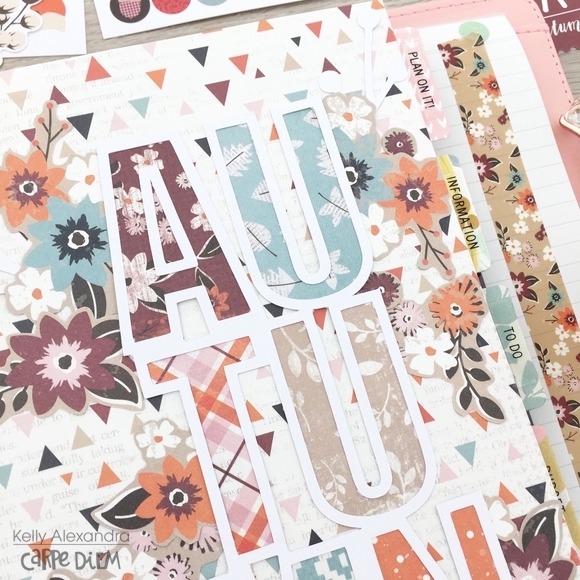
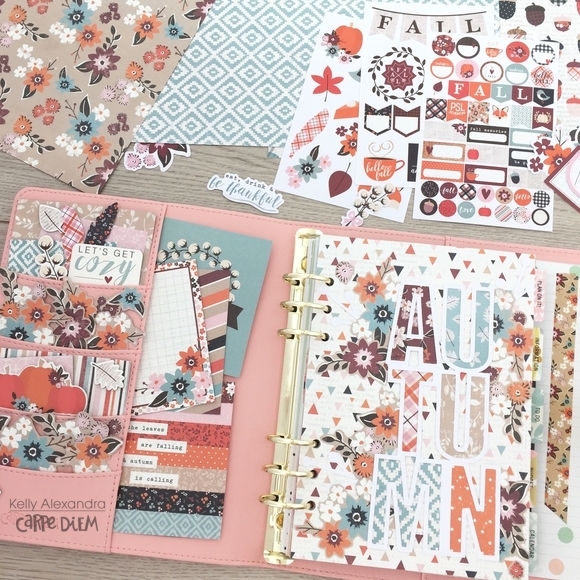
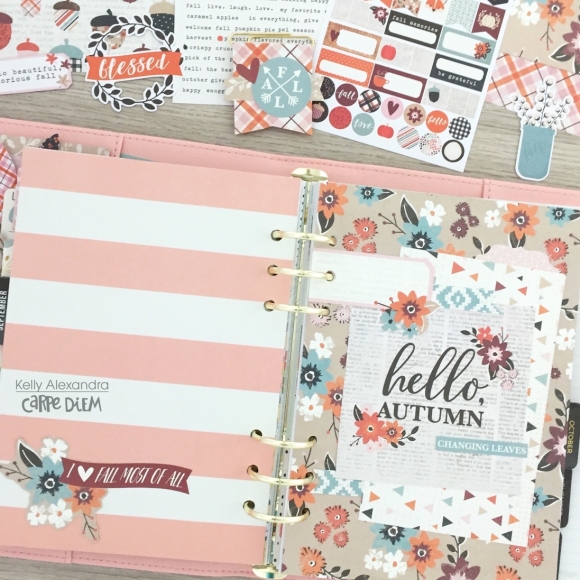
I used the punch and A5 divider template to cut a new front dashboard out of the fall floral paper. Besides the floral background paper, the other main decorative element of this dashboard is a 4x4 card with the text ‘Hello Autumn’. I layered the card with a few other pieces of paper and some stickers.

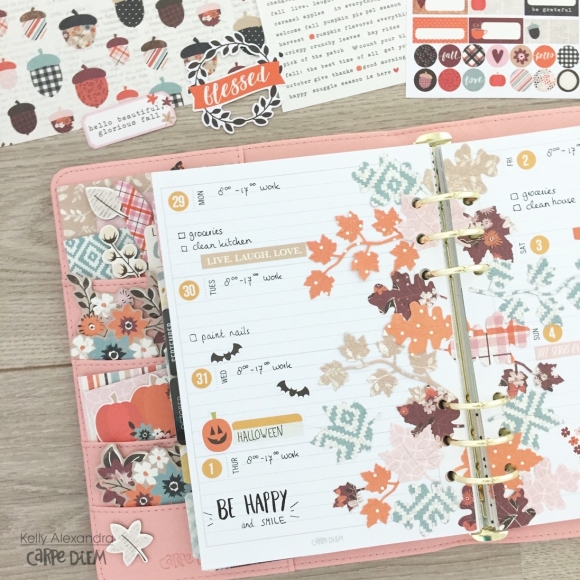
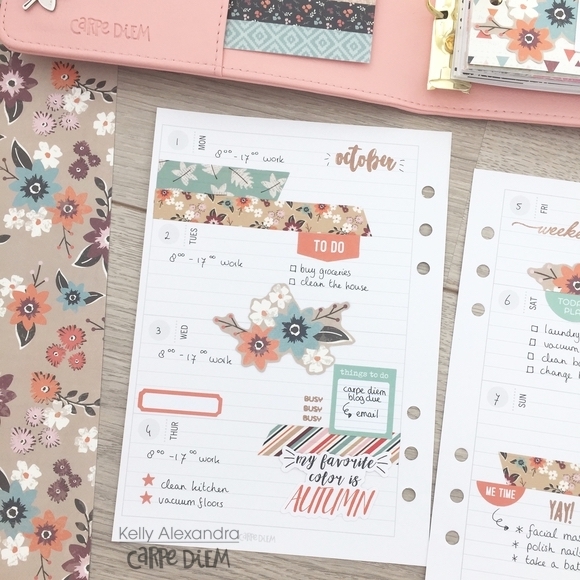
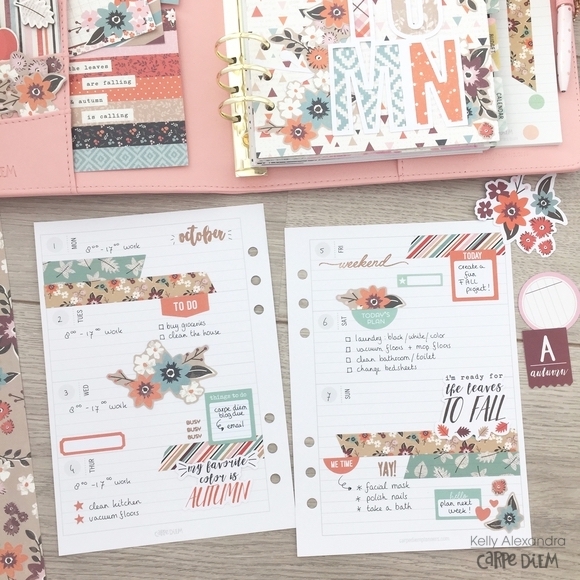
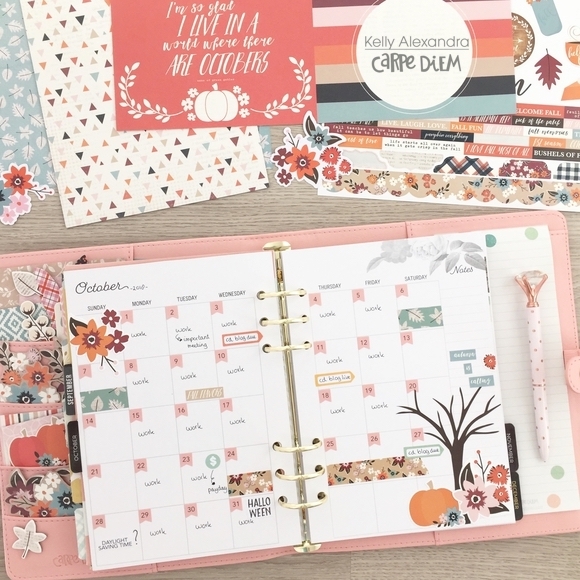
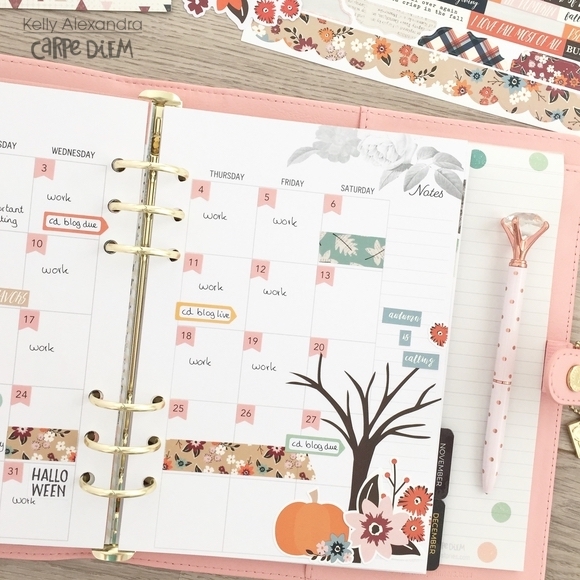
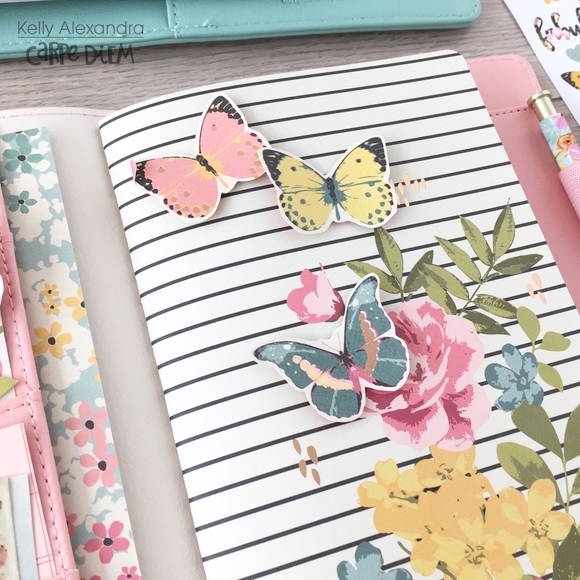
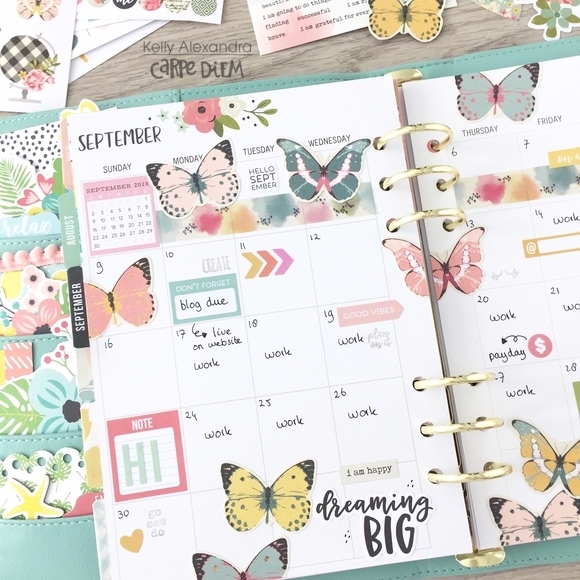
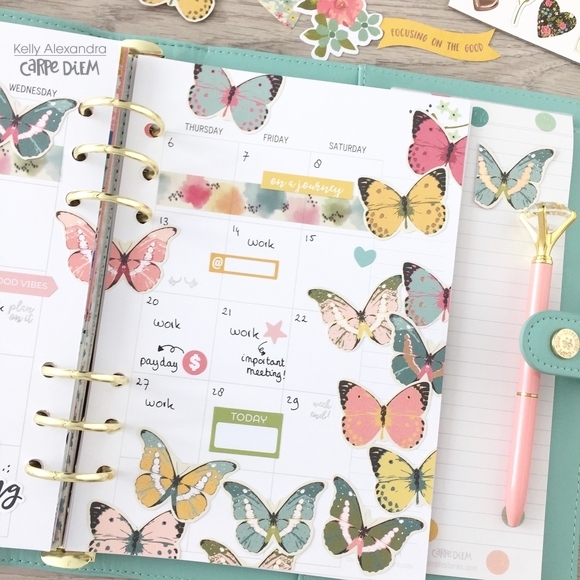
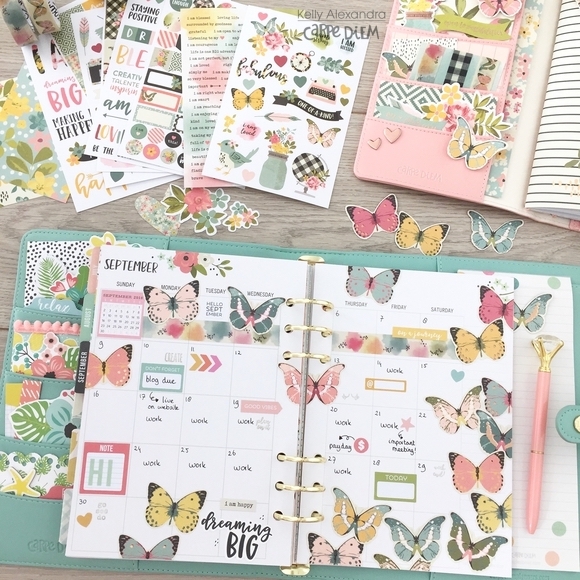
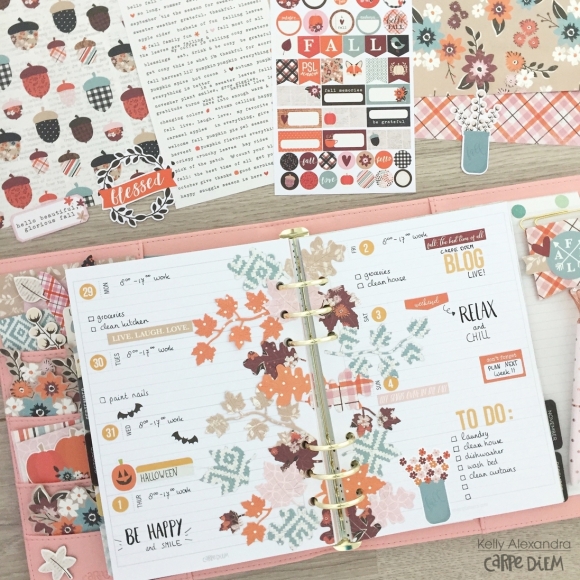
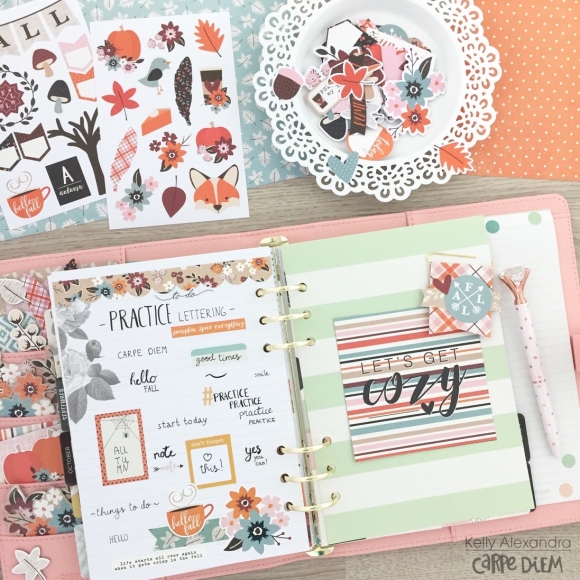
I punched a lot of fall leaves out of different papers from the collection and I made sure to include all the different colors of the collection. Next, I layered the fall leaves down the middle of the two-page week spread to create a fun effect. Some leaves went over the holes, so I had to use a hole punch to punch them again. I used the yellow number stickers from the ‘Numbers’ sticker tablet to date the days. And lastly, I added some functional and decorative stickers.

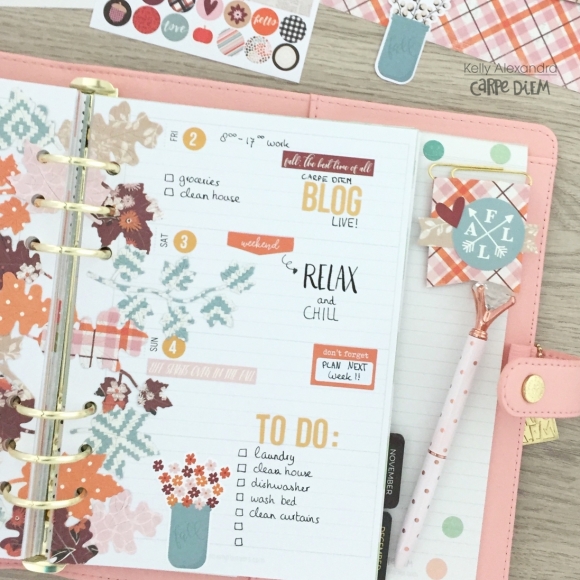
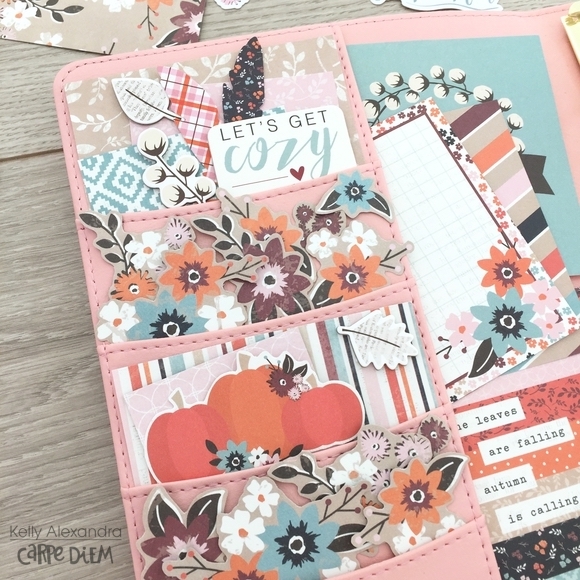
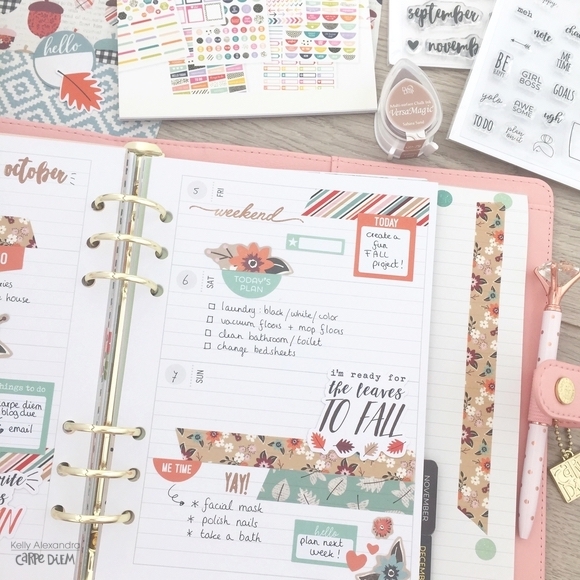
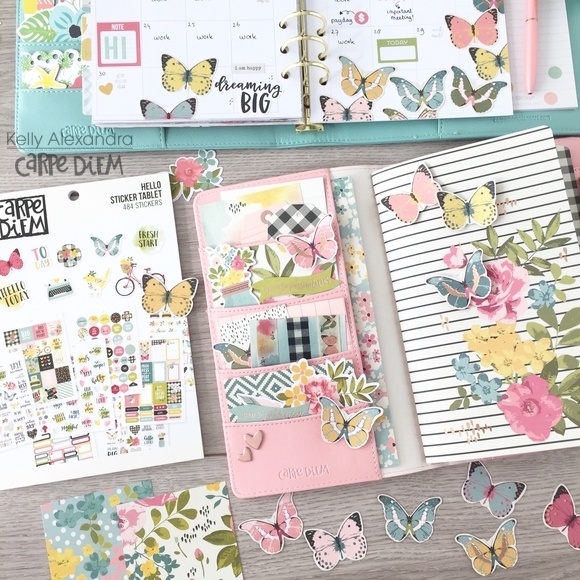
If you have read some of my blogs before, I love to make flag paperclips. You only need a paperclip, piece of paper and some stickers/ephemera and you can make a fun little decorative paperclip for your planner.

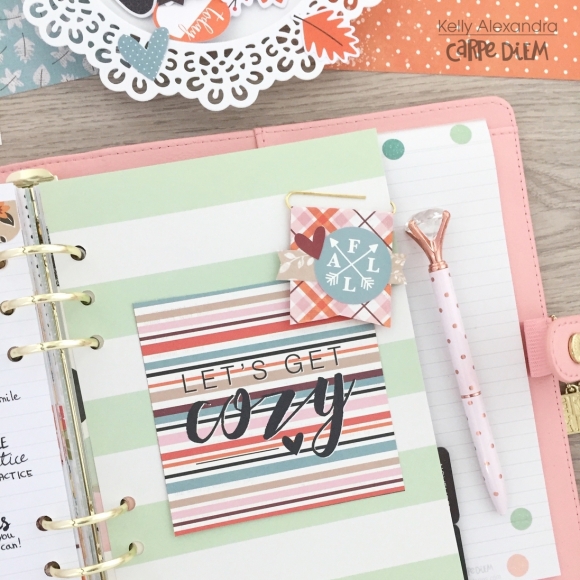
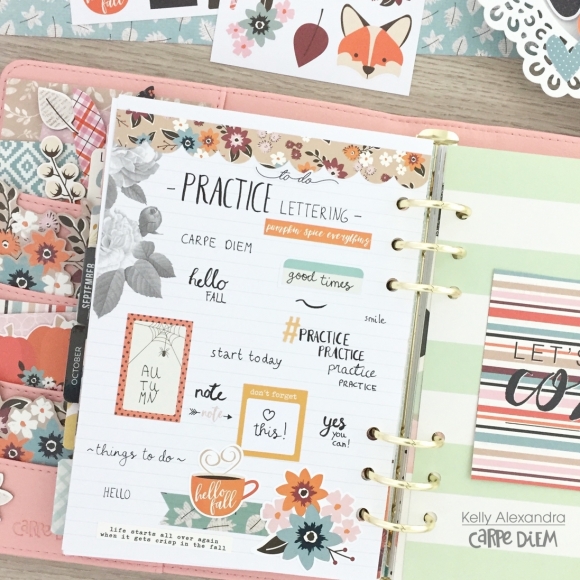
For a while now, I want to get better at handlettering and therefore I need to practice more. In the planner inserts from Carpe Diem, the last page is a blank note page every month. I decided from now on to use this page to practice some handlettering. I decorated the page with a piece of washitape and lots of stickers. Now I need to practice some more.....

I hope you have enjoyed reading this blog, check out my instagram account createplannernl for more inspiration.

Supplies

Hi everyone, it is Kelly here today with a new blogpost. Today I will show you how I have setup my planner for fall and decorate a weekly and monthly spread. I used the pretty Forever Fall collection and my Blush A5 Carpe Diem planner.

For this setup I used lots of fussycut flowers from the ‘Be Grateful’ paper. I tucked these flowers in two of the four planner pockets and decorated the other two pockets with some papers and ephemera pieces.

I used my Silhouette machine to cut an ‘Autumn’ cutfile out of white cardstock. I backed the cutfile with 6 different papers from the collection. I layered the cutfile together with some flowers on my front dashboard. Love all the fall vibes this front dashboard gives me.

I mainly decorated my weekly spread with the three washitapes from the collection and stickers from the planner basics tablet. Little tip: when I plan my weekly spreads, I always leave some blank space in case I have some extra to do’s or new appointments.

For my monthly spread I used the lightpink flag number stickers from the numbers sticker tablet. These stickers match perfectly with the decorative elements from the Forever Fall collection.

I hope you have enjoyed reading this blog and next month I will be back with part two of my fall setup in my planner. Check out my instagram account createplannernl for more inspiration.

Supplies

Pages