August 2016 Blog Posts

Out of hundreds of suggestions, we're thrilled to announce the name of our Carpe Diem mascot! Thanks to everyone that submitted names, we had a ball reading through all of them! 

Believe it or not, there were 10! people that suggested the pooch's winning name of Winston - 

Facebook - Manda Moore, Wendy Gee England, Marie Heiderscheit, Kelsey Josephson

Instagram - Armartinez, Iraemalloy, Dananich3, Librarianelf_uk, Mrsjoecool, Adiaz2710

Stay tuned in the coming weeks for exciting adventures featuring Winston!

SaveSave

SaveSave

Hey planner friends!  It's Vanessa & I'm back again and this time I would like to show you how I finally switched out of the Robin’s Egg Carpe Diem planner to this beautiful Persimmon planner from The Reset Girl collection.
 
 
I always like to update my planner around September as we transition into a planner girl’s favorite season: Fall!  I added a few Bits & Pieces from The Reset Girl Carpe Diem collection and journaling cards from her scrapbook line.


I used a Vertical Pocket Page from the SN@P! Collection to fit a few cards from The Reset Girl Snap Collection.  This could be used as a divider, if you like to do memory keeping in your planner, or just simple decoration like I did.
 
 
On my monthly spread, I used some of the cardstock stickers across the top, filled in a few boxes with The Reset Girl Insta stickers, and the Sew Crafty washi tape.


Usually I use the weekly planner inserts, but I wanted to try out the daily planner pages this time to see how much I can get done in a day. 
 
 
I love to use the reinforcement stickers on my pages, but instead of throwing away the little circles that are left over, I used them for my To-Do section.  


For a page marker, I took one the 6x6 sheets from The Reset Girl scrapbook collection and trimmed it down and punched into my planner. The size was just right and it’s already double sided.
 
 
Lastly, I wanted to use the Doc-It Journal for September and try to achieve more monthly goals and craft projects that I’ve been wanting to do.  I added a few cardstock stickers and decorated the inside as well.
 
 
I covered the inside cover and front page with some cardstock from The Reset Girl collection, journaling cards, and stickers from The Reset Girl Carpe Diem collection.
 
 
On the left side are my September goals and I listed a few craft projects on the right.  I used some cardstock and cardstock stickers from The Reset Girl collection to decorate the pages and left some room in case I wanted to write more ideas.  The Doc-It Journal fits perfectly inside of the front pocket of the planner and I can always look at it if I need some ideas and inspiration.
 
 
I hope you enjoyed a peek inside of my planner setup for September and I look forward to sharing my next set up later this month!

Supplies

Hello friends! Allie here today, and I'm so excited to be sharing two layouts with you today using the BRAND NEW Posh collection! I think this might be my favorite Simple Stories collection ever! It has my favorite colors with a touch of platinum foil, and lots of "love" themed elements, which are my most used items.

For this first layout, I used the Live Simply paper to create my background. I cut the color blocks from the paper, and trimmed them down so that they would have a border of white cardstock between them. I stitched each piece down and my background was complete!
 

Next, I cut flowers from my Silhouette Cameo in various shapes and sizes. I printed out two small black and white photos, and layered the flowers underneath and around my pictures. I added the beautiful foil title from the chipboard, and then placed butterflies around my photos. A few hearts and mist splatters finished the page!


For my second layout, I backed a cut file with some patterned papers from the 6"x6" paper pad. This is one of my favorite techniques when I want to use a lot of different designs.

 
Once I had my cut file backed, I glued it to white cardstock. I'm loving white on white lately! I placed my photo down, and adhered it with the fun NEW washi tape! I love the designs!
 
 
 I added my title and embellishments, and used heart stickers across the page. Those geometric hearts are so cute! I finished with mist splatters and some phrase stickers.
 
 
Thanks for joining me today! I hope you feel inspired to use the beautiful Posh collection, it's definitely a must have!

SaveSave

Supplies

Good Morning!


By now you have all heard that Simple Stories is trying to solicit your help with naming their infamous Carpe Diem mascot dog - read more about that here :)


Honestly, I created this layout before this mission started!  When I saw the big pup on 12x12 sheet of paper, he/she was begging to  be fussy cut and highlighted on my favorite pooches layout!


We purchased Flo's Patriots' jersey right before the AFC championship game last year.  Of course we were routing for the Pat's but they lost to the Broncos.  Boo.  


With the big dog at the bottom, I opted to keep my layout pretty simple.  Only thing he/she really needed was a little floral bling on the collar!


We are grateful that our pup is as big as she is going to get, so next year during the Super Bowl, we will already have her jersey!  Win win!


__________________________


How sweet are all the little embellishments from Posh, coordinating together and helping emphasis the love that is in the air with my sister and BIL?!


I love the dark blue that is throughout this collection, perfect for the man in the photos!  


After building my background,  I chose to use a couple of the 4x4 blocks from the Journaling Cards behind my photo, scattering the dark blue to help your eye travel around my layout.  


I also created a triangle with the birds to help you flow around the page.


It came together rather quickly.  The patterned papers helped add their own textures and embellishments.

SaveSave

Supplies

Hello Simple Stories friends! Marcia back today with a look at a couple of our newest collections.

Fall is hands down my favorite season, when all the trees are in full color and my favorite pumpkin spice coffee returns. So the Simple Stories Hello Fall collection was one I could not wait to get my hands on. I am not the only one who loves Fall though... so does my dog Satchel! His favorite Fall activity is squirrel chasing. When the days get cooler, he gets to wear this sweater I knit for him and he thinks he is so handsome wearing it, lol. Here is my layout...


I used the 6x6 Hello Fall paper pad along with the 12x12 woodgrain pattern paper from the collection to piece behind this leaf cut file from JustNick Studios. The result is a vivid splash of color. This chipboard squirrel sticker was a must since Satchel loves to chase them so much.
 

I kept my cluster of embellishments mostly around my photo, adding a journaling spot and lots of other bits & pieces.
 

The alpha stickers in the Hello Fall collection are fun cursive letters and they work so well to link together.


I so love how this layout turned out!


For my second layout, I used the Simple Stories Happy Haunting Simple Set. It's perfect for scrapping your Halloween photos and works for kids of all ages. This photo is from a neighborhood Halloween party I threw a few years ago. 
 

There are some fun stickers that I used to embellish my page; a banner, spiders, and fun phrases.


Thanks for stopping by today! These Simple Stories products will be coming to your favorite scrapbook stores soon. Watch for them!

Supplies

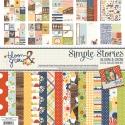
Hello Friends, It’s Kristine Davidson with you today.  I am going to show you 2 of my latest layouts created using the Bloom & Grow collection.  This collection has so many great colors and can be used for pretty much any themed layout.  

The first layout I'll be sharing is called " Happy Little Moments"

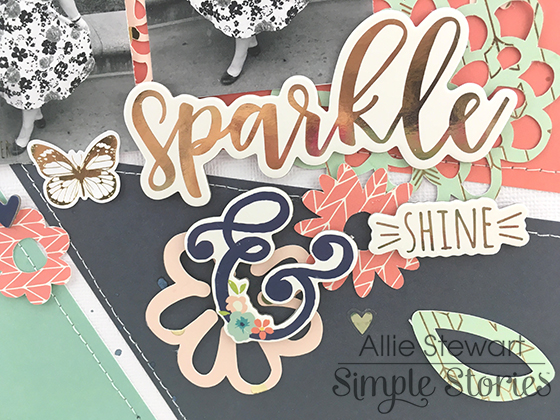
I started with the wood grain background paper called "Dig It".  This as my base makes it easy to add assorted colors from this collection while not making my page too busy.  I added tons of flower diecuts and subtitle using the word 'lovely' with a word sticker.

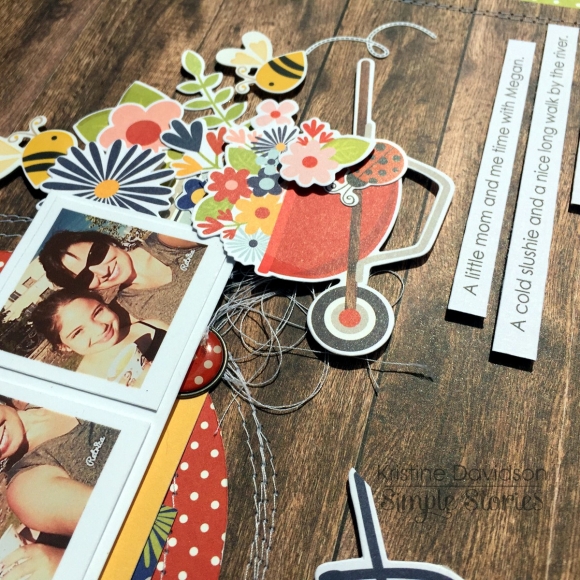
Adding some sewing to my layouts is something i've done for quite some time and the little thread bunched under my photos was inspired by Missy Whidden. I love the little extra detail it gives to my page. I usually add some form of twine but I avoided that this time and created texture with this thread.

Journal Strips are easy to do since I am more comfortable journaling this way compared to journal tags or other. I type my journaling on a word doc and print it on a 4x6 piece of cardstock and then cut up to make strips. Most of my layouts have this form of journaling.

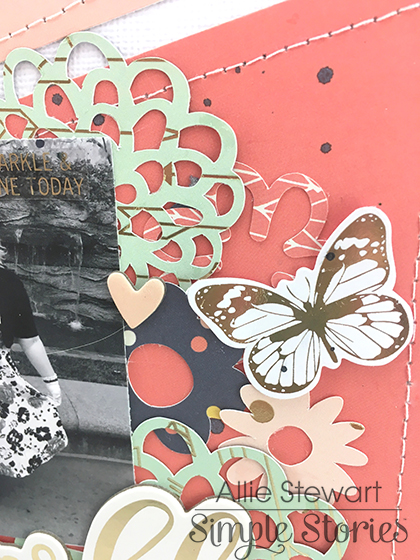
I cannot leave a page unfinished without adding dimensions. Of course I used my dimensional adhesive under the flower diecuts! One must always use popdots!

_______________________________________________________________

My Second layout for you today is called "Happy With My Gnomies"

My nephew being so cute while hanging out with his mom and myself. He is at the age where he enjoys having his picture taken, so I'll take advantage of that for now ;)

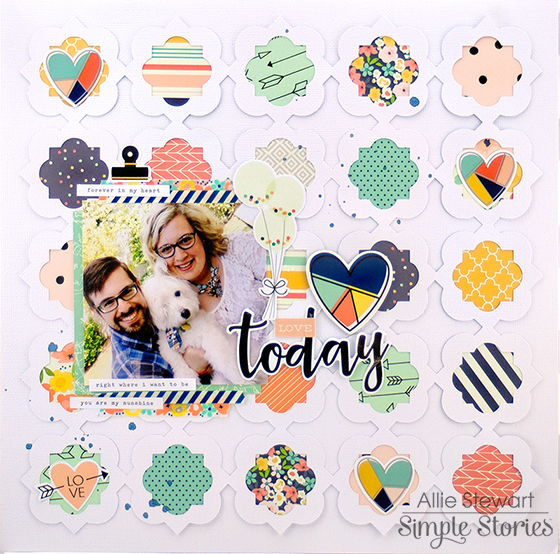
To start this page I used a diecut background that I created using my Silhouette Cameo. It's a simple background and so perfect to use some left over pieces of paper. I used a variety of colors and also a mixture of papers for this layout.

The little gnomes were perfect for that smiley face of his. I just felt like it added Fun to my page.

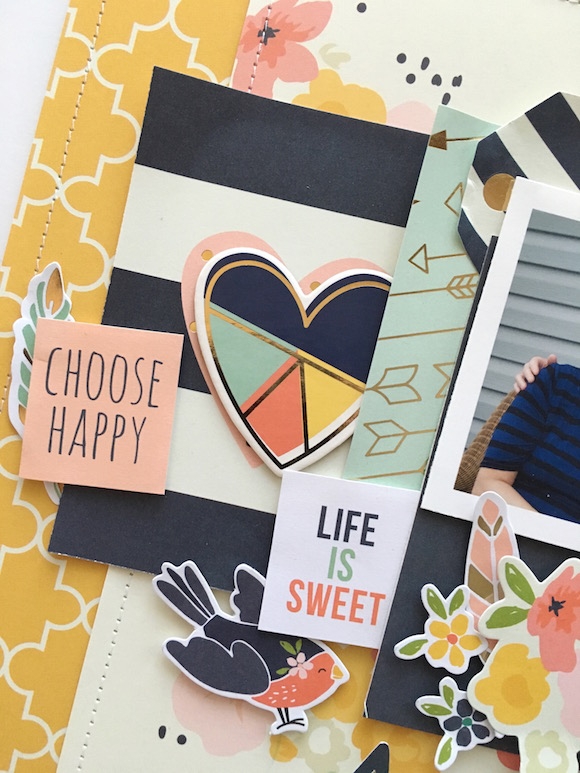
A closer look at the dimensions of my stickers and diecuts. You can also see I did some sewing on the cardstock alpha stickers, and the diecut background.

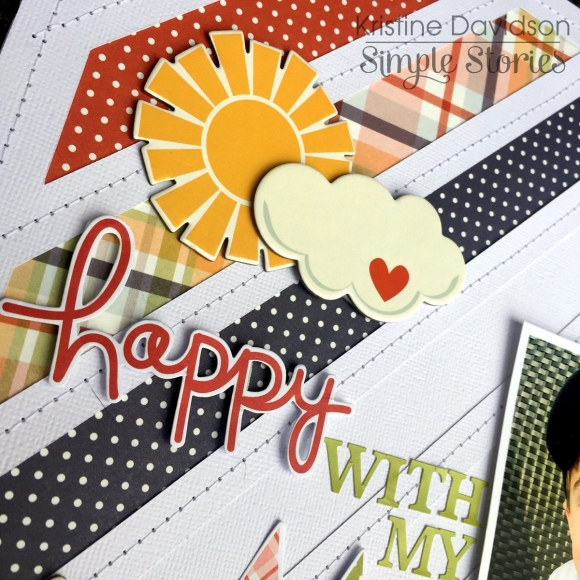
Adding chipboard pieces to a page can sometimes be challenging especially if you love layers or aren't sure how to position those larger pieces. Stack them! Add some popdots to one side of your chipboard piece and then the other side position it on top of your first chipboard piece. This creates dimension and looks great on a layout.

To see more of my work you can find me on instagram @KristineDavidson 

Thank you so much for reading and being a fan of Simple Stories!

Supplies

Howdy friends!  You may recognize me, I'm the Carpe Diem mascot!  You've seen me appear in the original Carpe Diem planner & scrapbook collections as well as the Posh planner & scrapbook collections.  I'll continue to appear in future planner collections, but I need your help!

There are some really FUN things happening with me in the near future; however, I'm in desperate need of a NAME before the fun begins!  

Would you like to help?  Please leave a comment on this post sharing a suggestion for my name.  My name will be chosen and announced here on the blog & on social media on Tuesday, August 30th.  The person that suggests the winning name will receive a fun prize pack full of products with my likeness!

Thanks for playing along, I can't wait to have a name so we can continue the fun!

Hello! It's Jennifer on the blog today and I'm very excited to share two layouts I created with the new Posh collection!  Oh my...the colors are GORGEOUS as well as the beautiful platinum foil accents!  Posh is one of my favorite collections of the new release and I couldn't wait to dig into it!  Simple Stories never ceases to amaze me with how each release is better and better!  
 
For my first layout "Hazel Grace" I wanted to do a sort of grid style for my page. I thought the colors of Posh would be perfect to scrap photos of our new little girl kitten! I started with the lovely "Choose to Shine" paper with its pink background and gold foil dots.  I also added strips of "Simply Amazing" and "Live Simply" to my right edge.  
 
 
I layered three different patterns to create a 4x4 square as well as stickers from the Combo Sticker sheet! I love the navy colored letter stickers!  I also incorporated some of the new Totally Chic Washi Tape as well as a lovely gold foil chipboard butterfly!
 
 
Another new addition to the collection are the Carpe Diem Posh roller stamps!  I will be honest, I am a big hoarder of roller stamps..so I was more than thrilled to see these in the new release!  I love adding stamped sentiments along with my journaling or under a photo!
 
 
For one of my squares, I used this LOVE gold foil card from the 3x4 Journaling Card Elements! I love the colors! And how cute is the geometric heart sticker (again with gold foil!)?!  I also accented with a tag from the Bits and Pieces pack, as well as a flower bouquet from the 6x12 Chipboard.  You can spy another piece of the washi tape, too!
 
 
For my second layout, Brace Face, I started with a background cut file from Just Nick Studios that I cut out of white card stock.  I then used different patterns from Posh to insert into petals of the flowers.  It's a great way to use a variety of papers without getting too overwhelming. 
 
 
I love using the different sized journaling cards to place next to my photo! Here, I used a 3x4 sized card and added my title with the navy letter stickers from the Combo Sticker Sheet. I also layered many little die cuts from the Bits and Pieces pack as well as a cute pink/gold foil chipboard heart!
 
 
How beautiful are the Totally Chic Washi Tapes?   I added two strips to the side of my photo as they make a wonderful accent!  I tend to hoard washi tape too so again I was so excited to see this new addition!  
 
 
I love creating little clusters of embellishments around my pictures! And with Simple Stories, there is so much to choose from!  I again used multiple die cuts from the Bits and Pieces as well as a cute sentiment sticker from the Combo Sticker Sheet.  
 
 
Showing an up close shot of one of the flowers in which I used the B side of "Love Life".  I added one of the bright yellow Bradz from the Carpe Diem collection!
 
 
Thank you for stopping by today! I hope you will go to the Simple Stories Products page and check this collection out in its entirety! I hope you are as excited as I am about Posh as well as the rest of the awesome collections! Have a great day!  

Supplies

Pages