August 2016 Blog Posts

Hello crafters! It’s me Stacy here on the Simple Stories blog today with 2 layouts.

I have been inspired by stars recently, and I love how brightly they shine up above the skies. There is much hope and joy, so I would like to share that today.

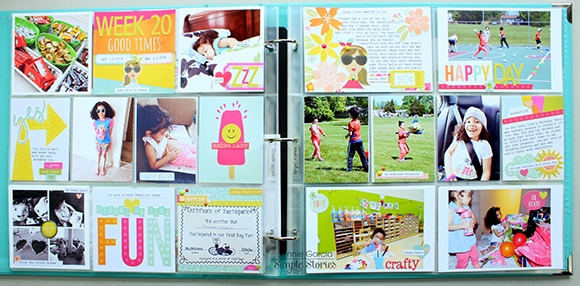
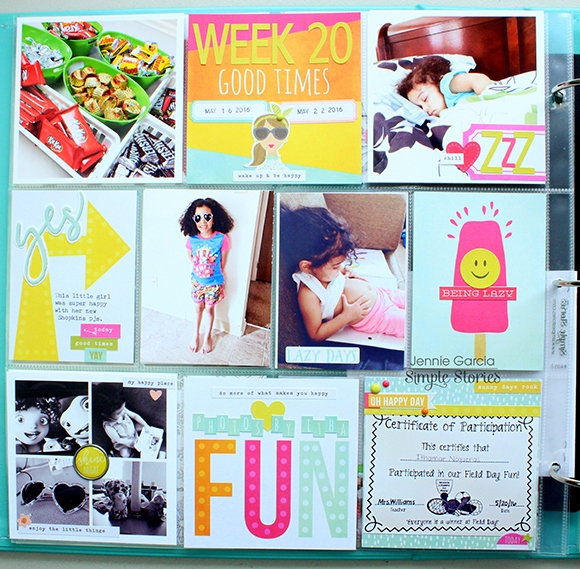
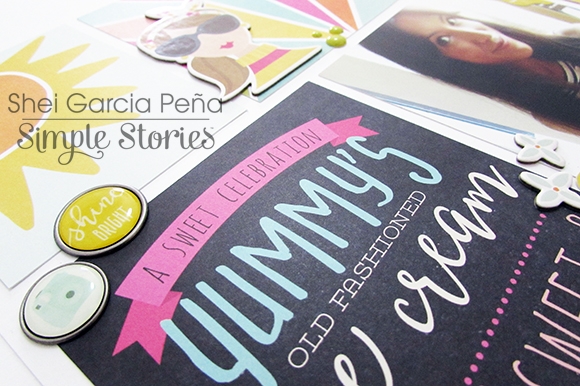
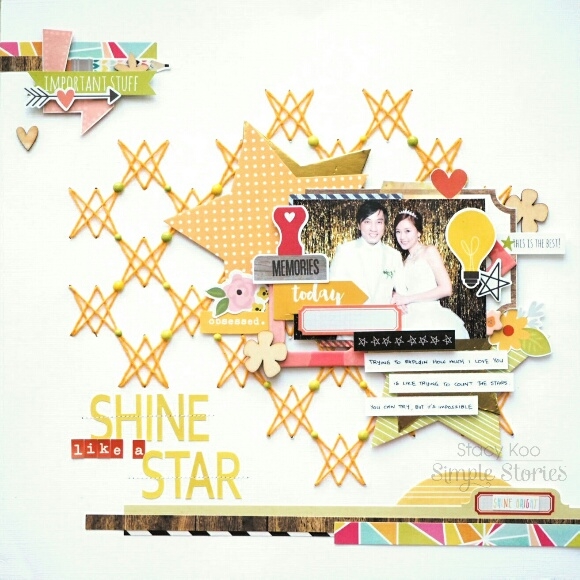
In my first layout, i titled it Shine Like a Star, using Sunshine & Happiness collection. On the backdrop, i did some stitching of the Star of David and had them spread out randomly. Add some enamel dots at the corners of the stars, it helps to highlight the shape of the star!

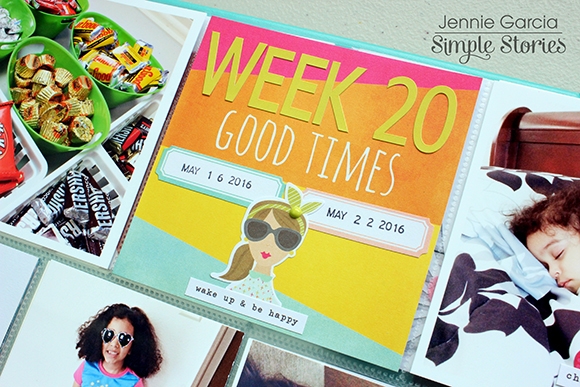
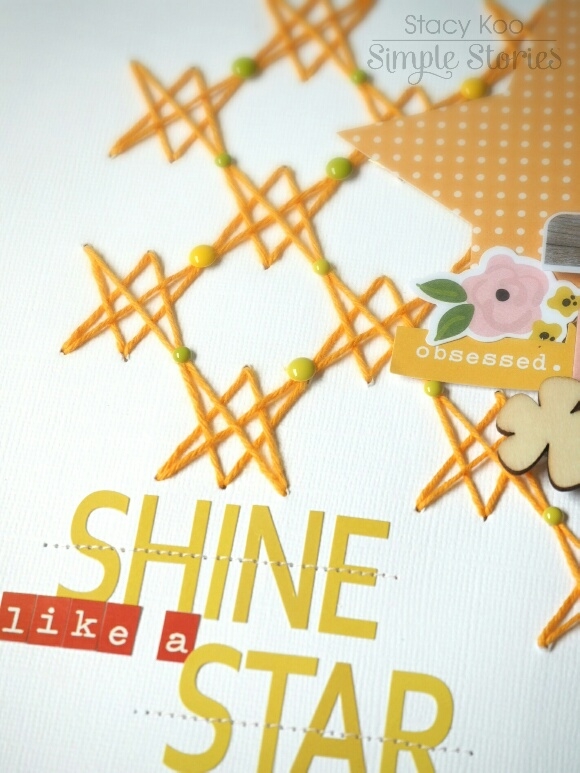
Here is a closer look on the title. I like to stitch through my title and give it emphasis. Here you can also see how I varied the size enamel dots on the edge of the sewn stars.

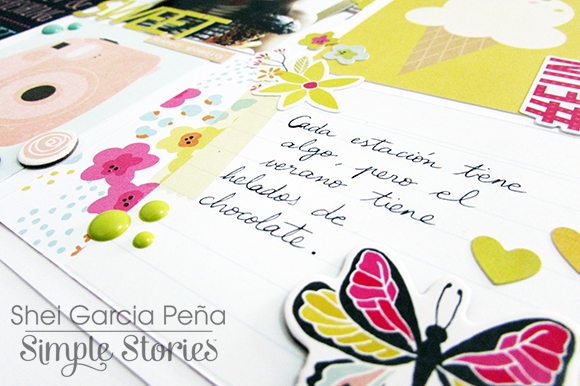
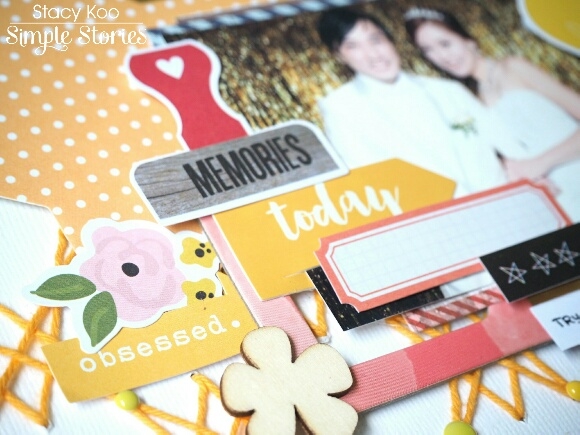
Layering embellishments is always easier with Simple Stories. The collections can also be mixed to achieve what you desire. Here I used the chipboard frames, floral and memory stamp embellishmemts (bits and pieces) from Life in Color collection, wood veneers from You Are Here Collection and decorative Clips from Carpe Diem Collection. I think it is cool to mix and match the pieces required to complete the layout, and having significant embellishments to tell your story.

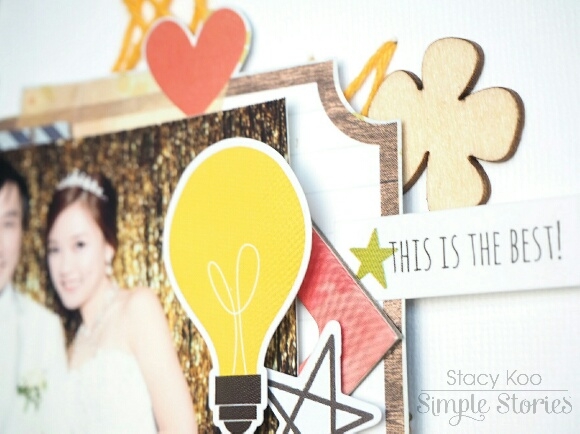
The other part of cluster which I adore! Here you can see the remains of the chipboard frame. I cut them up using a strong pair of scissors and layered it here. 

________________________________

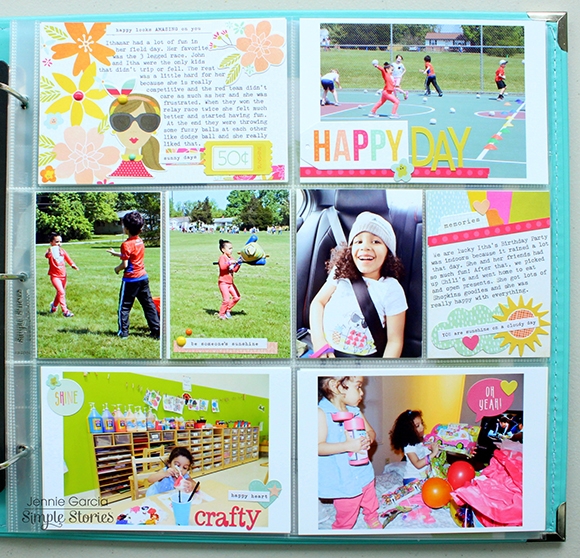
For the second layout, my influence came from some circular structures I have seen around the buildings recently. I tend to draft and doodle ideas on the go in my notebook and sometimes using them in the layouts I create. In between creating this layout, I decided to go ahead and add some string art! This was fun! 

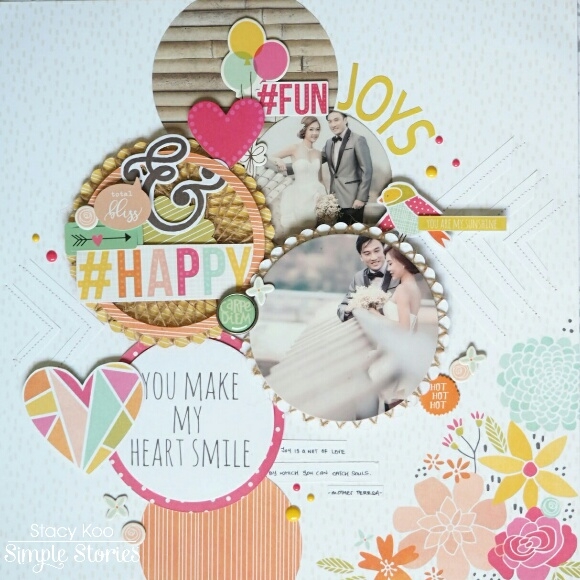
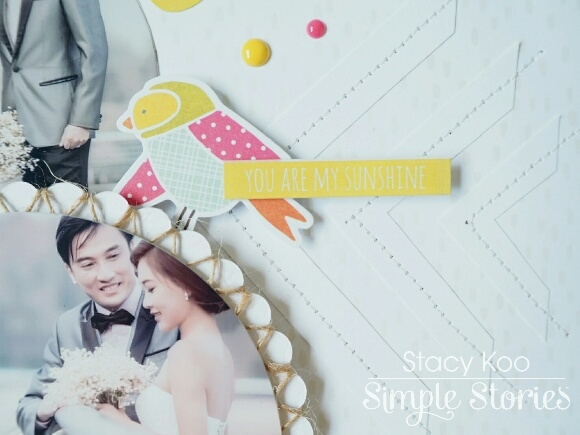
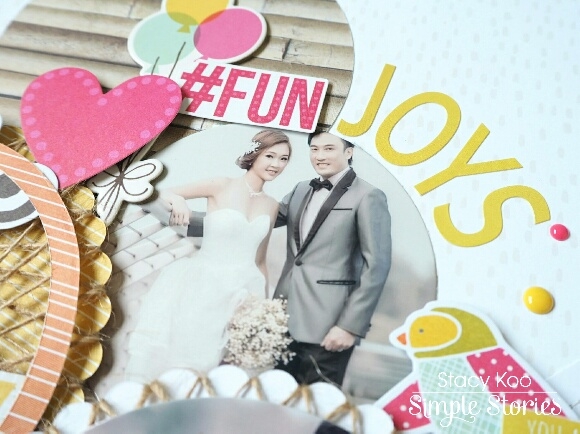
To create a subtle focus to the circular elements, i added some arrows on the sides and machine stitched them. I chose a plain white cardstock so it does not overwhelm the entire layout and blend with the backdrop. Here I also added some embellishments to cover the area. Love this bird! Around the photo, you can see a scallop border and some string art added as a matting for the photo.

More string art here to the main cluster of embellishments.

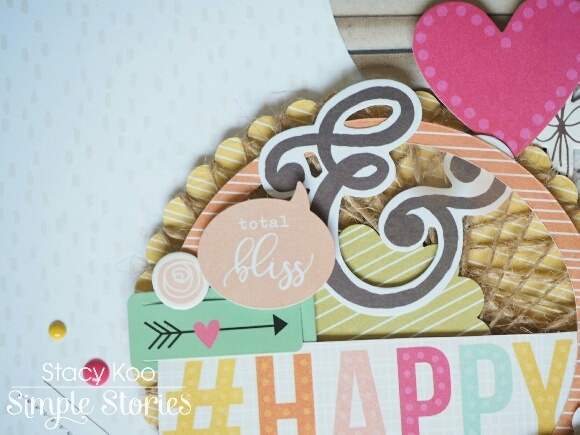
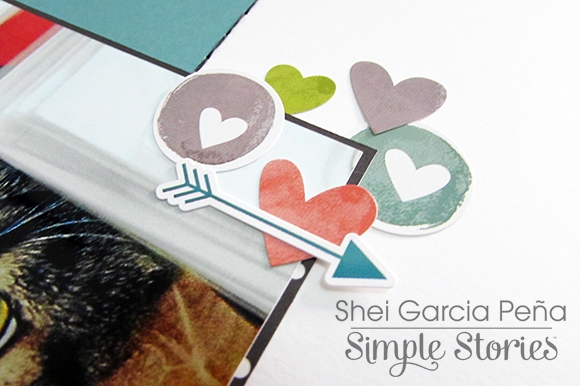
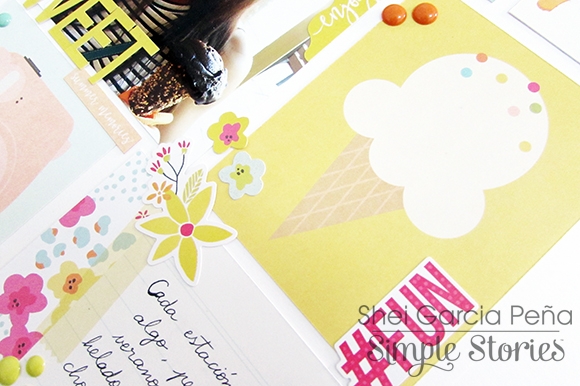
Let's take a closer look at the circular elements in this layout. I like how simple it is to embellish using the pattern papers in the Sunshine & Happiness collection!

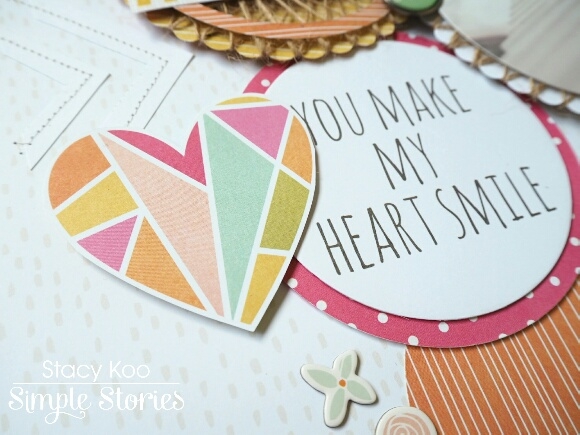
There has not been much sunshine in my area recently, most days are covered with clouds and the day seems less bright. Using this collection in the layouts have given me much shine and happiness, and I hope they brighten your days too!

Hey Everyone! This is Jennie with today’s pocket pages using the Sunshine & Happiness Collection. This week had a little bit of everything including some photos that daughter took. My daughters always take my cell phone to take random photos and sometimes they get good shots.

The journaling cards from this layout are from the Sn@p Pack.

This week I only used the typewriter for my journaling. Normally I mix it but I needed to journal a lot and my handwriting is pretty big.

Every week I stamp the dates on labels and the labels from the 4x6 Stickers are perfect for my title card.

The most common kid’s photos on my phones are from the TV, toys or their messy rooms. I always make a note of which girl took the photos, in case I forget in the future. In the middle of collages I like to use Adhesive Bradz.

The Fundamental Cardstock Stickers are great when for typing because they are flat and once I’m done typing I can add a few around to embellish.

I hope you enjoyed these pages! Summer is almost over and I bet you’ve made gorgeous projects with the Sunshine & Happiness Collection. Make sure you share them with us on Social Media, tag @simplestories_ on Instagram!

Hi there!

It’s Shei here today. I’m so happy to be back on the blog sharing two layouts. Let’s get started!

For my first layout I used the FA-BU-LO-US “Carpe Diem” collection. This line is so fun and colorful!

I made a very simple layout. Only a cardstock, a colorful paper and a few embellishments I used to make this project. As a starter point, I chose white cardstock as my background ‘cause I like the brightness that the white color brings to the whole project. 

For this layout I used one of my favorite photo of my cat, so I decided to cut the silhouette of a cat with the paper "Pencil It In (b-side)". Actually, I copied the cat's silhouette in this collection  (it’s so cute!!). Then I pasted it in the middle of the white cardboard and I sewed with black thread the cat shape.

To highlight the pic, I made a thin frame with the "Black Dot paper" and I pasted the photo on the project. Below the photo I put the title "Look cat me" (play on words with “cat” instead “at”) with black and pink letters from Expressions Cardstock Stickers.

Finally, I decorated the project with some embellishments from "Total Chaos paper" (the lovely cat in the world!) and "Fundamentals Cardstock Stickers" like the hearts and the arrows.

______________________________

The next layout I’m sharing with you today was created with the beautiful “Sunshine&Happiness” collection. 

As is usual with me, I started this page with a white cardstock as background. Then I used some of the journaling cards of the 4x4/4x6 Vertical Elements, 4x6 Horizontal Journaling Card Elements and 3x4 Journaling Card Elements papers. I pasted the pic in the middle of the cardstock and around it I glued the journaling cards I chose.

Next came my favorite part: the embellishing! For that I used some stickers from the Fundamentals Cardstock Stickers, some elements from the Chipboard Stickers and some sentences and lime letters from the Expressions Cardstock Stickers. I also added a few enamel dots and the self-adhesive brads to give dimension to my layout.

Thank you so much for taking the time to read my post! I hope you enjoyed my layouts! See you next month!

Never stop smiling! Kisses!!

Supplies

Hey there, planner girls! Meka here today sharing a bit of my robin’s egg Carpe Diem planner decorated with totally gorgeous Posh planner goodies.

I’ve added a few Posh pocket card inserts and Epoxy Metal Clips to liven up my front pockets. The gold foiled “Choose to Shine” clear dashboard provides continued inspiration, shown here backed by the striped floral front side of the August monthly spread.

One of my favorite Simple Stories products is the clear sticker pack.

It includes a variety of both monochromatic and colored transparent stickers. While they’re great for planning layouts, they also make an unexpected addition to the planner itself.

I’ve used some on the front and back cover, pockets, and strap. They’re super easy to remove when I’m ready for a change.

Here I combined them with the Clear Label Stickers

For the weekly layout, I started out with a simple watercolor treatment on a Vertical Appointment Weekly Insert, as well as a Vertical Format Weekly Insert.  They’re so simple to create, and it’s nice to have a variety to choose from when I’m ready to complete a layout. I ultimately went with a vertical layout this week.

Across the top I wanted to use a strip of thin washi layered beneath the dates. Since I love the pattern of the standard-width High Style floral washi, I sliced it in half using a craft knife and a cutting mat.

After that, the Make It Happen roller stamp was just what I needed to create a row of headers for each section of the vertical layout.

Posh Page Flags, Planner Basics stickers, and gold foiled Designer Stickers were then layered to further embellish the headers.

From there, I added components of my week with the help of Calendar and Weekly Stickers, plus a few hand-drawn in elements.  Another week made beautiful with the help of Simple Stories and the lovely Posh planner collection!

Hello dear Friends! Alexandra here! I'm so happy to revisit my "big" album. Here is what our WEEK 23 looked like with the beautiful Sunshine & Happiness collection

I added two stickers on the 6x8" photo (can be found on the Fundamentals Cardstock Sticker sheet) I like how the black of the HELLO sticker echoes the black found on the top picture. The pink of the peonies is picked up throughout the left page.

I didn't have that many photos for that week so for the right page, I trimmed a regular 12x12" Pocket Page so that I would have three 6x4" pockets and here too, I used the cards found in the the SN@P! Pack Sunshine & Happiness.

I always enjoying incorporating a bit about the news so included a photo of the New York Times and did a collage about the EuroCup with pictures I found on the net. I also included pictures of two postcards I received that week. Thank You!

SaveSave

Hello scrappers!  Laura Whitaker here with you today sharing two more layouts using the fun and fabulous Sunshine and Happiness collection! I love every little thing about this collection and just had to keep on using it, I am down to the bare bones, but hope to get another page out of it at least!

My first page is called "Hello SONshine"
 

This page was created to document a big event for this youngest boy of mine. July 5th was the 11th anniversary of his adoption day!  We always celebrate this day with a special dinner out, but since his dad was out of town this year we postponed dinner and he and I made up some fancy drinks (Shirley Temples) and had a fun night celebrating with just the two of us!

I am totally happy to use pink in a bold way on a boys page, I love to use papers and embellishment that suits the mood of my photo over the gender of the subject.  And hot pink is just plain fun!
 

I used a sticker, alpha stickers and part of a die cut to create my "HELLO Sonshine" title and I just love the way that it turned out!  I added a bit of machine stitching just for fun!
 

There were so many embellishments in this collection that made it very simple to  accent my page, like this pop bottle and a variety of fruit stickers.
 

I added a small cluster of embellishments to the top left of my page, which starts my visual triangle and draws the eye to my photo on the right.
 

I really wanted to use this 4x12 cut-a-part on my page as I do not typically put these pieces to good use.  I layered on a few phrase stickers and doodled around them with a black felt tip pen for a bit of pop.
 

The last point in my triangle is this small cluster at the bottom left of my page, with is highlighted by a triangle of patterned paper.

My second layout is called "There are so many beautiful reasons to be happy"
 

Yes that title is a mouthful!  But so very perfect!  As I mentioned, I had challenged myself to use up the large cut-a-parts in this collection and when I pinched this photo off of my son's Facebook page I knew this particular cut-a-part would be exactly right!

I layered it over the yellow patterned paper and added a bit of striped paper to the right side of my layout to tie in all of the colours.
 

This butterfly was fussy cut from another cut-a-part; to the Native Americans butterflies symbolize change, joy and colour which made it perfect for my layout which celebrates these three special people that have become a little family as my son and his new fiance recently got engaged.
 

This phrase was also cut from a cut-a-part card which pretty much acted as perfect journaling on my page.
 

I have been simplifying my embellishment clusters lately and this little one at the top of my page is indicative of that.

Supplies

Hey planner friends!  It's Vanessa & I’m back again to show you how I am using some of the goodies from Carpe Diem Reset Girl and Posh planner collections in my Robin’s Egg Carpe Diem planner. 
 
 
For the monthly pages, I like to keep them functional with lots of space, but still have some decorative stickers and ephemera to dress up the pages.
 
 
Most of the stickers here come from the Planner Basics Stickers pack from The Reset Girl and I love how this set is full of mini page flags, ring reinforcers, and box stickers that coordinate and fit inside of the boxes.
 
 
On my weekly pages, I used the number stickers from the Icon Stickers set to date the first week of August, a few of the page flags from the Posh Collection, and the Planner Basic Stickers for layering.  I love how there’s a mix of prints and colors, but they all go together beautifully.


Some of my favorite stickers from the Planner Basics set are the box stickers that not only fit perfectly in the Vertical Format inserts, but they can also be used in your horizontal inserts to add some color and break up the large white space.
 
 
My absolute favorite item from The Reset Girl collection are the Bits & Pieces.  They’re so adorable and I love how they like look classic stationery items from the past and present.  I picked four of my favorite pieces and made them into paperclips to separate some pages that I want to find easily.  I also added a small stack of the sticky notes to my bookmark so they’re readily available.  


Thanks for stopping by today to check out my planner set up and I hope you have fun with the collection from The Reset Girl.  It’s a beautiful collection that I will enjoy using during August and will look even more beautiful in the Fall as well.
Good morning lovelies! Brenda Smith here with you today to share a pocket page spread I made with the fun and vibrant Sunshine & Happiness.
 
 
One of my favorite things about pocket pages is that they can be made quickly if desired; simply print your photos and pop in some filler and filled-out journaling cards and you're good. I often take an approach similar to this one, with maybe a little extra embellishing tacked on to the end (I like my embellishments!). But today, I wanted to spend a little more time with my pictures and supplies and decided to print up photos at odd sizes to place on top of the cards and patterned paper. 
 
 
I use photoshop to resize my photos but this can be done in any number of programs you may already have including Silhouette Studio and Microsoft Word (you can google more thorough tutorials but essentially you drag the photos onto your canvas in your program, pull at the corners to resize, and print). I usually print them somewhere around 2.5"-2.75" square. Sometimes I'll alter this to make more or less space on the card. 
 
 
I try to keep my embellishing to a minimum when making the photos smaller. I want the photos to remain the focus of the page. I usually layer a few die cuts on top of and under the photos and add a little journaling and call that card done. 
 
 
I am typically a heavy journaler and am always worried that my pages will look like a big block of text. I used my computer for the journaling this time and I made sure to include ample line space between my journaling lines. I find that by adding the little bit extra space, it instantly makes the page seem less heavy. 
 
 
I needed a few embellishments to be a bit smaller for my purposes so I coordinated the paper collection with the digital Sunshine & Happiness collection and resized certain embellishments in Photoshop before printing out. Again, this is something that could be done in free programs as well. Don't be afraid to make both digital and physical work together for you. Resizing and printing out digital elements is way easier than you might fear. 

Supplies

Pages