January 2016 Blog Posts

Party on - that's exactly what I did, when the new Simple Stories Winter collections landed on my doorstep!  I was so excited to open each collection and check out all of the fun new designs.  So I got started right away, creating some new layouts, and I'm here to share two of them with you today.

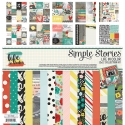
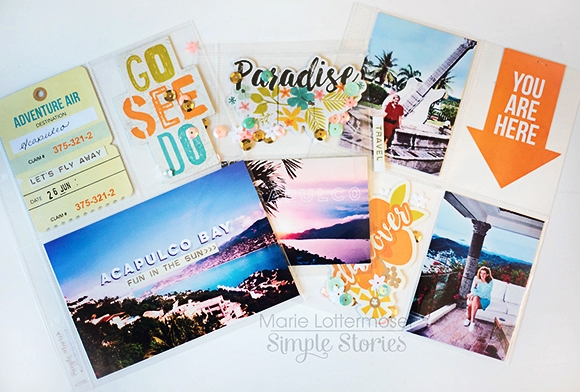
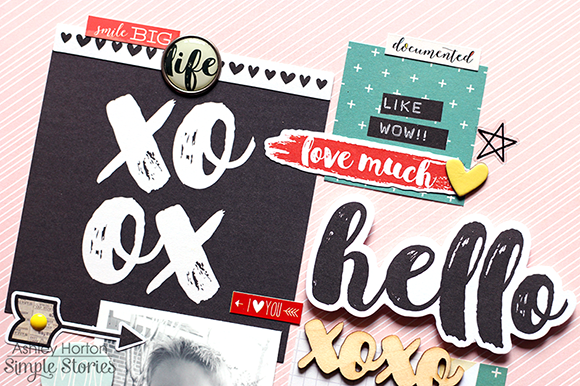
The first layout uses the new Life In Color collection.  I love the saturated colors and embellishments in this collection.  I knew I wanted to create a grid design, so I used some of the cards from the Life In Color SN@P Pack, in the center of the layout.

Once the cards were in place, I placed my photo, and embellished.  I created my title with the letter stickers from the Expressions Cardstock Stickers sheet.  Since I wanted the focus on my grid design, I kept the photo, title and embellishments all in the center of the layout.


I wanted to bring in some more color and pattern, so I thought it would be fun to create a border on the outside edge of the layout, using the Washi Tape Paper.  I alternated the patterns and sizes from the Washi Tape Paper pack around the outside of the layout, and added machine stitching at the end, for some texture.


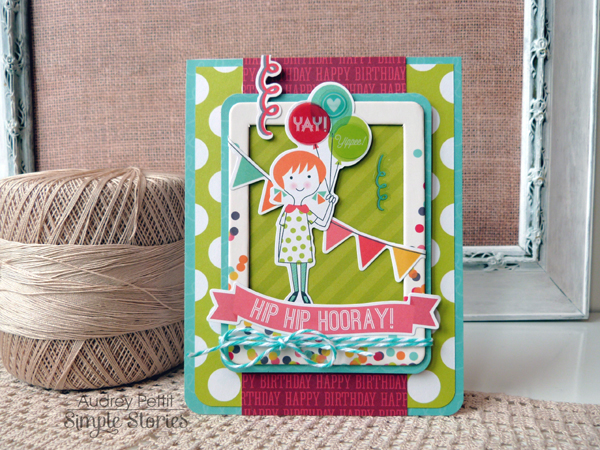
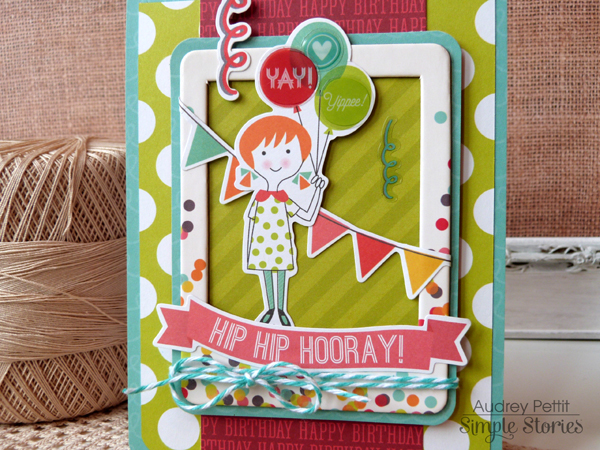
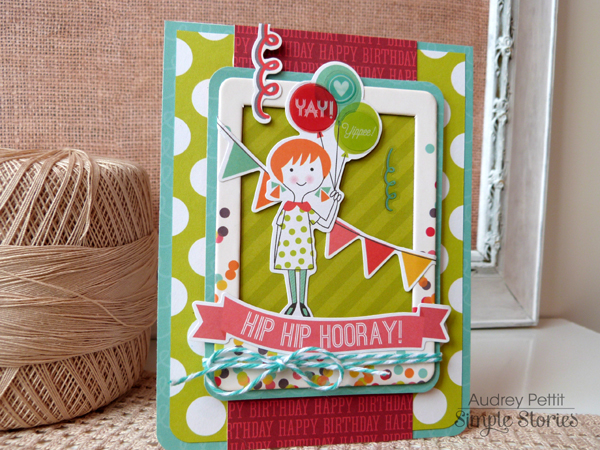
With 5 people in our family, we have plenty of birthdays throughout the year!  Our middle daughter's birthday is the day after Christmas, so i knew the Let's Party collection would be perfect for documenting one of her photos from last year's birthday.  I decided to use a black & white photo, because I really wanted the bright, happy colors from the collection to stand out.


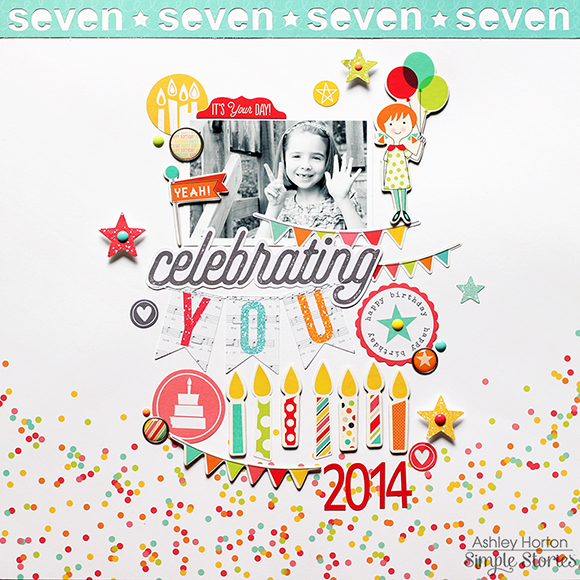
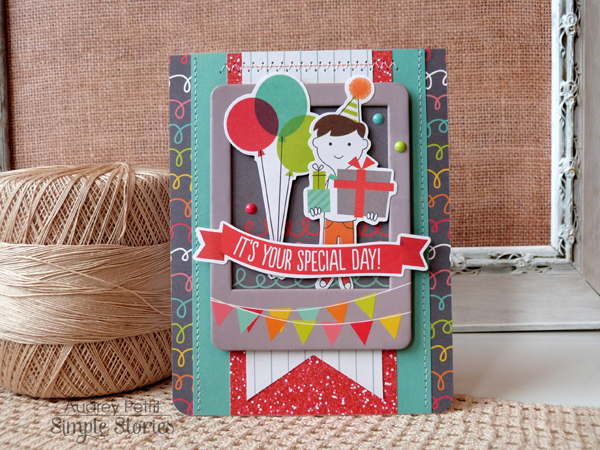
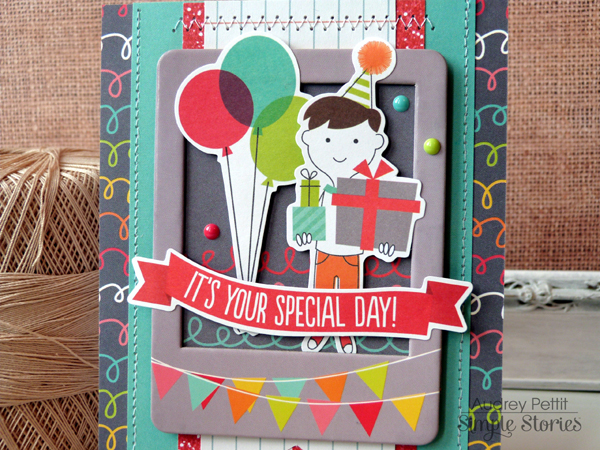
I love the banners included on the Fundamentals Cardstock Stickers sheet and in the Bits & Pieces pack.  So I decided to make those a part of the design and title.  And the chipboard and sticker candle embellishments are so cute!  I used 7 of those on the layout to represent my daughter's age.


I wanted to also continue the confetti look at the bottom of the patterned paper, I used for the background, so I added a few stickers, enamel dots and Bradz from the collection.  I finished the layout, by cutting the word Seven, as a border from the Teal Streamers/Orange Stripes paper.


I'm sure you've had a chance to check out all of the new Winter collections on the Blog!  Which is your favorite?  I don't think I can choose just one!!  If you're ready to get these collections in your hands, keep an eye out -  theyre shipping to retailers now!

Hi there, Simple Stories friends!  It's bittersweet to be sharing my final project as a part of the Simple Stories Design Team; it has been an awesome four years (wow!) sharing with all of you!

Today I have a couple of quick cards using the precious "Let's Party" Collection.  I started with a 12X12 sheet of white cardstock, cut it in half and set out to make two 6X6 cards...one for boy and one for girl:
 

For the girl card, I cut a base paper into a 5.5" square and then added the 4X6 SN@P! card to the center of it with foam adhesive tape.
 

To the top of the 4X6 card, one of the 4X4 cards was added.  The cute girl with balloons die cut ephemera piece was attached along the left side with foam adhesive.
 

Various die-cut sentiments and enamel brads were added, as well as the smallest enamel dots to embellish the dress front.
 

I used a 2.5" circle and 3" scallop die to cut the shapes from two of the patterned papers. The pieces were layered together, cut in half and then adhered to the left side of the 4X6 card.
 

The boy card started with a layering of two of the pattered papers that were matted together.

The SN@P! journal card was trimmed into a square size and then corner rounded on the bottom before it was added with foam adhesive tape.  The small chipboard frame was glued over the 2X2 SN@P! square sentiment and then it was attached to the journal card.
 

Various die-cuts and chipboard stickers were used to finish up the colorful design!

Again, it has been my pleasure to be a part of such a wonderful design team and to help represent a company that stays tapped into the papercrafter's heart!

Supplies

Hi everyone!
 
Teri here, and I'm excited to share with you some cards I created with Simple Stories' Let's Party collectionI just love the fun feel of this collection. You just can't go wrong with a collection that is all about celebrations!  And since birthday cards are some of the cards I find myself short but needing the most, I decided to use to make some fun and happy birthday cards! Need to make some yourself? These would be easy to recreate! 
 
 
I had fun with this first card.
 
 
I just love the happy little party kids that show up through the Let's Party collection. They are just so cute!
So I wanted to build a card that really highlighted them. Since the two of them are printed on a SN@P! card, I wanted to give them a little extra pop with some embellishments. I added some enamel dots to both of them, and then I placed a chipboard star on one of the balloons held by the little girl.
 
 
To round out the scene, I added a clustering of embellishments from the Let's Party collection to the left and right of the kids. The cool thing about Simple Stories' collections? Everything matches color wise! That makes mixing and matching different types of products easy! I love that.
 
Here's another birthday card! 
 
 
I think this one could easily be used as a congratulations card or a card to celebrate something like a work anniversary. Just remove the "HB2U" chipboard sticker and replace it with something else from the Let's Party collection.  To  really make that party hat at the bottom of the card pop, I simply added an enamel dot to the pompom. If you wanted to try this at home and add even more pop, consider applying a coat of clear glaze to the hat. It will really make it stand out.


There's just something about the cow on this card.
 
 
He sure makes me chuckle! How about you?!  To bump up the party feel here, I added the balloons and steamers. To make that top balloon stand out, I plopped a star Bradz right onto it. Easy peasy! 
 
 
This last card is just a simple card that could be used as a birthday card.
 
 
I was struck by all the circles in the Let's Party collection so I clustered a bunch them together. To round out the cluster, I added some stars, enamel dots and a couple Bradz.
 
 
And how about those glitter patterned paper pieces behind the circles? Are they glitter? Nope. They are SN@P! cards with printed glitter designs. I love them because you get the look of glitter without the mess of glitter. Totally dig that.
 
Thanks for stopping by today!


Supplies

Simple Stories has done it again.

They've gone and designed a line that I am smitten with...Life in Color!  Simple, graphic details paired with on trend embellishments + colors made my heart skip a beat when I saw it in person. As is my 'norm', I kept this layout simple and focused on the photo + words. This is a HUGE year for our family...our girl will be applying to colleges later this year (Senior Year?! ACK!) and she earned a lead in the spring musical! It is a time that we all intend to soak up moments together and enjoy family life. I have loved every moment working alongside the team at Simple Stories, but also look forward to hanging on to every minute I can with my girl before she begins her new adventure!!

I could not possibly love the diagonal stripe paper more..but I wanted to leave room for my journaling, so I just used a corner of it behind my photo. The colors in this collection pair well with just about ANYTHING. I began my journaling on the actual photo and finished it on the cardstock.

I added various stickers + die cuts along the cut edge of the diagonal paper, overlapping some onto the photo. The silver foil in the die cuts package is LOVELY!! I am also digging the die cut labels that are in this line...I am a long time fan of labels, so this is perfect!

One of my favorite items included in Simple Stories lines are the chipboard frames. I rarely use them to house a photo, but love to cut them in half and use along the edge of a page, or next to a photo. I used clear photo stickers within the frame and on top of it to add a bit of interest near the bottom.

Again, thank you to Simple Stories (and their blog readers!) for the past few years!! I will remain one of their biggest fans!!
Nicole =)

Supplies

Hello Simple Stories fans!! I'm thrilled to be sharing my layouts with you but sad that this is my last post here.  I've been so lucky to have designed for SS for the past few years. It's been a dream!!  I'm so excited to see the beautiful creations that the new 2016 team will be sharing.
 
Today I'd like to share with you some layouts that I created for the SS booth at CHA.  The first one is titled "Happy 13th Birthday". I used the new Let's Party collection. Isn't it fun & colourful?!
 
 
I used many of the Bits & Pieces to add some interest to my page.  I used some foam squares to adhere them which helps to add dimension to the page. 
 
 
The wording of some of the diecuts and phrases are perfect for both male & females.
 
 
I did some hand journaling on one of the blank diecuts and added some coloured clear photo stickers. I love the coloured ones that they've started coming out with! So fun!
 
 
For the title section I used some of the number die cuts (Pocket Pieces)and added a few more little bits & pieces over top of them.
 
_____________________
 
I created another layout using the Carpe Diem collection called "I love being your Mom".
 
I just love the big white text on the background page.  I'd be happy just framing it and putting it up on the wall!


I love the feathers in this collection and clustered them together in various places on my layout.
 
 
I also added several die cuts & chipboard pieces for visual interest. Layering is always a great way to draw focus to a page.
 
 
I used a fun photo clip on my layout - for no other reason than to look pretty!
 
 
Some stickers, enamel dots, chipboard pieces and clear photo stickers can also be found on my page. These are some of my favourite embellishments!
 
 
Thanks for stopping by!

Hi Everyone!  I hope your New Year is off to a great start.  I thought I'd share some travel pages I've been working on with the new You Are Here! collection.  Simple Stories came up with the best idea in this set... they made die cut Pocket Pieces which are printed on the front and back!

That means you can make all of the see-through pockets you want without having to worry about what's showing on the back.  I can't tell you how excited I am about this! 

There are many different shapes from arrows to pink flamingos.   Most of the designs are a little different on each side, so there is some variety.  Having a design on the back side makes working with see-through pockets so much easier.

On this mini 4x6 page, the die cut says "paradise" on one side, and is a map when it's flipped over.  I used my fuse tool to add a few sequins as well.

The entire You Are Here collection is so fun to work with, and full of gorgeous colors and designs.  I hope you try it out for your next vacation.  Thanks for stopping by today!

Supplies

Hi Simple Stories fans, it's Audrey! Is everybody as excited about the new CHA winter releases as I am? I just love everything in the new lines! The hardest part is figuring out what to play with first. But as a cardmaker, I couldn't resist the new Let's Party collection. So perfect for birthday cards, and as every cardmaker knows.... you can never have too many of them. AudreyPettit LetsParty HipHipHooray Today I have two cards to share, made with the Let's Party collection kit and accessories. One for a birthday girl, and one for a birthday boy. These cards work great all on their own, or also make a wonderful set for yourself or for a gift. First up, the birthday girl. AudreyPettit LetsParty HipHipHooray2 I love layering papers and elements, and Simple Stories makes it so easy with all their amazing embellishments. On both cards today, I've put together some sweet little birthday scenes, thanks to the help of some die cuts, stickers, and chipboard frames. They look really fancy, but since everything is already pre-made, designs like these couldn't be easier. AudreyPettit LetsParty HipHipHooray3 The sentiment banner, girl, and party accents are all from the Bits & Pieces die cut pack. I added a simple twine bow to enhance the girly feel, and then dressed the scene up with a few stickers. Since the stickers are clear, I was able to add them directly onto the die cut balloons for some added fun. AudreyPettit LetsParty SpecialDayCard The boy version is similar in style. Another fun party scene built in and around another adorable chipboard frame. AudreyPettit LetsParty SpecialDayCard2 The twine bow is replaced by printed banners on the chipboard frame, in keeping with a more masculine design. I added machine stitching to this card, too, and a few enamel dots for extra detail. Such a quick and easy way to call extra attention to your design's focal point. AudreyPettit LetsParty SpecialDayCard3 Hope I've given you some ideas for our new Let's Party collection! Thanks for stopping by! 

Supplies

Hey there friends!!

I'm so happy to share this new layout I put together!  And let me tell you why I'm happy… I loved the Carpe Diem planners & accessories when they first came out, but I'm a scrapbooker at heart.  Now with the Carpe Diem scrapbook collection I have all of those awesome bright colors and patterns to use on my pages!  

So here we go…a layout featuring Carpe Diem 

These papers and embellishments worked perfectly for a weekend outing with my family.  

The Bits & Pieces are always one of my favorite embellishments in the collections - they're perfect for lots of layering.

The Element papers are some of my favorites to use on layouts because they make great titles and bases.  I just used the 4x12 “Carpe Diem” portion of the  2x12, 4x12 & 6x12 Element paper as the starting point for my title and added stickers and Bits & Pieces.  I love the teal!

If you're looking for a general, happy, all purpose collection, definitely check out Carpe Diem!  Thanks for stopping by and happy crafting!!!

Pages