December 2014 Blog Posts

Hi everyone! Lisa with you today. I'm excited to share some cards I made with the fabulous new Life Documented Scrapbook collection. You didn't think it was only meant for use in the new planners, did you? :)
 
I always like to have "basic/generic" cards on hand — cards that can be used for any occasion — and this is the perfect collection to do that with. So let me show you the two cards I made to add to my stash...
 
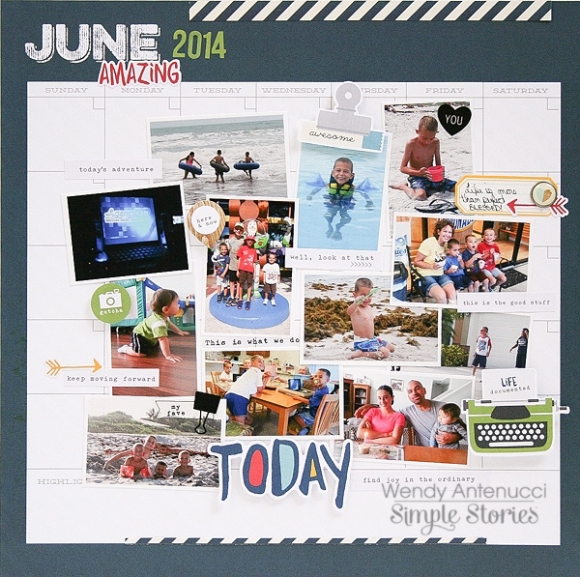
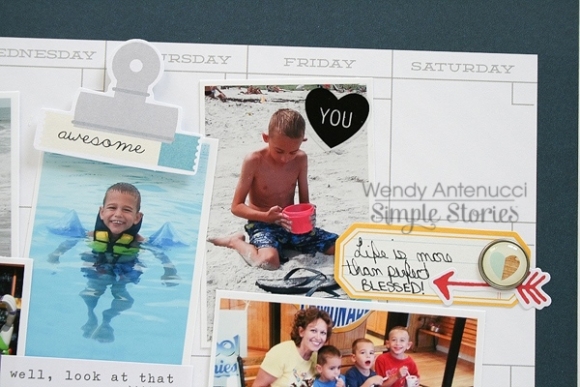
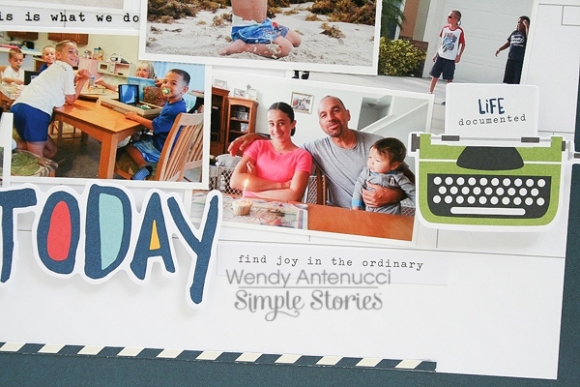
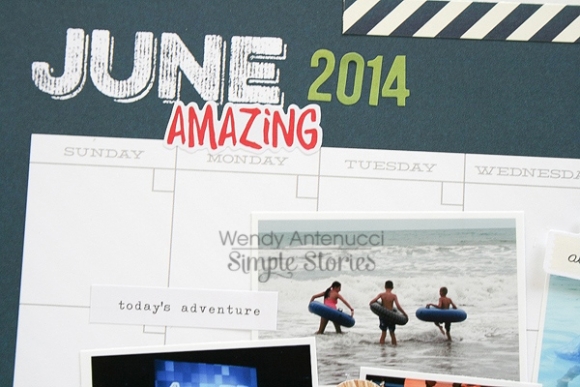
First up is a card called "Today". I made it by layering a 3x4 card over a 4x6 card from the Journaling Card Set. Once I had those layers adhered, I added die cuts from the Bits & Pieces pack, chipboard pieces and enamel dots.
 
 
This next card, called "And Then...", uses the same concept of layered journaling cards, but this time I used four of them (two 4x6 and two 3x4). One of the 3x4s is actually the heart-shaped die cut and the other is the chevron pattern that fills the opening of the heart. I trimmed down the polka dot card so the solid border of the underlying 4x6 card makes it appear as if it's been matted.
 
 
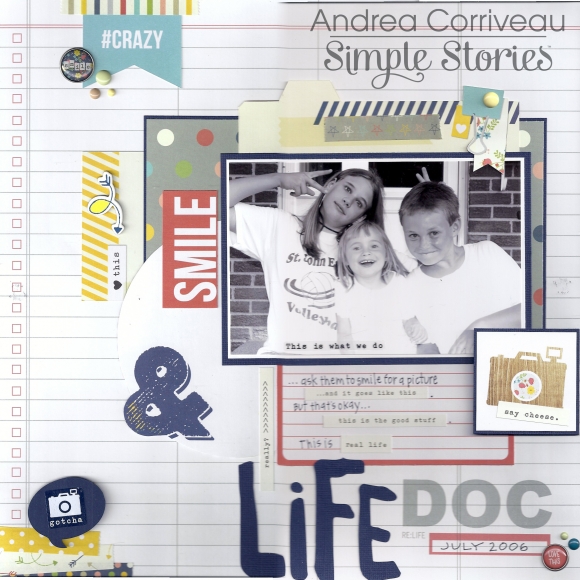
I hope you've been inspired to use the Journaling Cards and embellishments from the Life Documented Scrapbook collection to make cards. Of course, they're equally fun to use to pretty up your planner or to make a layout or other project.
 

Supplies

Wendy here today to share some layouts using the new Life Documented collection.   

 
When I first ripped open my box of goodies I had to create with the new calender pages first.  While I do weekly pages for my family, I loved the idea that I could make a page of a month at a time, all the highlights.   I grabbed the June calender page and printed the highlights of the month in wallets and smaller sizes and I began arranging them in a cluster until I was happy with the design.
 
 
I chose a few of the Bits & Pieces next to enhance and help tell the story of our month.  I knew that I wanted to use the today word as a large focal point to ground my design on my page.
 
 
The stickers that correspond with the Life Documented collection are perfect for telling your story, whether titles, captions, or fun designs.  I chose a few phrases to add to the pictures to provide the journaling without taking any more time to handwrite or type up what I wanted to say.
 
 
I can't wait to add in a monthly page in our scrapbooks to tell the highlights of the month in a glance!
 
Because I was able to create such a quick scrapbook page about the highlights of our month due to the amazing Life Documented collection I had plenty of time to scrap a fun picture of our youngest now.
 
 
So I am in love with the words included in the Bits & Pieces package!  I began this layout with the Today word and pictures printed straight from my printer, not even cutting them apart.  I grabbed a 3x4 card with the perfect sentiment for my little guy and my page was born.  
 
 
The camera paper was the perfect backdrop for my photos, but I needed a little more color and design because my page was a little bare.  I chose a blue paper to continue with the today word and the colors in my picture, but added a pop of yellow to spice up the page (plus the scrap was sitting right there on my table).  I cut a few triangles from another paper to match my background and to help lead your eyes around the page.
 
 
A few fussy cut pieces, a little tag and some twine added a little fun instead of the empty space on my photo.
 
 
I was having so much fun with the Life Documented products and since the layouts were coming together so quickly I was able to create yet another page which you can find on my blog, http://antenucci.blogspot.com.  Thanks for joining me today!


Supplies

Hey everyone!  Andrea here with you today to share some layouts I made using the new Life Documented collection.  Have you seen this stuff yet?!  It’s AWESOME!!!  Every time a new collection comes out it becomes my “favorite”…and this one I really love!  It’s not just for planners (although, who doesn’t love a super cute planner??) - take a look…
 
 
If you were to look through my albums, you’d see that the majority of my layouts are just like this one; of my kids being goofy, showing off for the camera.  Sure…there are some “perfect photo” layouts in them, where everyone is posed just so.  But layouts like these are my most favorite - because this is what our life really looks like, this is really who we are.
 
 
I think that’s what I like most about this collection - it’s about life, and keeping it real.  And…there literally are a GAZILLION pieces for you to embellish with!  My favorite of those are the new Washi Paper/Designer Washi Paper Tapes (I’ve used them on every layout), and the new self- adhesive Bradz.
 
 
These layouts are just us keeping it real.  So don’t toss those photos that are less than perfect, especially if they tell the REAL story.
 
Thanks for joining me today, and for joining me throughout the past year; it has been my pleasure to share with you.  Have a happy new year!

Supplies

Merry Christmas & Happy Holidays from our Simple Stories family!

Merry Christmas and Happy Holidays to all of my crafty friends! Just popping in to share two cards that represent the joy I am feeling this season! I admit, I don’t send handmade cards to everyone on my list, but I always carve out a little time to make special ones for my family. The Simple Stories DIY Christmas collection makes it so easy! Everything coordinates so beautifully, it makes creating a pleasure.

This card was fun to make! I kind of love that the elements are going down in a vertical line instead of horizontal. I also loved layering all those cute little elements.

This card was really quick to create; I used my triangle punch and went to town with the DIY Christmas 6 X 6” pad. Just fantastic for making multiples. After adhering the triangles, it was simply a matter of adding different sentiments and embellishments from the coordinating Tags and Banners. I made six of these cards in a matter of minutes!

Thanks for taking a peek – wishing you a relaxing holiday season and certainly a wonderful New Year!

Supplies

Hello there, Simple Stories fans! Teri here, and I'm here with another pocket page spread. I'm excited to share with you a couple pages made with DIY Christmas!
 
My pocket pages are usually built around specific events, but my pages this time are really just a quick snapshot from the last couple weeks in my life.
 
Like many of you, I've been gearing up for Christmas. I've been decorating, taking part in Christmas-themed events and even creating a few Christmas projects so these pages really feature a random grouping of pictures and thoughts related to those things. 
 
 
I think the DIY Christmas collection was the perfect collection to use for these pages because it consists of so many fun, holiday-themed elements. That's what life has been like lately! Plus, I just love the colors in DIY Christmas. The collection is the perfect collection for documenting things happening during this time of the year. 
 
 
On this first page, I wanted to include a picture of the mini Christmas tree I purchased for my living room so I used one of Simple Stories' Photo Flips. I decorated a SN@P! card for one side of the pocket and then slid a second card underneath it with a little typed journaling.
 
 
When you flip it up, you see a picture of my little tree. 
 
 
Fun, huh?
 
My right page is a lot like my left page.  I added a Photo Flip to it as well. 
 
 
This time I wanted to include a picture of my aunt. The two of us volunteered a Christmas-themed fun run. Talk about a fun afternoon! We helped pack 1,300 good bag for the fun run's participants. 
 
 
Once again, I decorated a SN@P! card with a few die-cuts and added some journaling on secord card.
When you flip it, you can see the picture of my aunt! 
 
 
Another fun element on this right page is "peace and joy" card. I embellished a journaling card with a couple die-cuts and then added two brads. And then things got super fun! I wrapped some floss right around the brads. I love the look and plan to do it again and again.
 
 
So before I go, let's talk once about albums. I've been using a 12x12 SN@P! faux leather album in red to document all my 2014 adventures and thoughts. I frequently scrapbook out of order so I like that the album's ring binding allows me to do that. I used the SN@P! Pocket Pages Design 3 for this spread. I love that Simple Stories offers so many different styles of pages. I love having choices!

Supplies

Hi everyone, Marie here today to share a Life Documented spread using Simple Stories' Cozy Christmas collection. I went back a few years and picked a Christmas I have never documented before. It was so easy to get these pictures displayed in an album with Pocket Pages.

CosyChristmas1


This was a year we had a lot of snow which went so well with the Cozy Christmas theme.  Lots of skiing, sledding, plowing, and snowman building was going on.  And of course I couldn't leave out the hot chocolate!


CosyChristmas2


CosyChristmas3


I think my favorite card of the whole set is the one which reads "Don't get your tinsel in a tangle" which I thought was a great match for this photo of my daughter who had fallen in the snow. Don't feel too sorry for her...it happened right after she threw a snowball at her little brother.


CosyChristmas4


I often have more Christmas pictures than a 2-page spread can handle, so a 6x8" insert came to the rescue. I used one with two 4x6 openings on each side and then added a sticker strip in between.


CosyChristmas5


If you don't want to make an entire Christmas album, just adding an insert or two can give you enough space for all of your photos.


CosyChristmas6


I hope whether or not you have snow where you are, you are enjoying this wonderful time of year!

Supplies

Christmas is almost here!!!  It’s Vicki here with a last minute gift wrapping idea!  As the kids get older I find all they ask for are gift cards.  Well here is a fun way to wrap them up!  I mixed some items for Cozy Christmas and DIY Christmas to create this Gift Card/Cash Pockets on a Ring project.  
 
Take a look…
 
 
The Cozy Christmas DIY SN@P! Pockets are perfect for this project!!!!  Here is another look…


This is a super quick project and so pretty.


I took the two small pockets and attached them back to back and add stickers and tags.


Here is the back side of the first pocket.


I used the tree from the DIY Bunting Banner set and added it to the back of the pocket to create a money holder.


I added a little tag holder inside this pocket.


I attached the third small pocket to the back of this larger pocket.  The gift cards fit PERFECTLY!!!!


The last pocket has a little tag inside to hold the gift card.


Take a closer look at the paper clip detail.  It is great for this project because you can utilize both sides.


Here is the flip side of the paper clip.  I just added some the DIY Christmas Layers.  FUN!!!
 
One more close up shot….


I hope you can find a use for this little gift card holder!  Thanks for stopping by and have a WONDERFUL CHRISTMAS!!!!  

Supplies

Pages