Kelly Alexandra's Blog Posts

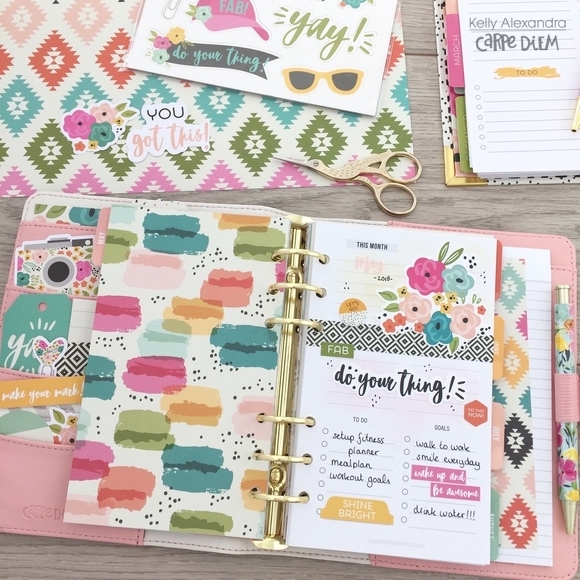
Hi everyone, it is Kelly here today with a new blogpost about the setup of my summer planner. I used the Robin’s Egg A5 planner and the fun ‘Hello Summer’ collection.

Before I started setting up my planner I grabbed the 12x12 papers ‘Oh Happy Day’ and ‘Paradise Found’ which are both filled with gorgeous flowers in fun Summer colors. I fussycut a lot of the floral arrangements.
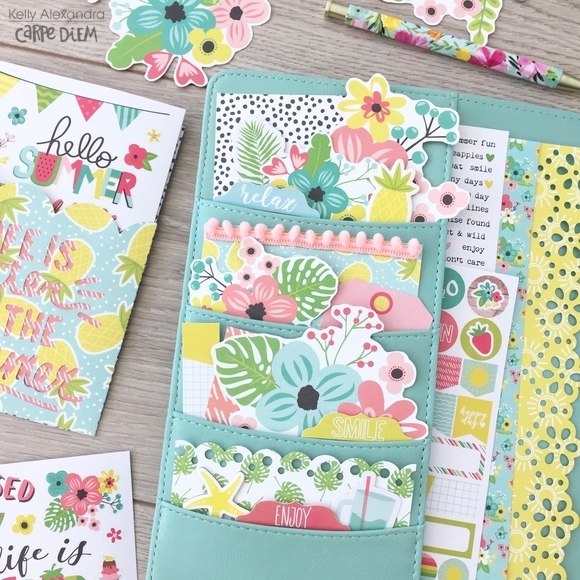
I used a few of the big floral arrangements from the ‘Paradise Found’ paper as decorations in my front planner pockets. Besides stickers and thickers, I also added a pompom-trim and used border-punches to create fun borders.
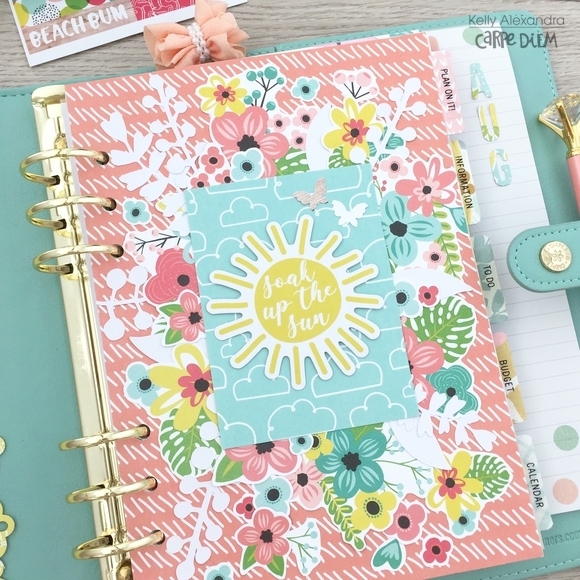
The smaller floral arrangements from the ‘Oh Happy Day’ paper, are the main decoration for my front dashboard. Besides these florals I added some white cardstock leaves to make the flowers pop even more. On the middle 3x4 card I glued on a sun diecut, but you could also use a fun summer picture.
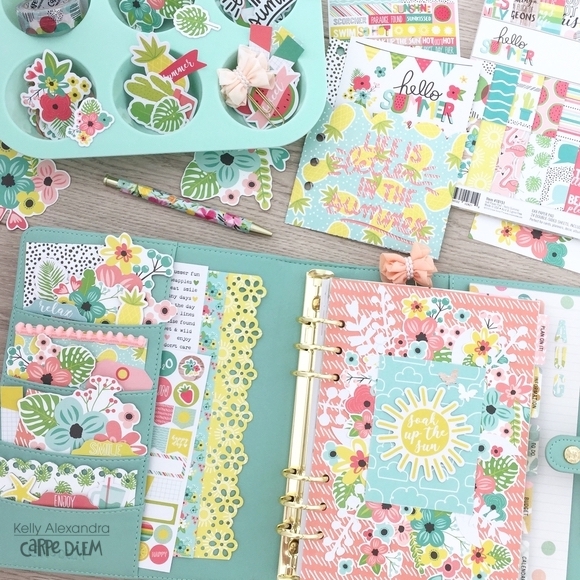
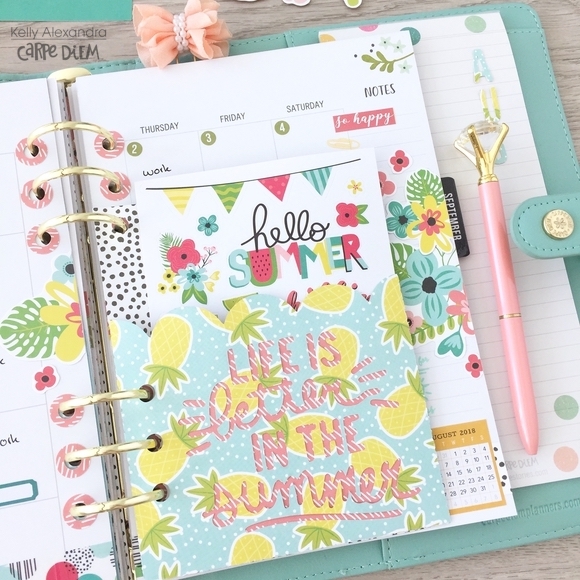
This month I bought a Silhouette machine and I used a Carpe Diem pocket cutfile (ID #176368) to easily create a fun pocket for my planner. I cut the scalloped pocket from the ‘Peace, love & pineapples’ paper.
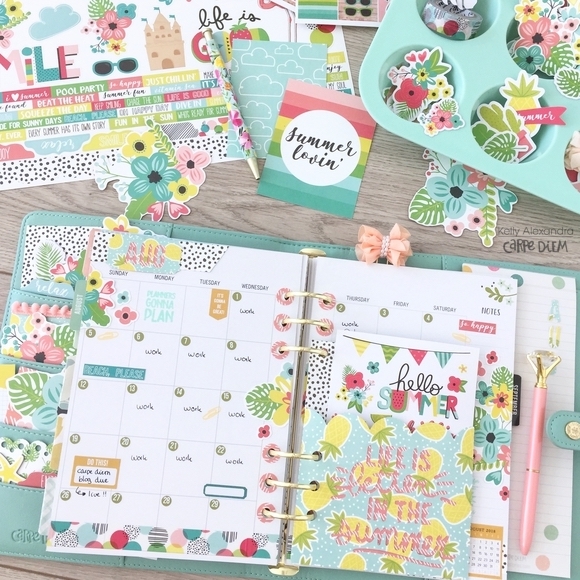
For the front side of the pocket I used the Silhouette software to trace the quote ‘Life is better in the summer’ and let the machine cut it out. I backed the quote up with pink paper. In the pocket I can keep receipts or stickersheets.
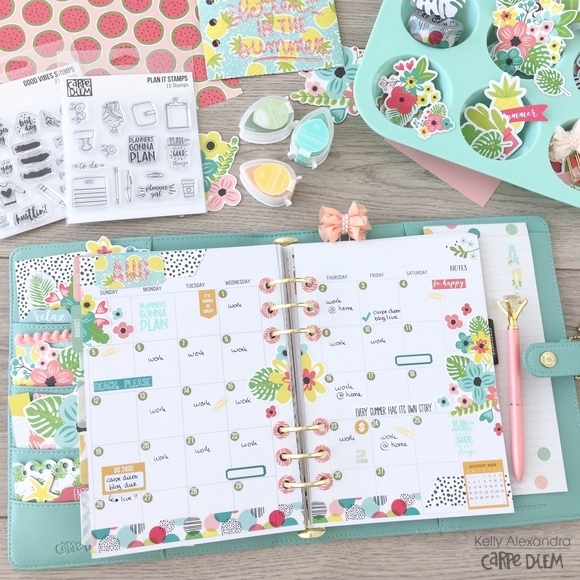
I decorated my monthly spread with some left-over floral arrangements from the ‘Oh Happy Day’ paper, washitape and number stickers. This summer, Carpe Diem released some fun planner stamps, which I also used in my monthly spread.
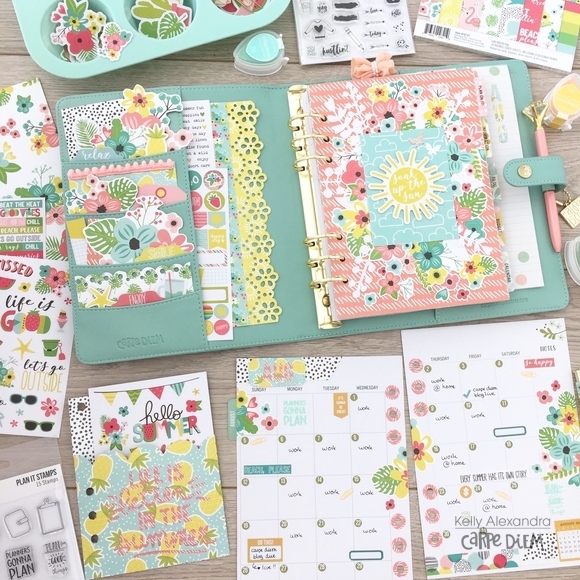
I hope you have enjoyed reading this summer blog! You can find more fun floral spreads in my Carpe Diem planner on my Instagram account createplannernl https://www.instagram.com/createplannernl/

Have a nice day!

Supplies

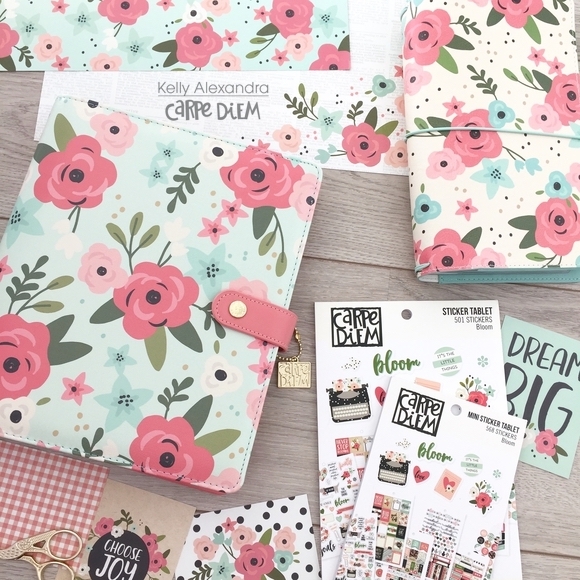
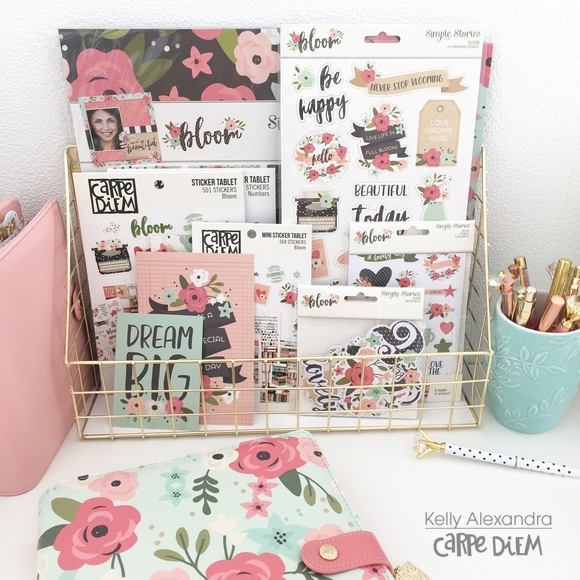
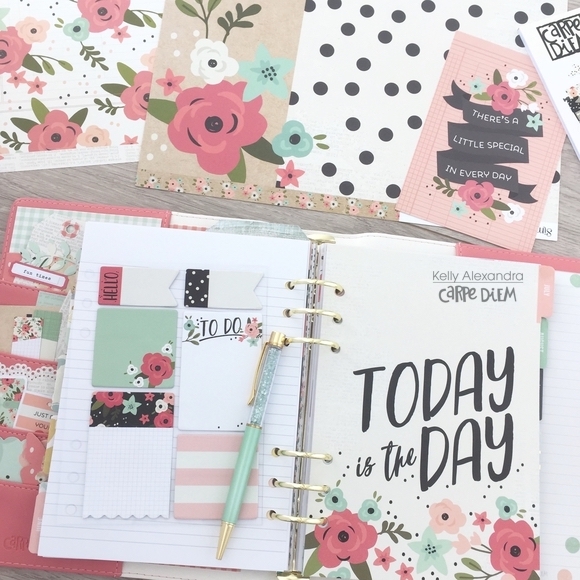
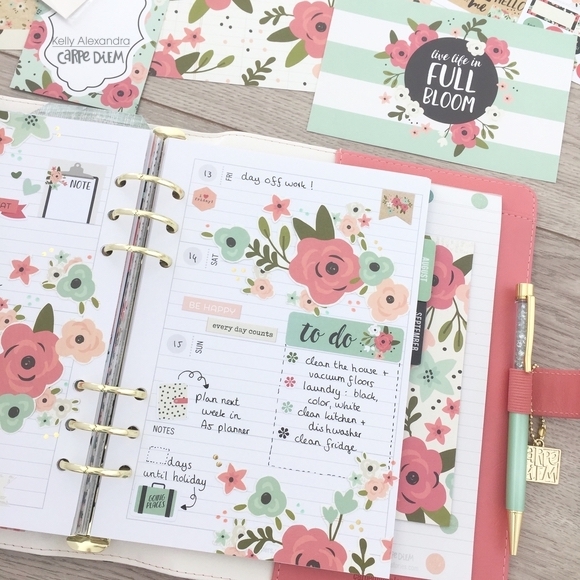
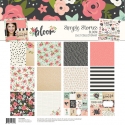
Hi everyone, it is Kelly here today with a new blogpost about the setup of my Mint Blossom planner. I love the floral print on the front of this planner and coral/pink and beige interior design. For this setup I am using lots of products from the matching Carpe Diem and Simple Stories ‘Bloom’ collection.

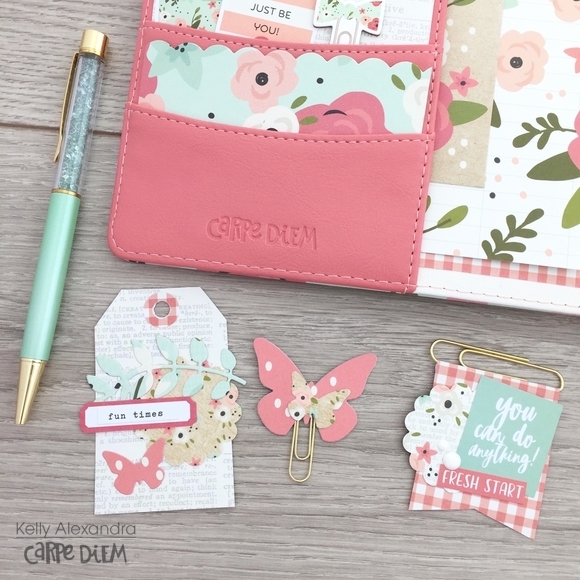
First, I made two paperclips and a tag to decorate my front planner pockets. I used some of my punches and the 12x12 papers from the collection to create my own shapes such as butterflies, scalloped circles and leaves. I decorated the shapes with some stickers from the Bloom sticker tablets.

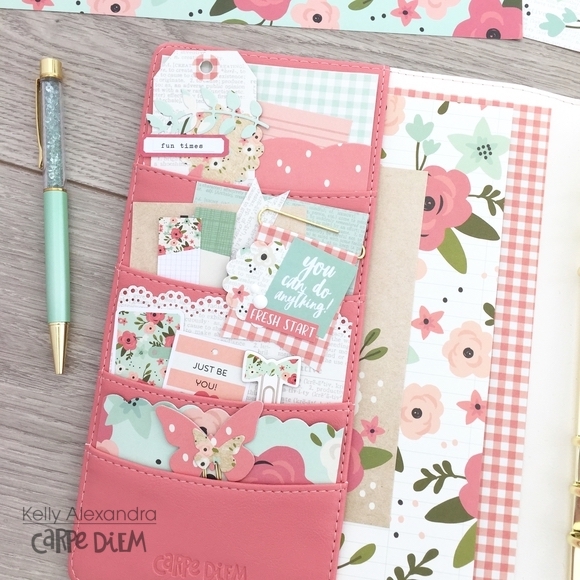
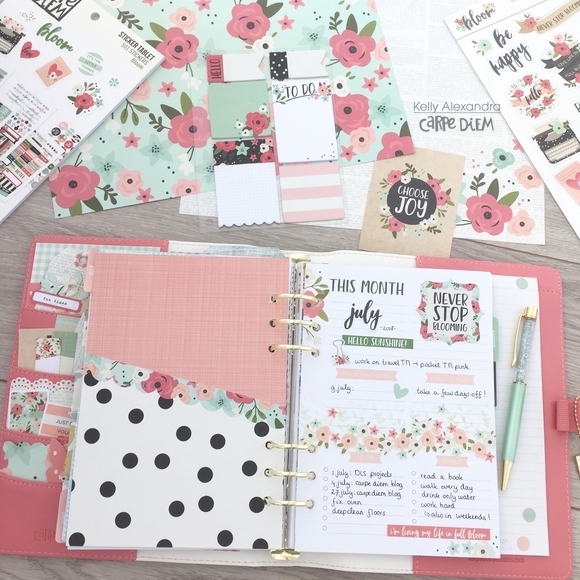
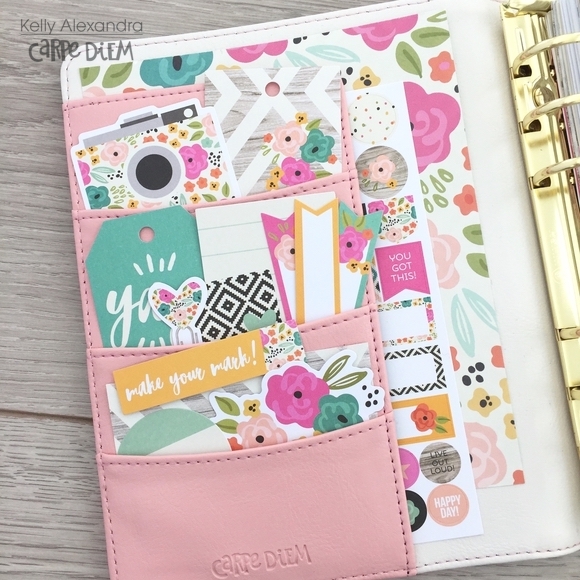
I filled the front pockets of my planner with the decorated paperclips and some stickers and pieces of paper. On the papers, I used a few different scalloped and lace border punches to create a fun effect.

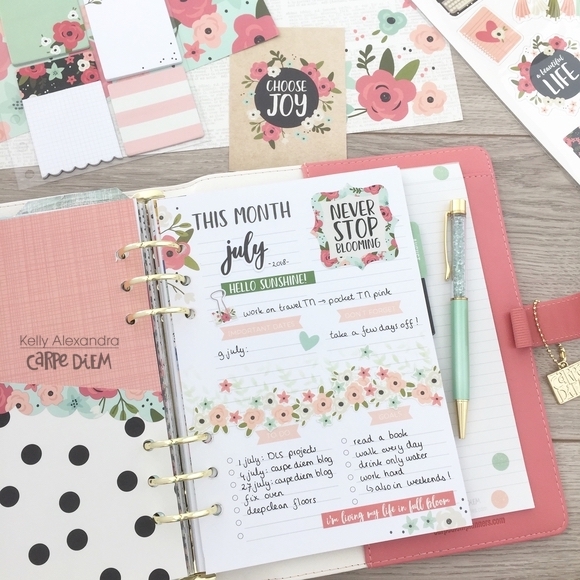
I decorated my ‘This month’ page with some stickers from the collection and sticker tablets. The main decoration of this page is a border of fussycut flowers from the backside of the ‘4x6 elements’ paper. As a background of this floral border I stamped a leave pattern using light-green ink and a stencil.

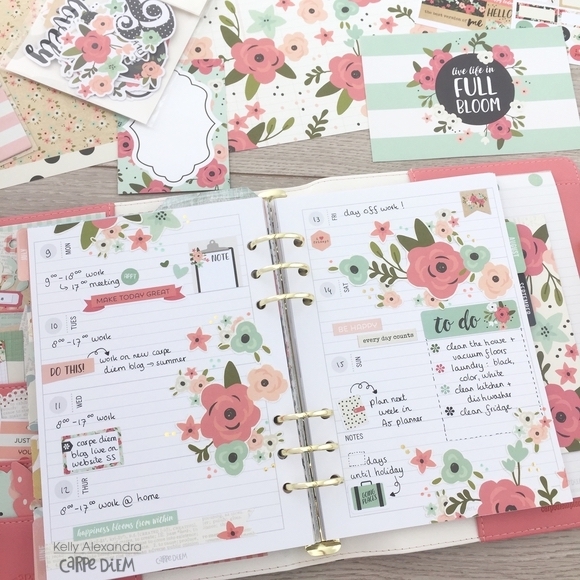
For my weekly spread I used some fussycut flowers from the ‘Happy times’ paper and some leftover flowers from the ‘4x6 elements’ paper. I glued these flowers on four spots on my weekly spread and decorated the rest of the spread with some planner stickers. Lastly, I wrote in all my to-do’s and appointments.

I hope you have enjoyed reading this blog! You can find more spreads in my Carpe Diem planner on my Instagram account createplannernl https://www.instagram.com/createplannernl/

Have a nice day!

Supplies

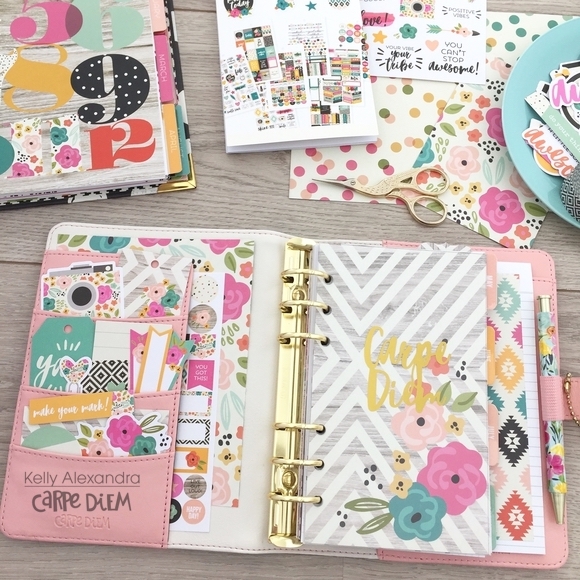
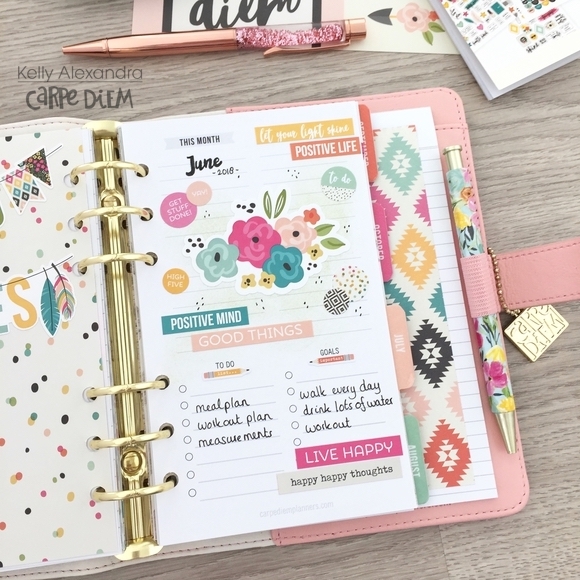
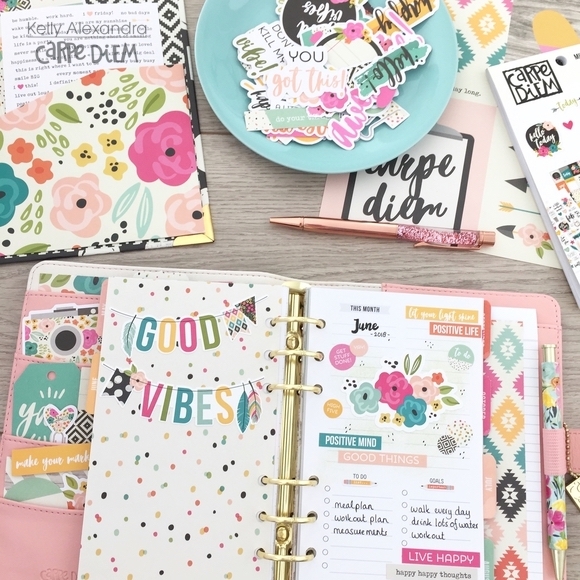
Hi everyone, it is Kelly here today with a new blogpost about my personal planner setup. I use this planner as my personal health planner. With all the fun, bright colors and all the positive quotes and sayings, the Good Vibes collection is perfect to use for this goal.

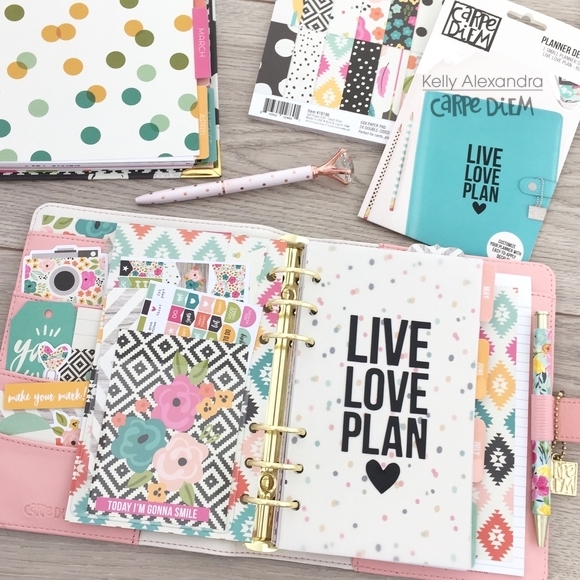
I decorated the pockets with some bits and pieces and stuffed a sticker sheet from the personal sticker tablet in the side pocket.

For this setup I used the Good vibes personal planner inserts and besides monthly inserts, this set also comes with an acetate dashboard with the quote ‘Carpe Diem’ in gold foil on it.

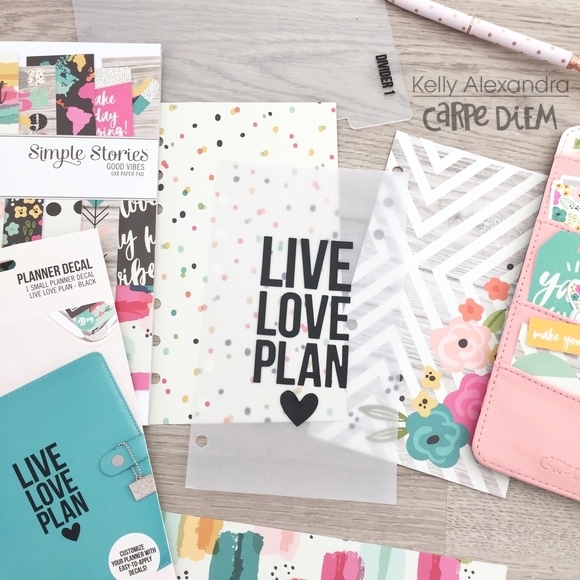
I cut a piece of vellum at the correct size using the personal divider templates and sticked on a small planner decal with the quote: Live Love Plan! These decals are not only perfect for the outside of you planner, but you can also use them on acetate or vellum dashboards.

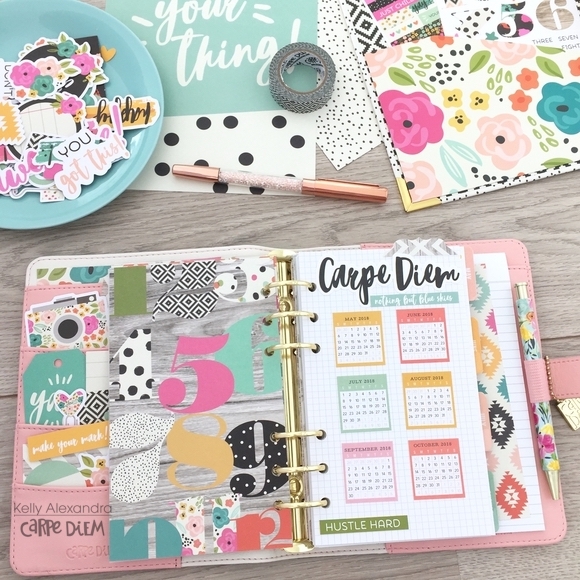
I used the mini monthly calendar stickers to create a ‘half year at a glance page’ to have easy reference of the dates for the upcoming months. I decorated the page with some quote stickers from the 12x12 Combo sticker sheet.

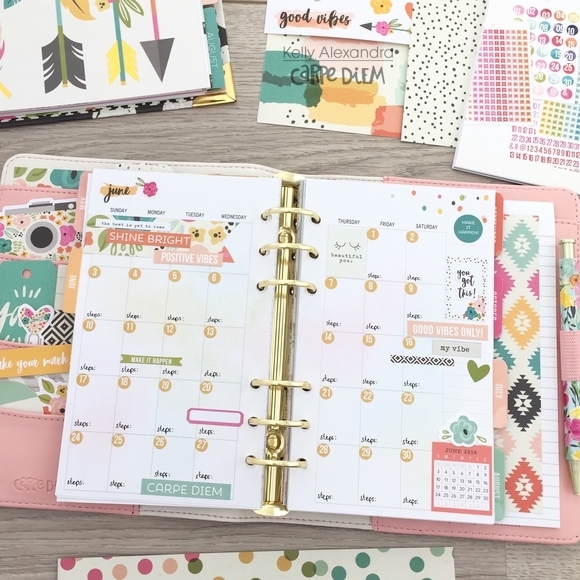
The ‘This month’ spreads I mainly decorated with the 12x12 Combo sticker sheet of the Good vibes collection and added some distress ink in the colors that match in the back.

For the monthly spreads I used some more distress ink for a background and added the small circle number stickers for the dates. I hope this setup inspired you to use this collection in your own projects. Have a nice day!
Supplies

Pages