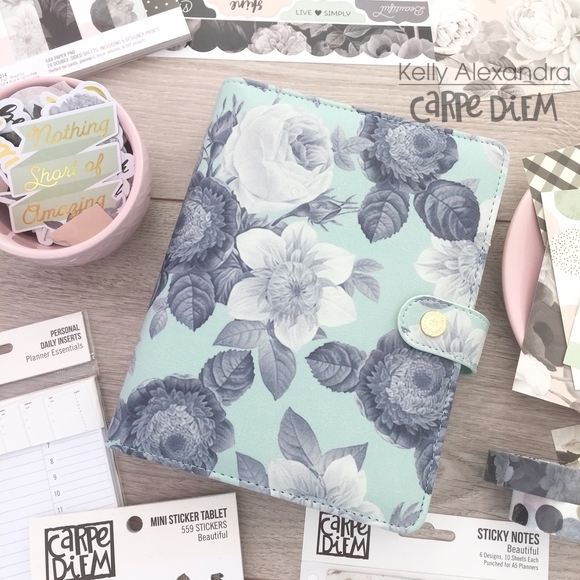
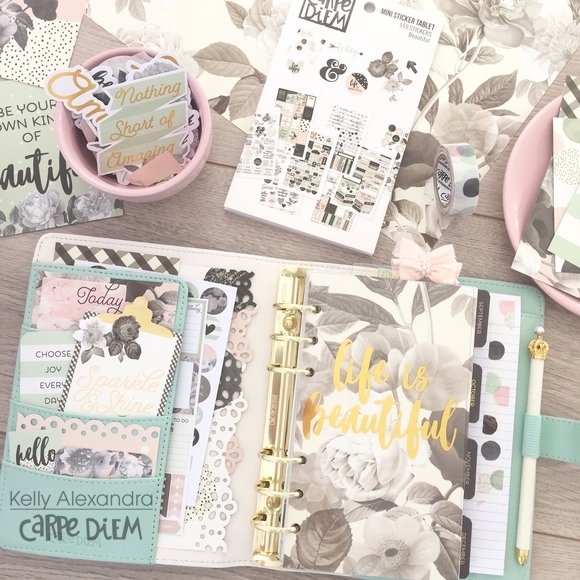
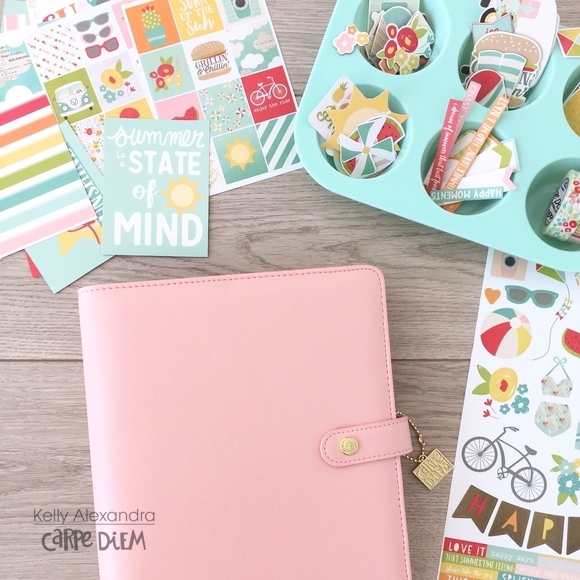
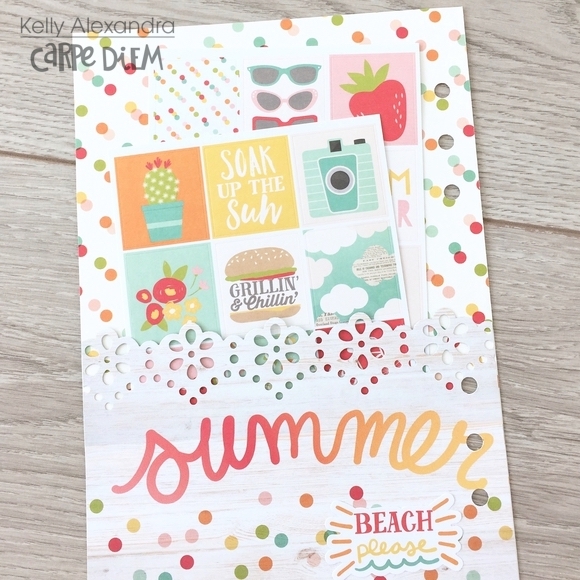
Hi everyone, I had a very nice summer holiday and enjoyed nice weather and lots of delicious food. Now it is time to loose those extra holiday pounds I gained and to set up my fitness planner to help me achieve that! I am using the A5 Fitness Planner Inserts and the Coral A5 Carpe Diem planner.
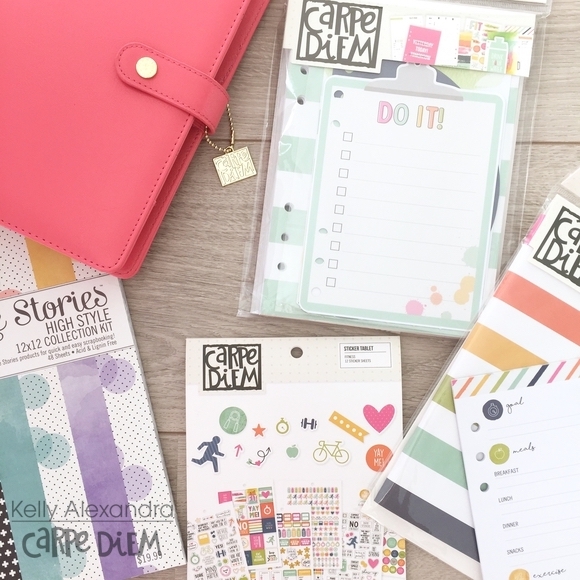
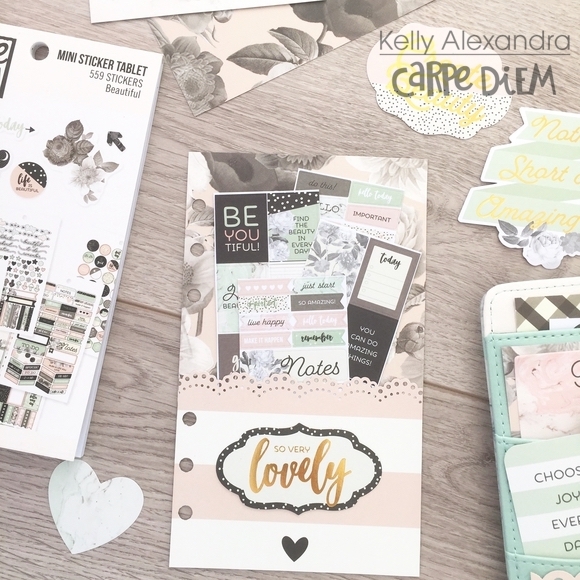
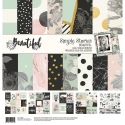
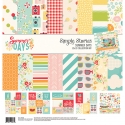
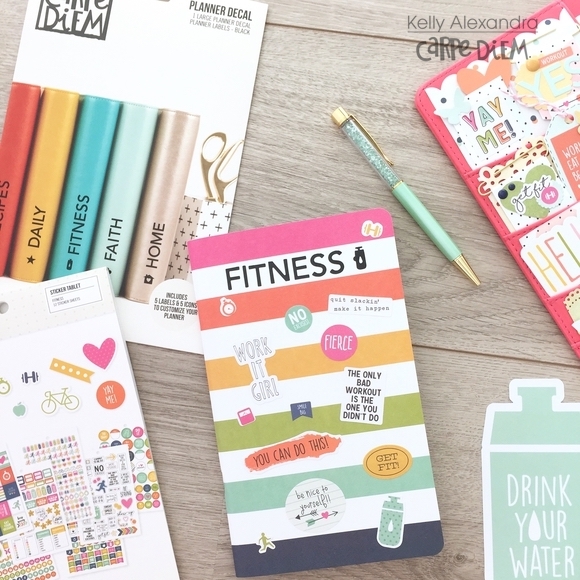
To decorate the planner and inserts I will mainly use the Fitness sticker tablet and the ‘High style’ 12x12 paperpad. This paperpad has beautiful watercolor papers that match the fitness inserts perfectly.
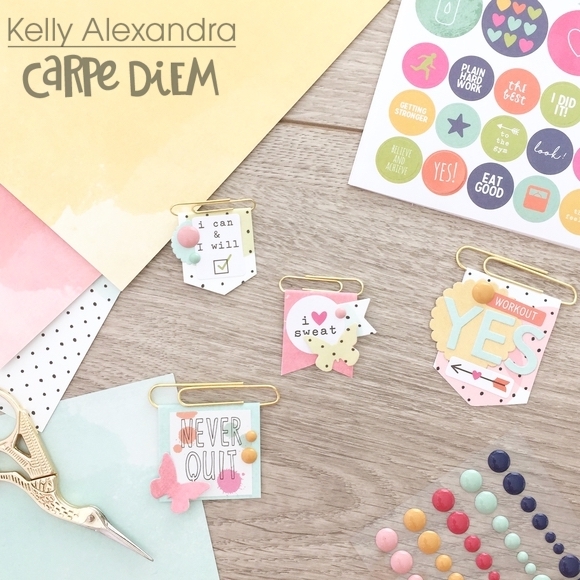
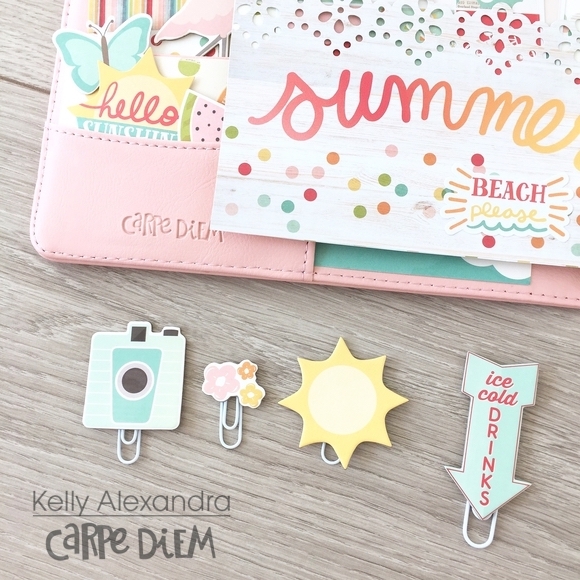
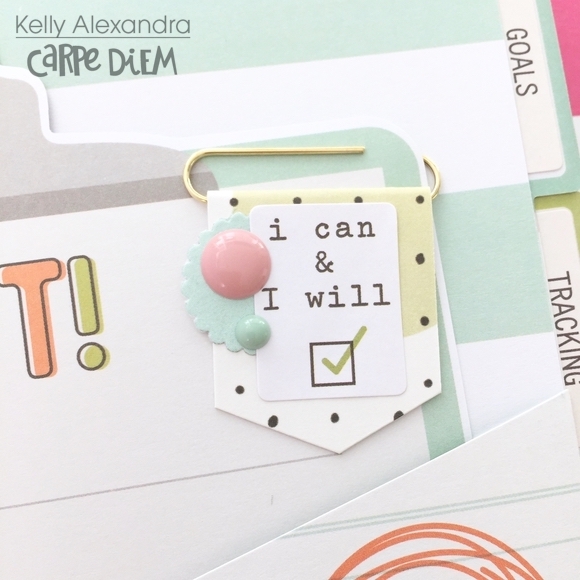
Before I set up the planner I decided to create some flag paperclips. I took some small and bigger gold paperclips, cut some different shaped banners from the ‘High Style’ paperpad papers and decorated the banners with diecut shapes, stickers and enamel dots.

In total I created six flag paperclips, three small ones and three bigger ones. These are perfect to decorate the planner pockets and extra pages in my planner.
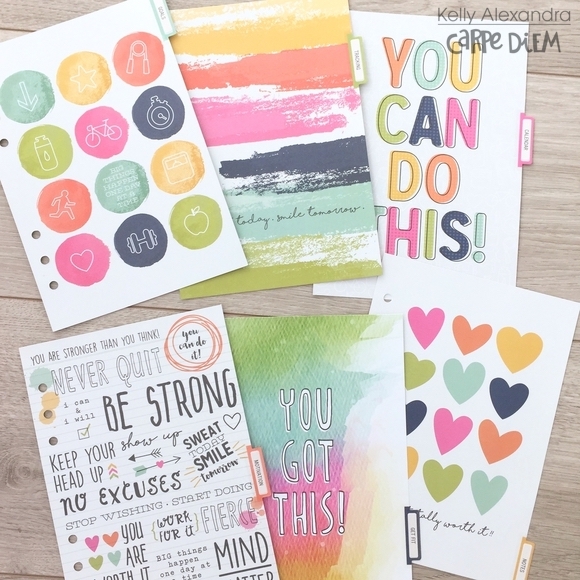
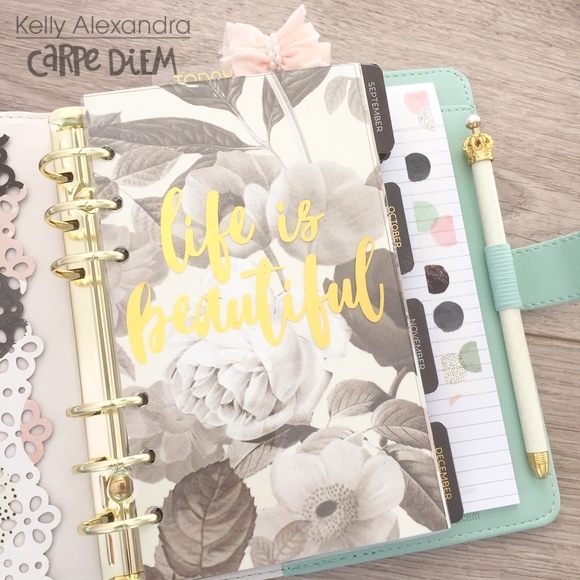
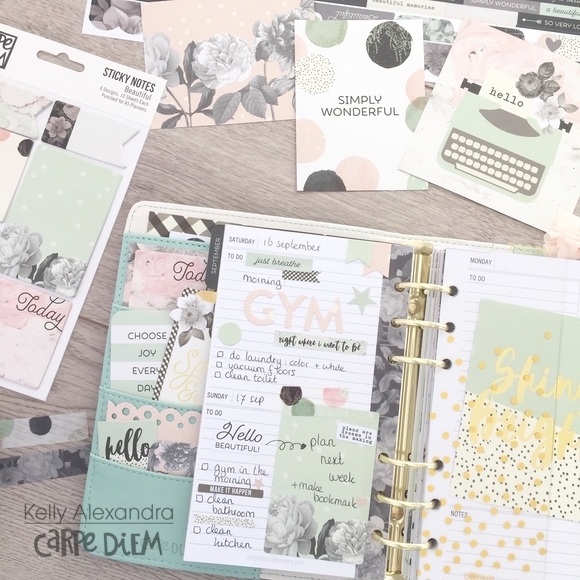
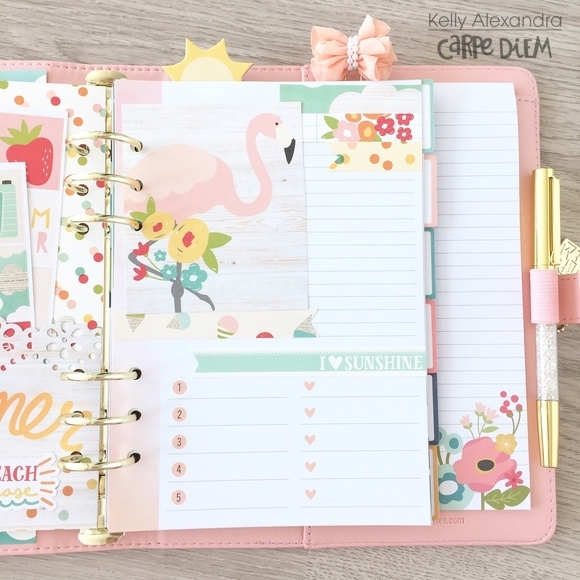
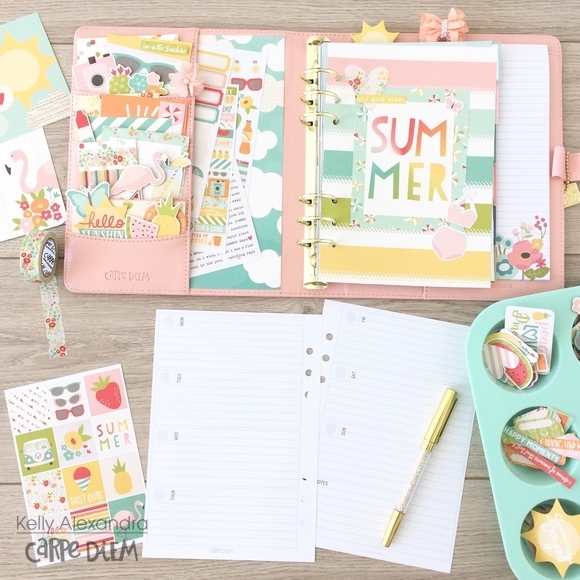
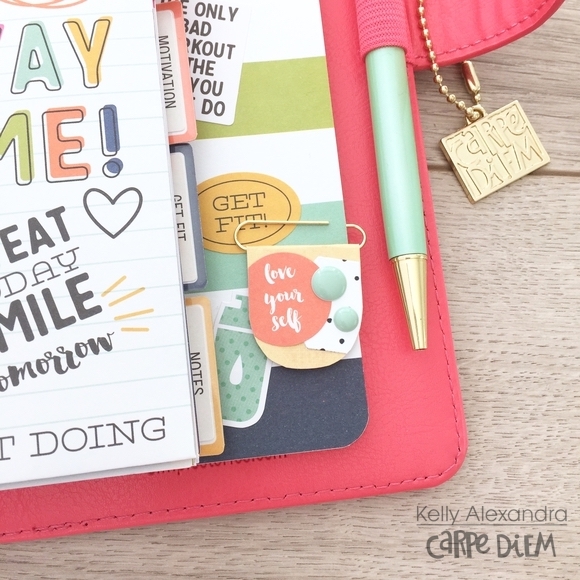
The fitness insert set includes six colorful dividers and different tab stickers to choose from. I selected the following six sections in my planner: Goals, Tracking, Calendar, Motivation, Get Fit and Notes. The ‘Calendar’ section will hold my monthly and weekly fitness inserts and the ‘Get fit’ section some menu planning inserts.
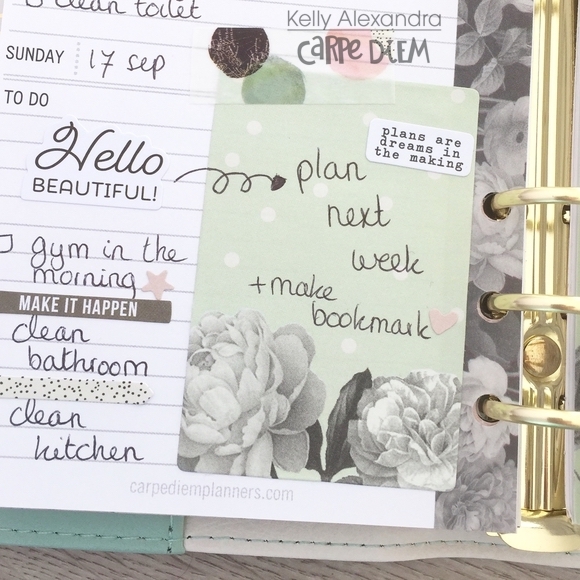
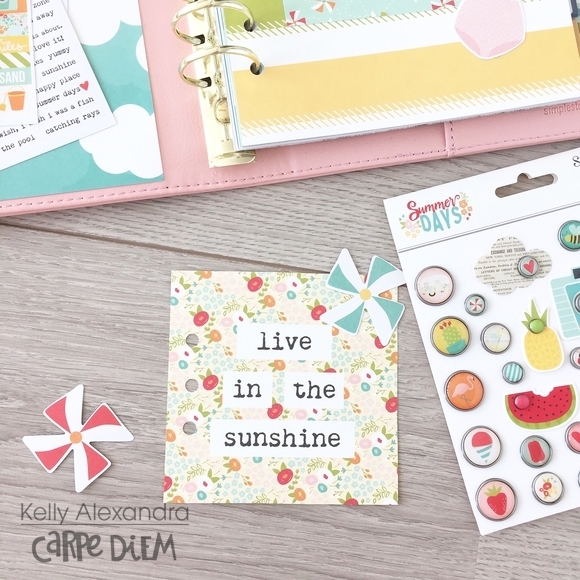
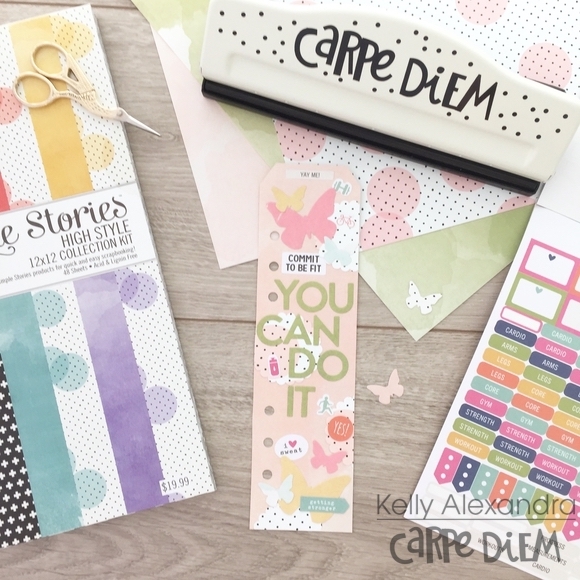
For this setup I also created a fun motivational bookmark. I selected the light pink watercolor paper from the ‘High style’ paperpad, cut it down to size and punched holes using the Carpe Diem punch. I decorated the bookmark with some diecut shapes, words and stickers from the tablet.
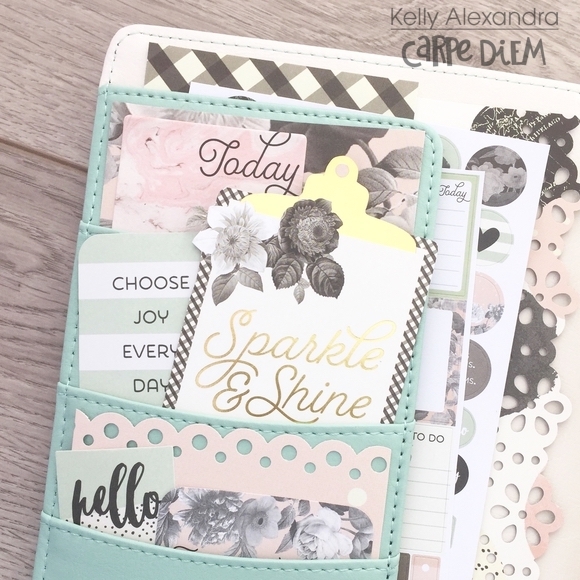
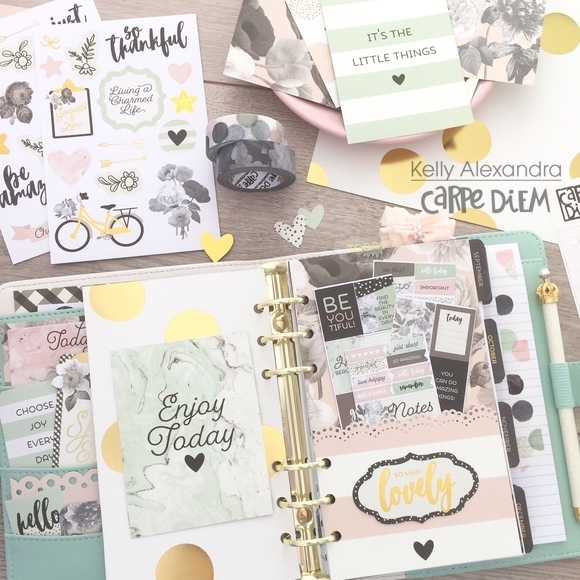
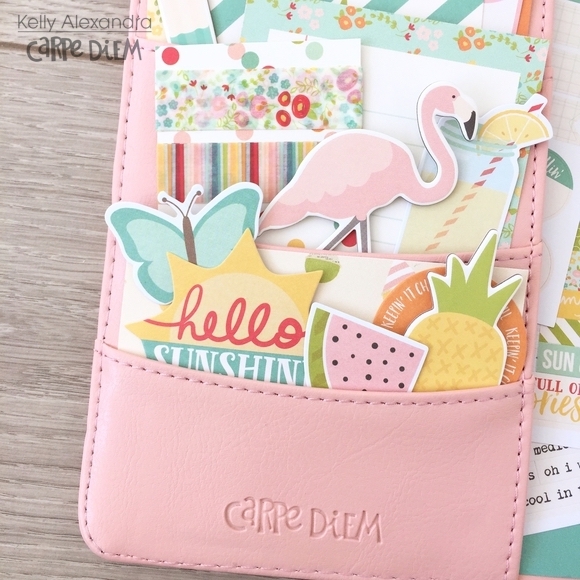
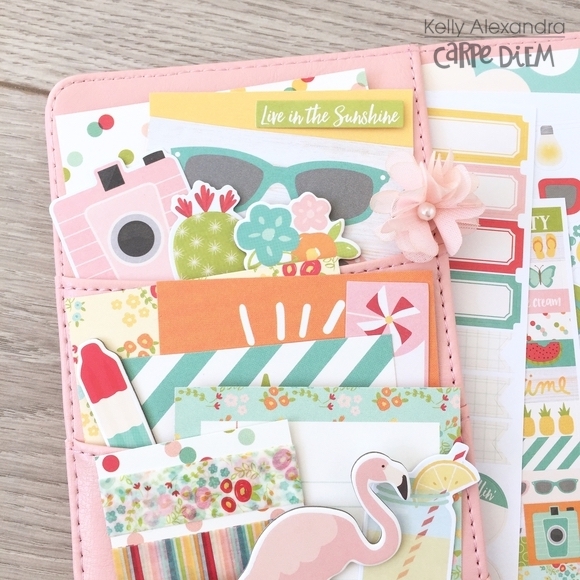
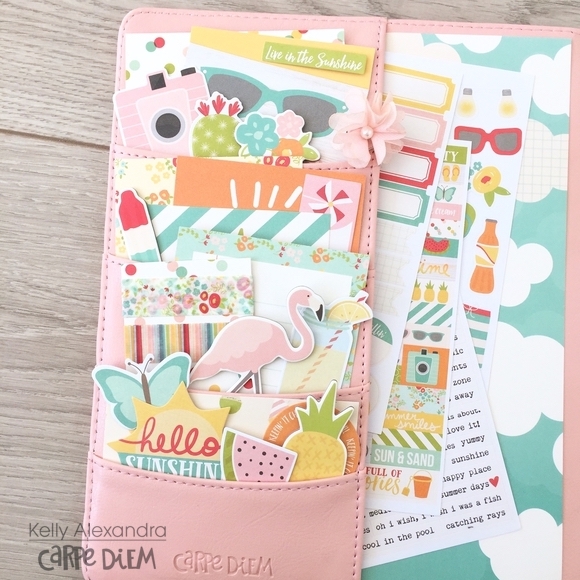
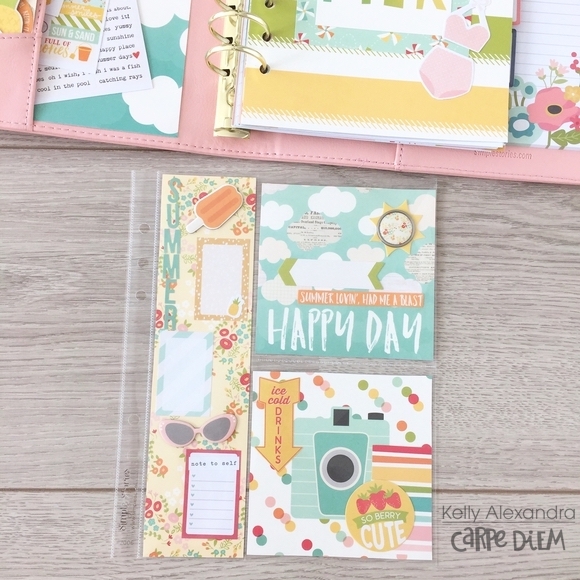
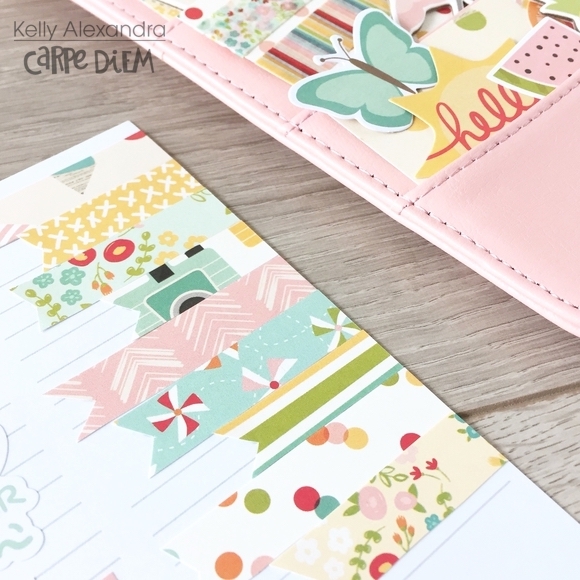
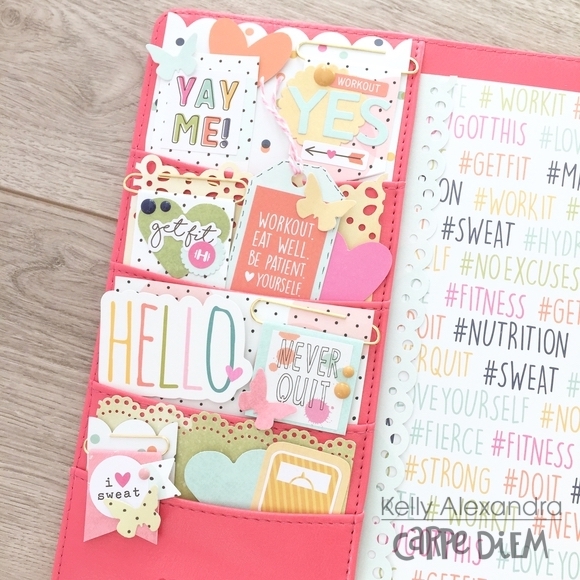
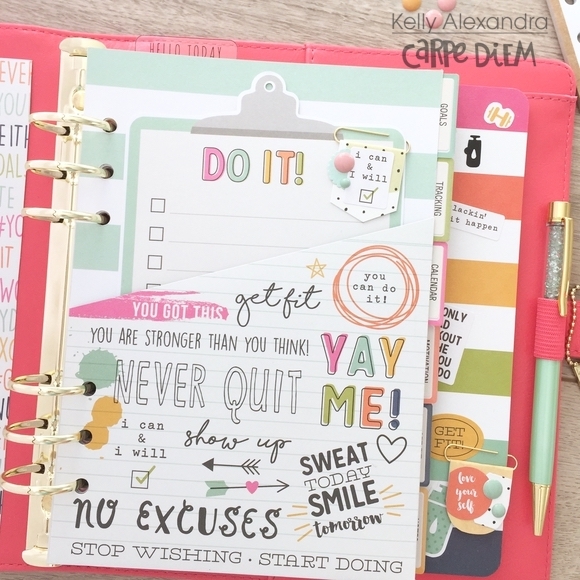
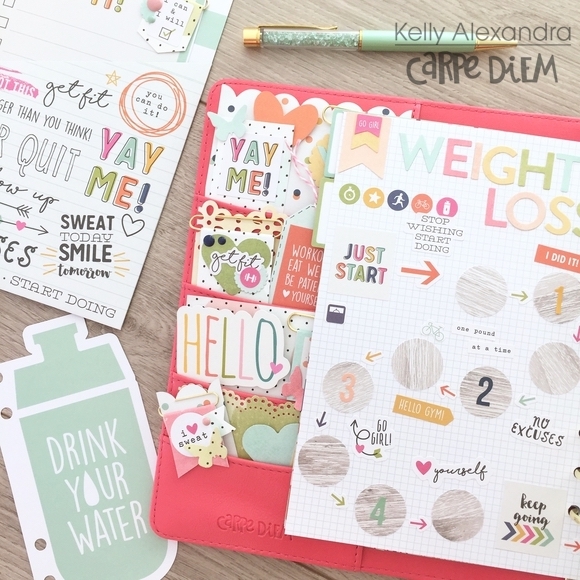
Now it is time for one of my favourite parts of setting up a new planner: decorating the planner pockets!
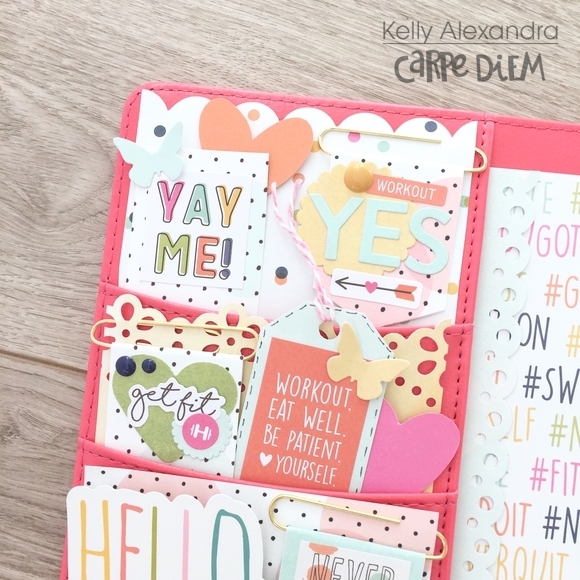

I selected a few papers from the ‘High Style’ paperpad as a base and used different border punches to create beautiful borders at the top of the papers. I decorated the pockets with my diy flag paperclips and some stickers from the sticker tablet.
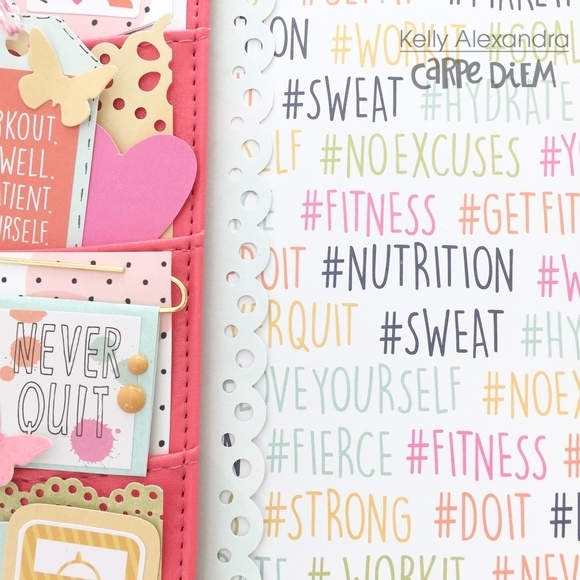

The back of the dashboard that came with the Fitness insert set had awesome fitness hashtags so I slided it in the large side pocket and added a little piece of light blue watercolor paper with a cute border. I am very happy with how these pockets turned out!
With this fitness planner setup I included the ‘Bold stripe’ doc-it journal and decorated the front with some motivational stickers and the fitness decal. The decals are designed to put on the outside of your planner but it works fine on paper or these doc-it journals.
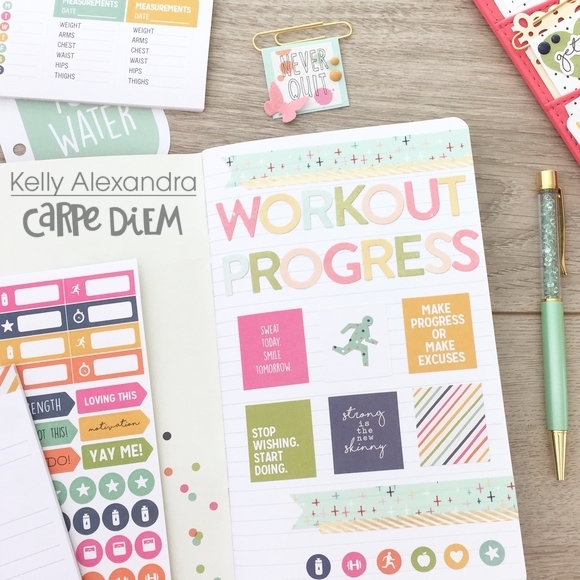
In the doc-it journal I am going to track all my gym workouts such as cardio and weights. Ofcourse the journal needs a fun intro page so I used the ‘High Style’ papers to diecut the letters ‘Workout progress’. I finished the page with strips of washitape and stickers from the tablet. The doc-it journal slides perfectly in the back pocket of my planner.
For this planner I decided not to create a new front dashboard but use the planner pocket that came in the fitness insert set. I am planning on putting my gymclass schedule in here and other notes I need to save.
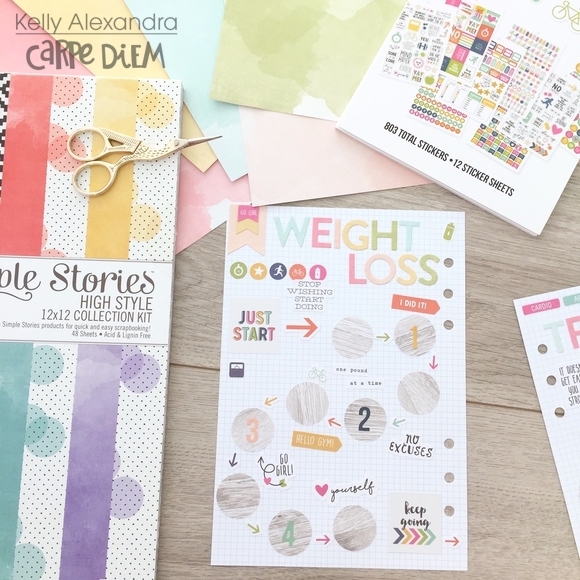
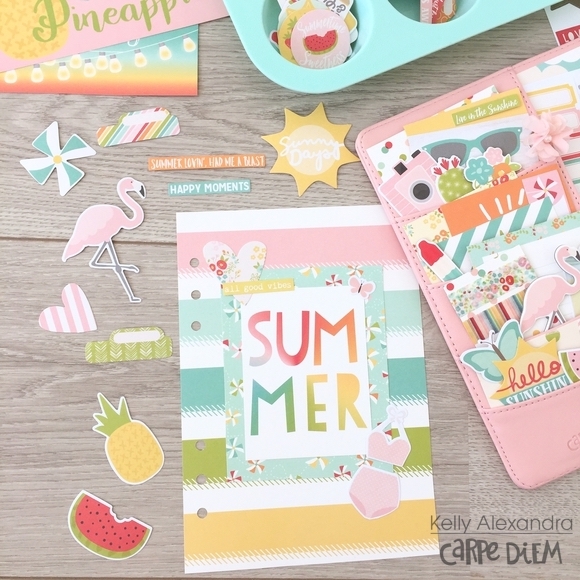
I thought it would be a nice extra project to create a fun spread to track the weightloss journey for my few extra holiday pounds. I used plain graph paper and papers from the ‘High style’ pad to diecut the letters. With a circle punch I punched circles from light wood paper from the ‘Wood and gingham’ paperpad.
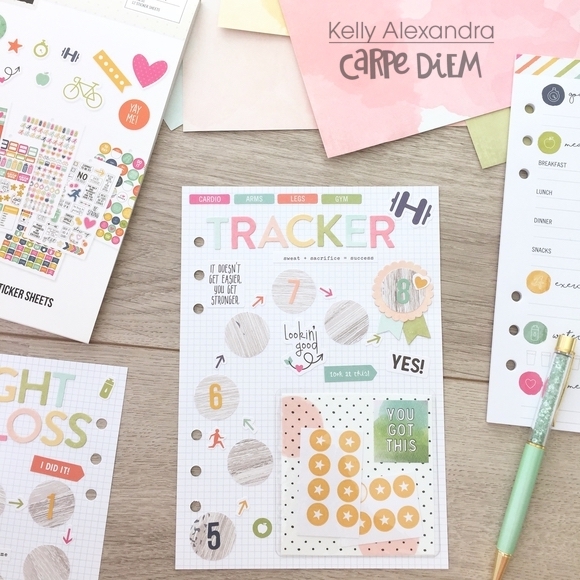
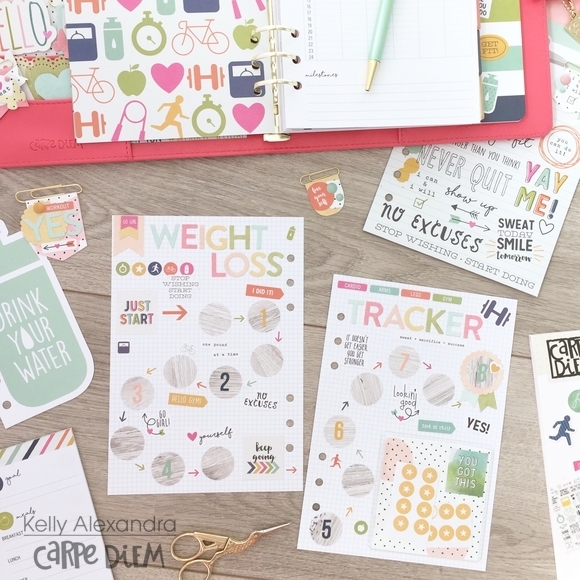
To decorate the pages I used arrow and quote stickers from the tablet. On the right side of the page I glued a clear pocket, which holds some star icon stickers. For each half pound I will manage to loose, I will put a star sticker on the circle as a reward. The end result is a fun two-paged spread on which I can track my progress.
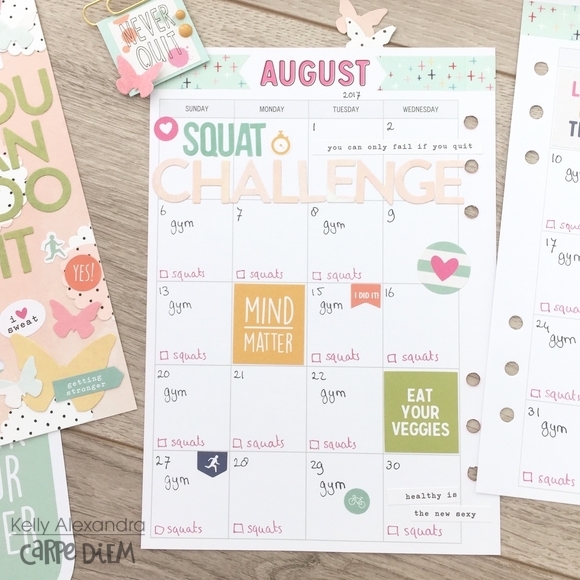
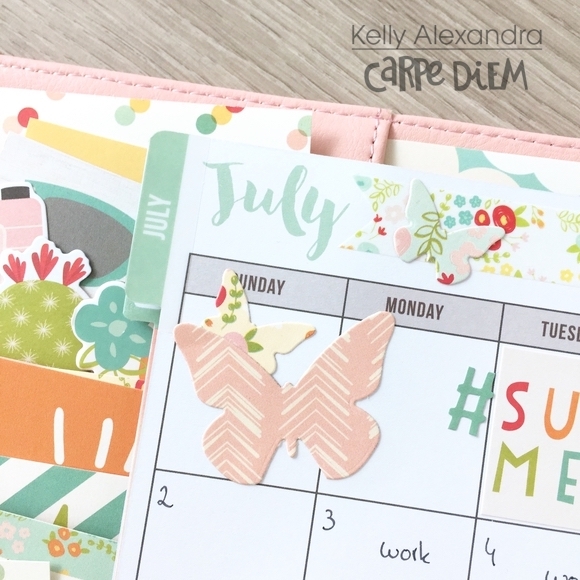
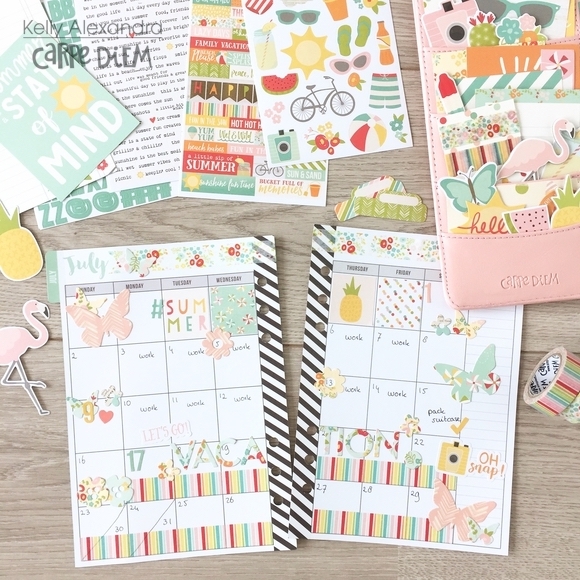
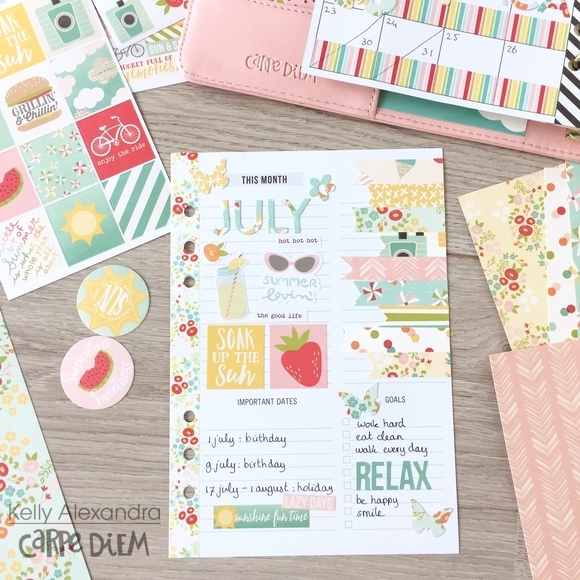
For the monthly spread of August I thought it was smart to plan all my gym sessions and to do a fun monthly challenge. This month I am going to do a daily squat challenge so I diecut the letters and wrote down a daily checkbox to check off whether I did my squats.
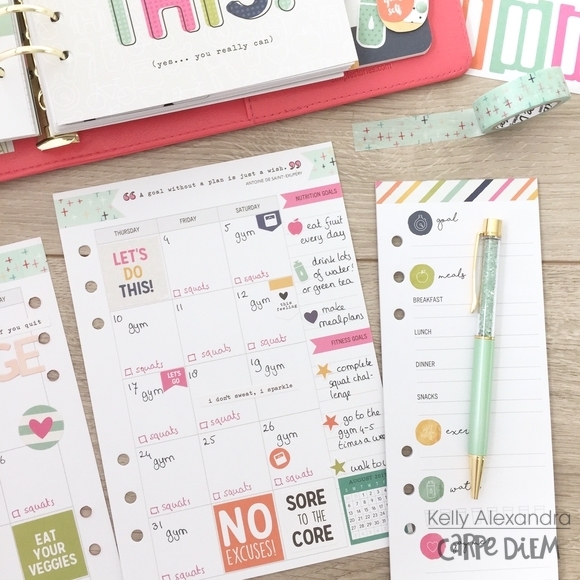
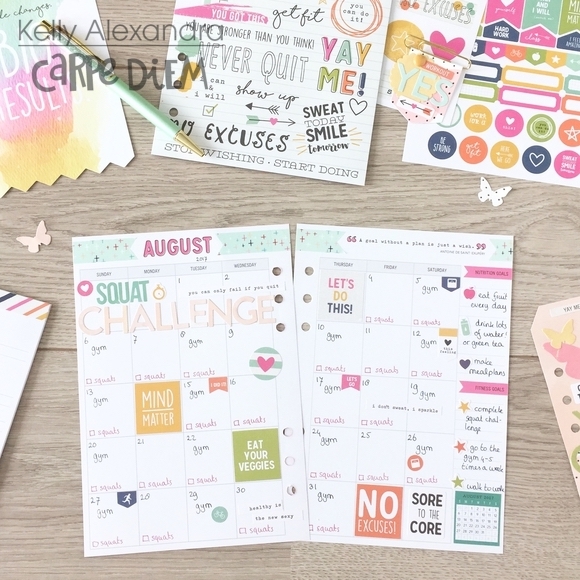
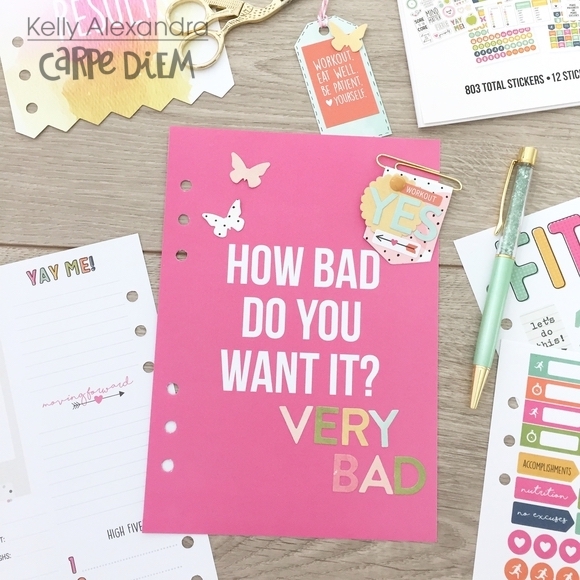
All the monthly pages from the fitness inserts have awesome fitness quotes. For August it was: ‘How bad do you want it?’ I added the ‘very bad’ and two little butterflies to decorate it a bit.
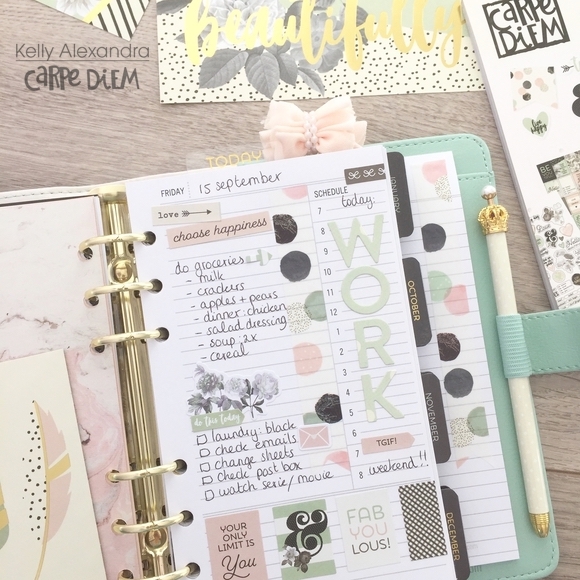
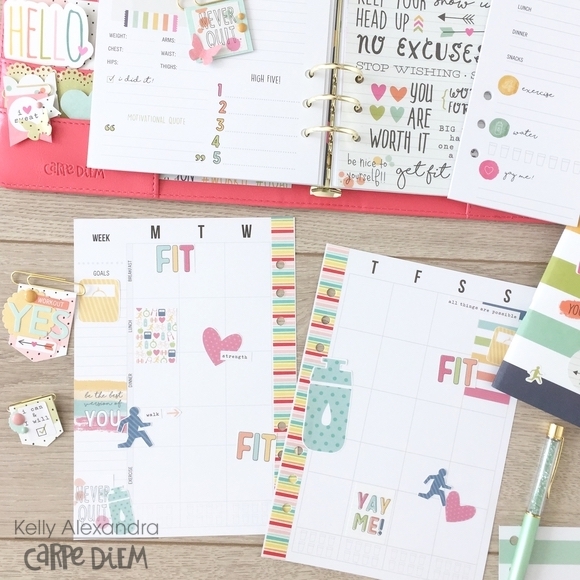
The setup for my planner is mostly done, now it is time to use it! Simple Stories has some free fitness printables that you can download here - I printed them in different sizes to decorate my first weekly spread to track my food and exercise.
I hope this blog inspired you in creating and decorating your own fitness planner! On my instagram page createplannernl I will show some more spreads and extra pages in my fitness planner. Have a nice day!