September 2019 Blog Posts

Hi there! Nicole here today to share with you a whimsical project made with the Country Christmas collection.

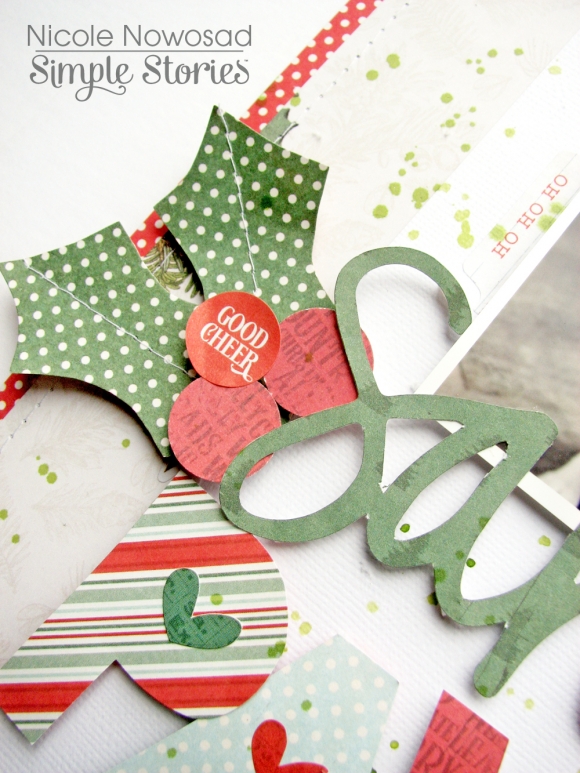
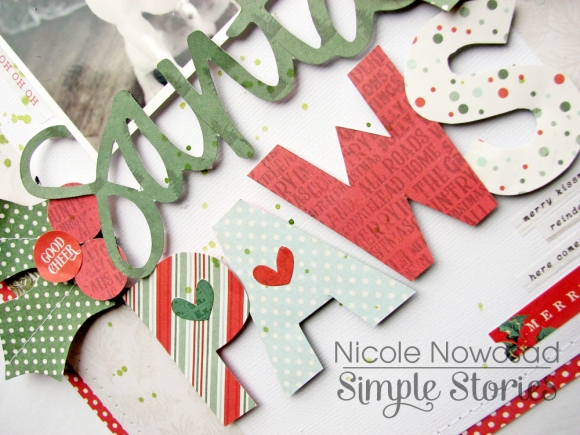
I decided to use the various patterns in this collection to create a bold title for my project. I used patterns from the 6x8 paper pad and used 2" squares to create a hand drawn title, cutting each letter from a different patterned paper. This adds a lot of color and whimsy to a typical holiday project.

I added a few diecut holly leaves to the sides of my title and used some circle stickers from the Country Christmas Mini Sticker Tablet as holly berries in my design.

It is easy to create a unique and whimsical project using traditional patterns and holiday colors - I hope you will give this a try!

Supplies

Hot cocoa, holiday movies, and time with family ... the holidays are just around the corner and I can't wait! Hi, everyone! It's Jana Eubank. The Country Christmas collection has a classic holiday vibe that makes me want to snuggle up in a blanket next to the fireplace and watch the snow gently fall outside the window. It also puts me in the mood to do a little Christmas scrapbooking!

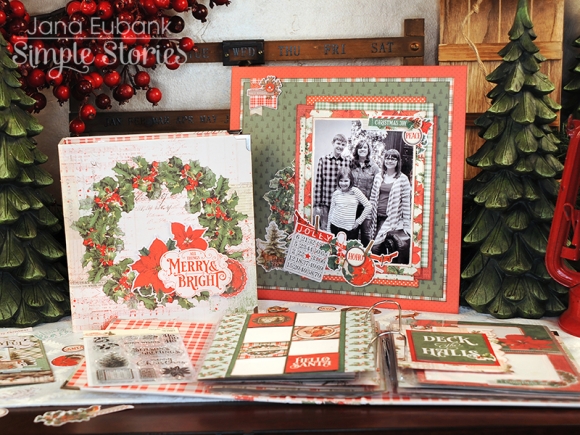
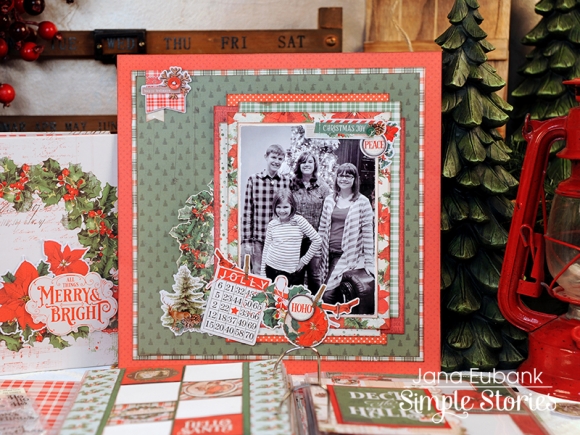
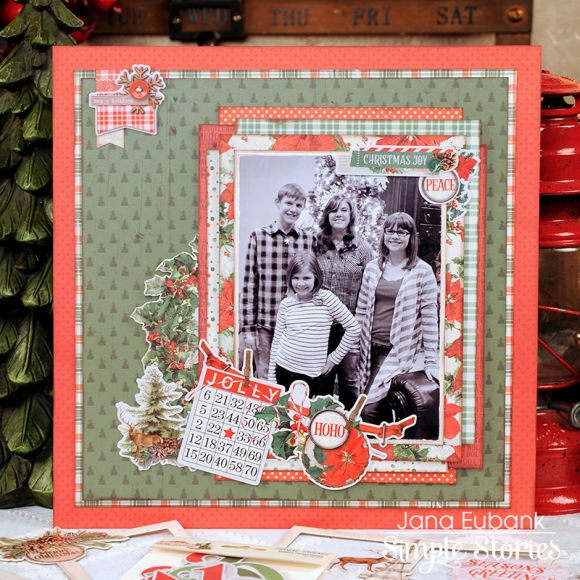
I pulled out a Christmas Eve photo of my kids next to the tree and created this next layout. I layered up several sheets from the 6x8 Paper Pad to create a textured mat for the photo. I even fussy-cut the large wreath from one of the papers to tuck behind the left side. Along the bottom of the photo, I added stickers from the Combo Sticker Sheet and the Banner Sticker Sheet.

For the background I layered up even more patterns ... Can you tell I love patterned paper? Ha! I used the Cardinal Simple Basics paper as the base, and then added the 2x2 Elements Paper (green pine trees) matted with the plaid side of the Christmas Magic paper.

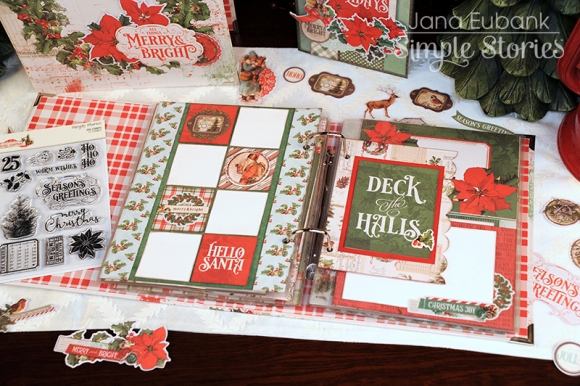
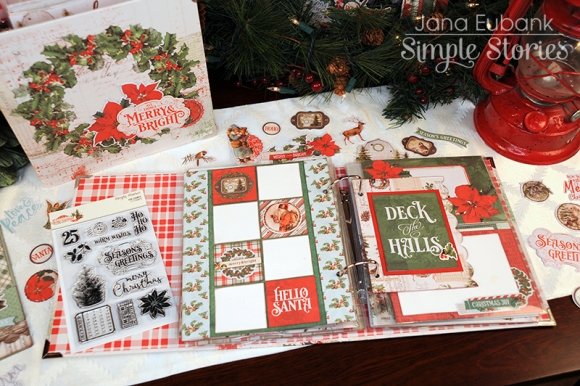
I always create several 12x12 layouts for our family album, but my favorite holiday project to work on each year is my December Album. I typically put the album together after the holidays are over, keeping track of our activities throughout the month to go with the pictures I've snapped. This year, I'm going to try a new approach! I created my album ahead of time with the Country Christmas SN@P! Cards, Bits & Pieces, Floral Bits & Pieces, Chipboard Stickers, and the 6x8 Paper Pad. I then placed white cardstock in the spaces where I plan to add photos. 

I have a photo printer at home and so this project should come together fairly easy, even if I only have time to work on it once a week throughout the holiday season. I'm excited to give this approach a try!

Of course I am using the coordinating Country Christmas 6x8 Holilday SN@P! Binder for this project! If I happen to need more space for a particular event, I can always add more pages, or move things around with the simple-to-use D-ring. I LOVE these albums so much!

I hope you have found some inspiration to get you excited for your holiday projects this year! The Country Christmas collection has everything you need to make your Christmas crafting beautiful AND fun!

Supplies

Hello everyone!  Dorymar here today sharing a beautiful Christmas Snap Album with the vintage and majestic Country Christmas Collection.  When I saw this collection, I fell in love instantly with the vintage look, the colors, elements, and designs. Christmas just around the corner and this project is a unique way to document your holiday season. 
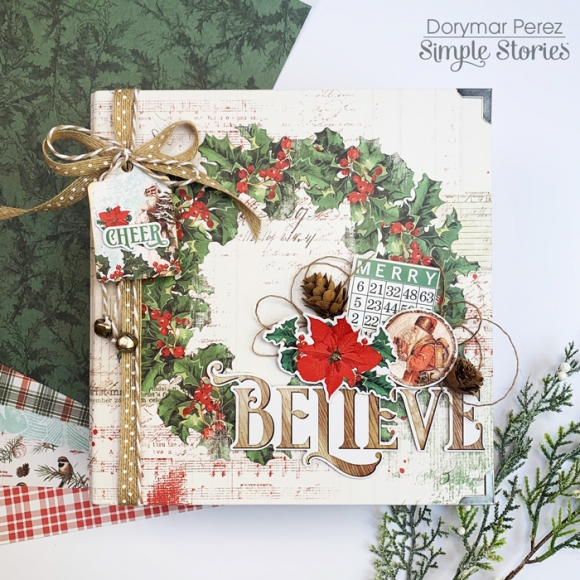
This Collection includes a beautiful Sn@p binder in combination with the collection, where if you wish you can add some element, or you can also leave it as it comes because it’s spectacular! But in my case, I always love to decorate my cover and to create it I use a few elements from all the beautiful embellishments that the collection includes.
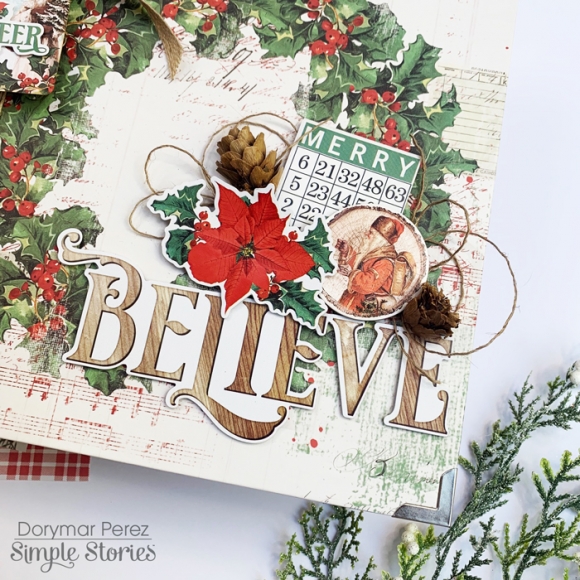
The cover design includes a big Christmas wreath, to personalize it I added a Giant “Believe” word from the sticker sheet and closer her I added the big poinsettia flower and bingo card from the sticker sheet too.  To give a cute texture I added 2 mini pinecones and twine.  I think looks AMAZING!
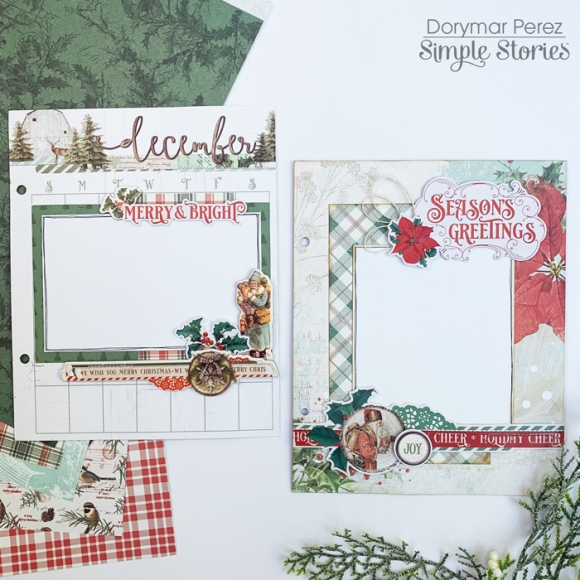
The Country Christmas Sn@p Binder comes with some great ready to go dividers which includes beautiful designs in combination with the collection papers.   I didn't have to work hard to personalize my dividers, I just added some elements and they were ready. For these pages I only had to add some chipboards, die cuts and stickers and the pages were ready.
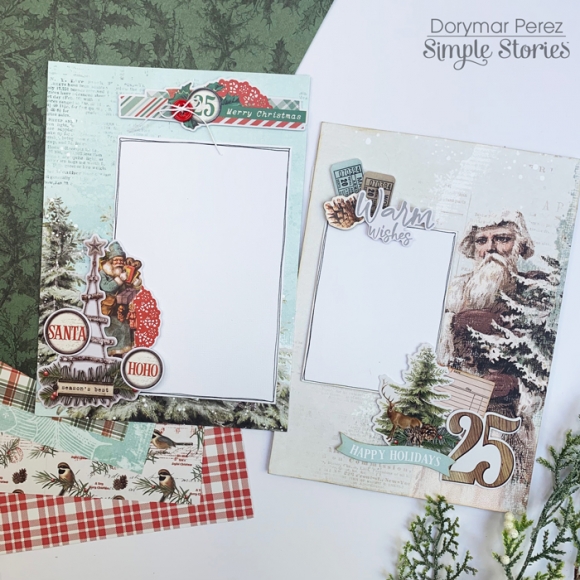
I used the Joyous Noel 12x12 paper to create these two beautiful layouts. The big vintage Santa, it’s Amazing, I love it so much!  To decorate the pages I used stickers, bits and pieces and chipboard from the Country Christmas collection to embellish the layout by creating little clusters next to the photo mat. 
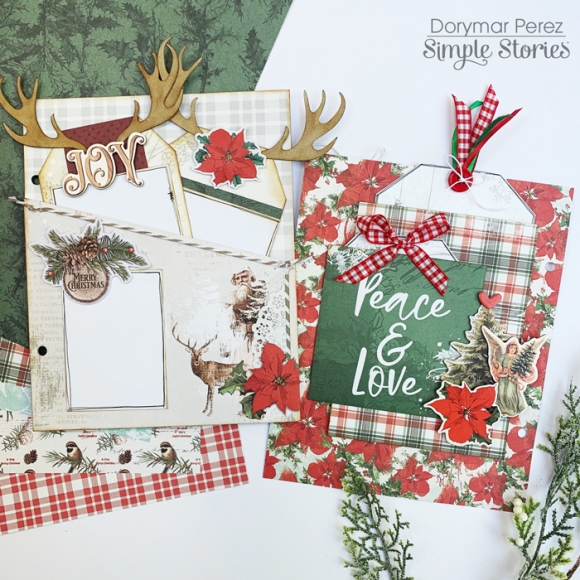
It fascinates me to add tags in my albums and in this case I used a fantastic pocket page that includes the album to incorporate my tags.  To create them I cut two pieces from the “Glad Tidings” 12x12 page measuring 3.5” x 7”.  On the next page I used several papers from the collection to create pockets and tags. I loved the 4x4 card with the "peace and love" sentiment.  Then I add ribbons to give a cute look.
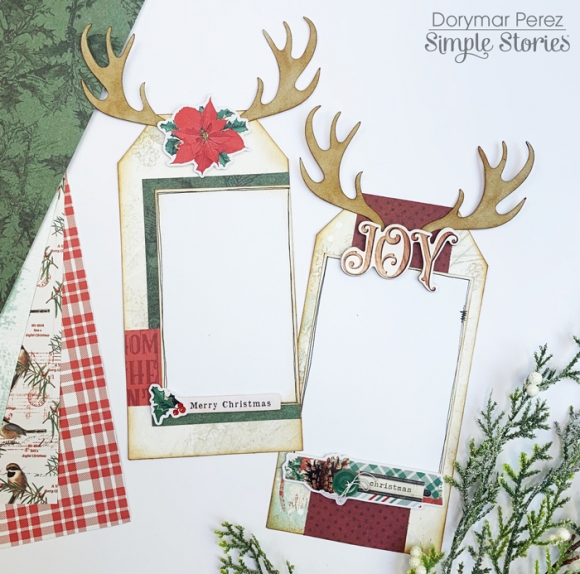
The collection has many deer, I wanted to match the collection with my tags and for this use a digital file to cut the deer horns. I think this gave a unique touch to these tags. They look very cute!
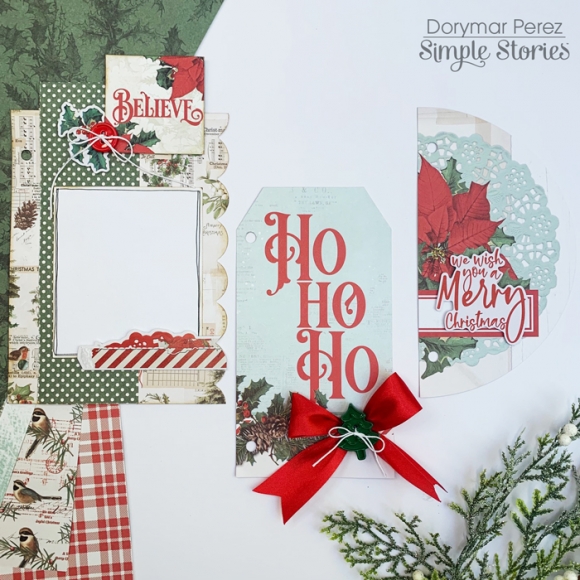
The album also includes beautiful little dividers that are super cute, you just must give it your personal touch. To decorate mine I used ribbons, buttons and elements included in the collection to make them look more beautiful than they are.
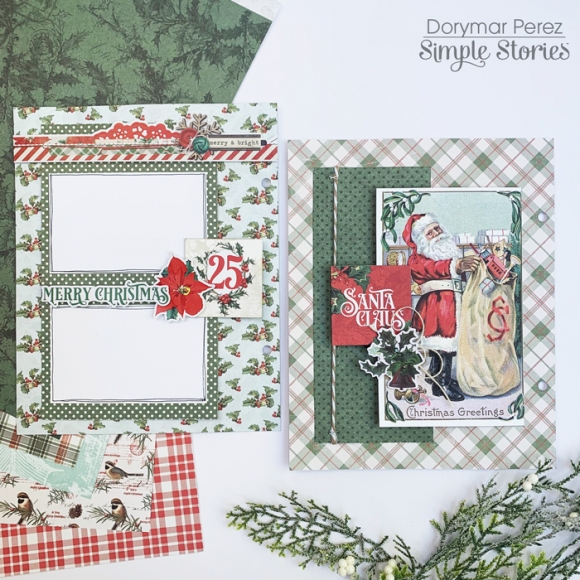
To decorate the back side of the album dividers I used papers and cards from the collection to create flaps, then decorated it adding stickers and one of the beautiful borders that includes the Border Sticker sheet.  These pages house space for many photos.
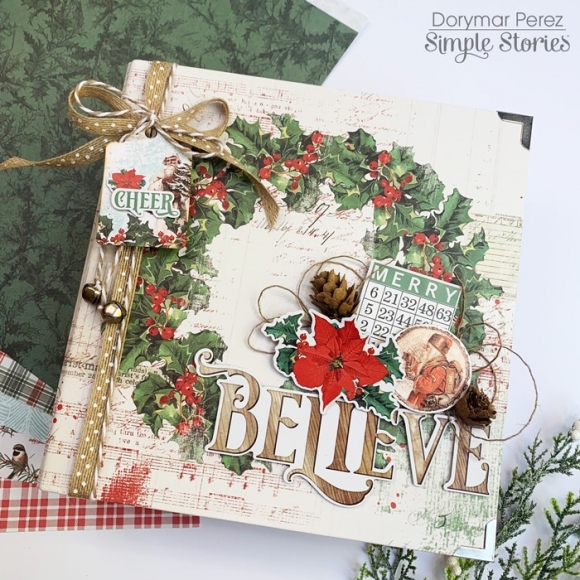
I love how my Snap turned out.  So, I’m ready to document my Christmas memories. I hope you check the entire Country Christmas Collection because it’s one of the most beautiful collections for upcoming Christmas season. 

Happy Scrapping!

Supplies

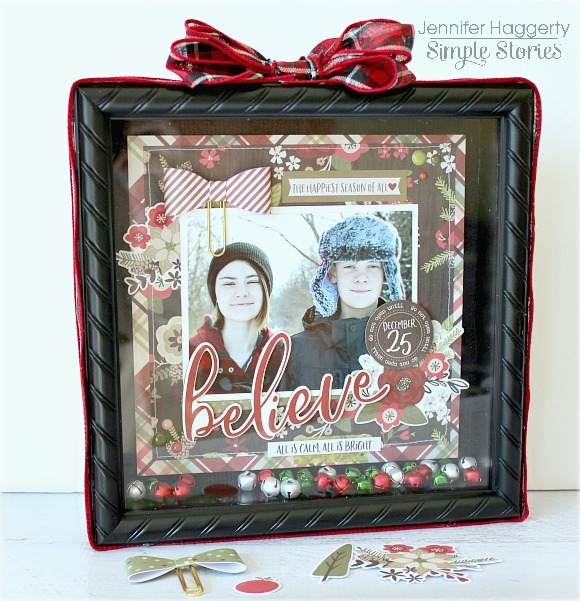
Hello friends! It's Jennifer here to share a project I created with the lovely Holly Jolly collection!  Most of the time you see layouts from me but today I    created a fun home decor project!  Using an 8x8 shadow box I  purchased at a local craft store, I  showcased a favorite holiday photo of my kids using the beautiful prints and ephemera of Holly Jolly!

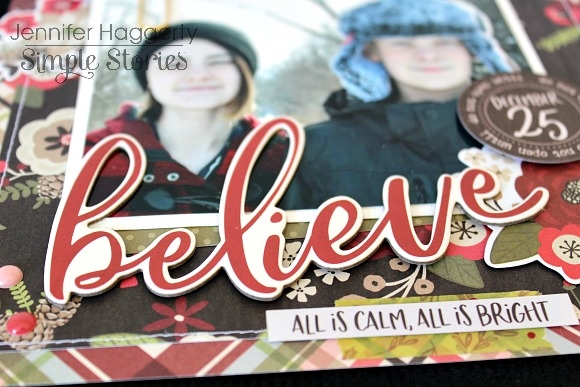
I  am a big lover of plaid prints so I  knew I  wanted to incorporate it into my project!  I  cut a 7x7 inch piece of Cozy Christmas followed by a 6.75 x 6.75 inch of the floral print of Home for the Holidays.  I  adhered the two together and stitched around the edges with my sewing machine (I  sew on everything!).  From the 6x12 Chipboard, I  adhered the red script "believe" for my title just under my photo allowing some to overlap.  

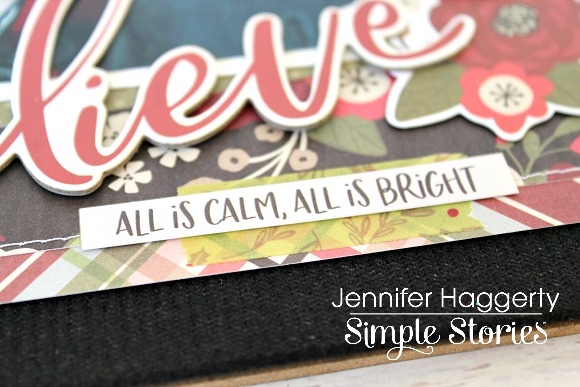
Just below my title, I  added a small strip of one of the three Washi Tapes at the junction of my two background papers.  I  then added a small sentiment sticker from the Combo Sticker sheet.  

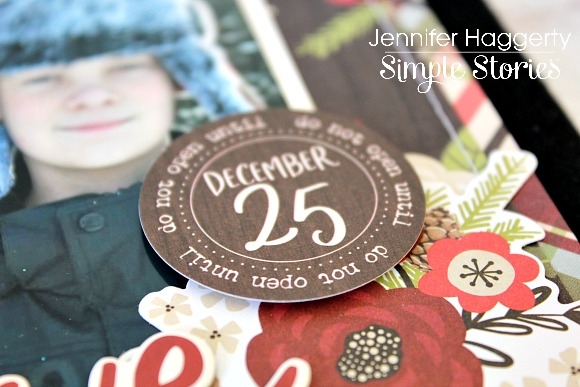
I  love that Simple Stories always offers so many choices on embellishments!  You can see the beautiful floral cluster from the Bits and Pieces that I     adhered the bottom right corner of my photo.  Using pop dots, I  added the wood grain "December 25" journal circle from the Journal Bits and Pieces

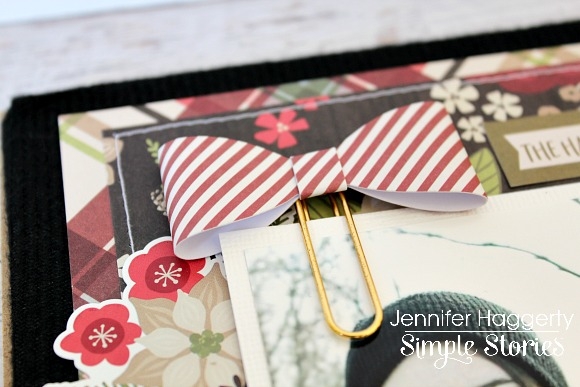
The Bow Clips are always a nice addition to your projects!  Here, I  slid one just under the top of my photo!  You receive four different prints in each pack! 

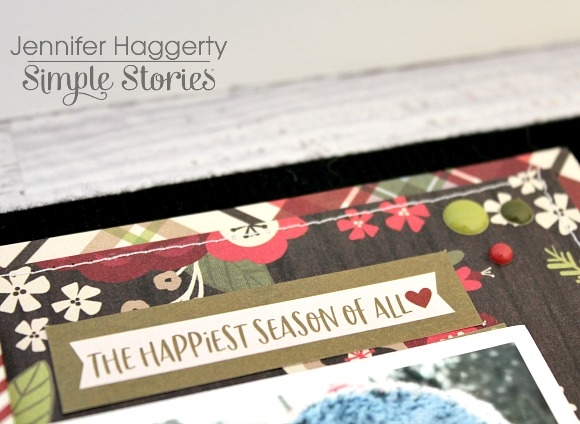
The Journal Bits and Pieces not only has shapes for jotting down information about your pictures, but also these cute sentiment strips! I  added one at the top border of my photo as well as a few coordinating Enamel Dots

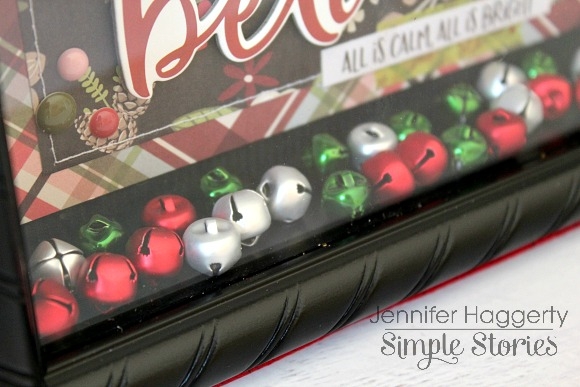
Before assembling my shadow box, I  added these colored jingle bells I  had in my stash inside for a fun shaker effect!  

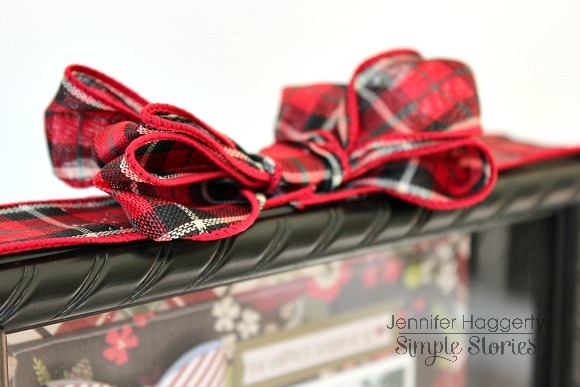
Using my hot glue gun, I  adhered plaid Christmas ribbon around my shadow box and added a bow on top!

Thank you for stopping by the blog today!  I  hope this inspires you to do some DIY home decor projects with your favorite Simple Stories collection! Have a great day!

Supplies

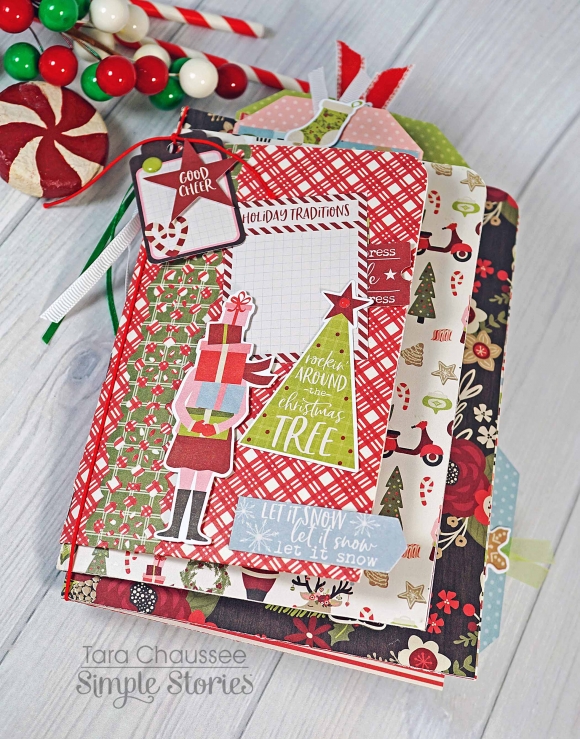
Hi everyone! It’s Tara with Secretbees Studio  I don't want to panic anyone but as of today there are only 92 days until Christmas! Believe me, it is never too early to start thinking about gifts, decorations and Christmas albums. I have already started my Christmas crafting and this sweet little album would fit any of the afore mentioned categories!

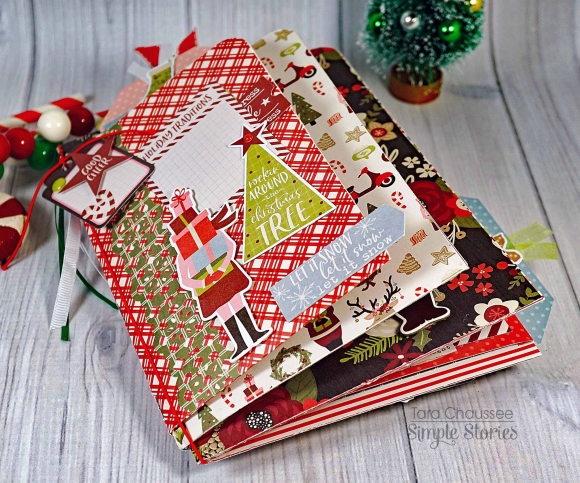
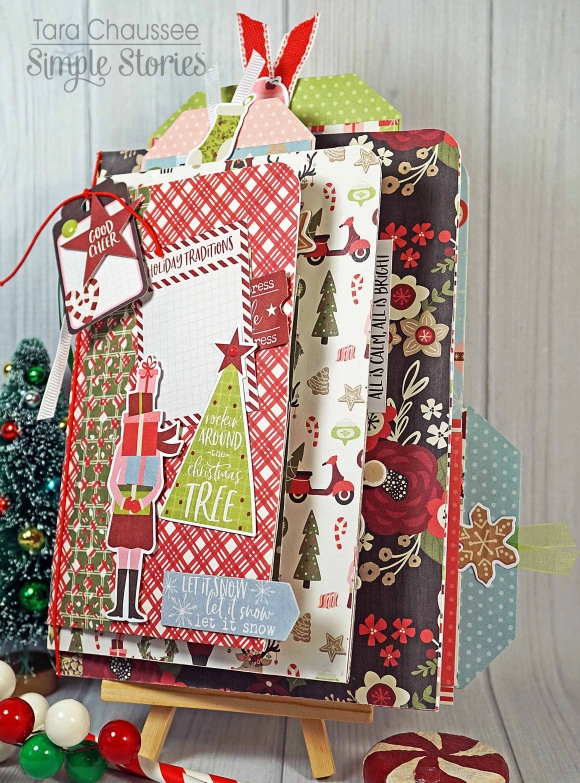
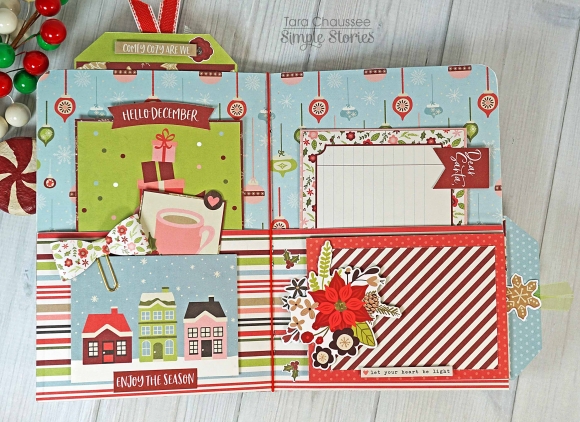
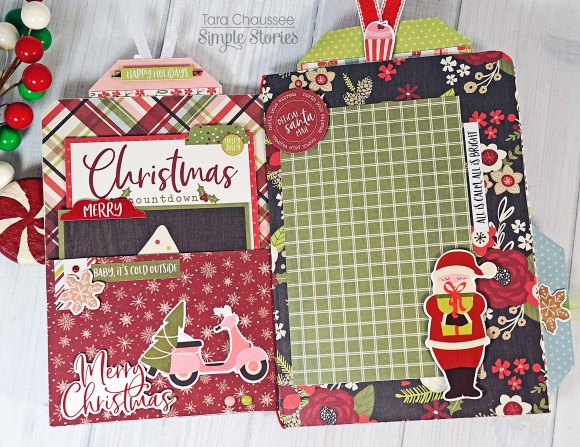
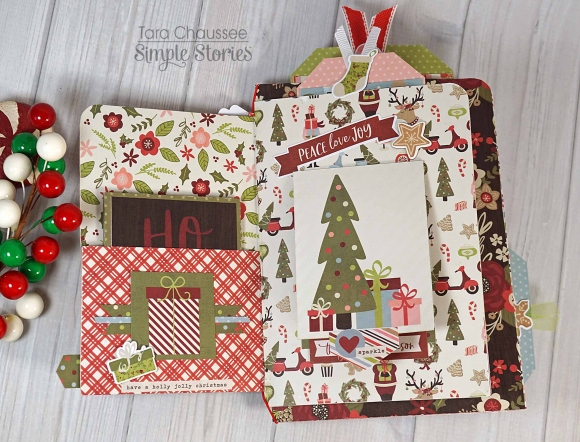
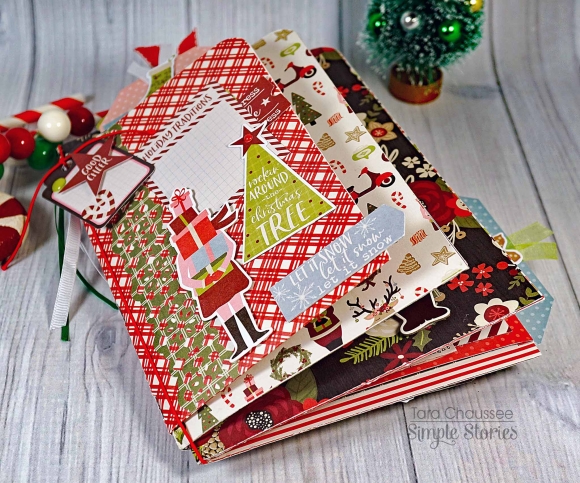
This mini album, which measures about 6 x8 at its largest point, is actually made up of three separate folders made from the brightly adorable Holly Jolly paper collection from Simple Stories. The smallest folder was cut to size from one of the patterned paper sheets and then the bottom portion was folded up to make a pocket. I then folded that whole paper in half to make the folder. The other two were made in the same way but I created hidden pockets in them by adhering another full piece of paper over the non pocket side and leaving spaces free of adhesive.

This cute album may be small but it sure packs a punch! It is full of interactive elements and will hold a ton of holiday photos and mementos. Not only are there the hidden pockets filled with tags,  but there are also some fold out pieces, photo flips and pockets on pockets!  

To fill some of the pockets, I used different sized element cards layered onto  coordinating pieces of the Simple Basics paper that goes with this collection. These cards are filled with super cute images and sentiments all in bright holiday colors! Of course I had to decorate and embellish every page, tag and pocket with all of the adorable stickers, chipboard, enamel dots and bits & pieces of the collection! Here are a few of my favorite pages!

This paper collection is so cute it almost (almost) had me wishing for snowmen and Christmas music and this album is a joy to flip through and will put a smile on anyones face!

There is a short video on my YouTube channel so you can see all of the fabulous details and interactive elements of this cute mini album!

Supplies

Hi there!

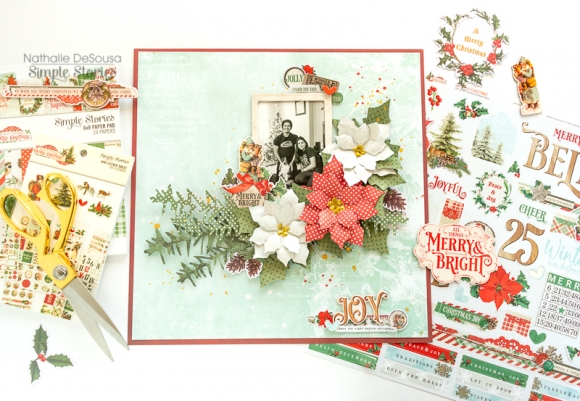
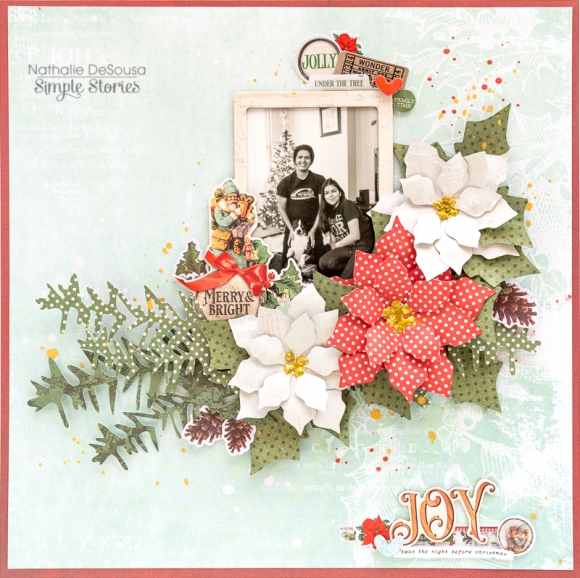
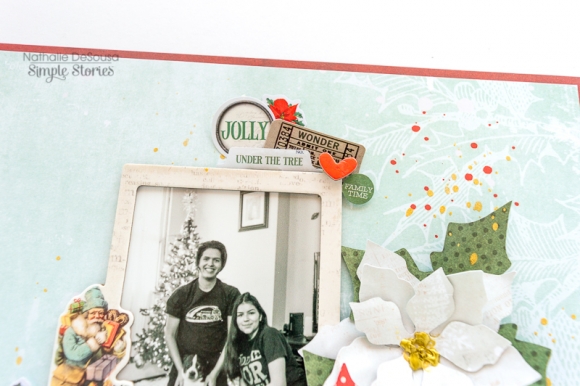
Nathalie with you today with a new layout that is all about the most wonderful time of the year, Christmas!  The new Country Christmas collection from Simple Stories is perfect to document all those memories of Christmas passed, just wait till you see all the details on the papers and embellishments.

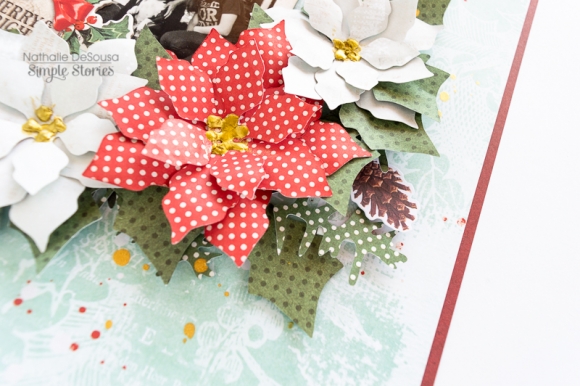
I wanted to have a large focus for this page, so i chose to paper piece a poinsettia bough on the page.  For this, I pulled two cut files from Just Nick Studio and used them to build  the centerpiece on my page.

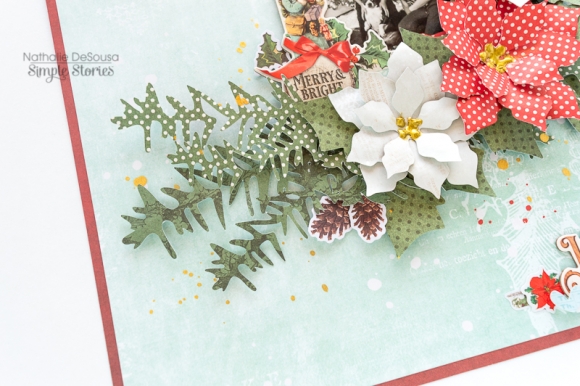
I cut the Poinsettia from the 4x6 elements  and Joyous Noel papers; for the flower's leaves I chose a paper from the Basic paper pack, and cut the Pineneedle boughs from Good Cheer and Holiday Greetings papers.

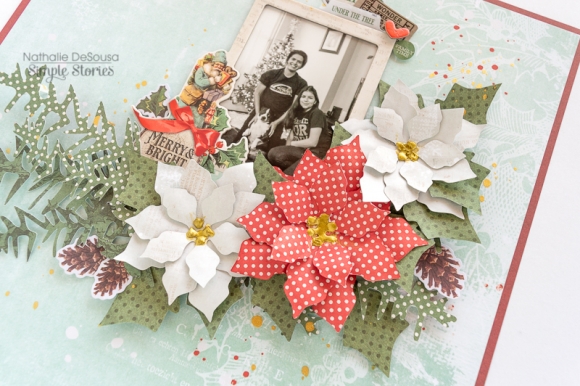
I assemble the flowers together, and then used foam adhesive behind the pieces to add a bit of dimension to the page. I chose the Winter Wishes Paper as the background for the page as it contrasted and complemented the colors of the flowers nicely.

The chipboard frames that are included in this collection are amazing as they already have embellishments on them, so all i had to do was add the picture behind it, and nestled it in the flowers.  A few small embellishments complete the look.

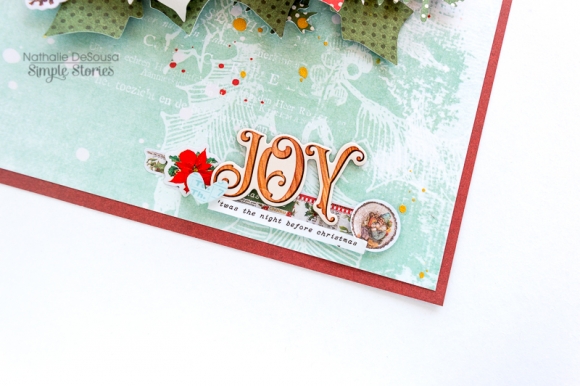
To finish the page, i trimmed a bit of the borders and glued it to the Scarlet/Dots paper from the Basic pack,then used chipboard and a few stickers to create the title at the bottom right corner of the page.  A few drops of gold ink complete the page. I hope this inspires you to check the new Simple Stories' Country Christmas collection, i am sure you are going to love it !!


Supplies

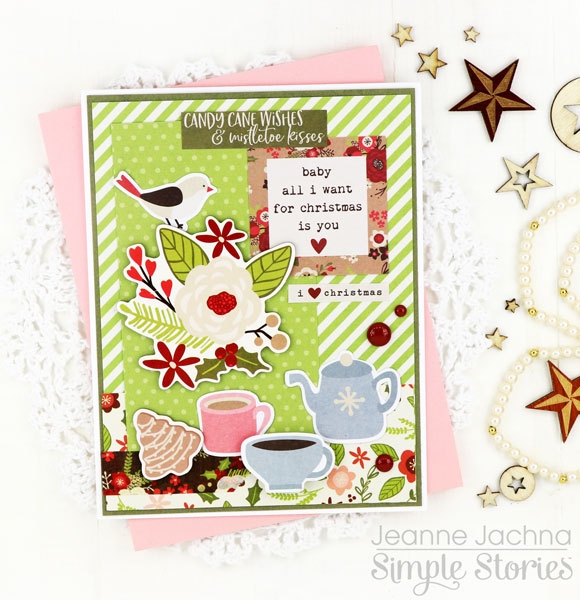
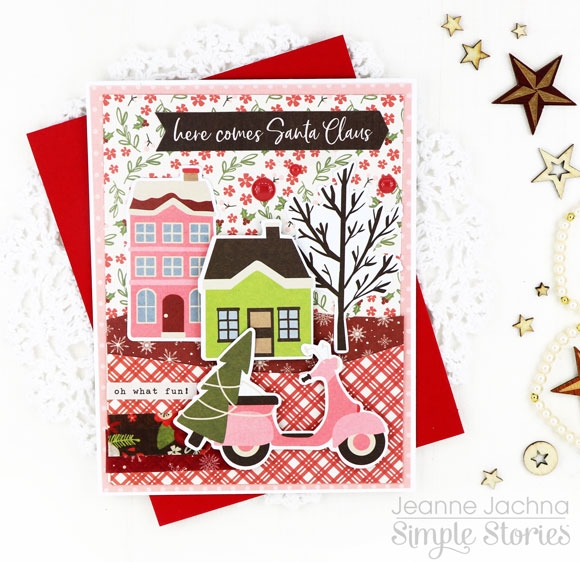
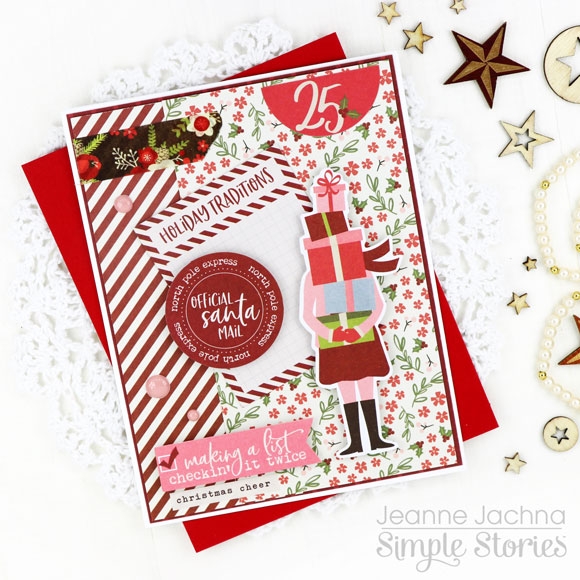
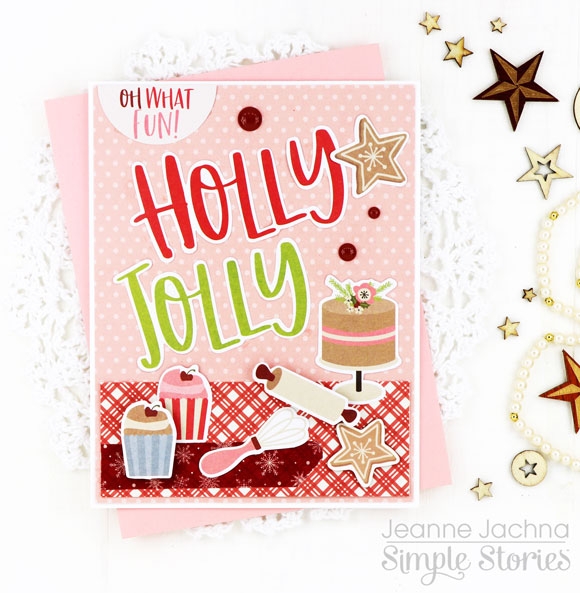
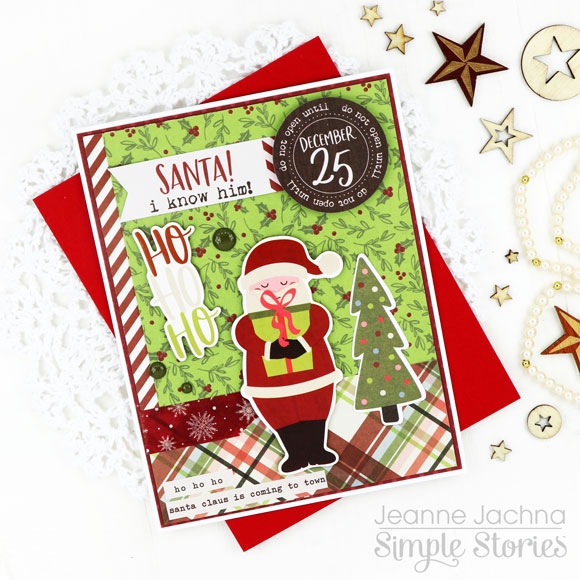
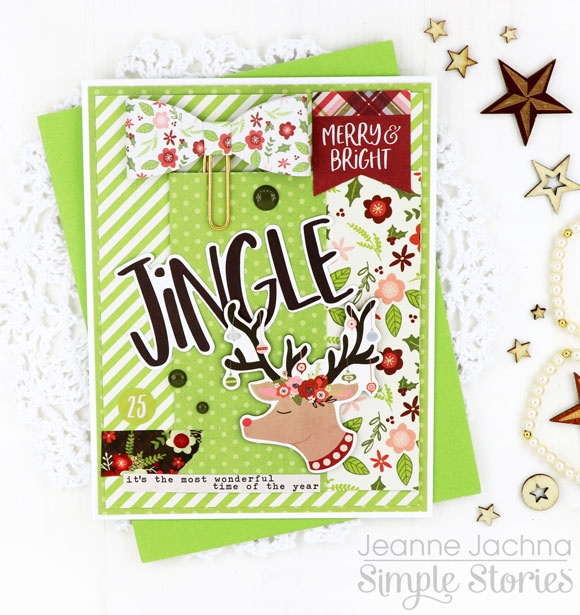
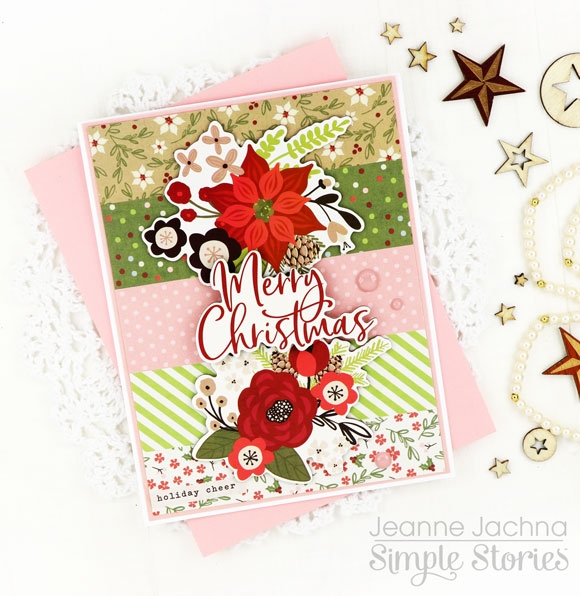
Hi It’s Jeanne posting today!  It’s beginning to look a lot like Christmas here at Simple Stories.  Today I’m sharing some holiday cards made with the Simple Stories Holly Jolly Collection !

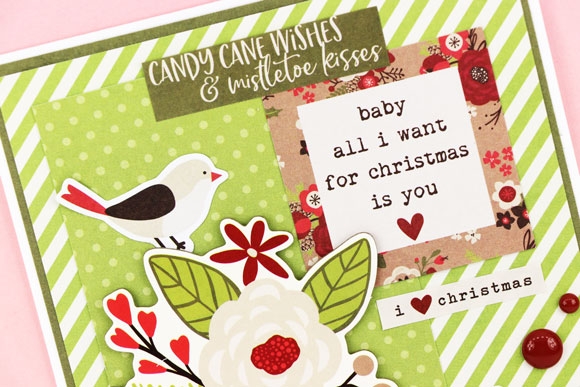
You’ll love the candy stripes, plaids and prints in this fun collection!  There’s a little something for everyone…. pretty prints with florals, ornaments, houses and more!  All my cards today were made with the 6x8” pad of pattern papers and the coordinated Simple Basics Kit of 12” papers that are solid on one side and a polka dot print on the other. 

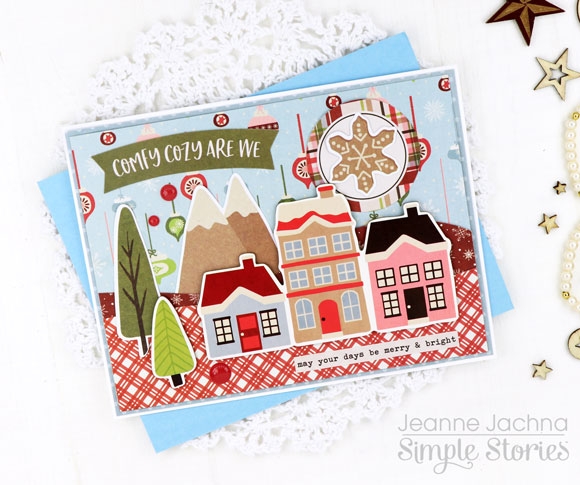
I had fun making cards with scenes like this one using chipboard houses, and bits and pieces trees, mountains and sentiment.

Everything is color coordinated to match so there’s no worry when mixing and matching the enamel dots, washi, bits and pieces, chipboard, and stickers.

The washi has just the right amount of adhesive. It stays in place where you want it, but if you have to lift it to place in a different location it doesn’t take any of the paper with it. 

The Simple Basics papers are great for adding a solid matt layer to your card base, or breaking up patterns.  I like to alternate solids and prints to keep things from looking too busy.

Stickers from the Mini Sticker Tablet make great sentiments, but there’s lots of image prints, numbers and more so you’ll have lots left over for other projects.  I think I’ll be dressing up my calendar with the stickers if my daughter doesn’t swipe them first!

Did you see the pretty Bow Clips?  These are bows fashioned from pattern paper attached to large GOLD (swoon!) paper clips. They can be tucked on your cards, tags, journaling pages, or how about holding a page on your daily planner?

There’s lots to love here, and plenty of time to make, Make, MAKE!   It’s a SN@P! with Simple Stories Holly Jolly Collection!

Supplies

Hi! Odessa here sharing some Christmas album inspiration. Christmas memory keeping is my favourite kind of projects to work on. They’re full of family traditions, magic and winter wonderland photos. I used the Country Christmas Collection to work on these pages and it’s so pretty. Lots of vintage-y images and traditional colours that go perfect with all kinds of Christmas photos. There are so many different SN@P! Cards, embellishments, stickers and more that it’s just so much fun to put together a page!

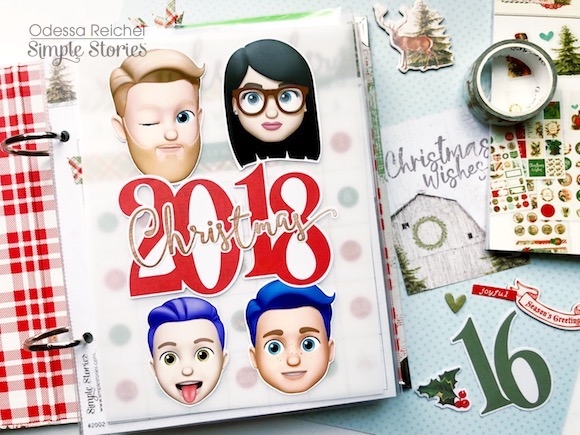
I started out my album with a simple cover page. I had printed some emoji versions of my family that I had made last december and attached them to some vellum. I layered some of the large Country Christmas numbers and a Christmas sticker from the Mini Sticker Tablet to finish it off

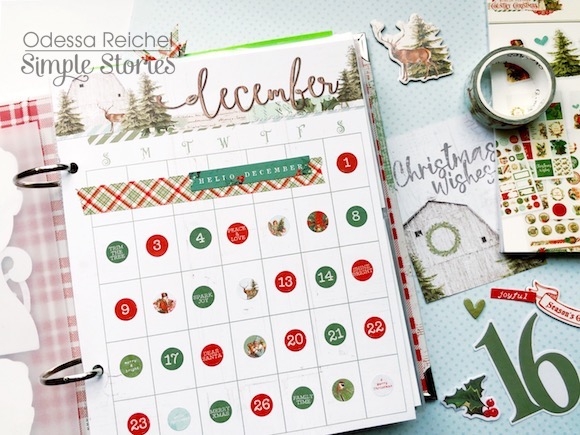
The Country Christmas SN@P! binder is so gorgeous and comes with some great ready to go pages including this lovely calendar. I used a bunch of the circle date and icon stickers that were all the same size from the Mini Sticker Tablet. It’s a great way to mark important dates and events that happened over the month, I really like how clean the stickers look on it.

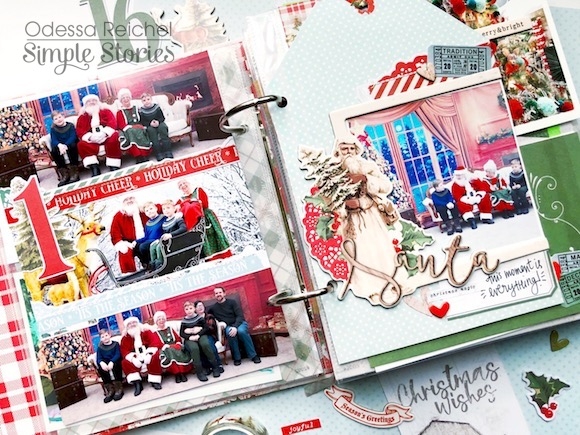
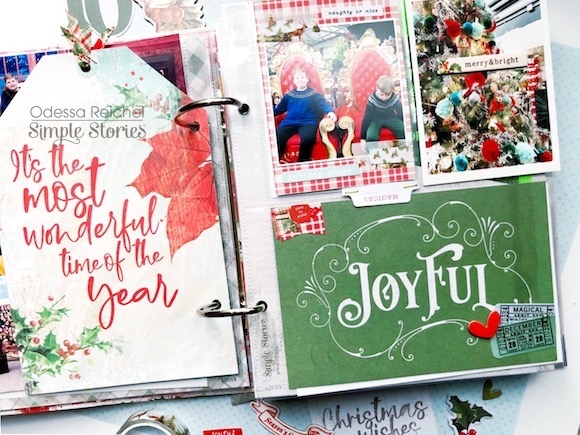
Every year we go to my favourite garden centre to take photos with Santa. It’s so lovely all decked out for Christmas and the visit with Santa is always so special. We had three different Santa photos taken and I couldn’t decide on a favourite so I printed all three on one 6x8 page and used the Country Christmas Border stickers as a divider between them along with a big number. 

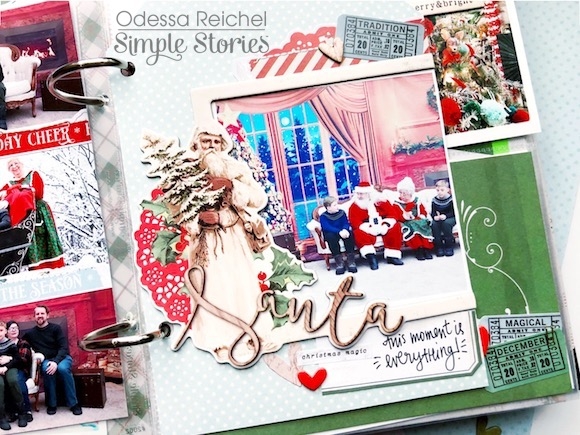
I had a favourite candid photo of my kids chatting with Santa that I wanted to feature so I used the Country Christmas 6x8 pad to make a tag to slide in my album. On it I used one of the Layered Frames to frame the photo and a few cute embellishments to finish it off. The Layered Frames are so sweet and a great way to make a quick easy layout to feature a special photo.

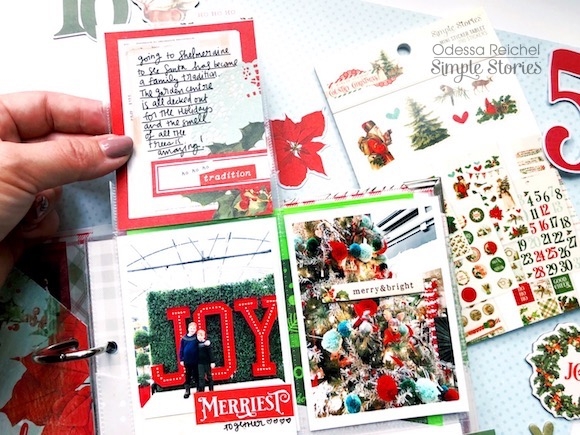
Next to that I have a SN@P! page full of fun photos. I had more photos than would fit on the page so I used a Photo Flip to get some more photos in. I used a cute simple paper from the 6x8 paper pad for the back of my giant tag with a great sentiment on it to keep the back simple.

Under my Photo Flip I snuck in some extra journalling and another cute photo. The Country Christmas Mini Sticker Tablet has some great little tabs I attached to the bottom of my Photo Flip to make it a bit more obvious.

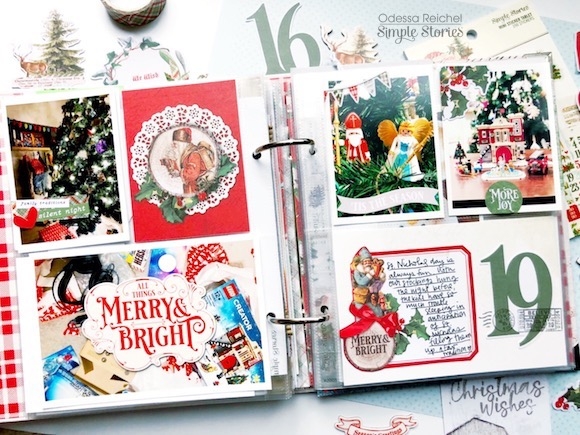
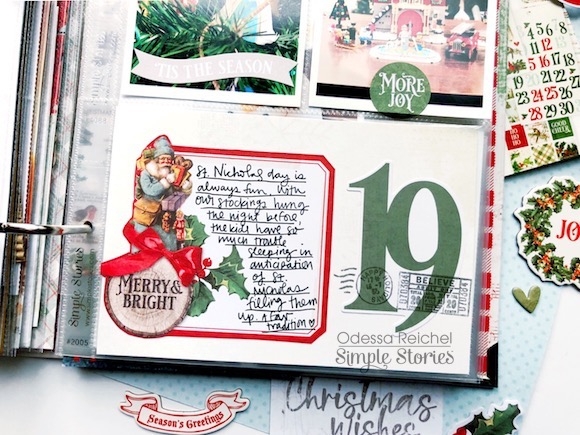
St. Nicholas Day is a family tradition from my childhood I’ve continued with my kids. The vintage feel of the Santas in the Country Christmas collection double as St. Nicholas perfectly which I just love.

I used the Country Christmas Simple Basics paper to make a journal card, layering a fussy cut journal spot from one of the 4x4 cards and a big date from the Number Pocket Pieces. I layered some stamps from the stamp set over the big numbers to make it a bit more fun.

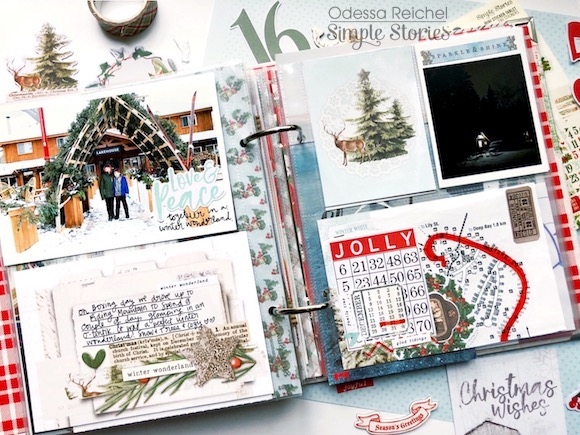
A new family tradition we made is going to spend a couple days together doing some cozy glamping at the closest National Park. It’s an amazing winter wonderland there so I pulled a lot of the blues and reds from Country Christmas to go with my photos.

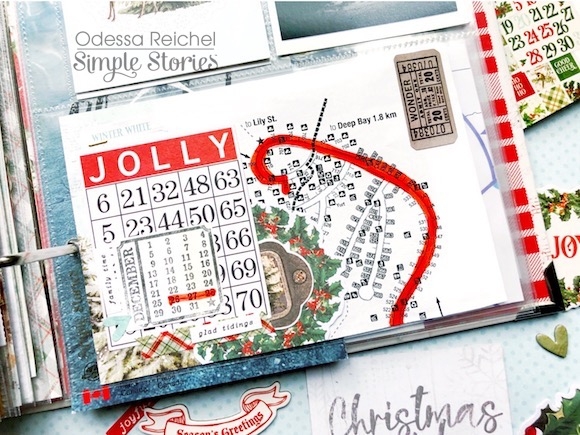
I always save ephemeral bits over Christmas in a big box so that when I’m ready to work on my album I am all ready. I had a map that was not as cute as the rest of the page so I cut down the relevant parts and layered it with some ephemera and stickers to fill my 4x6 pocket. There was a really great calendar stamp in the Country Christmas stamp set that I added to the page to mark the dates we were away. It’s perfect!

Supplies

Pages