September 2019 Blog Posts

Hello Friends!

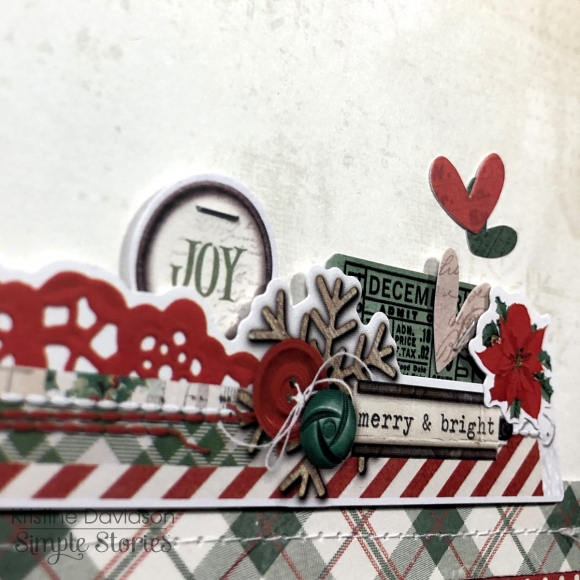
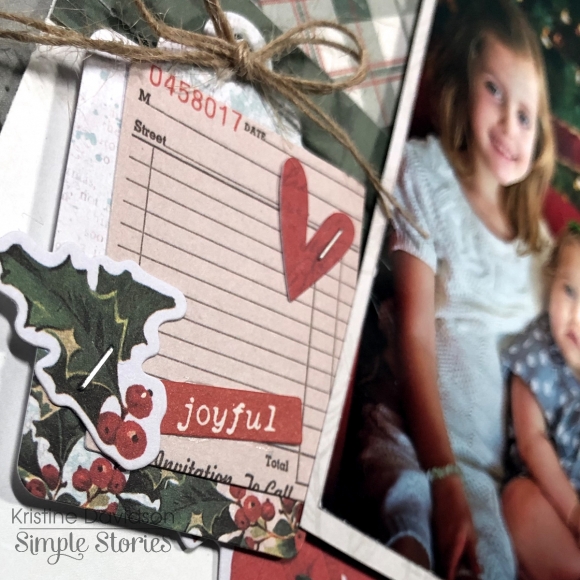
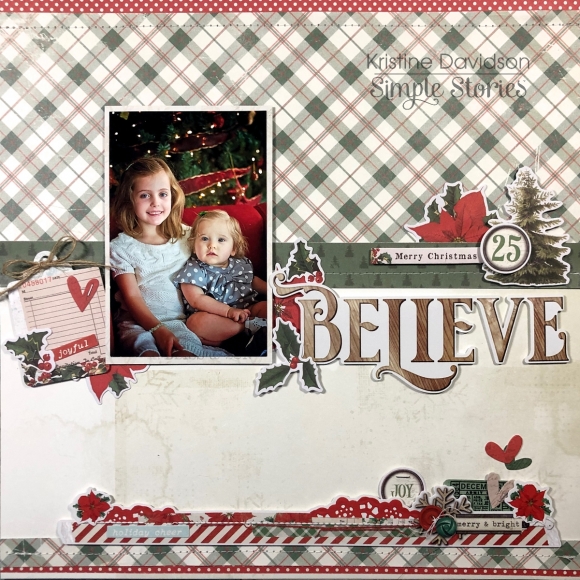
It’s Kristine Davidson here today to share a layout with you. I was fortune to be able to create using the newly released Holiday collection called “Country Christmas”. I know it’s September but it is time to start thinking about those Holiday photos and December Albums. This collection is filled with so many gorgeous Bits & Pieces and I used a few to create clusters on my layout. Let’s take a look !

To start my layout I used a piece of paper from the Basics Kit that matches this collection. It is perfect for background papers and allows me to add so many other pattern papers to my page and not have a standard white piece of cardstock.

I added a 1”x12” piece of red & white polka dotted paper to the top and bottom of my page to give some highlights to my layout. I added a larger piece of plaid paper 5x12  to the top and a 1/2” x 12” strip to the bottom.
The green paper was placed at the bottom of the plaid paper to tie up the layout. I added sewing for texture to the paper strips.

The Bits  & Pieces for this collection are plenty. I created a cluster of stickers and diecuts on the left of my photo, added another cluster to the bottom of the layout using a border from the Combo Sticker sheet. So many options with these diecuts, it’s unlimited what you can create with them.

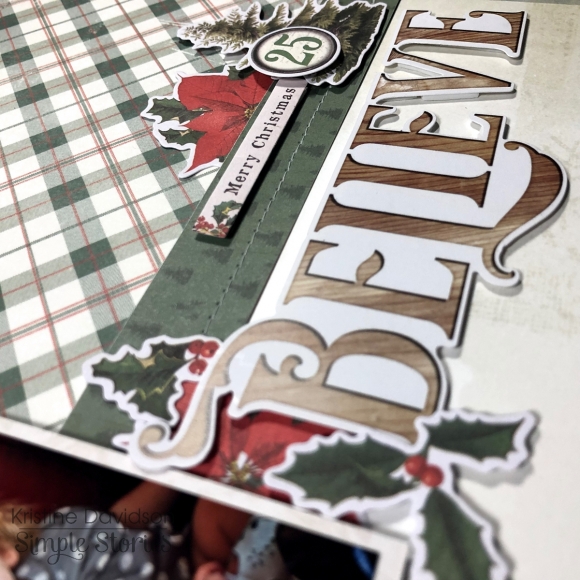
I added a title for may layout which is a sticker with the word BELIEVE. I added some dimensional adhesive to the back of the sticker to give it some height on the page.

I hope you enjoyed my layout and could find some inspiration in creating your own layout using the Country Christmas collection.

Come visit us on instagram! Simple Stories or Kristine Davidson
 

Supplies

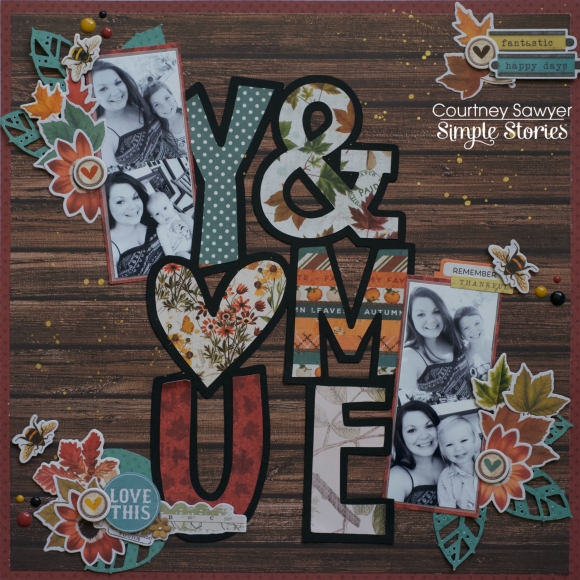
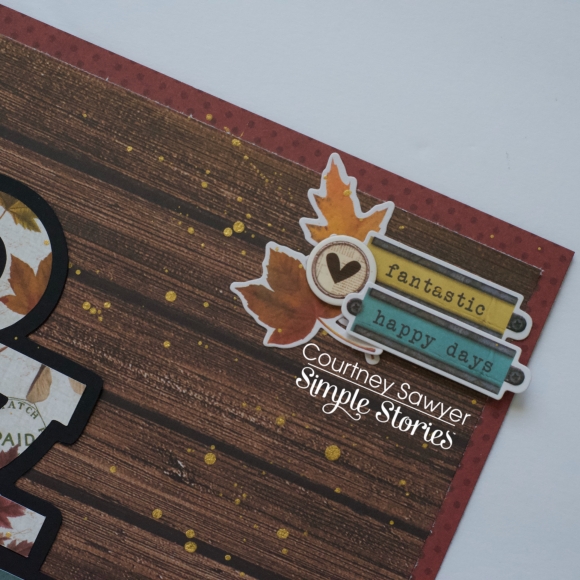
Hey y’all! Courtney here again and today I am sharing a layout that I created using Autumn Splendor collection. This collection reminds me of my child hood. We always had these amazing vintage calendars in our house and every year when they were done my mom would cut them up to use as ephemera or decoupage the cutouts on something artistic.

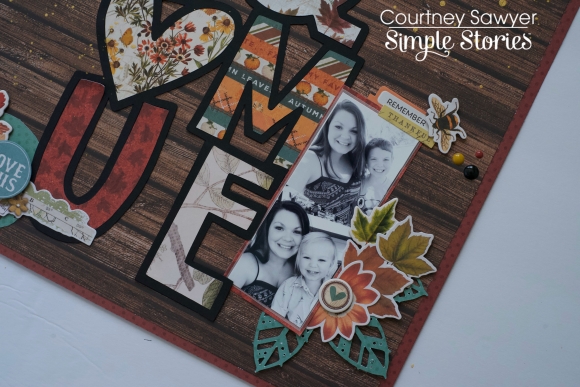
For this layout, I used  a cut file from Paper Issues called You and Me and cut it out in black to make it pop off the page. Then I backed the cut file in Seasons if Change, the B side of the 4x4 elements, Grateful Hearts, Autumn Leaves, and the b side of the 2x2 elements. I used the Elm/Cream Ledger paper from the SN@P Basics as my background.

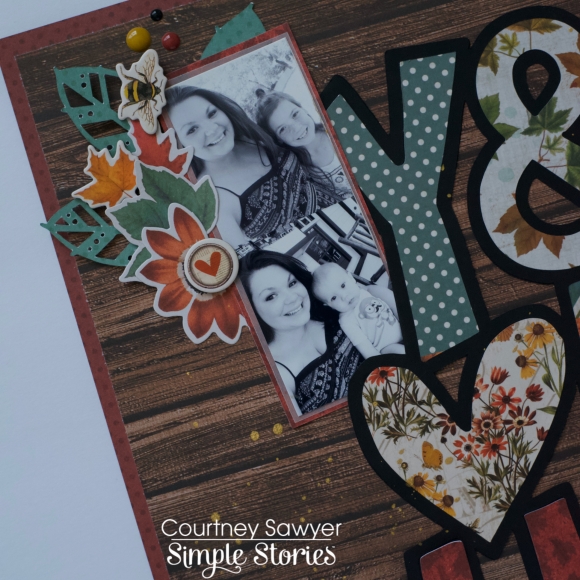
I matted my photos on a piece of vellum and then on the Grateful Hearts paper. I layered them on either side of the cut file.

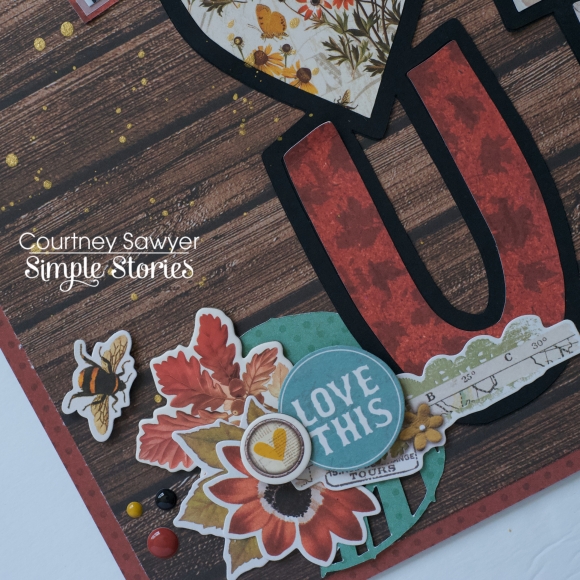
I created three clusters with another cut file from Paper Issues called Collecting Leaves that I cut out of the Turquoise Dots paper. I then layered different pieces of ephemera from the bits and pieces and the foliage bits and pieces.

I added a few pieces from the 6x12 chipboard and the combo sticker sheet. I always have to add enamel dots and the ones from Say Cheese match so perfectly.

I finished the layout with a little cluster in the top right corner and then splattered my gold mist. I hope you enjoyed this layout and I can’t wait to see what you create.

Supplies

Hello Simple Stories friends! Anya here today to share another set of fall cards. Oh, how I enjoy creating this time of year, when the air is fresh and crisp, and home is a little cleaner and quieter. I used the Fall Farmhouse collection and accessories that come with it to make these cards.

Every single time I saw a 2x2” elements paper by Simple Stories, I wanted to create a grid card, but just now I finally did. I cut the squares a bit smaller, about 2.75” and used six pieces per card. To make sure they look straight I used a ruler while adhering them. Also, I stitched every other square with sewing machine and decorated them with a few die cut pieces that were added with pop dots. It's such an easy and fun way to make a card.

I really enjoyed die cut pieces in this line. It was literally playing with them when I was making next two cards. I spread all of the bits and pieces over the table and started moving things around until something looked and felt right. It was like finding those perfect puzzle pieces that look right together.

Do you ever cover the back panel of your cards with a piece of patterned paper? I used to leave them white, but after adding that final touch once – I never skipped this step again. Cards look so much more complete with back panel covered!

Often I like to finish my cards with splatters of white dots, but since I am a bit perfectionist when it comes to paper crafting, I prefer to control where my “splatters” land, therefore I use Nuvo Drops to add white dots exactly where I want them to.

Supplies

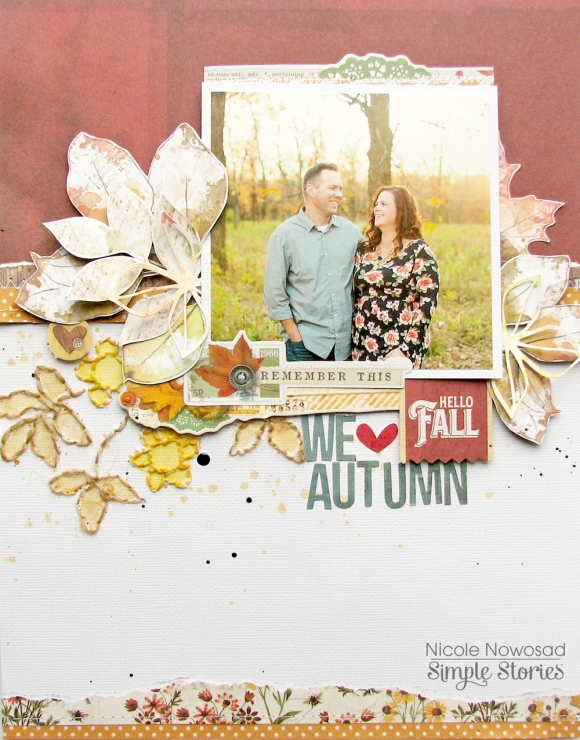
Hello! Nicole here today to share a fall inspired project using the gorgeous Autumn Splendor collection. The inspiration for this project came from the new 6x6 stencil in this collection and it was my starting off point.

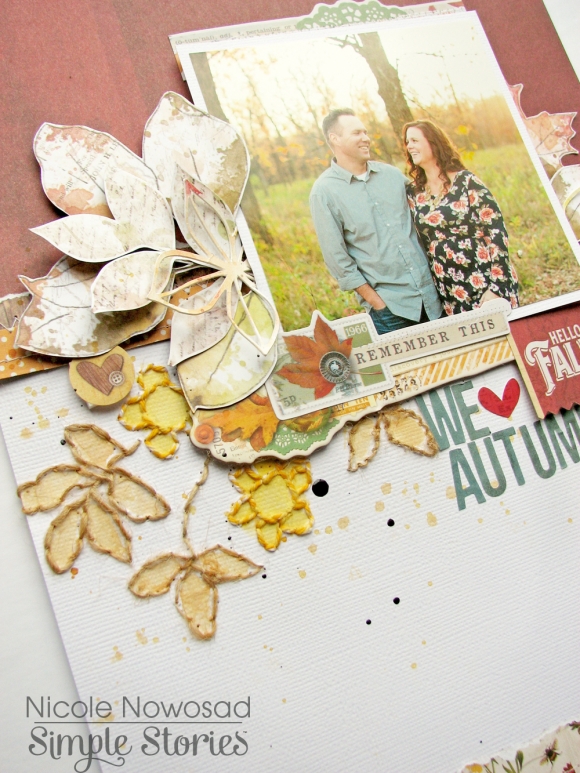
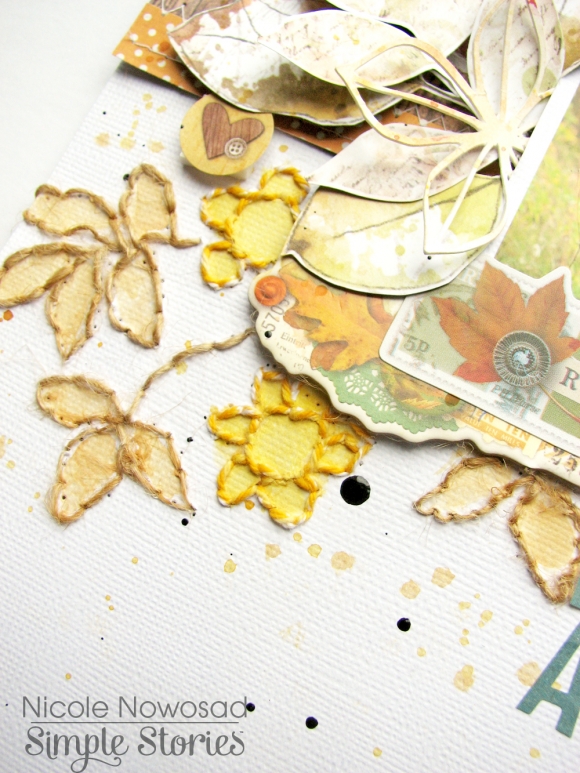
I used a needle and the stencil to pierce stitching holes onto the cardstock base of my project. Once the holes were in place, I added some stitching with some natural twine to show the stencil design.

Once the stitching was complete, I added in some watercolor paint to the inside of the stitched design and then got to work on the rest of my project.

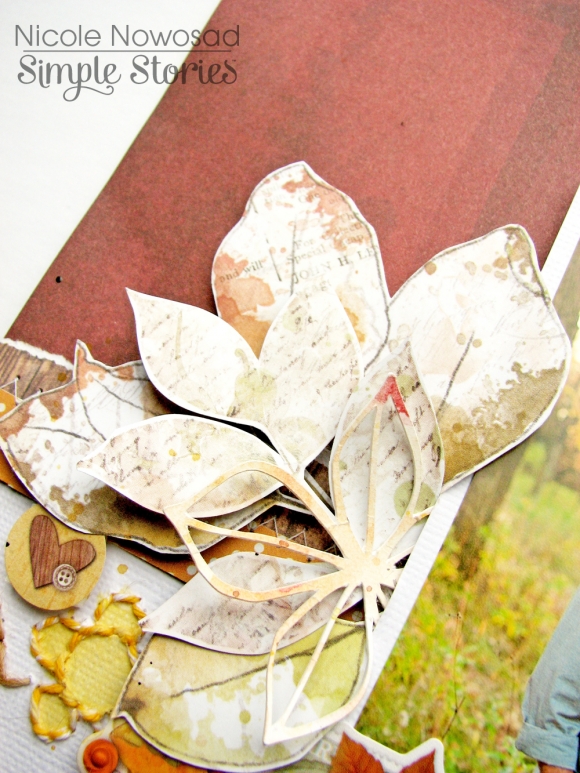
I used several patterned papers from the Autumn Splendor collection and couldn't resits fussy cutting some gorgeous leaves from the Autumn Leaves paper. Once the leaves were cut out, I added them along my photo edges, and added in a few diecut leaves I had leftover from another project to add some dimension.  A simple title finishes off this fall inspired page! 

I hope you are inspired to create your own project using the rich tones and patterns in the Autumn Splendor collection!

Supplies

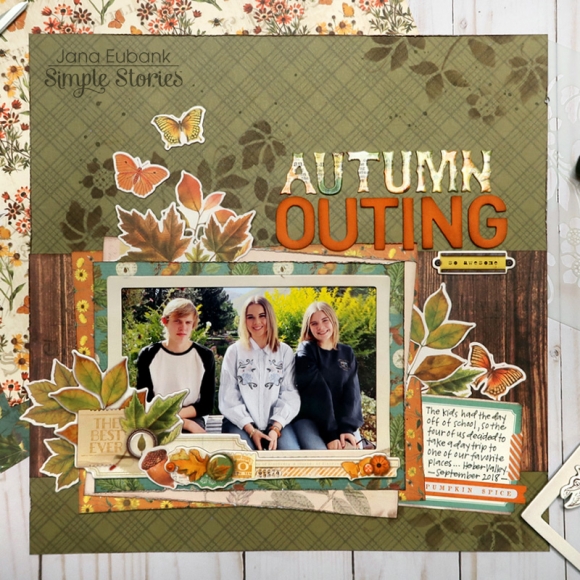
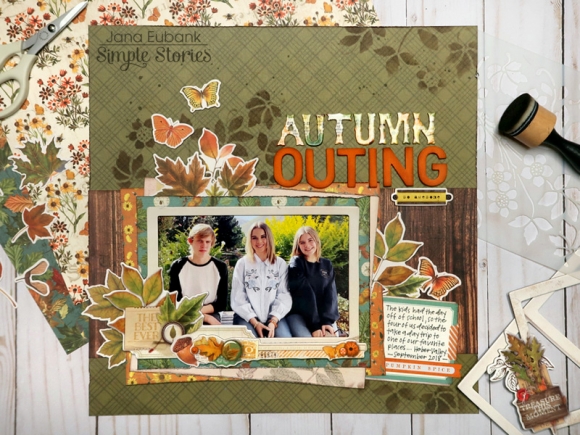
Fall is my family's favorite time of year to be outside! Whether it's drives through the mountains to see the colorful leaves, a visit to the pumpkin patch, or walks around the neighborhood, we can never seem to get enough of our favorite season!

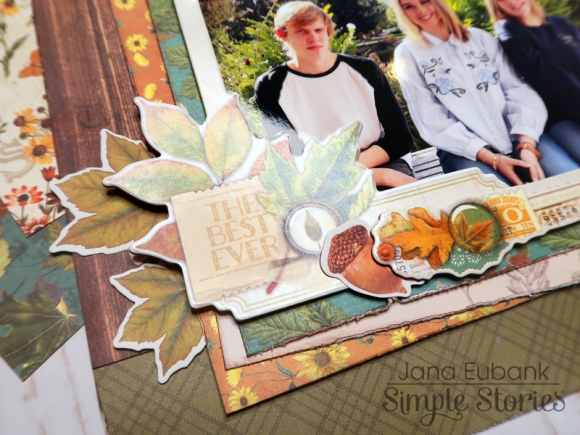
The Autumn Splendor collection encapsulates everything we love about autumn with its color palette and beautiful, botanical images. It was so much fun creating this page for our family album!

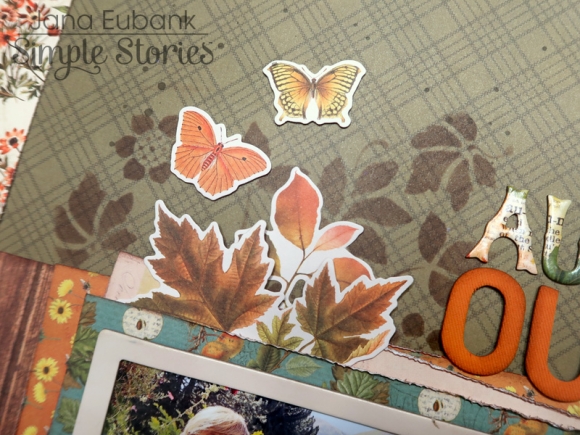
I fell head over heels for the coordinating stencil for this collection and decided to add it to the background paper (3x4 Elements paper). I love the way the stenciled details look peeking out from behind the Foliage Bits & Pieces. I repeated the stenciling around the page in three areas to create a visual triangle in my design and to keep your eye moving around the page.

I framed the single photo for this page with a Layered Chipboard Frame and then added layers of additional patterned papers and Foliage Bits & Pieces leaves behind for texture. This entire grouping is popped up on foam tape.

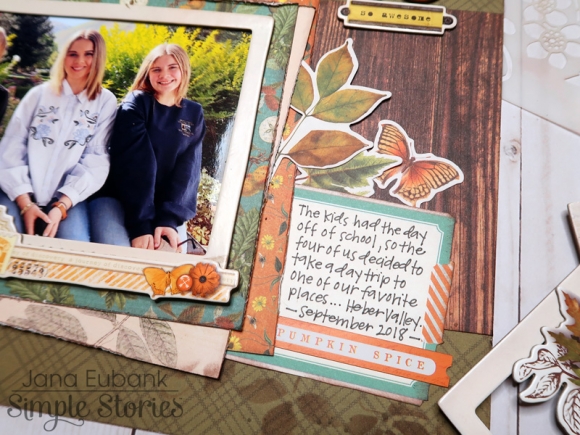
I fussy-cut the journal block from the 3x4 Elements paper and then added it to the right of my photo at a downward angle. A pair of foliage leaves and a butterly connect it the journal block to the layered photo block and add even more to the outdoor-sy feel!

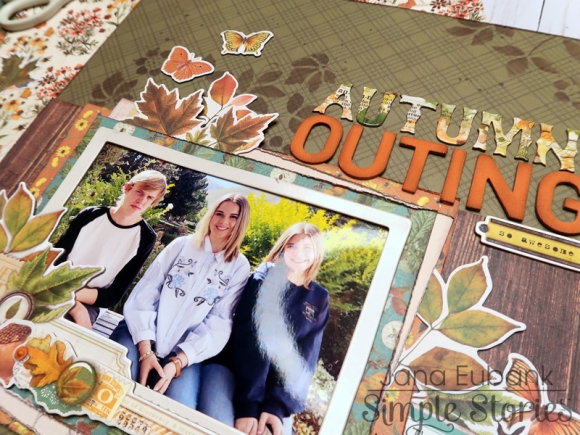
I combined the chipboard "AUTUMN" word with orange letters from my stash for the title. I added distress ink to the orange letters to tie them in with the inking in the background.

This beautiful collection makes me long for sunny Autumn days and fall drives in the mountains! I can't wait for the leaves to begin changing! Thanks for stopping by today! I hope you feel inspired to scrapbook some of your fall family photos, too!

Supplies

Hello friends, Dorymar here! I’m so happy to share a fabulous SN@P Album I designed with the Fall Farmhouse Collection. This collection is gorgeous! When I think of a Snap Album, I think of some wonderful dividers, full of details and elements that make my photos look great. That's what I am sharing with you today on this blog! Check it out!
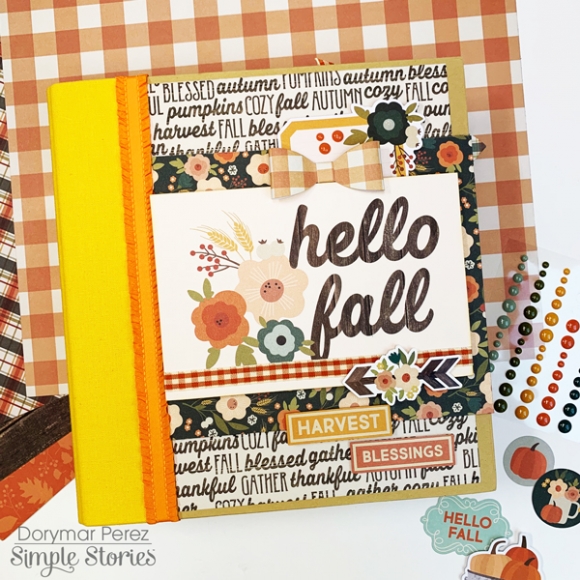
All the elements are so beautiful that they are very easy to place, they look fantastic! I really enjoy customizing the pages of the snap, I love to find in my albums pages of different sizes, adding pockets, create flaps, etc. On this page I used two of the snap pages to create a giant pocket.
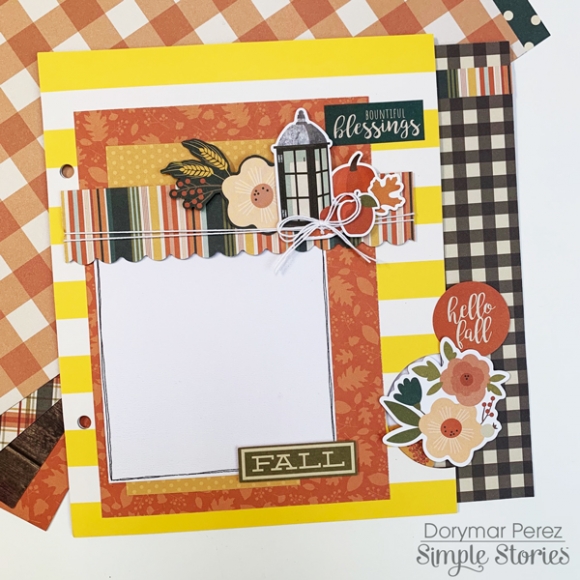
With a 1.5 "circle cutter I cut a half circle at the bottom edge of the page.  I used one of the flower die cuts from the Bits and Pieces to incorporate the insert with the main page.  As an insert of the pocket I used one of the pages of the 6x8 paper pad and decorated it with some elements of the collection.
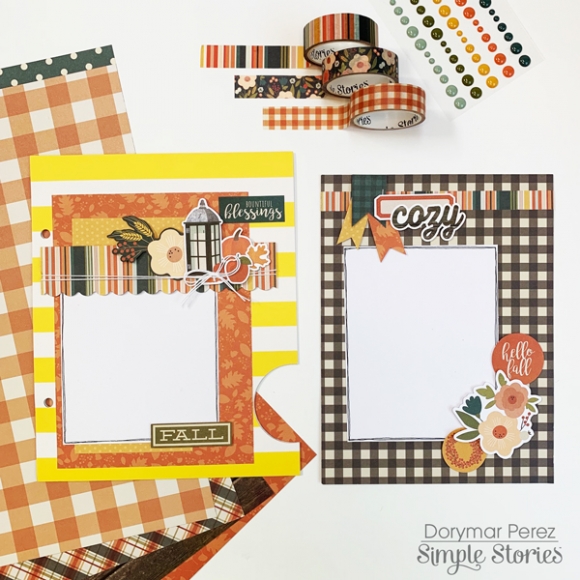
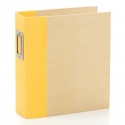
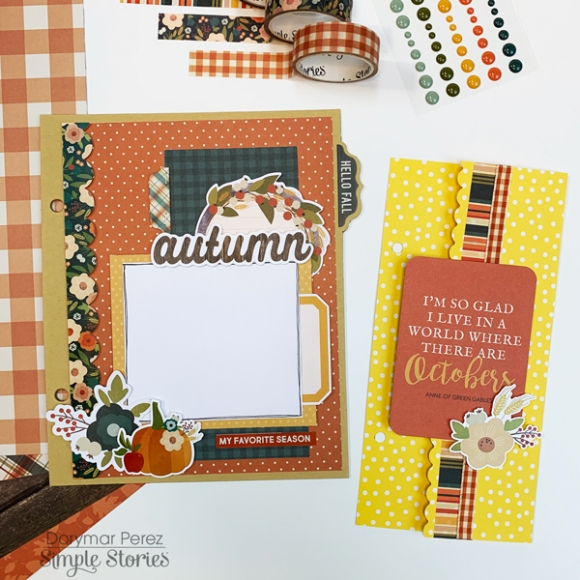
One of the main colors in the autumn season is yellow, so I selected the 6x8 Yellow Sn@p Binder. Their pages match perfectly with this collection. In this photo you can see how I reduced one of the pages that includes the album to 4.5” x 8”. To decorate it I fussy cut from one of the 4x6 journaling cards the beautiful chevy and placed it on the bottom edge of the photo mat. Then I fussy cut the beautiful paid banner form another 4x6 journaling cards.
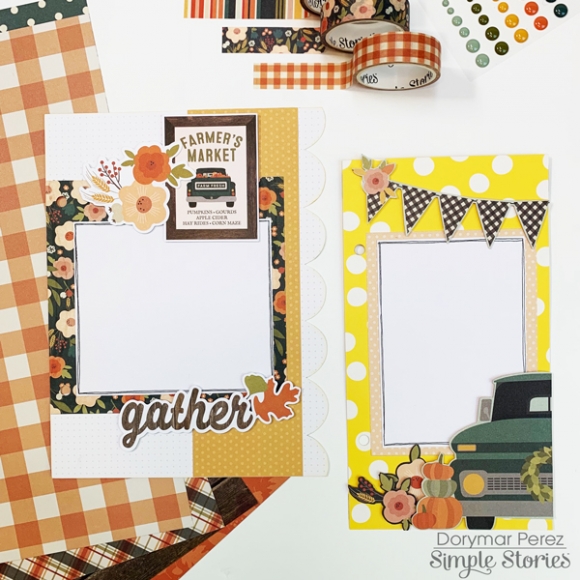
The washi tapes of this collection are spectacular and I need to incorporate them in my album! I used them on several pages and cards of my album, but on this pages in particular, you can see how I used them as borders on this pages. They look fantastic!
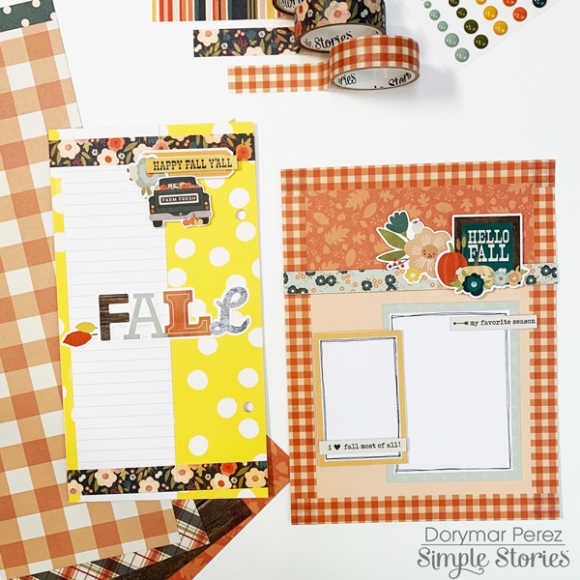
Pockets and Tags can’t be missing in my projects, I really enjoy decorating using the beautiful die cuts, stickers and sentiments included in the collection. I reduced the page of the Sn@p to 6.5" and created a pocket on top of the page, then I added some tags that I made with the paper o the collection. On the next page I created a flap that opens up. I’m adding some elements on this pages that look so beautiful.  On both pages you have a lot of space to play with your photos and your journaling.
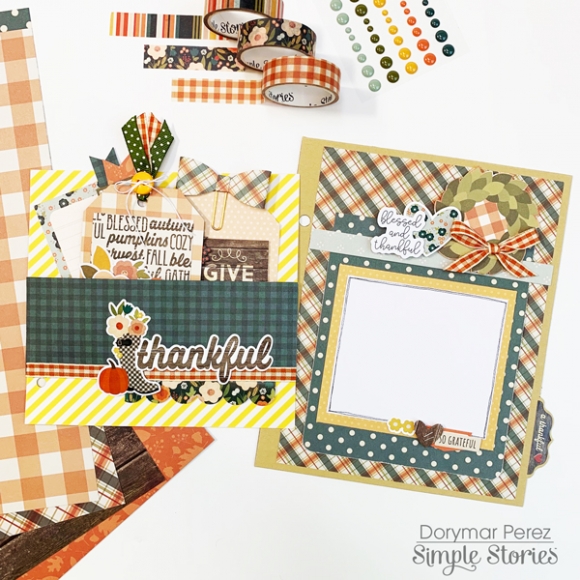
Here you can see in detail the tags and how the elements of the collection match perfectly with each other, so you can make your project so beautiful. I used as an insert in this pocket a 3x4 card to add the journaling and to create the tags I cut from the Peach/Dots paper a piece of 3”x4.5” and ,  from the 6x8 peach paid paper I cut another piece of the same size. Then I decorate the tags with stickers and die cuts.  They look great!
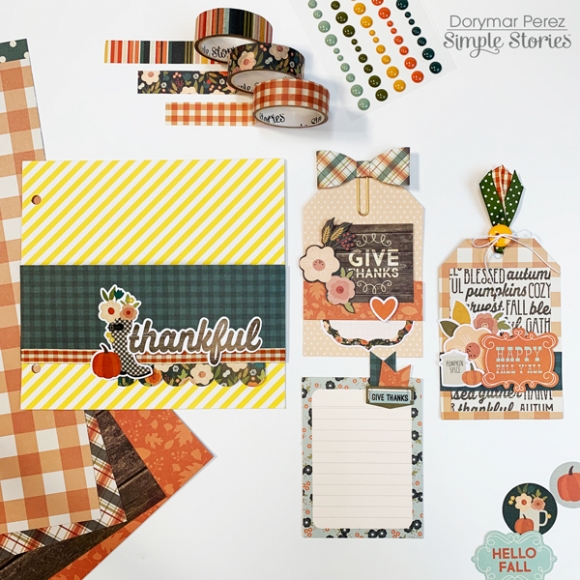
The collection includes many beautiful sentiments and phrases. In this picture you can see some of them. To create de yellow divider, I folded the Sn@p page at 4” then I used a scallop border punch to create a beautiful ending. On top of the page I used washi tape an added with foam tape the beautiful 3x4 card with the lovely sentiment. For a finishing touch I added a flower from the sticker sheet.
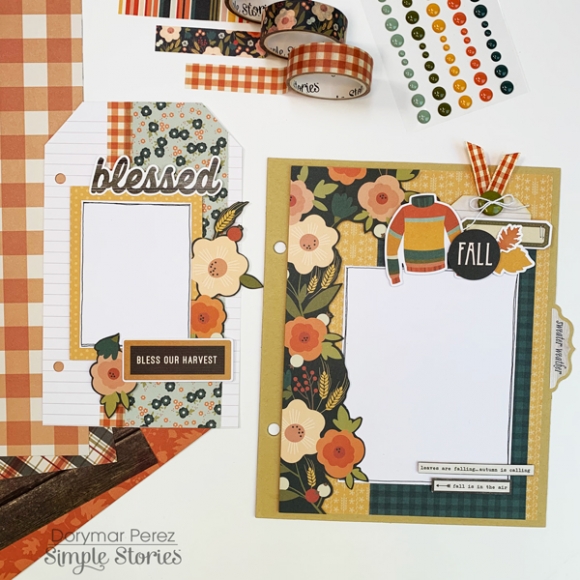
I love mixing and matching the prints and adding layers of my layouts. This collection is too easy to match. In this page I used two beautiful papers from the 6x8 paper pad.  To add layers, I fussy cut the beautiful flower border from one of the papers and gave a little dimension with foam tape. To give the finishing touches to the page I created a fun collage closer to the photo mat using some die cuts and stickers from the collection.
I hope you enjoyed the project and I also hope it inspired you to use this A.M.A.Z.I.N.G. collection! Hope that you have lots of fun!

Happy Scrapping!
Supplies

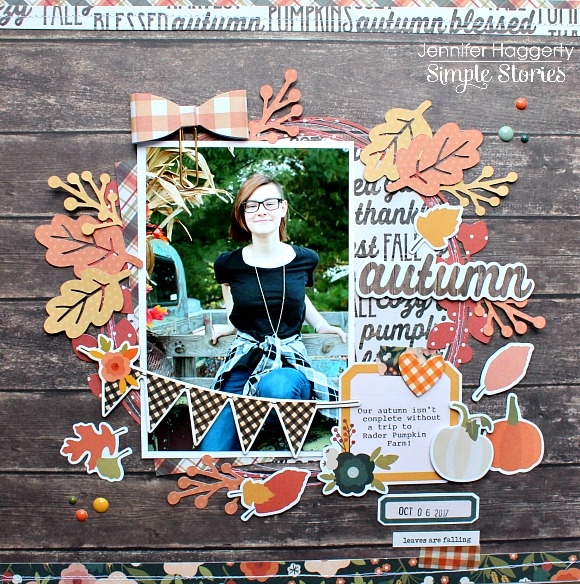
Hello! It's Jennifer on the blog today to share with you a page I  created with the new Fall Farmhouse collection!  I  cannot tell you how lovely this line is in person with the soft fall colors and rustic prints!  There are so many gorgeous elements included in Fall Farmhouse to make your next layout or project perfect!  

I began with the wood grain print of the B side of So Very Grateful as my background. With my Silhouette, I  cut a 6.5 diameter circle from the 

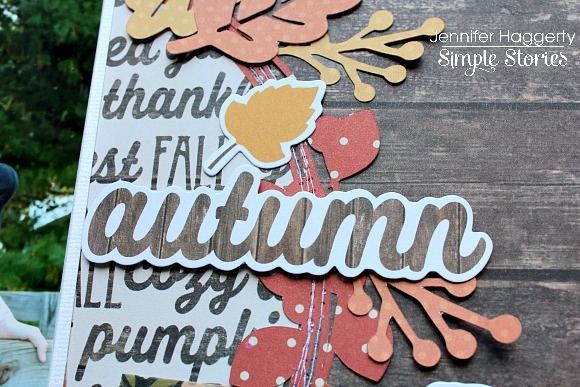
Fall Memories print to go behind my photo.  Then using the B side of Simply Thankful, I  cut a circle wreath using the Simple Stories "Wreath" cut file from the Silhouette store (#214849).    The Fall Farmhouse Bits and Pieces pack includes many shapes and sentiments such as this script "autumn" I  used for my title.  I  adhered the die cut using pop dots to add some dimension. 

The Journal Bits and Pieces has many great journaling spots, small sentiments, and cute signs to accent your project! I  chose this fun gold colored framed journaling spot which I  added two die cut pumpkins from the Bits and Pieces. You can also spy one of the three beautiful coordinating Washi Tapes at the top! 

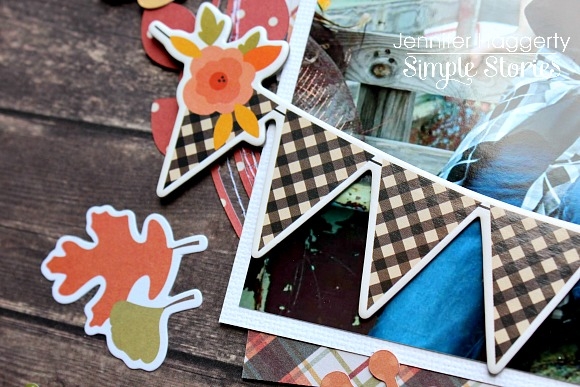
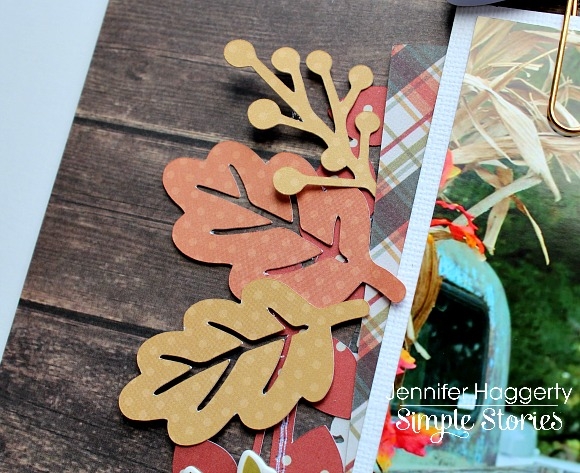
From the 6x12 Chipboard, I  adhered the buffalo plaid banner across the bottom of my photo!  I  know I've said this many times before, but I  love banners and am always excited to see them on the Chipboard or Sticker sheets! You will also notice a few die cut leaves sprinkled around my wreath as well! These can be found in the Bits and Pieces pack! 

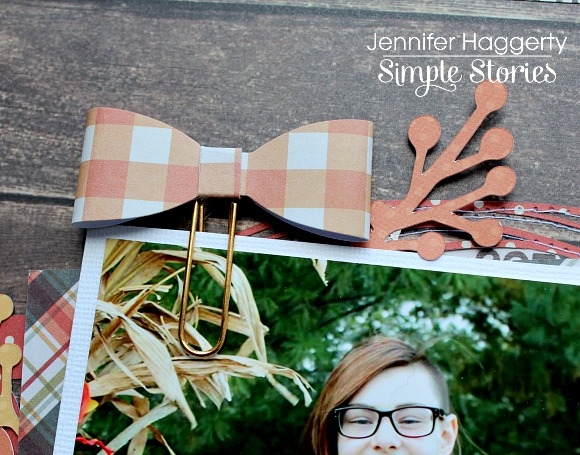
One of the recent new embellishments from Simple Stories are the Bow Clips! You receive four lovely clips in each pack! They can be used in planners, mini albums, or slid under a photo as I  did here! 

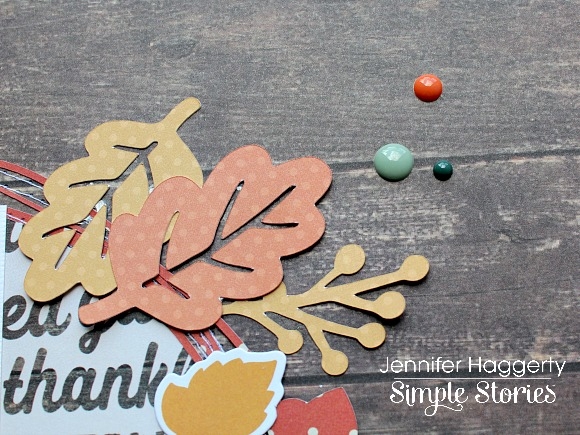
From the Fall Farmhouse Simple Basics Kit, I  cut leaves and branches on my Silhouette to add to my wreath. I  love that you can choose from a solid color or dotted as shown here. 

Fall Farmhouse has a set of coordinating Enamel Dots which I    sprinkled around two different areas of my page! These embellishments make great accents! 

Thank you for stopping by the blog! Check out Fall Farmhouse in its entirety by clicking HERE! Have a great day!
Supplies

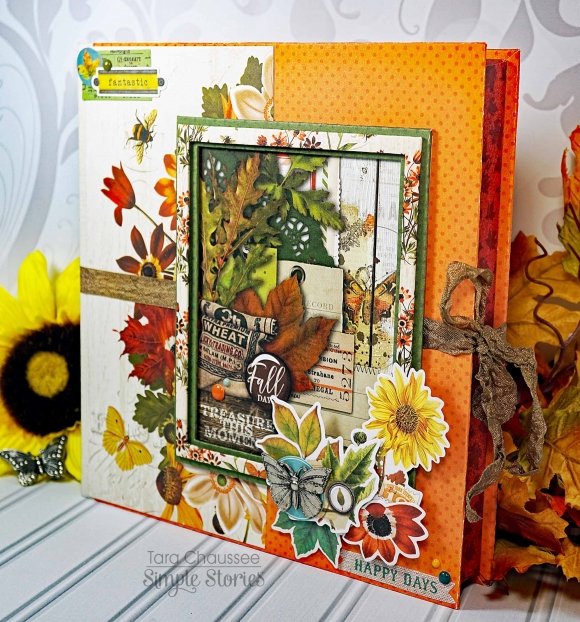
Hi everyone! Tara here with Secretbees StudioSummer may be coming to an end but the gorgeous season of Fall will soon be here and  a surefire way to get excited for a new season is to play and craft with some gorgeous paper!  The new Simple Stories Autumn Splendor is a rich collection that is bursting with deep colors and detailed images. All in all a great way to document your Autumn memories.

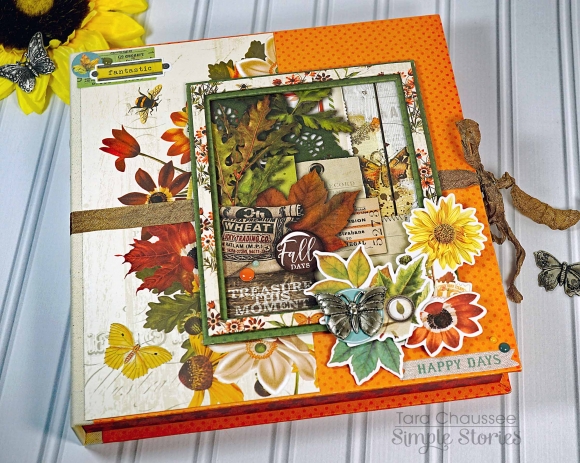
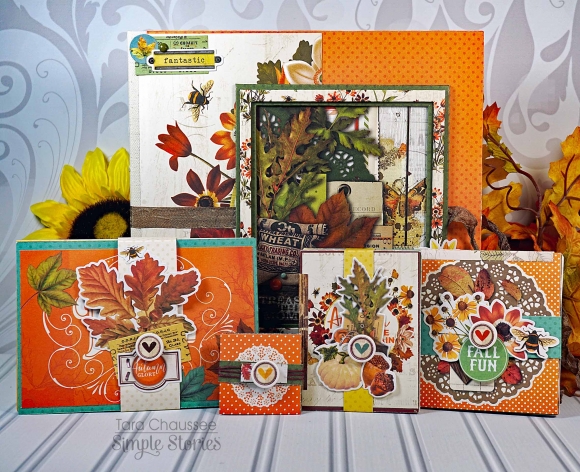
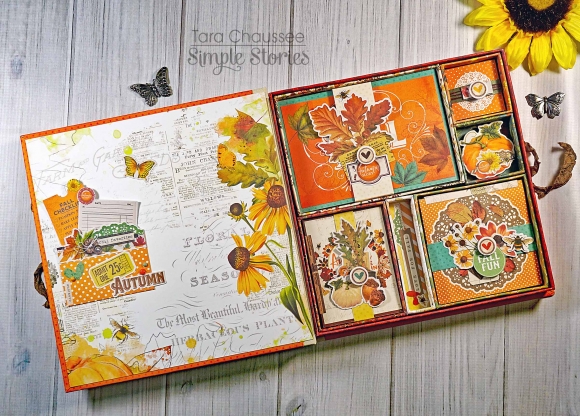
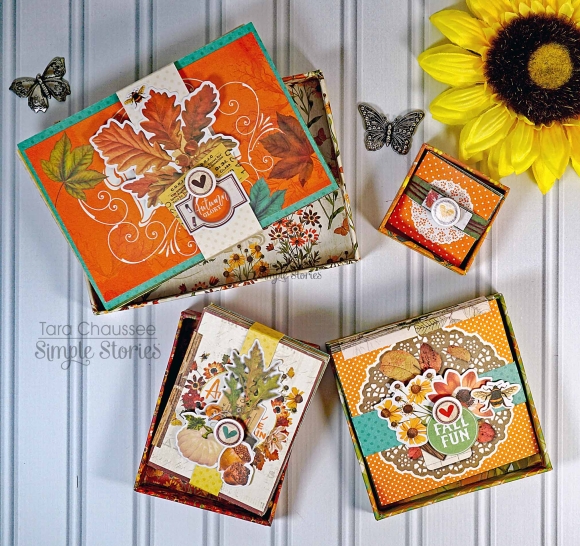
I wanted to create a large project that would show off this stunning collection and so I created a memory box that holds even more boxes and of course, mini albums! There are six separate boxes inside and four of them hold mini albums with lots of space for photos and mementos!

The box itself is made from chipboard that I then covered in the wonderful paper designs.  I even made a double layered frame for the front of the box that showcases a gorgeous paper from the collection as well as lots of the flower and leaf bits and pieces. 

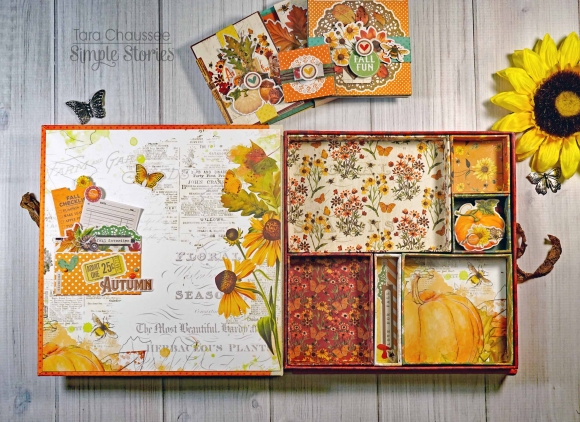
The album is tied together with a piece of ribbon and opens up to a beautiful scene of wildflowers and insects. There is a small pocket on the left side that holds some adorable ephemera and you can see all of the boxes and mini albums on the right. Each album is encircled with a beautiful belly band that is layered with stickers, bits and pieces and chipboard of the collection.

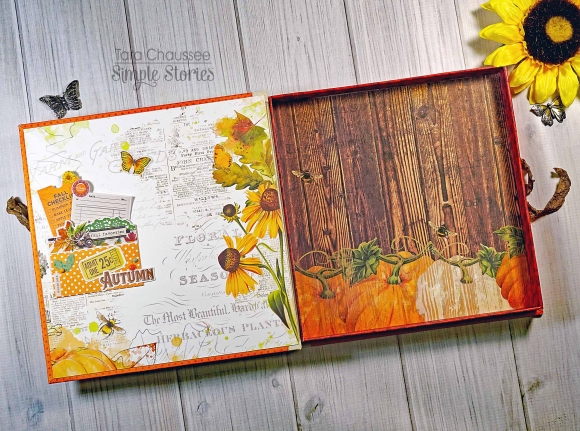
All of the boxes are removable and can be moved around and I couldn't resist lining the back inside of the box with another pretty piece of the paper in the collection. This memory box is pretty inside and out!

For the mini albums, I used all of the different sized element cards of the collection and made them all a bit different. The 4x6 cards are separate with space on the back for journaling or photos. The 2x2 element cards I kept in a strip of six and folded them. They open up to reveal decorative fronts and on the back there are a few embellishments and places for small photos. For the 3x4 and 4x4 element cards, I adhered them to an accordion strip of paper and made them into booklets. All are perfect spots for Fall memories!

Please visit my YouTube channel and watch the walk-through video of this album and see it in all of its beautiful detail!

Supplies

Pages