September 2015 Blog Posts

Hello, again!   This is Amber, founder and creative director of Simple Stories.  I'm here for another installment of my monthly Document IT blog feature.  

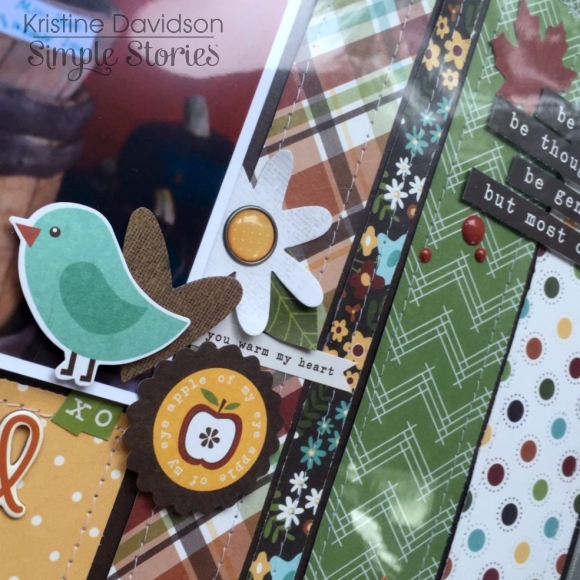
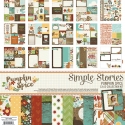
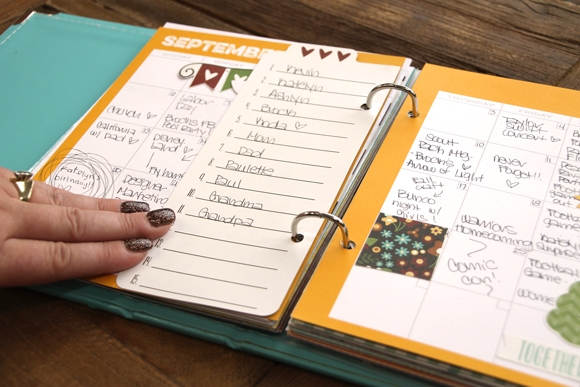
This month was all about decorating my planner for fall.  I loved using our Pumpkin Spice collection to do so; even though it's still in the mid 80's here, the warm colors and seasonal embellishments in the collection really got me excited for fall!  The yellow color of the September Life Documented Monthly Dividers even coordinated perfectly - I love that!  

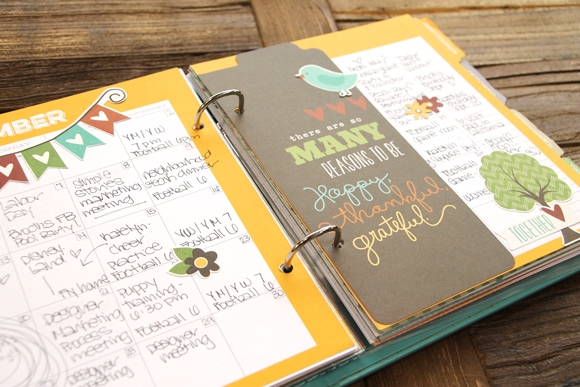
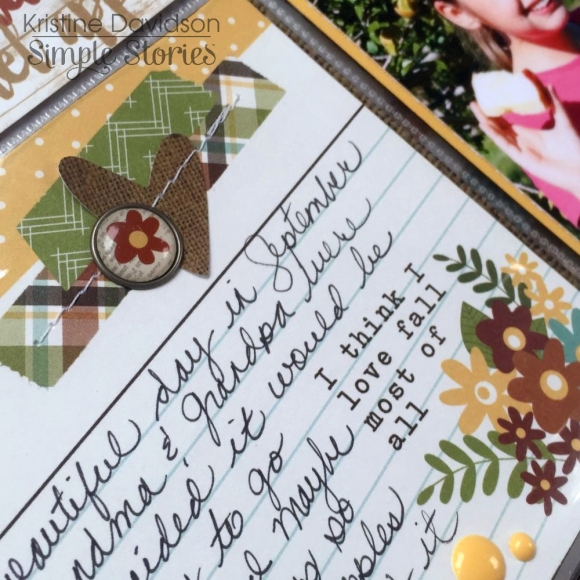
This month I included several of the Pumpkin Spice SN@P! Journal Pages – these coordinate perfectly with our 6x8 SN@P! Binders and planner products so I simply inserted a few right in my planner.  My favorite of the Journal Pages is the book mark; I inserted it between the monthly dividers.  The front has a fun saying while the back is a quick list of all that I’m gratefull for – I listed the people in my life that I love! 

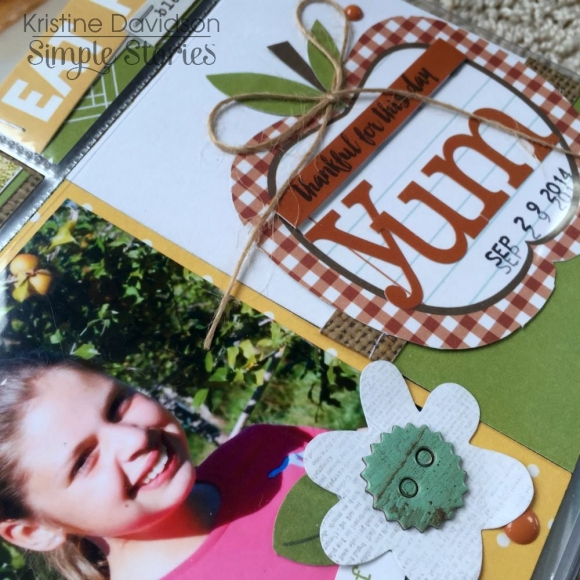
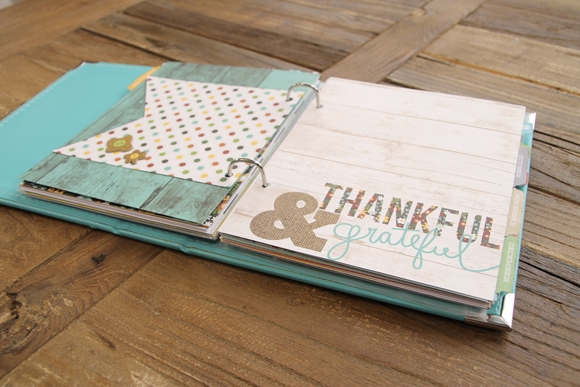
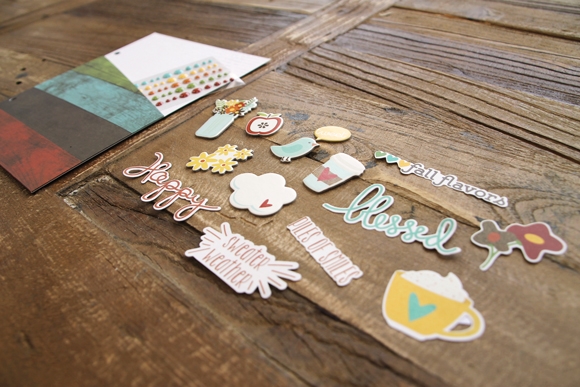
Like last month, I chose a paper from the Pumpkin Spice collection and covered the back of the month to coordinate with this month's overall look and feel; then I added a 4x6 journal card with embellishments.  The Life Documented Monthly Dividers are so neutral, I love that I can easily customize and decorate my planner as I need.   

At the end of the year I can't wait to combine all of the monthly pages and a few photos of that month for a quick year-at-glance look at our year and memories.

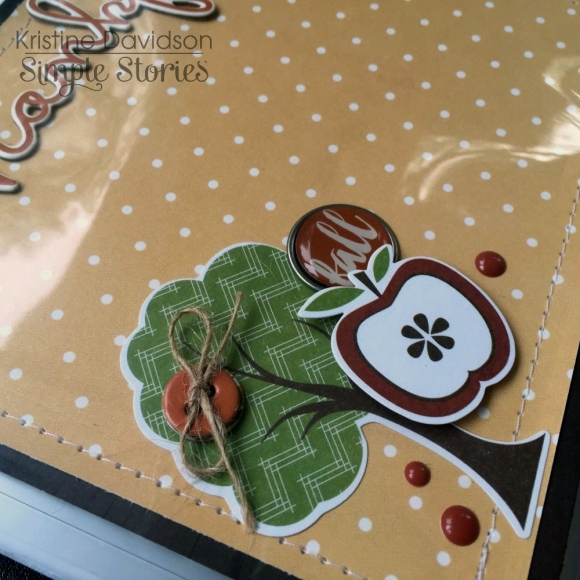
I love the Bits and Pieces to help add personality to the pages – this is my favorite part!

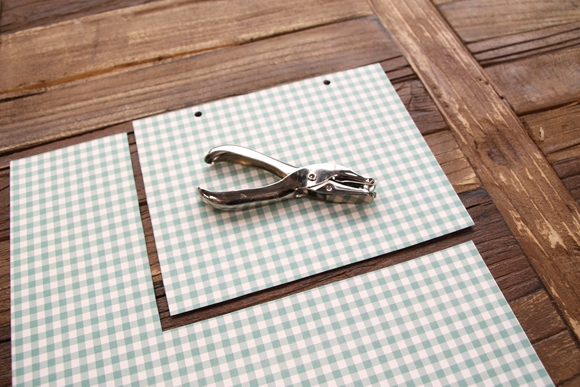
I also created my own insert by simply cutting from a 12x12 paper and using an existing journal page as a cutting and hole punch template – easy peasy! 

FREE PRINTABLES!

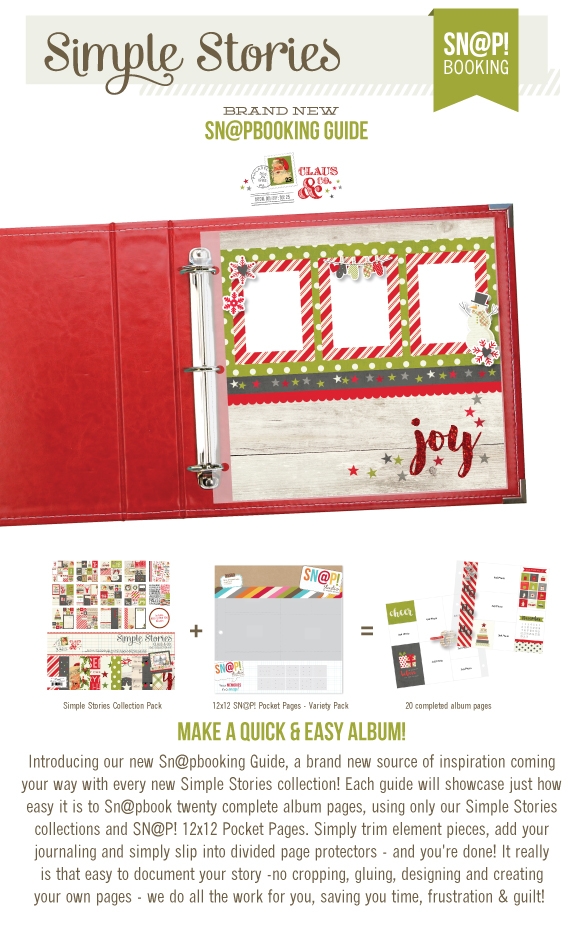
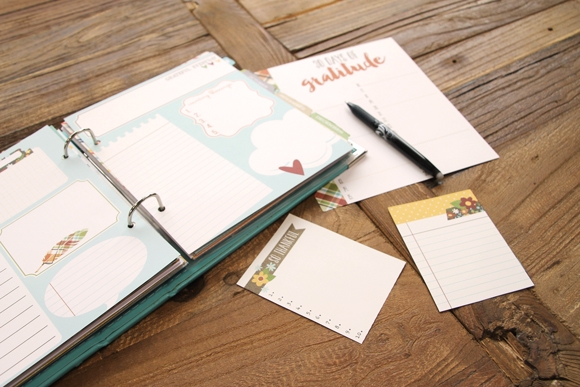
Now we get to the really fun part!  We've designed these FREE printables for September to give you a taste of the Pumpkin Spice collection!

Click here to download September's Free Life Documented Printables.

There are a 3 free printables this month, including:

September Month in Review
Things to be Thankful For List
3x4 & 4x6 Cards

TIP: The September free printables are on a single PDF document with 4 pages - print off what you want and the quantity you need.  We've added cut marks to each printable, so you can easily trim your pages to size.  

Thanks so much for letting me share how I've customized my planner this month!  Happy fall :)

Supplies

Click here to watch the 4x6 SN@P! Binder video!

Click here to watch the Photo Booklets video!

Hi y'all! Suzanna here to share with you two layouts that I created; one using the We Are...Family collection and the other using Claus & Co
 
 
First up, my layout titled "Us." We take a lot of family selfies, documenting the times that we spend together, creating family memories. It's always entertaining taking selfies as our 9 year old daughter is the "odd man out" height wise and either she gets cut off at the bottom of the frame or we have to all remember to squat and utilize our quads. You can imagine the antics that occur!
 
 
I am a big fan for using the SN@P cards or other pocket cards cut from the patterned papers on my layouts; they make great papers to layer with or subtitles to layouts.
 
 
The wood veneer includes the brush script word "us" that coordinates with the other brush script found through out this collection! I used that for my title and just love the simplicity of it. I pondered inking it but decided naked worked best.


The other layout I have to share with you today is a Christmas layout that was created using the Claus & Co collection. It is a fabulous collection - one you will have to add to your stash for the upcoming holiday (it's not far away!). The classic colors and timeless holly leaves and all things Christmas are sublime.
 
 
There are so many great embellishments for layering and creating scenes that support your story with Claus & Co like the presents shown here. I layered them for a fun cluster of presents like those under the tree that my daughter is kneeling beside. By using foam dots under one of the presents, some dimension and depth is added to the cluster.
 
 
I hung the stockings carefully among the divided background, the top section created using the 6x12 element and the bottom section was patterned paper.
 
 
The grey combined with the classic red and green really make for a striking look! And I love that the green isn't the traditional bright, kelly green but more of an olivey tone to it. It really is different and gives a more rustic feel to Christmas.
 
 
Thanks for stopping in today!

Supplies

Hey everyone, Amy here to share a layout I created using the new Claus & Co. line, which is just fabulous!  It makes creating a layout about the Holidays super easy, and fun.  Here's the page I created.

Here are some closeups, I had so much fun with all the different embellishments that are included with this line.

The wood veneer is just perfect.

I just love the Bits & Pieces, they always add that special something to my pages.

Thanks for dropping by today, and make sure to check out the full Claus & Co. collection here.  It's fabulous!

Supplies


Click here to download your free copy of the Claus & Co. SN@PBOOKING Guide.  Visit the Project Downloads page for other free downloads!

Supplies

Hi there, Simple Stories fans! 

Teri here, and I'm happy to be bringing you some fun cards and tags I created with the Claus & Co. collection.

It may be September, but I'm determined to get an early start on this year's Christmas projects. It seems like I'm making stuff up to the last minute for Christmas. This year is the year I put an end to that vicious cycle by getting going early on my cards! And the Claus & Co. collection is perfect to do it with because it's packed full of fun Christmas elements!
 
 
Up first is this wreath card.
 
 
I really love that pretty wreath. I wanted it to stand out so I added things to my card to draw your eye to it: the enamel dots, the sentiment banner and even the music circle stickers
 
 
Here's another card for you to check out.
 
 
I matted the grid SN@P! card onto cardstock and then I slapped a couple squares from the Claus & Co. SN@P! Pack on top. I kicked the ornaments up a notch by adding some enamel dots to them.
 
One of things I love about Simple Stories' products is you can use them as the come or you can really personalize them by embellishing them. I love that.
 
 
Speaking of personalizing things, let's talk about that sentiment. Well, it's truly one of a kind. I dreamed it up myself by mixing some of the different stickers from the Claus & Co. collection together. 
 
I did a lot of mixing and matching on this card too.
 
 
Something I really appreciate about Simple Stories is their collections are well thought out. Many of the collections feature lots of stuff, but all of it goes together. I think having matching colors and design elements that work together helps make making things a whole lot easier!
 
 
I always love a good grid design so I made a grid of sorts with the four squares on this card. 
 
 
And then I embellished the squares by adding a chipboard snowflake, enamel dots and Washi paper tape strips.
 
 
In addition to Christmas cards, I made some Christmas tags. Tags are a great way to add a handmade touch to simple holiday gifts.
 
 
I used SN@P! cards for each of my tags. I used a hole punch to pop a hole in the top of each one. And then I added a little twine.
 
 
I threw on a couple embellishments on each tag, just to make them seem a little more handmade.
 
 
These tags took me probably 20 minutes to pull together so there wasn't a huge time investment in making them. But I think they are sure going to make my gift recipients smile when they see them!
 
Well, thanks for stopping by today! I'll see you again soon!


Supplies

Hello Friends! Rebecca Larson here with one of Simple Stories' latest digital releases “Sweater Weather”.
 
With the cooler temps we have been experiencing here on the Wasatch Front, it is only fitting to pull out the boots, cozy sweaters, and snack on something pumpkiny (thats a word right?). With my longing for crisp nights, football games, and the changing of the seasons, I decided to pull out some photos from the depths of my hard drive. I think sometimes that its good to go back and resurrect photos and memories from days and years past. Its good for the soul! Each year we always look forward to fall break! A couple years ago, we decided instead of a full blown vacation that we would do a staycation of sorts. We live near some big ski resorts, and thought it would be fun to explore the area before the snow flies! Sweater Weather was the perfect way to highlight our adventure.
 
 
I love the warm inviting colors of this kit! The reds, oranges, and yellows seem to make my photos pop! And because I was running short on time, and had so many photos that I decided to use the digital 6x8 pocket page templates that are also available in the shop!  (Here is a great link for a tutorial using digital scrapbook templates, or google how to use a digital scrapbook template). After adding my photos, I used the fun fall elements to add demential balance to my photos. 
 
 
With a digital layout, you are not confined to the pockets that you would be using with a traditional pocket page, so it is fun to add a little flair all over your document. Come on! Break all the rules lol! I will print these off and slide them into the solid 6x8 plastic pocket (note: the page protector is slightly larger than a 6x8 print). A fun, fast, way to get those photos off the hard drive and into books for family and friends to enjoy!
 
Thanks for stopping by!

Hello Friends! 

It's Kristine Davidson with you today and I am here to share a Life Documented spread featuring NEW Pumpkin Spice Collection! I had a few pictures from an Apple Picking adventure and this paper collection was perfect for it.  

I had quite a few photos from this adventure, but I didn’t want to add too many photos either. I decided to create a layout for the left side of my spread and then add a little pocket page scrapbooking on the right. A great way to create a double page spread perhaps? I am not very good at 2 pagers but this made it really easy.

I added a photos of my nephew on this layout. Showcasing more of a thankful side with no journaling but adding strips of journaling from one of the 4x6 cards. I also wanted to add lots of paper to this page and doing several strips worked well. A great way to use up scraps or use tons of color that match perfectly together.

A simple pocket spread that add so many extras to an album. Adding lots of photos, extra journaling and even memorabilia. I added more photos on this page and a simple journal card talking about our day apple picking.

Here are a few extra pictures with details.

I love layers. On this corner I first did some sewing around the edge, added a diecut of the tree and then added an apple with 3D foam adhesive to create dimension. Adding extras such as chipboard buttons, bradz and enamel dots just finishes a corner of a page so nicely!

I find working with stickers and diecuts so much fun and easy to layer and create dimension with foam adhesive. I do this on most of my pages. To create more dimension and texture I add sewing and small enamel dots.

I loved this apple and decided to cut it from its original card. I added stickers from the expressions sticker sheet and some twine.

A journal card can be decorated even if it’s for adding details about your day. Add some washi paper tape, a brad or chipboard and your card is embellished.

I hope you enjoyed my post today and I hope you have a chance to create with Pumpkin Spice!

Supplies

Pages