September 2015 Blog Posts

School themed digital kits have long been a favorite of mine, something about the bright, bold colors and fun elements included just speaks to the crafty part of my brain.  So I'm excited for back to school time and the selection of digital school themed kits that Simple Stories has added to the digital store!  I decided to have fun with two of the collections available, although if I would have had more time on my hands I would have used them all.  
 
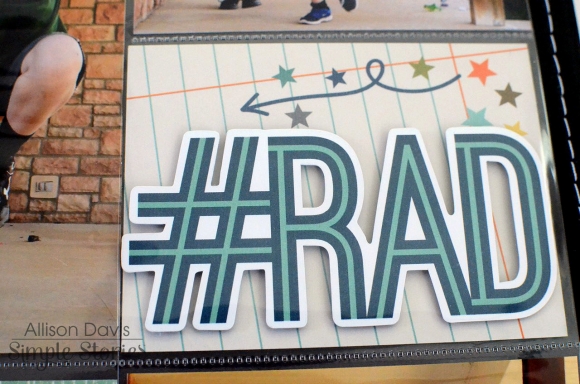
I started with the digital Elementary collection which has sort of a neat distressed feeling to it.  I had a picture in mind from my son's first day of first grade last year (we still haven't started school this year!) and the digital collection picked out, then I had to dig around for some inspiration.  I went to my trusty go-to source for ideas and inspiration - Pinterest.  I found this awesome typography piece hat I knew I wanted to include on a page and I loved the mix of colors and fonts.  I didn't use any real rhyme or reason in choosing the fonts, I just wanted a mix.  I love how it turned out and I wanted it to be the focus of my page so I minimally embellished the rest of the page.


The other digital kit I chose is the bright & clean digital School SN@P! Set along with the digital 12x12 Pocket Page Variety Pack.  I love the super bright colors and the pops of contrast in the blacks!  They worked perfectly with the chalkboard I made to document my son's first day of school each year.  The cards in this set are perfect for documenting that first day of school milestone - or any school-related milestones throughout the year!
 
 
I had so much fun playing with these kits and I'd love to see what you all have done with them as well.  
Hi everyone! Allison here with a layout using the awesome So Rad collection and I have another sketch to share that mixes up the traditional scrapbooking style with the SN@P! Pocket Pages. 
 
 
You can download the full sketch with measurements and placements here.
 
The left side of the sketch is designed in a traditional scrapbooking style while the right side uses photos and cards together with the SN@P! Pocket Page, Design 5.
Here is my layout based on the sketch:
 
 
My boys, Drew and Jackson, have been on a big kick of taking jumping photos. They think it is hilarious to see what kind of pose we can capture mid-air and will jump until they are exhausted trying to get the perfect jump-pose. Our porch has proven to be an excellent launch pad for their silly jumping poses and I’ll always end up with some pretty comical pictures out of it. 
 
 
Being a mom of boys, I always look forward to new boy and masculine collections from Simple Stories. So Rad is my new favorite! I love the colors and the elements that seem to perfectly match and compliment the photos of my sons. What a fun collection!!
 
 
I cut out the large chevron/zig zag design from the 2x12, 4x12 & 6x12 Elements paper and used it to create a large arrow design. I also added some strips of patterned paper and my title and then finished it all with some Bradz, stars, stickers, and enamel dots. 
 
 
At the bottom of the top photos I created a little cluster of embellishments with more stars, stickers, die cuts, chipboard pieces, and enamel dots. 
 
 
At the top of the photos I added a word sticker and accented it with more stars, Bradz, and enamel dots.
 
 
I used the empty space at the top of the photo for my journaling. If you didn’t have the empty space in the photo like mine you could always move the journaling strip up above the photo.
 
 
On the right page I used photos and 4 x 6” and 4 x 3” cards with the the SN@P! Pocket Page, Design 5. 
 
 
I added a tiny little star to the fun “Awesome” card. I love the cards that have a big word or phrase on them! They always tend to be my go-to card for Pocket Pages!


I added little clusters of embellishments to the empty spaces on my larger photos to match the little clusters on the left page. 
 
 
I instantly loved the #RAD die cut and used foam adhesive to give it some dimension on the 4 x 3” card.
 
 
On the bottom 4 x 3” card I added some stitching around the star and word stickers to the center.
 
 
I used two chipboard frames with two smaller photos and then accented it with some arrow stickers and stars. 
 
I hope you all enjoy the new sketch! 

Supplies

Pages