


Hi everyone! Theresa here sharing a peek into my Marigold Carpe Diem planner setup for February! This is still one of my favorite collections! It doesn't snow where I live, but we don't live too far from snow and it's still pretty chilly here!
I added some of my favorite die cuts and stickers to the front pockets of my planner. Always ready to grab and use! I also have one of my Doc-It Journals handy to journal with!
This tree pattern from the Silver White Winter sheet is my favorite design! I decided to use it as a dashboard. I placed the little die cut bird on one of the branches and decided to stop there! The bird fits in perfectly and I love the simplicity!
I also used the Winter Wonderland collection in my Doc-It Journal!
I added some chipboard, word stickers and enamel dots right into my photo. The snowy background goes perfect with snowflakes! I love all the snow and ski quotes in this collection!
Here is a look at my monthly layout. I used the teal number stickers from the Posh collection which matched perfectly with the teal stickers from the Winter Wonderland cardstock sticker sheet! I used the larger numbers for a couple birthdays we are celebrating, it makes those dates pop out a little more than the rest! I hope younger enjoying your winter wonderland!


Now that we’re well into January, well into winter and for many of us, well into A LOT of snow, we thought it would be fun to share an up close look at some of the popular Winter Wonderland products & inspiring projects from our creative team!

When it comes to paper crafting, it’s all about the paper, right?! Regardless of what crafty project you’re working on, paper is the perfect starting point. These are some of our Winter Wonderland favorites, and judging by our diminishing inventory, they’re some of YOUR favorites too!

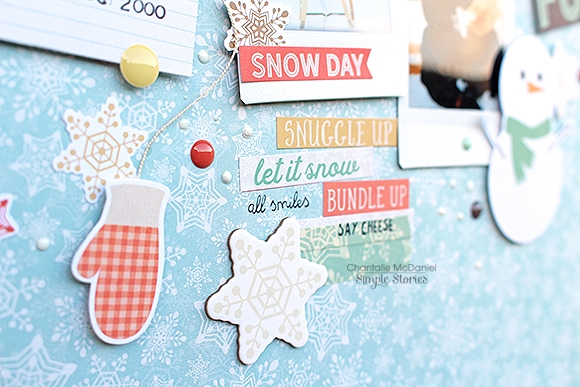
Washi tape, stickers, die cuts and 3x4 cards – OH MY! With Winter Wonderland, you’re sure to find just the right embellishment to add those perfect finishing touches to your ‘snow fun’ projects.
From layouts, to mini books to planners, Winter Wonderland is just what you need for adding a little seasonal touch for your paper crafting & planning needs. Speaking of paper crafting & planning, here are a few projects to get you inspired to document your winter memories.

Be sure to check out & follow our Winter Wonderland Pinterest board for more Winter Wonderland inspiration!
Hello Friends! Alexandra here with some Christmas pocket pages to share with you.

I've used Simple Stories' CLASSIC CHRISTMAS which I find to be both an easy and pretty match with the pictures taken during the holidays

Here are the pages as they appear in my 12x12 SN@P! Album


I also used the Classic Christmas colletion to document week 50

The scare of that week: having a tire explode on the fast lane of the express way! Of course that had to happen when it was like 0F outside but I was lucky in the end, got help and snapped the picture you see above. On one card, I underlined the days of the week with a red pencil and then on the card with the three bubbles, I wrote down about three moments or impressions.
The classic color scheme goes so well with all pictures, festive or not festive!

Hello crafters! Stacy here on the Simple Stories blog today, sharing 2 layouts using the Winter Wonderland collection. This collection really beams, even if it is used with non Winter photos!
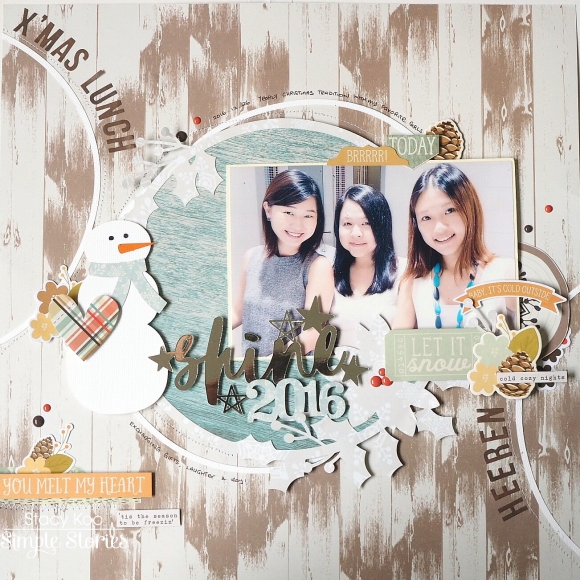
It has always been a tradition with my girlfriends to meet up for a Christmas gift exchange and a meal together. This year, we had a blast and I needed to document this yearly affair with the Winter Wonderland collection.
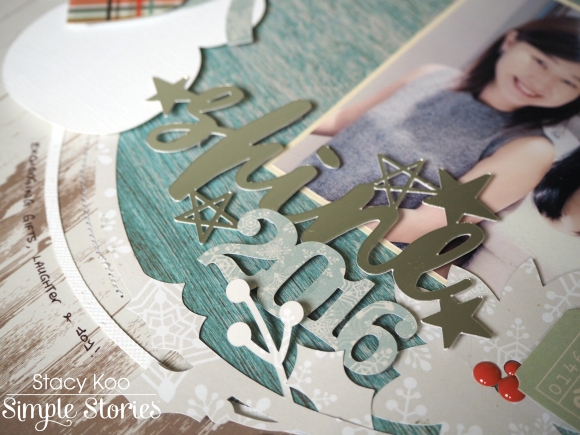
Using my Silhouette Cameo this time, I cut some svg files for the Shine title and Circle Wreath. Then I ran the layout through the sewing machine, giving the circular elements a border with the running stitch.

How about a heart from the sticker sheet to accompany the snowman? Layering up with elements in the Bits and Pieces pack is easy!
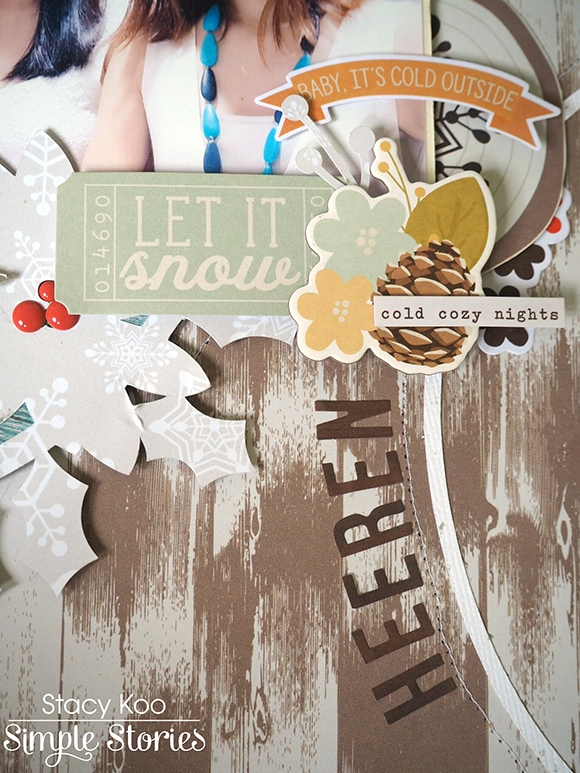
I like to add locations of the places visited in the photo. In this case, I used the alphas in the sticker sheet as a sub title. Enamel drops are a must to add a tinge of color and texture!

The phrases in the Bits and Pieces pack are very versatile for any layouts. I used the Washi Tapes in the series behind the phrase in order to give it a highlight.
_________________________________
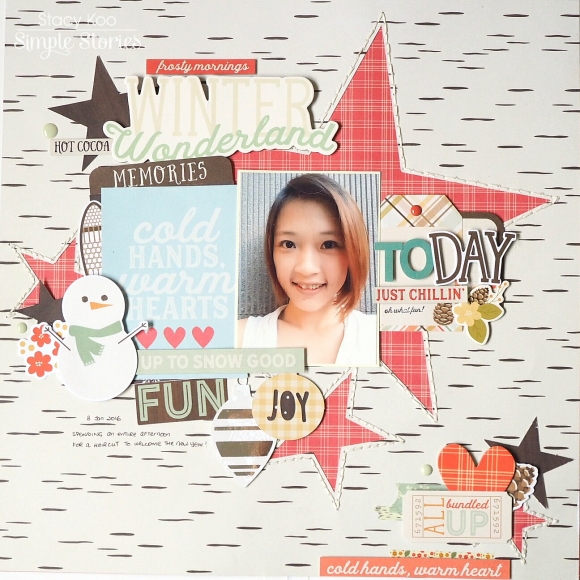
The next layout was inspired by stars! I cut many stars into the pattern paper, and then backed it up with a contrasting color to highlight the star cuts.
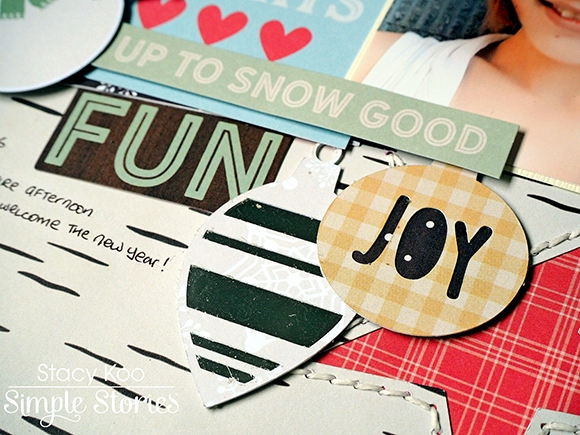
More Simple Stories Silhouette cuts! Christmas bubbles go hand in hand with this layout, and they are easy to use. Here you can also see some hand-stitching which I had done around each of the stars.

More washi tape, stitched star and cool phrases! I even made use of the negative of the star cut from the pattern paper and used it as part of the decoration. I was in the hair salon for 4 hours waiting for a haircut. The weather had been rainy, and it was cool out there. The waiting kept me in anticipation on my new look!

Adding stamped words to layouts are a favourite! The Classic Christmas roller stamp has so many phrases to choose from, and it really does not need to be christmas!
This collection's colors and elements are perfect to use along any photo, snow or not! Hope you like these layouts today!

Hello Friends its Kristine Davidson with you today. I will be sharing 2 layouts with you using the gorgeous winter collection called “Winter Wonderland”. It has beautiful soft colors and great images for those winter pages.
My first layout is called Winter Chill -
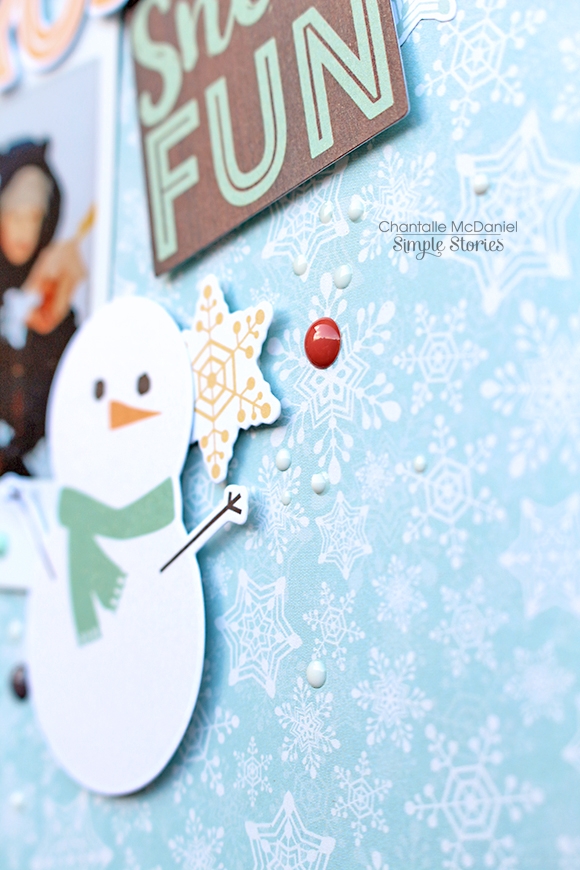
I used a pattern paper for my background on this layout and then started layering with other pattern papers and I wanted to highlight some of those papers. In order for me to do that I used the Oh What Fun paper to create a brown border around those papers. That created a bit of a definition for me, which I like.
Layering with dimensional adhesive is nothing new on my pages and this layout was no exception. Creating a cluster of embellishments on the right bottom corner of my pictures was a great place to add a snowman, some skates, and a few word strips.
I love flowers and even if this is a winter layout I find that these blue/yellow/white flowers add such a beautiful touch to my page. I added those on the left side of my page but didn’t over do it.
I love the trees and the deer stickers. I wanted to add those to both of my pages so I did. They are similar, but I am ok with that ;)
_______________________________________
My second layout is called SNOW
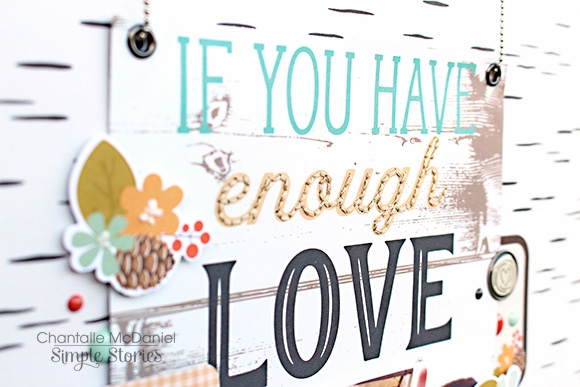
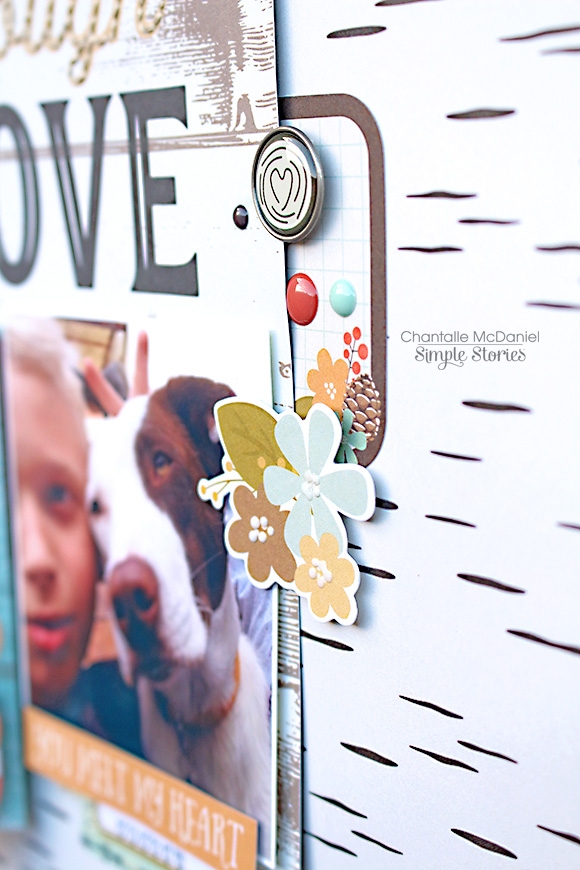
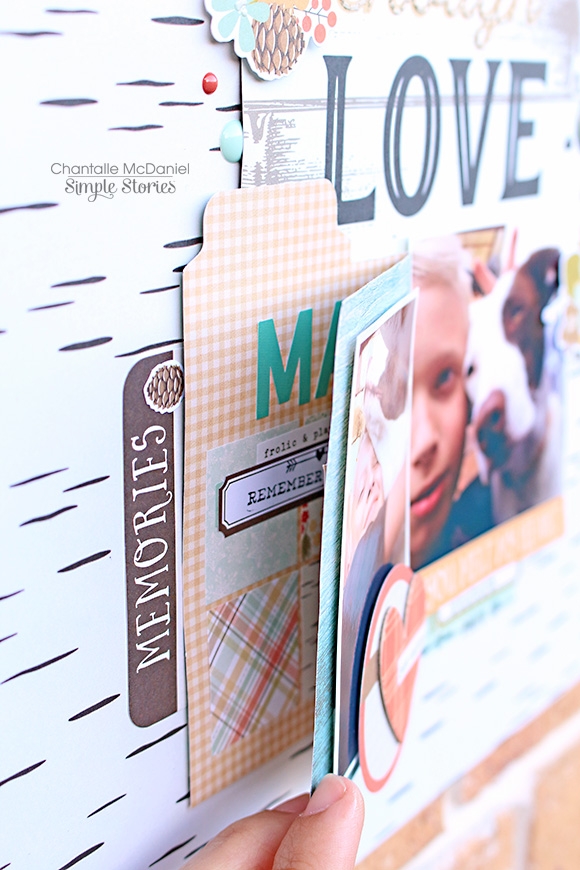
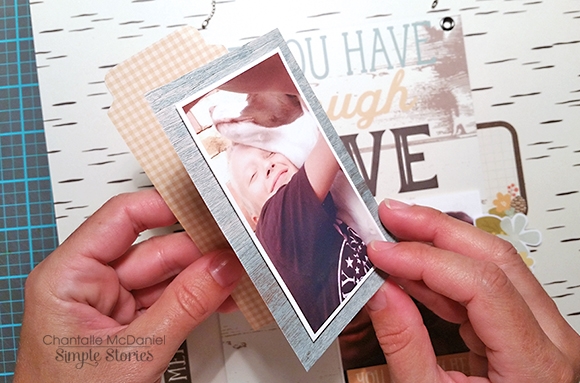
The girls were outside taking photos and it was just the perfect day. It was a mild winter’s day and the birch trees in the background were a perfect match to this paper collection. It wasn’t snowing that day but the snow in the background certainly shows that it was a winter’s Day.
This layout is really similar to the first one. I added more brown paper on the back of my pattern papers for dimension, some snowmen which is super cute by the way, and also the deer and tree on the right hand side.
You could probably do something similar to this and create a 2 page layout for yourself. Try adding a dark color around your light pattern papers and see if you like that ;)
Thanks for visiting us at Simple Stories today, if you enjoyed my layouts please come find me on instagram @KristineDavidson
Have a great day!

Good morning friends! Brenda Smith here with you today to share a planner spread in my Carpe Diem using Love and Adore. I know, I know. This line is very much related to Valentine's and it's only January, but I couldn't wait. And as you will see, the line is very versatile and will work for any spread, any time of the year.

I first started by prepping the front of my binder by filling the pockets. I used the Bits and Pieces to fill up the pockets in a way that was visually appealing to me but also full of embellishments I could see myself using over the next month or so.

I am absolutely addicted to the packet of 4x6 stickers that coordinate with this line. They are the perfect size for planners but work well on just about any other projects as well!

While the horizontal Carpe Diem inserts for memory planning are what made me fall in love with the CD planner, I have become quite partial to these vertical inserts for planning my everyday. I love that there's enough space to write down everything I have to get done but also plenty of space to decorate as I see fit.

Traditionally I like to stick with flat elements to avoid too much lumpiness with my closed planner, but recently I've been adding chipboard and enamel dots and quite like the dimension they add to my spreads. I find the enamel dots to be the perfect finishing touch and allow me to add little bits of color to balance the page.

The little patterned strips are from the 4x6 stickers pack and are one of my favorite methods of getting a bunch of color on the page without overwhelming it too much.

I love that the Simple Stories chipboard pieces are not too chunky. I added the "crazy for" from the 12x12 fundamentals sticker sheet. The paper strips at the bottom were ripped for a little extra texture.

On this side, I went a little heavy on the bits and pieces and the sticker strips. Give me just these two items from a collection and I could happily create for a while! I just love how easy it is to make a fun page.


Hi there! It’s Shei here today. I’m so happy to be back on the blog sharing two layouts. Let’s get started!
For my first layout I decided to work with the fun and colorful #Whatever Simple Set.

I chose white cardstock as my background and I glued on it some journaling cards from the “3x4 & 4x6 Journaling Card Elements” paper.
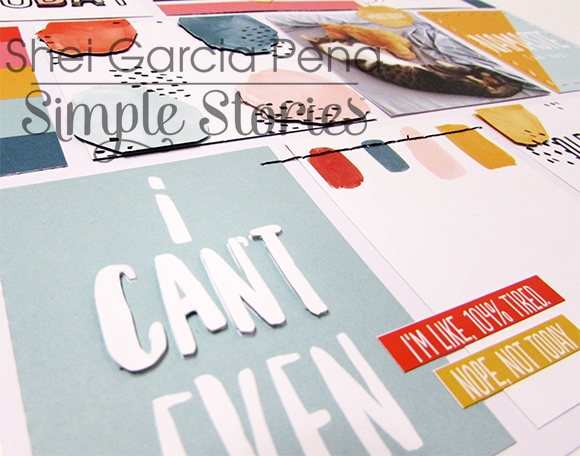
I used a picture of my sleeping cat. It’s always sleeping, so all these journaling cards that represent lazy moments are perfect for this project.

In this collection you can find two sheets from each paper/pattern. So I used one to glue the journaling cards and the other to cut some details like letters or the color ink stains. Then I glued these little details with 3D foam squares to give more dimension to the layout.

Furthermore, I sewed some details in different journaling cards: a yellow heart, a black line across the colorful ink stains and a white dashed line frame around the “Namaste” card.
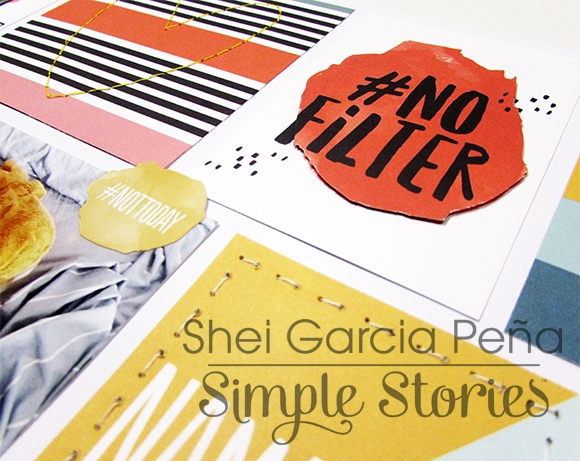
Finally, I glued some stickers from the “6x12 Sticker” to put the icing on the cake.

_______________________________
For my second layout I chose the fun and colorful “#Whatever Simple Set again. I started with the “#nailedit” as my background. I’m totally in love with this paper!!

I’ve used a cool a black and white photo of me and my bestie. I like use black and white pics when the collection is very colorful.
I glued a white strip to focus attention on the pic and all the embellisments and to bring more brightness to the whole project.

I’ve titled my layout “#Wathever” using the word from the “6x12 Sticker”. The flowers, the stars, the heart, the arrows, the ampersand and the other embellisments are from the “6x12 Sticker” too.

Thank you so much for taking the time to read my post! I hope you enjoyed my layouts! See you next month!
Never stop smiling! Kisses!!
