November 2016 Blog Posts

 Good morning friends! Brenda Smith here with you today to share with you a spread in my planner to kick of December!

First, I picked out a few of the diecut cardstock embellishments from the Classic Christmas Bits and Pieces pack to decorate the pockets of my planner. I'm usually pretty minimal when it comes to decorating this part. I used a insert from the Classic Christmas Sn@p Pages and trimmed it down to fit opposite my pockets. 

I've decided to take a very laissez faire approach to documenting my December this year. I usually try to make a special album but it's always way more work than I can muster this time of year. But I've decided this year I'll document in my planner. This will mean memory planner spreads and maybe a few inserts with photos and pocket pages but I'm not requiring myself to document every day. 

I used the monthly spread as an advent calendar of sorts. You will notice that not every day has an event but that is because there are inevitably days when we are just too busy for much extra. I'll switch around the prompts if need be, or add a few more on down the road if we need them. 

The Classic Christmas line is full of vintage imagery and traditional Christmas colors, but I love how well it goes with my ballerina pink Carpe Diem. There's just something about sneaking in pink to your Christmas colorways. 

I placed some enamel dots and some snowflakes around the page to tie it all together. 

I love the cute little monthly box stickers that came in the Stickers pack. They make decorating a breeze! 

The buffalo plaid border stickers from the 12x12 Fundamentals Sticker sheet might be my favorite thing ever. I wish I had about a thousand of those to add throughout the month! 

So that is the beginning of documenting my December in my Carpe Diem. If you'd like to see more as the month progresses, follow me on Instagram @idocumentlife.

Happy Cyber Monday!

Today only, your entire purchase from our digital store is 50% off!


WIth ALL of your favorite Simple Stories collections in digital format, you're sure to find just what you need for all of your digital crafting needs!  Visit our digital store here and enter code CM2016 during checkout!!  

Hi there!

It’s Shei on the blog today. I’m so happy to be back sharing two layouts.

Let’s get started!

For my first layout I used the cute and beautiful Gather Together collection.

As a background I used the Grateful Hearts paper (It’s so beautiful!). Then I glued a rectangular piece of white cardstock at the left side of the layout.

For my tittle I used the ABC from the Combo Cardstock Stickers of the Hello Fall collection and the word “thankful” from the Gather Together’s 6x12 stickers. So combining these two stickers sheets I wrote the romantic phrase: "I'm so thankful to share my life with you". 

At the side of the tittle I arranged a vertical strip of four pictures, one in color and the rest in black and white, of our feet above a carpet of leaves. I glued the color pic with some foam adhesive to accent it.

Next came the embellishing! For that I used a few stickers: feathers, flowers, leaves, acorns, etc. Also, I added the hearts’s frame that I cut from the 3x4 & 4x6 Journaling Card Elements. Very fun and autumnal!

_______________________________________________


For my next layout I used this Thanksgiving/Fall themed collection again.

This time I used a white cardstock as a background and I placed some of the amazing Journaling Cards on it. 

In the middle of this project I added two small photos from some chocolate cupcakes that I baked inspired by the thanksgiving’s turkey. For that reason I have titled it "Sweet Turkey" using the ABC from the Combo Cardstock Stickers of the Hello Fall collection. 

It’s time for the funniest part: embellishing!! I spread some colorful hearts and fun phrases from the 6x12 stickers. Also, I cut the turkey and the three feathers from the 3x4 & 4x6 Journaling Card Elements and I glued them with foam adhesive to give some dimension to the layout. Finally, I stained with ocher and orange paint around the layout. 

Thank you so much for taking the time to read my post! I hope you enjoyed my layouts! See you next month!

Never stop smiling!  Kisses!!

Supplies

Hey Everyone! This is Jennie with today’s pocket pages using the Gather Together Collection. I also used a few items from Hello Fall. These collections work great together because their colors are very similar.

I used the Bright Sn@p Letter Stickers to number some of the photos. That way I can journal about everything in one or two cards. This spread has a lot of nature photos with oranges and brown. The Gather Together Mini Kit’s Journaling Elements go perfect with them. It also has creams and tans so the layouts are not too darks. 

I used a Gather Together Journaling Card for my weekly title card. To write the title I used the Hello Fall Combo Cardstock Stickers. I love the font of these alphas. I also used Hello Fall Bits and Pieces.

I took a screenshot of this meme because Daylights Saving really does drive me crazy. I used this Piles of Smiles pattern because I needed something light to balance all the colors.

The Hello Fall 4x6 Stickers comes with a sheet that has lots fall related words and phrases. Since this right side is very photo heavy I added word stickers to all the photos in the middle row.

I needed an extra card to journal on. I liked this brown one but it was a bit dark so I used correction tape to draw a few lines. After I typed everything using my typewriter I distressed the corners.

I hope you enjoyed these pages! Don’t forget to document your Thanksgiving with the Gather Together Collection. It has turkeys! J

SaveSaveSaveSave

Supplies

Happy day after Thanksgiving!  We hope you had a wonderful day spent with family and friends and are ready to bring on the Christmas spirit!  

With the holidays upon us, we're happy to share free printables from our Classic Christmas collection!   

From dashboards, Christmas card lists, gift lists and more, these free Classic Christmas printables are just what’s needed to get you in the planning spirit & keep you organized this holiday season!  Designed for use in your Carpe Diem A5 planner, on your scrapbook pages, in your December Daily albums & more - simply download, print, and trim.

Click HERE to download

Happy holidays from all of us at Simple Stories to you and yours!

Hey there!  Missy back with you to share two new layouts using the Gather Together Simple Set.  This collection is full of beautiful Fall colors and is centered around Thanksgiving Dinner.  However, there are several things that are versatile and allow you to take a different route.  I really don’t document Thanksgiving Dinner, so I created a few pages centered around family and thankfulness.  I’m very pleased with how they turned out, and I hope they give you some inspiration.  My first layout is about my two grandmothers.  They were both at my house for a birthday party a few months ago and they were holding hands and chatting.  It was the sweetest thing!  I started with some light kraft cardstock from my stash and a beautiful leaf cut file from the Just Nick store.  I used some Shimmerz Paints on the background using the packaging & splattering technique.  I used papers from the collection to back the leaves and arranged my photo where I wanted it. 

Here you can see the detail of the cut file, the patterned papers and some of the background work.  I machine stitched through all the leaf centers with gold thread for added detail.  For a smaller secondary title, I cut a sentiment from one of the patterned papers and embellished the corner of it with cute leaves from the sticker sheet.

Aren’t these Fall colors so beautiful together?  They have such a homey and comfortable feeling.  For my main title, I used coordinating alpha stickers from the Snap Bold pack.  Again, I stitched with gold thread and then added a red heart sticker and a few phrase stickers from the Hello Fall collection.

I added some tissue paper and patterned paper pieces behind my photo as well as some adhesive foam.  That gives it a little bit of dimension so I could easily add some tangled thread under it.

Here’s one final detail shot of everything.  I added some gold spray to the little dots on the leaves and added more of the same color on the background.

________________________________

For my second layout, I used more photos of one of my grandmas and my daughter.  They were just hanging out on the couch, and I just had to document it.  For this page, I used another beautiful cut file from the Just Nick store.  I used white cardstock as my background and to cut the cut file.  I cut it again using the green patterned paper and then added it to just the leaves on the circle.  I used a very old small lined stencil and some Shimmerz Dazzlerz to create those sketchy lines.  I used a deep red color and a dark green to create some fun background texture.  Once that dried, I used some packaging again with Shimmerz sprays.  Once I got everything where I wanted it, I used some dark brown thread to stitch around the big circle.

Here you can see the awesome texture from the stencil and how pretty that cut file is.  I used the “thankful” sticker from the sticker sheet as my title and then added a few smaller stickers around the page, including some hearts.  I used some patterned paper pieces and tissue paper behind my photos.

I used a torn piece of the pretty plaid patterned paper (say that three times fast…haha) as a layer.  I love the color it brings!  Just like on my first page, I added some shiny gold stitching to added pops of shine.  I also added foam behind the photos.

I cut this group of hearts from one of the patterned papers, and this is where I added the gold stitching.  I wrote just a little bit of journaling and added my date stamp.

Here’s another look at the cut file detail.  I love how the leaves curled up because it gives it a little more of a realistic effect. 

I surely hope these gave you some inspiration on how to stretch a small collection and make it work for you.  I had a great time putting these together, and I hope you get some ideas from them!  Have a great day & Happy Thanksgiving!

Supplies

Hey planner friends! It’s Meka here, interrupting your Thanksgiving prep to share with you my Carpe Diem setup for Thanksgiving week. I used the Gather Together Simple Set.  It includes a few 12x12 double sided papers, journaling cards to cut apart, and adorable themed cardstock stickers.

The journaling cards elements sheets has lot of bits you can use as pocket decoration. Use the cards as-is, or fussy cut around the elements to make them look like die cuts.

I used a scrap of paper as a cover for some coordinating page flags, and embellished with cardstock stickers.

I cut out a pie image from one of the journaling cards to use inside a mini shaker. The pie pic was fine on its own for the front.

The back of the image was just a solid color, so I decorated it with a phrase strip and another fussy cut slice of pie.  Add a little chunky glitter and voila! Okay, it’s not the smoothest execution if you look closely. But in this case, perfection is the thief of joy!

Thanksgiving evokes a warm and earthy image in my mind. The Gathered Together Simple Set has a more whimsical feel than I wanted this time around, so I mellowed things using watercolors. For my dashboard, I painted onto plain Planner Essentials A5 Basic Inserts grid paper as a foundation. I used paint and alphas to pull in the color teal—my favorite color contrast to the rich fall colors of orange, yellow, red, and brown. 

The gathered hearts in the top left corner and bottom right of the Thankful journaling block, as well as the layered leaves are all fussy cut from the journaling card elements.

My Thanksgiving week planner spread uses many of my favorite layout components—watercolor paint, stickers, doodles, and my own hand-lettering.


I wanted to stick with the motifs of the Gathered Together collection. So instead of diving into my beloved washi like I normally do, I cut strips of the Give Thanks and the Grateful Hearts 12x12 cardstock. I used it as faux washi to line the bottom of the page, the headers of the top row, and along the middle of the layout. I even snipped out page flag shapes to fool the eye.

I’m gonna run now and taste test the sweet potato pie before tomorrow’s dinner!  I hope you enjoyed my turkey week planner setup. Come say hi here on Instagram! And have a very happy, heartwarming Thanksgiving!

Supplies

Hello friends!

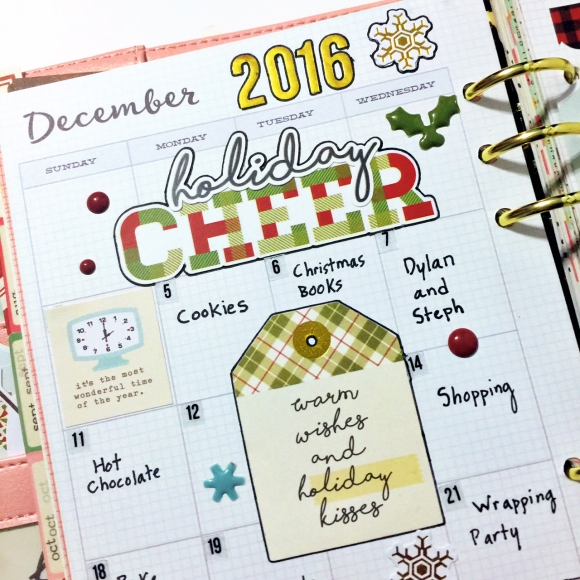
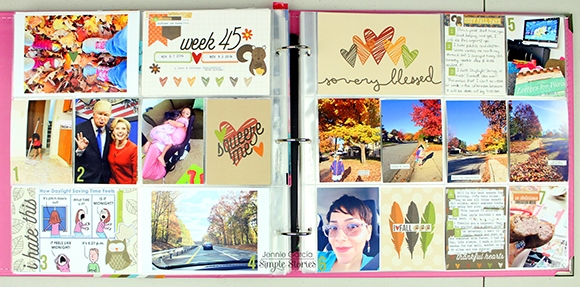
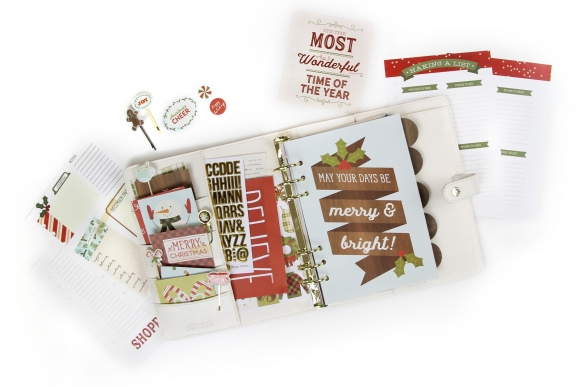
I  have two layouts to share today,  which were created with the Gather Together Simple Set. Even though we Canadians have had our Thanksgiving under our belts (no pun intended) for some time now,  American Thanksgiving is just a few days away and so this is a perfect time for me to share pages that express Thankfulness and Gratitude.

Our family celebrated a very small and somewhat nontraditional Thanksgiving this year, as our older children could not make it home for the holiday.  We opted not to do a typical large meal, and spent the extra time doing fun activities and prepping more relaxed meals together.  We made the best of it and had fun, even though we missed our older boys, daughter in law and grandson terribly.

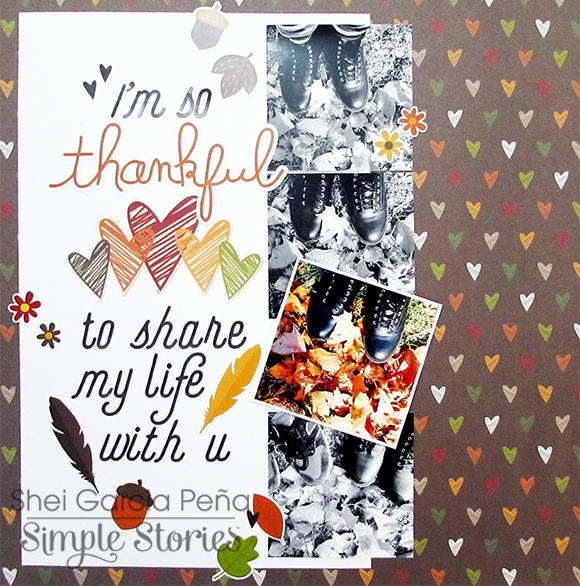
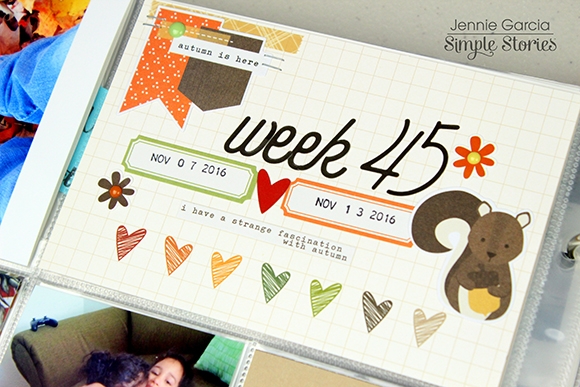
My first page documents how much we love to take fall nature walks and how my husband makes sure we all take this time to enjoy the fall colours, outdoors and time together each year.  I love that about him so much.


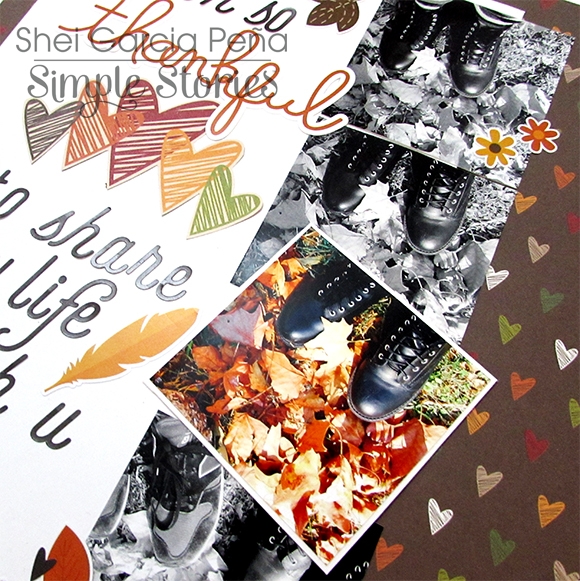
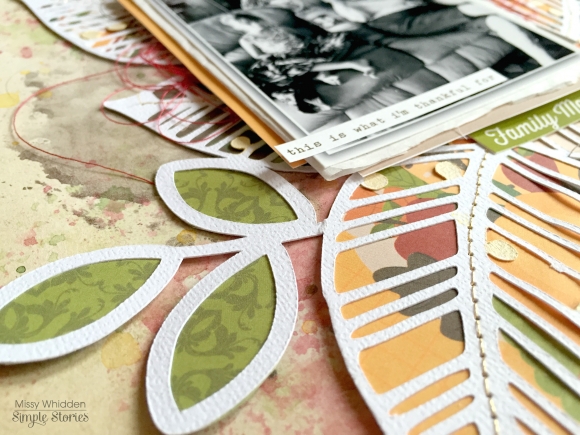
I was inspired to use a large, as in 12 inches tall, photo for my layout.  The only problem is I do not own a 12 x 12 printer, or 12 inch photo paper!  So I faked it, sort of.  Several years ago I shared a tutorial showing my readers the really cool effect of printing onto textured cardstock.  I thought I would revisit that technique so that I could create a photo that measures 4 x 12.  I printed it in both black & white and colour, and I love both, but for this page I opted for the black and white as you can see.  I did this because I wanted this story to be about gratitude and not the colours of Fall. The photo is not perfect, actually it is slightly grainy, but I really love that it has a sort of "aged" look.

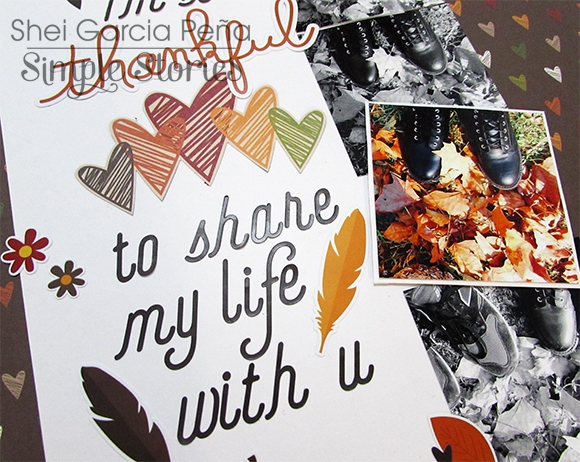
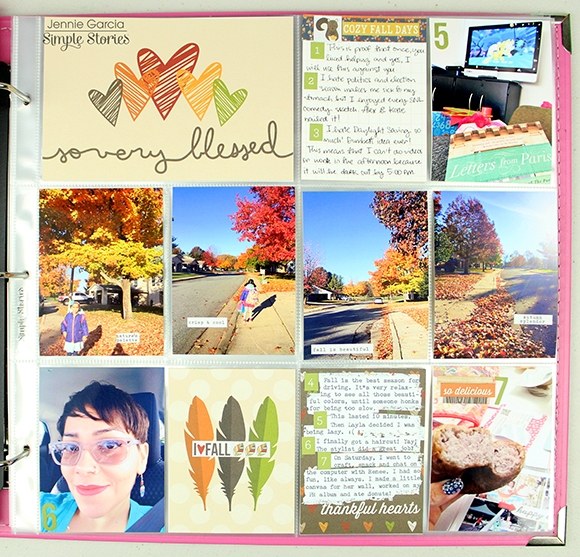
I love this pretty heart paper and wanted it to feature heavily on my page, so I kept the other patterns to a minimum.  Then I created further impact with embellishments.
 

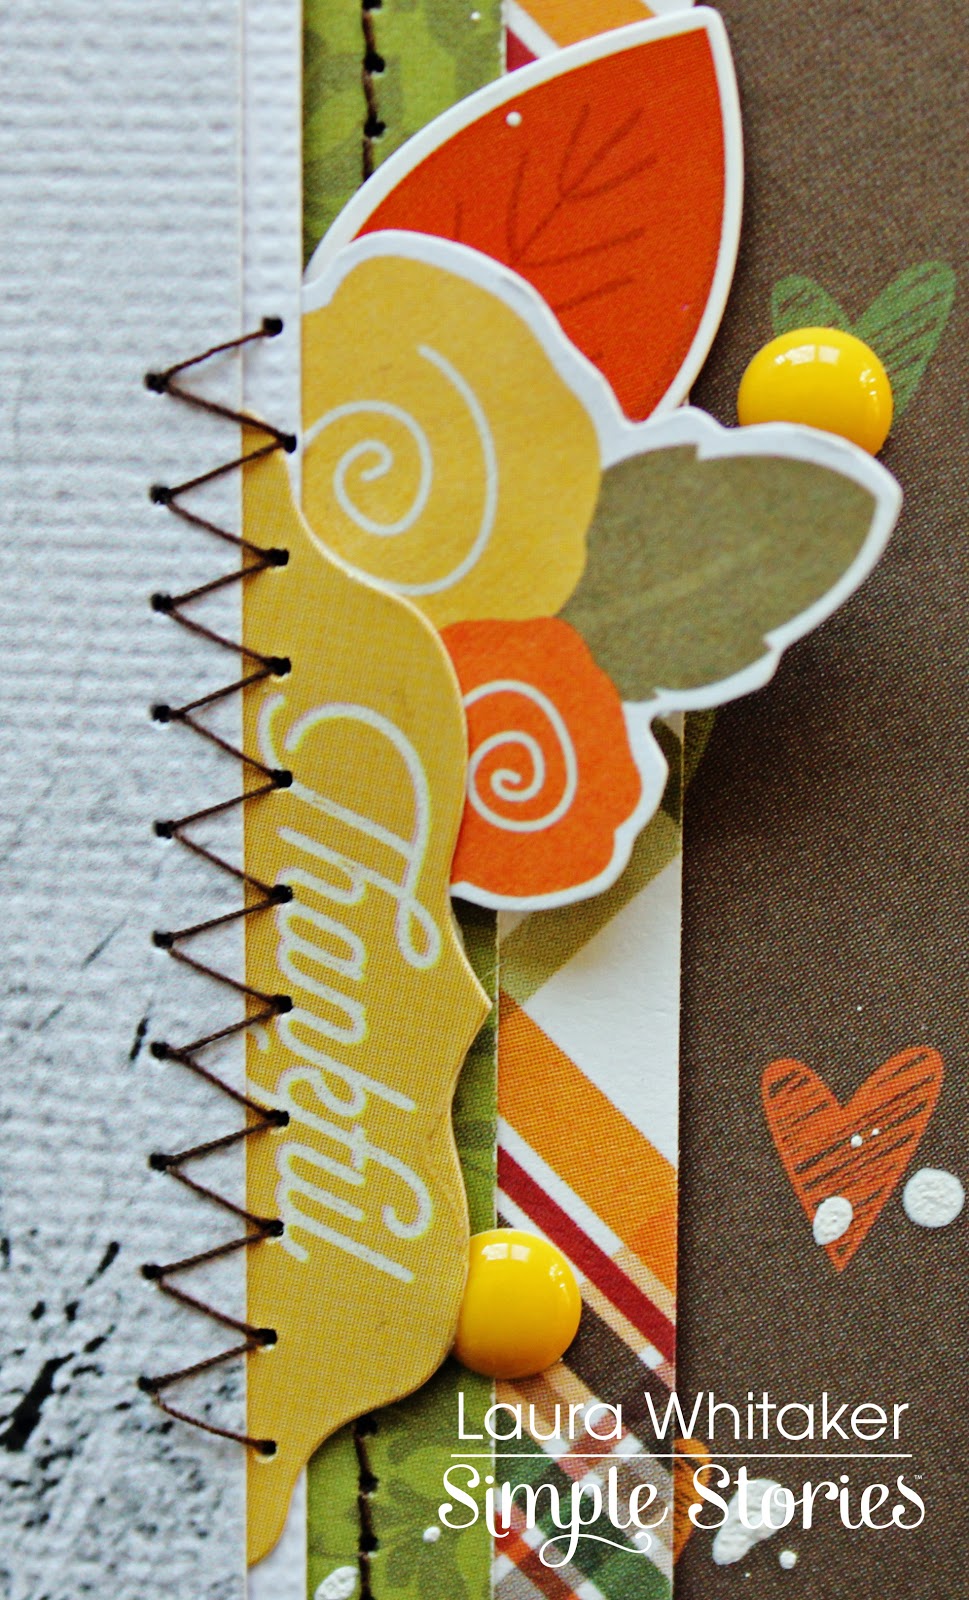
I used florals (mainly from the Hello Fall collection) and a few fussy cut feathers and other nature inspired stickers from the Gather Together Mini collection to create a beautiful cluster to the lower right side of my photo, it has such great impact!  My title is layered over the lower portion of my picture and I love the way it pops, and feeds into the embellishment cluster.


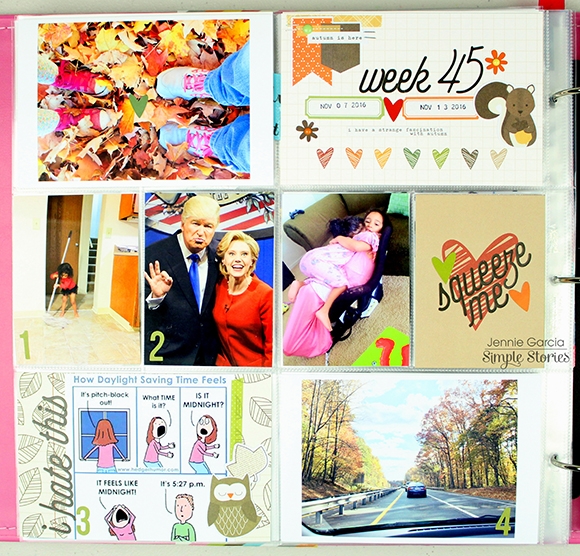
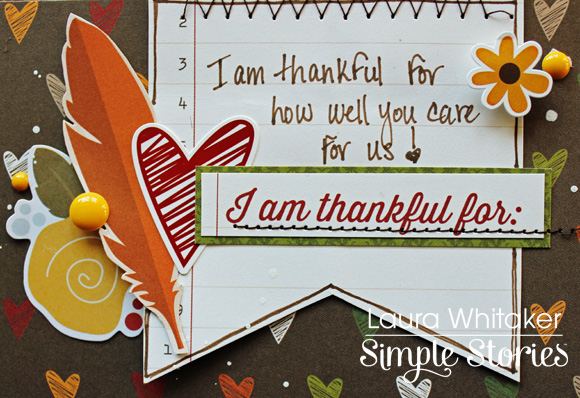
On the top right side of my page I added a spot to journal by cutting down a 3x4 cut apart card and adding embellishments around it.  It balances the first cluster really nicely.


For a last little bit of pop, I added a small cluster to the upper right of my photo, which completes my visual triangle.  I love that this page turned out pretty much exactly as I had imagined it!

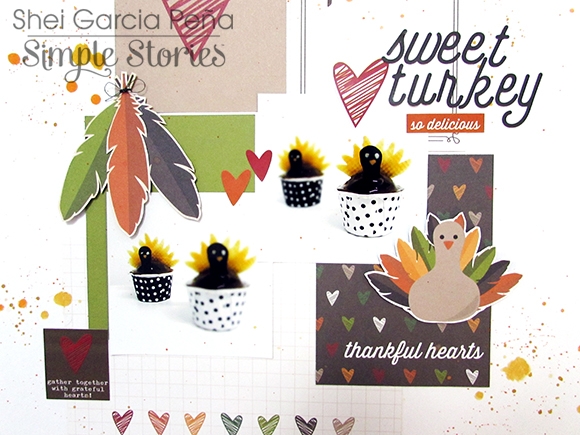
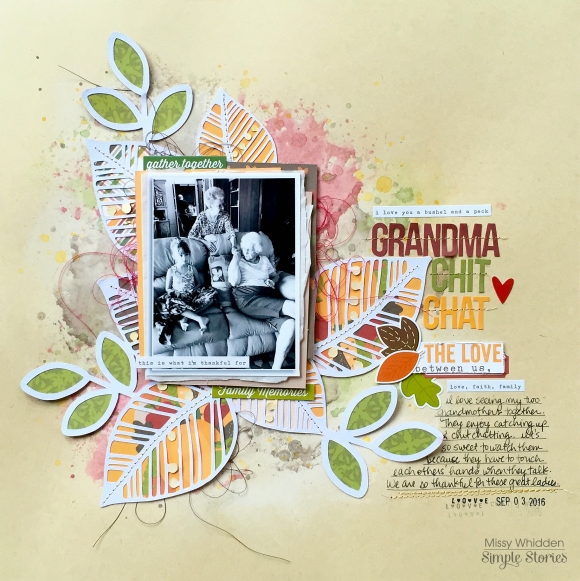
For my next layout, I am focusing more on the food elements of the Gather Together mini collection.  As I was trying to decide what photo to scrapbook, I realized that I take many photos of food and not very many of us enjoying the food or the company at dinner - I think I need to change that! Anyway as I mentioned, we opted for a smaller non-traditional Thanksgiving meal this year, and if our youngest is choosing it is usually something to do with steak!
 

Once I decided on my background paper and the oh so pretty plaid as a secondary paper, my layout which features large and small focal areas, was also pretty much decided by the way I used the papers.
 

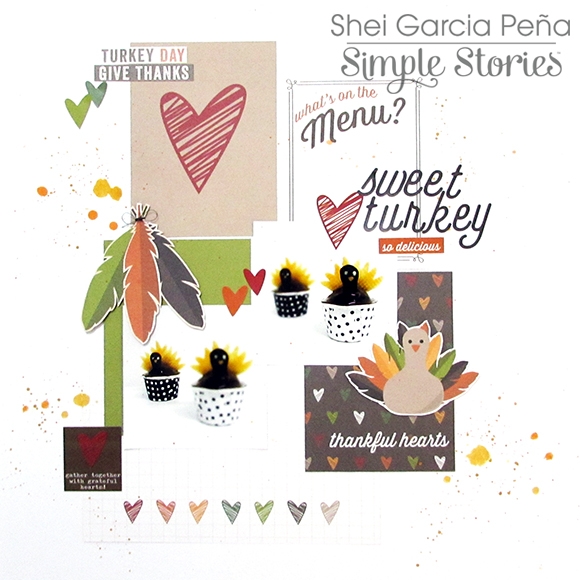
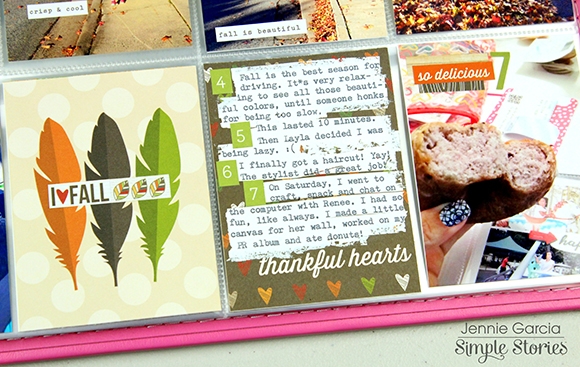
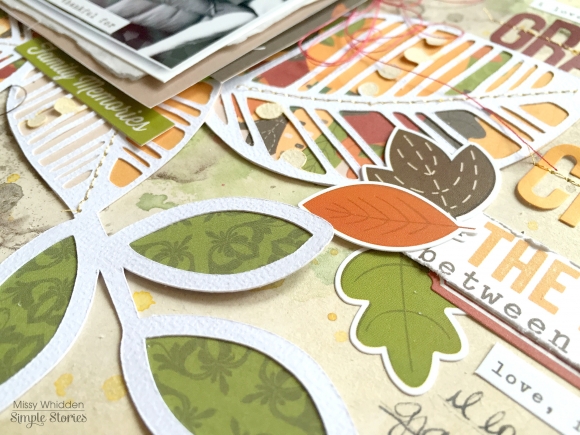
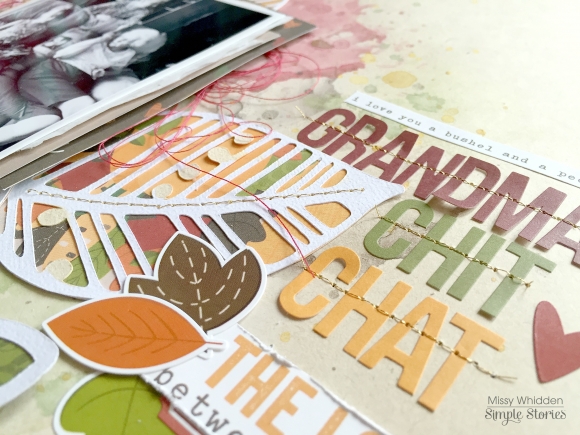
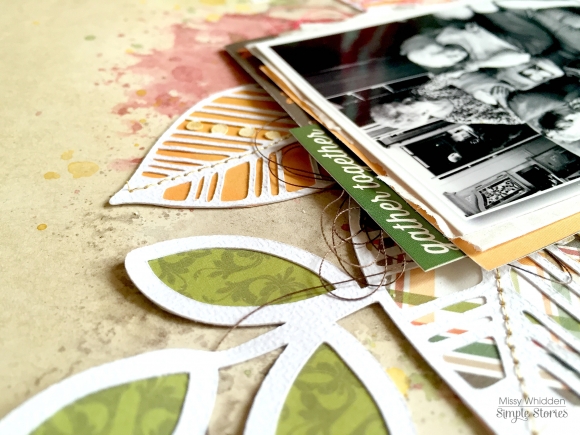
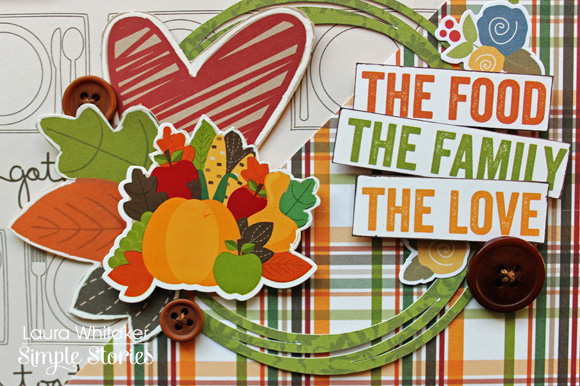
My main focal area includes my picture and title as well as a few embellishment clusters. Once again I pulled in a few flowery embellishments from the Hello Fall collection. I love the way these collections work so well together.
 

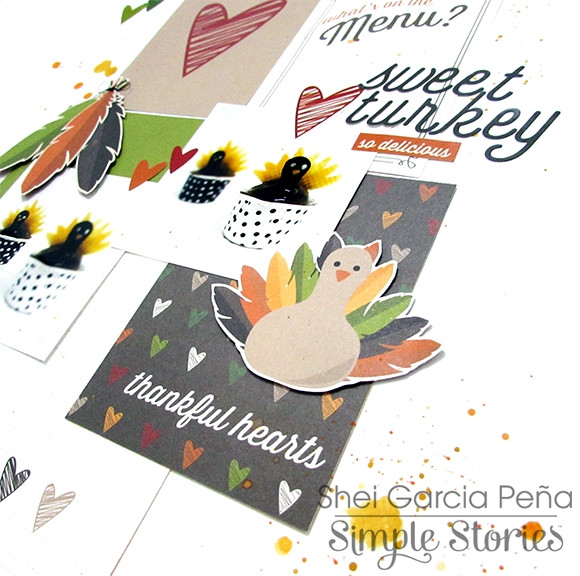
This smaller cluster at the bottom right of my page mimics my focal area, with the exception of the photo. I love the way this area turned out!  The pumpkin cluster was fussy cut from another sticker so it was missing some of the white border around it, I disguised this by doodling around the upper portion of it with a white pen.
 

I added one more small area to the right of my photo so that I could have a spot for my journalling, not to mention an excuse to use a few more sweet stickers!

I love the way this page turned out, although I do wish I had thought to add some machine stitching, but I think it is just fine without it.

Thanks so much for visiting today!

SaveSave

Supplies

Pages