November 2016 Blog Posts

Hello Friends! Alexandra here with a brand new spread using The Reset Girl collection. This double page features two weeks instead of one. 

I balanced the black found in the pictures with some papers from Simple Stories The Reset Girl 12x12 Simple Basic Kit

 I printed the date on the gold foiled tag which comes from the Reset Girl Bits & Pieces.

 I printed my journaling in the form of strips so that they would stand out on the dark printed paper. That cute typewriter also comes from the Reset Girl Bits & Pieces.

and here is what our WEEK 44 looked like in Chi-Town. My husband has been a Cubs' fan all of his life so you can easily imagine he was and still is over the moon about their incredible win!

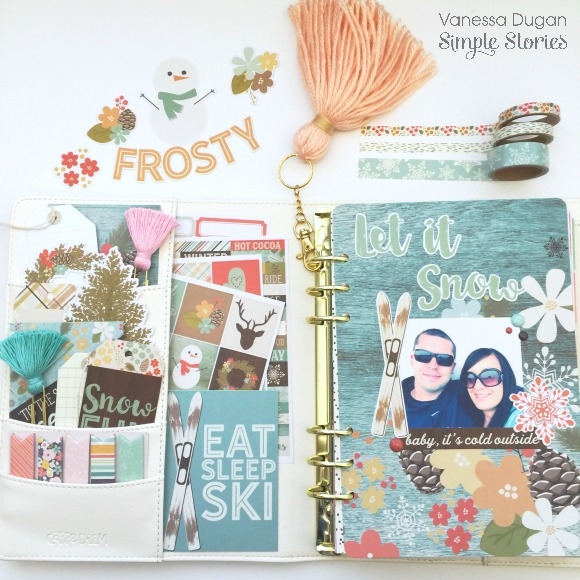
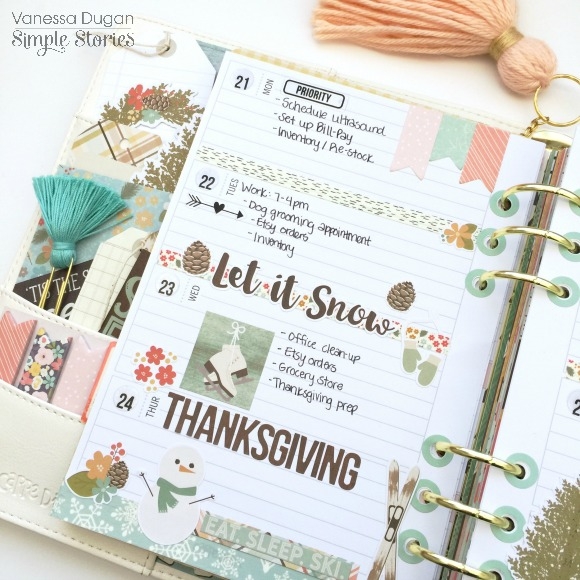
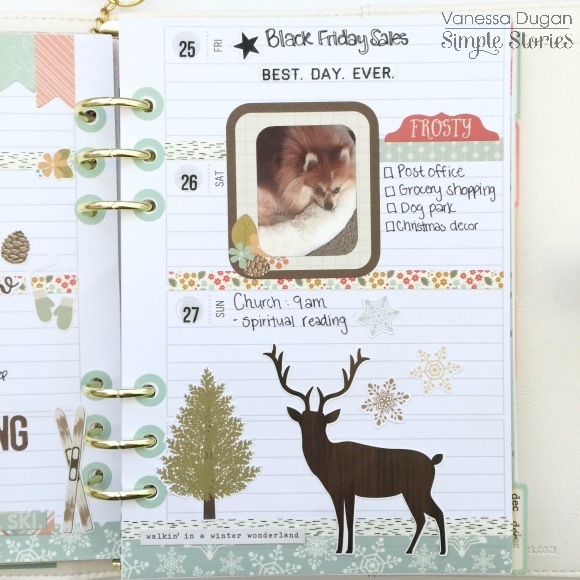
Hi planner friends! I’m back again to show you how I’m using the new Simple Stories Winter Wonderland collection in my new Ivory Carpe Diem planner.
 
 
This new collection is so beautiful and it grasps everything that Winter is all about.  I stocked all of the pockets with the Winter Wonderland Bits n’ Pieces and matching Journaling card elements.  The cool blue colors and rustic wood details really pop against the Ivory Carpe Diem planner.
 
 
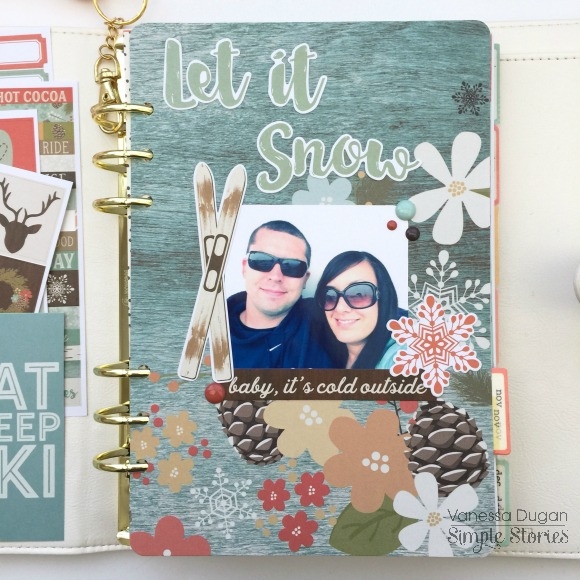
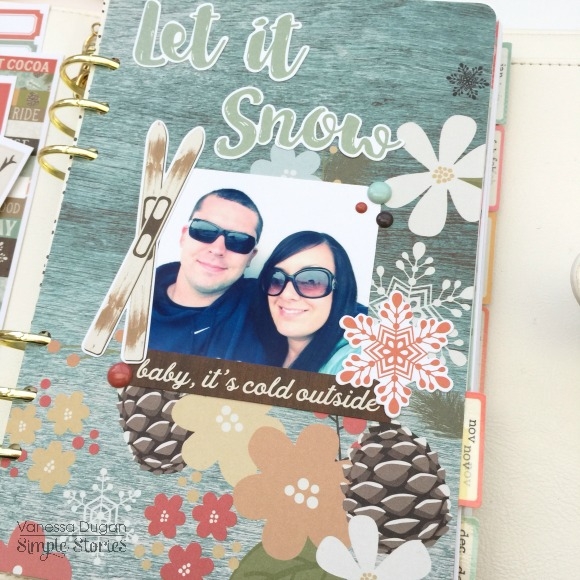
My planner was need of a new dashboard and the Winter Wonderland cardstock comes in so many beautiful prints and colors.  I used the Warm Winter Wishes cardstock as my background and added a few ephemera pieces  and enamel dots from the same collection.


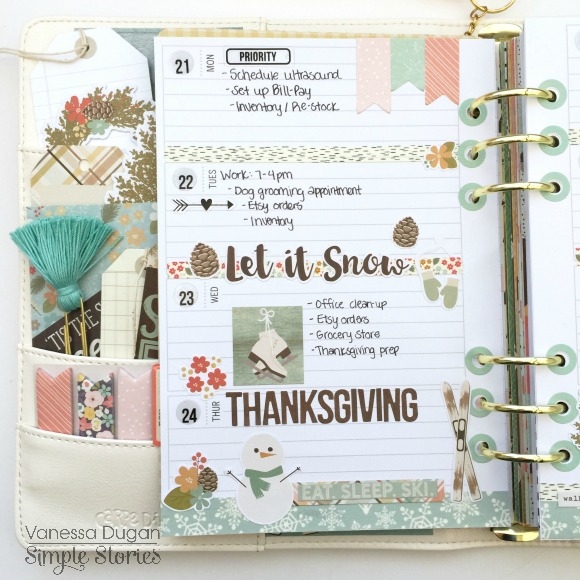
For the weekly spread, I was really excited that the Winter Wonderland has its own washi tape to match and I used all three of the tapes on the pages.  I added some stickers from the 4x6 Winter Wonderland collection and used a few Posh collection page flags at the top for more color.


I’m very excited to finally be able to use the Winter Wonderland collection and the timing is perfect as snow is finally here.  I hope you enjoy a peek inside of my Ivory Carpe Diem planner and have lots of fun with this beautiful collection!
 

Supplies

Hello!  It's Jennifer on the blog today sharing layouts I created with the new Mistletoe Kisses collection!  I always appreciate a Christmas line that has non-traditional colors and Mistletoe Kisses hits the target!  The soft blues and pinks with hints of red and green are perfect for your fun holiday themed projects!  I'm one of those moms that tries to do separate scrapbooks for my kids so many times I'm scrapping the same photo twice!  Mistletoe Kisses has great colors for your favorite girl!
 
For my first layout, "Believe", I combined pieces of the B sides of Holly Jolly and HO HO HO on white cardstock.  To add a pop of color, I cut a strip of Christmas Magic and adhered it to the top of my page. A little stitching with my sewing machine finished my background! I then used cards from the 4x6 Horizontal Elements under my photo; this is a great way to utilize the journaling cards if you aren't going to save them for a mini album or pocket scrapbook!  
 
 
How adorable are these trees?  I used the multi-colored chipboard tree along with two of the die cuts from the Bits and Pieces pack!  I then added a heart and sentiment sticker found on the Combo Cardstock Sticker Sheet to one of the trees! 

 
I love the large variety of Simple Stories Cut Files found in the Silhouette shop!  For my title, I cut the "Believe" script from white cardstock.  I also added one of the cute typed sentiments found in the Bits and Pieces as well as strips of coordinating washi tape!  
 
 
New to the Simple Stories collections are roller stamps!  Here, I used the Classic Christmas Roller Stamp to stamps 'peace.love.joy' above my date; this stamp includes twelve different phrases to choose from! 
 
 
I love this string of lights included on the 6x12 Chipboard Sheet!  I adhered it to the top corner of my page to add some depth!  And note the silver foil accent which gives the embellishments extra shine!  
 
 
_____________________________________
 
​For my next layout, "Night Before Christmas", I again used white cardstock as my background. What can I say? I love white!  :) I cut my cardstock down to 11x11 and adhered it to the B Side of Oh What Fun. Using a snowflake background from the Silhouette shop (again cut in white cardstock), I lightly misted with pink and light blue spray ink.   Once dry, I added stitching around the edge of my page using my sewing machine. 
 
 
Here is a close up of the misted background! I added a few of the coordinating Enamel Dots some of the centers of the snowflakes.  
 
 
​Even with the mini collections, you still have many different embellishments to choose from!  I happen to love them all and often cluster my elements together!  Here, I used a journaling spot and die cut snowflakes from the Bits and Pieces pack!  The chipboard snowman is adorable, too!  
 
 
I also love the variety of sentiment stickers on the Combo Cardstock Sticker sheet!  Here, I used one as my title along with a cute light bulb and Enamel Dots!  The "it's a wonderful life" sentiment is from the Classic Christmas 4x6 Sticker Sheet set! 
 
 
One of my favorite new embellishment are the Decorative Clips!  They are perfect to add to the top of your photo or at the top of a page in a mini album!  
 
 
Thank you for stopping by! Be sure to check out the beautiful Christmas collections as well as many more on the Simple Stories Products Page! Have a great day!

SaveSave

Supplies

Hope you have your warm coats and boots out!  My projects today are going to transport you to a winter wonderland!  Just briefly so I guarantee you will survive!


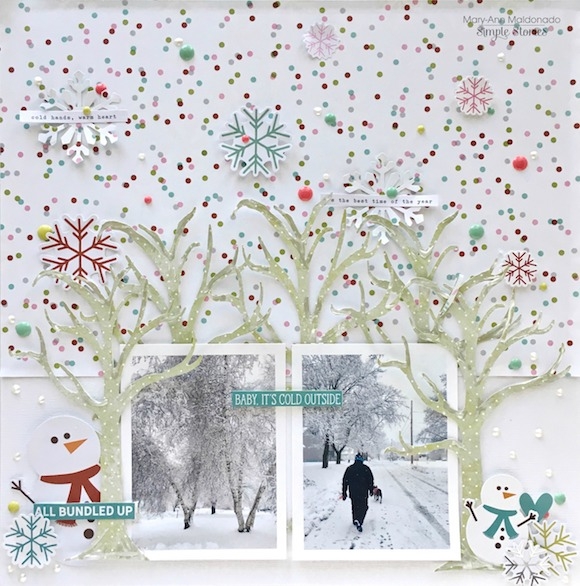
Have you seen the new Mistletoe Kisses collection?  It is a perfect collection for documenting Christmas in a non-traditional color way or document fun in the snow, like I did with both of my layouts.  For my first project, the green polka dot paper was a little to bold for my snowy photos, so I white washed my trees with a little white paint.  This technique toned down the green and helped spotlight my photos.  Remember a while back when Simple Stories paired up with Just Nick?  Well, I ordered this Bare Tree  cut file.  I used it for a Halloween layout then, and now for a winter layout.   I did cut two different size trees.


The title of my layout is quite small.  I centered it on the two photos, helping to bring your eye directly there.  


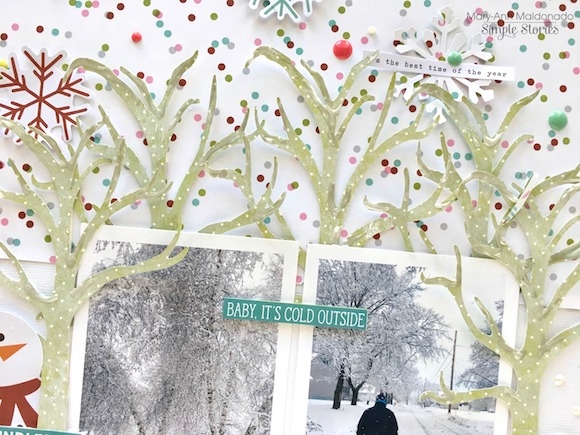
Here is a closeup of the trees.  You can see the white paint.  After my layout was completely put together, I added a touch of white pearl pen where I thought the snow would fall on the trees.  


I used the pearl pen to add random snowflakes too.


___________________________


This photo was after our long walk in the snow on my previous layout.  We got back and my boy collapsed to the ground.  Totally intentional and lots of fun.  Since these will be in my photo album together, I wanted to use the same collection to have them blend.  When I saw the red cursive looking stickers on the Combo Sticker sheet, I new I wanted to create a great title.  Isn't funny how both of my projects are the same collection, look nothing alike, yet still blend?  This one is definitely brighter than the first!


These trees are completely adorable!  Although they have decorations and patterns on them, they still work.  Even with a touch of PINK!  


Here is another cut file I had ordered from Just Nick a month or so back.  It is cute for fall, cut from woodgrain or as a reindeer for winter.  I just love it and will use it over and over.  He is adorable cut from stripes.


Thank you for taking a look.

Hello friends! Brenda Smith here with you today with a pocket page made using Hello Fall. I love how versatile this collection is. This is my third pocket page spread I’ve made with it and I feel like all are different, varied looks. 

I made this page as a summary of sorts for our Fall. I didn’t go too in depth with my journaling because most of these stories will be told on other pages, but I always like to have summary pages to look back on in my albums, not to mention they're just fun to make!

When making pages that summarize an event or season, I start by picking out all of my favorite photos from that time period. Then I edit the pictures, keeping in mind that tonally, the pictures all have to work together on the same page. I place them into a folder and look them over for a few minutes and mull over the story ideas I have in my head. Ultimately, the photos that are chosen are usually the ones that best illustrate the stories. 

Whenever I’m feeling like I need to change things up in my pocket pages because I’m getting bored, I’ll try a different page protector with different photo sizes. It’s been a while since I’ve gone square and I love this protector that has slots for six 4x4 cards and/or photos while still allowing me to use my beloved 3x4”. 

I minimally embellished in an attempt to let the photos and stories speak for themselves. On my regular pages, I usually embellish quite a bit because I enjoy the process but I know that it occasionally detracts from the photos. Here, I printed my photos large and hardly covered any parts of them. 

To keep this spread bright and airy, I strayed away from too many dark cards or papers. I gravitated toward the white/cream patterned papers so that I could get a little visual interest in my spread without overwhelming it. This is a good trick to try if you’re having problems getting the colors in your photos to go with the colors of your supplies. 

Little details like stamped dates and sentiments take only a little time but can add a lot to your spreads. 

Have you been creating with Hello Fall? If you share on Instagram, use the hashtag #sshellofall so we can come see what everyone else is making! 

SaveSave

Hello everyone! Today I have two fun Fall layouts to share using the gorgeous Hello Fall collection, which is one of my favorite Fall collections of all time! I love the colors and patterns so much, but I'm pretty sure I say that about every Simple Stories collection.
 

For my first layout, I used the Celebrate Fall patterned paper. I thought the big leaf was so fun and unique, and wanted to do something special with it. I used embroidery floss to stitch string art throughout the leaf. String art stitching is easy! I poked holes around my shape and stitched the outline. Then I went back and randomly crisscrossed the thread until the entire part of the leaf was covered. Once I had the leaf background, it was time to add a photo. We recently went to the pumpkin patch, and I had a picture just perfect for the page!
 

I didn't want to cover too much of the background because I loved the way the string-art stitching turned out. I added a few die-cuts and chipboard pieces, and a title from the ephemera pack. Super fun!


For my next layout, I used a giant title. The "Pick of the Patch" phrase was inspired by a sticker in this collection!
 
 
I cut the welded letters from my Silhouette Cameo, and backed each one with a different pattern, I placed them at an angle on my page, and added two small photos in the middle. I embellished with chipboard and die-cut flowers, as well as a few other bits and pieces. I created a border of word stickers at the top and bottom of each page. No layout of mine is complete without word and phrase stickers!


I had so much fun celebrating fall with the Hello Fall collection! Now I'll be ready for the Christmas Season and Christmas layouts. Thanks for joining me today!
 

Hello November..Violet here, today I would like to share How I used the Posh Doc it journal and Hello Fall collection to make a list for my Thanksgiving Dinner.

I started by gathering all the embellishments that I wanted to use. I water colored the pages to add some color and make it more fall looking and It's relaxing too. 

I grabbed two cards from the Hello Fall Snap Pack and glued them down and then added washi tape. The Blue, Orange, yellow and whites florals are perfect for this layout. I added demension by adding bits and pieces, stickers, Enamel Dots and Bradz. Once all that was complete I couldn't wait to write down my List. 

I also wanted to make sure I didn't lose my place in the journal, when heading to the grocery store, therefore, I decided to make a corner planner bookmark for my Doc it journal. 

Now I can safely tuck it back into my Ivory Carpe Diem planner and take it out when needed. I appreciate and adore the conveniency of being able to do that. And can we all just take a minute, to just stare at the Gold writing...Love!

Thank you everyone who took the time to stop by the blog. It will be a very busy next couple of months, but I am Thankful for it and thankful to be able to stay organized in the best planners out there! I hope everyone has a wonderful Thanksgiving..Till next time, happy planning.

Hello Simple Stories friends!

Marcia here today with more Hello Fall layout inspiration. Fall is hands down my favorite season, when all the trees are in full color and my favorite pumpkin spice coffee returns. I don't think I am alone there though ... my niece looks like she definitely enjoys those colorful Autumn leaves too. This layout is titled 'I Love Fall'


I used a chevron background digital cut file from Creative Scrappers. I like it for my Fall pictures because those chevrons help mimic the movement of falling leaves. A little machine stitching over them creates some texture too. I added some fun fall phrase stickers from the combo sticker sheet.
 
 
I love the look of pure joy on my niece's face as she is tossing leaves into the air. A JustNick circle frame, cut from woodgrain paper found in the Sn@p Basics pack, and leaf die cuts frame my photo.


A combination of stickers and bits and pieces die cuts make up my title.
 
 
My second layout; 'This Makes Him Happy', documents something my nephew likes to do in the Fall, deer hunting using his bow. 
 
 
Arrows from a JustNick Studios digital cut file are lined up on my background paper, another woodgrain paper from the Sn@p Basics pack. I love these woodgrain papers with the Hello Fall collection!


 A 3x4 journal card helps express his love of Fall too. I used more masculine embellishments here in my clusters, like the chipboard woodpile and bits and pieces corn stalk.


Thanks so much for stopping by today. Have a great weekend!

SaveSave
Supplies

Pages