August 2015 Blog Posts

Hello, again!   This is Amber, founder and creative director of Simple Stories.  I'm here for another installment of my monthly Document IT blog feature.  With the end of summer quickly approaching and fall on its heels and a new school season, I was inspired to use our new We Are...Family collection in my Life Documented Planner this month.  This collection seemed fitting, after all, since the majority of what I do in my planner is all abut family!

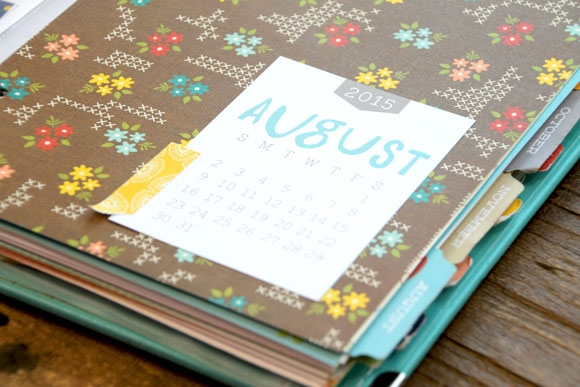
I used one of the We Are...Family SN@P! Journal Pages to change up the front of the August monthly divider - I just adhered it directly to the divider and added a Life Documneted August 3x4 SN@P! Card with a piece of We Are...Family Washi Paper Tape.

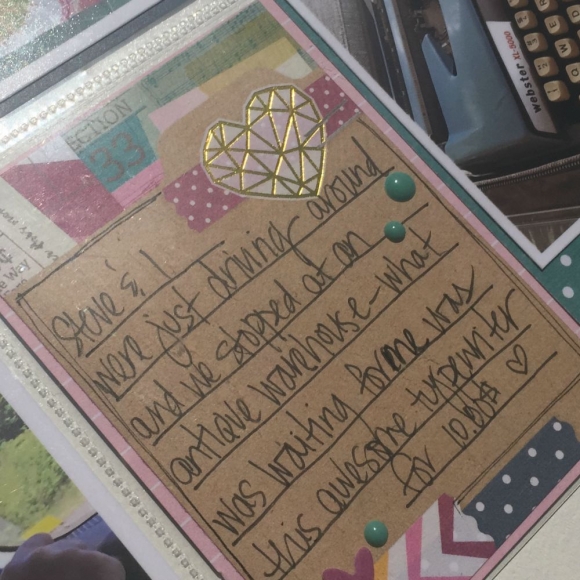
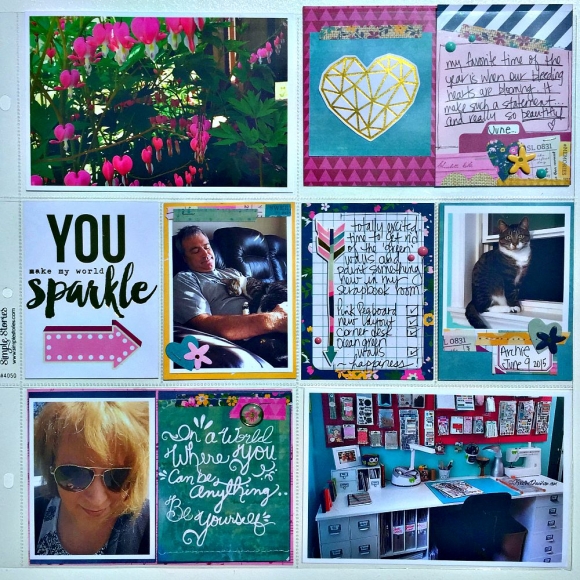
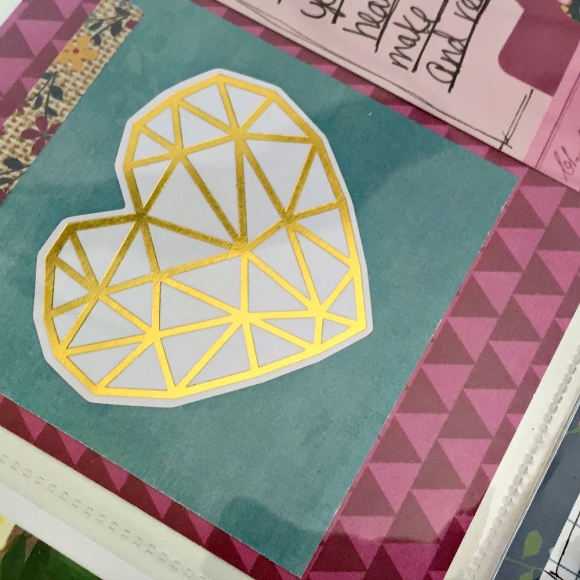
I had fun decorating the monthly dividers to fit the family theme using lots of different We Are...Family products including Washi Paper Tape and Bits & Pieces.  I even trimmed a few 2x2 squares from the SN@P! Pack to fit inside a few of the days in the month!  It was a busy month, lots of stuff going on, all centered around our family :)

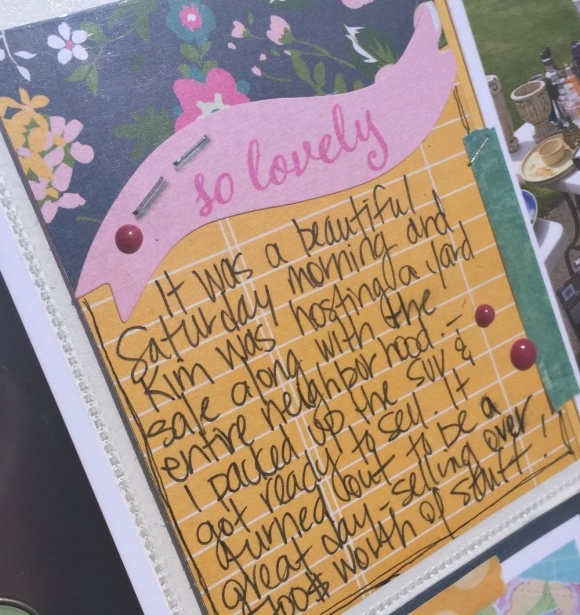
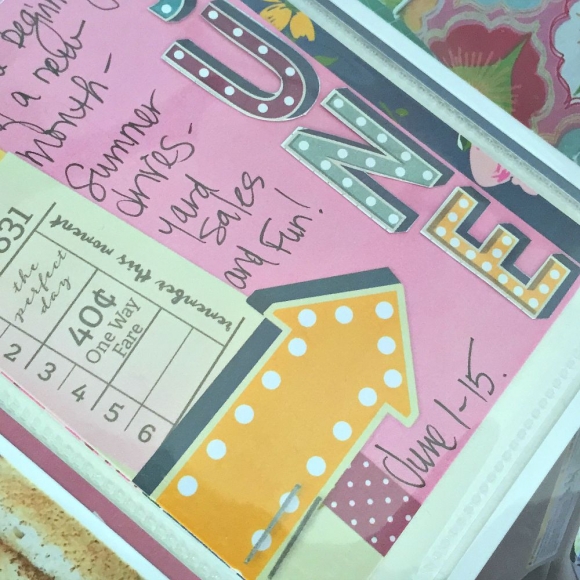
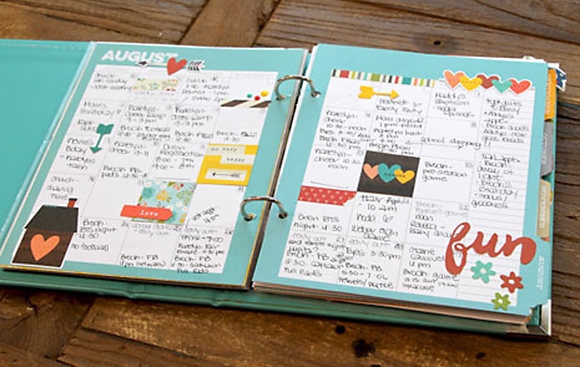
The backsides of all of the Monthly Dividers have a pre-designed page to jot down notes, memories, etc.  This month I wanted to do something different, so I printed, trimmed and adhered the August Month In Review FREE Printable (you'll find the free printables at the end of this post!) to that page and simply listed all of the important things that happened that month; I love that I have an instant review there of the entire month!  

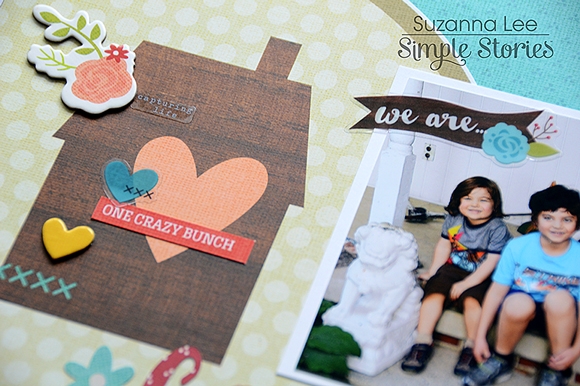
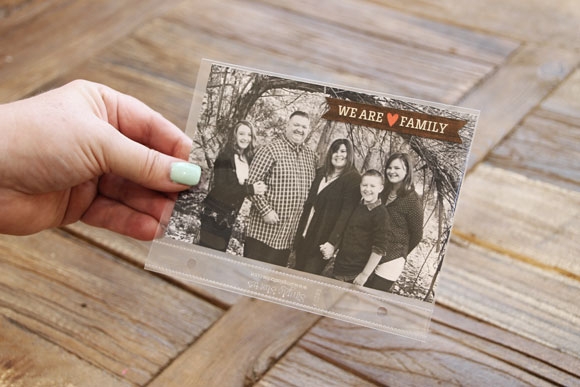
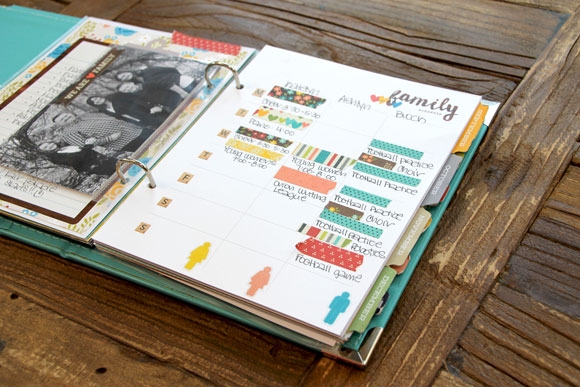
I wanted a visual reminder of what its all about – my family – so I added one of our Vertical 4x6 Pocket Pages with a family photo; it's so nice to have that photo at a glance in my planner :)  

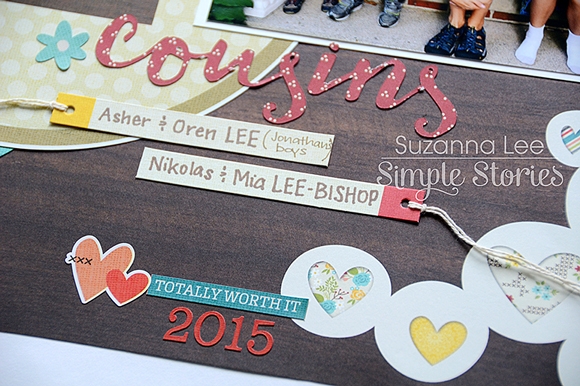
Where it’s the start of the new school year, our schedule has changed from the first of the year.  What better time to bring out a family schedule where we can keep track of it all – list the name and any regular schedule activity – along with washi tape.  I even added the boy girl icons from clear stickers – we’ve also included tons of these options in our free printables to fit any family situation!

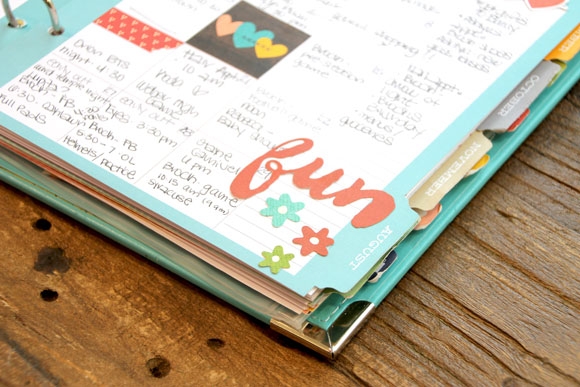
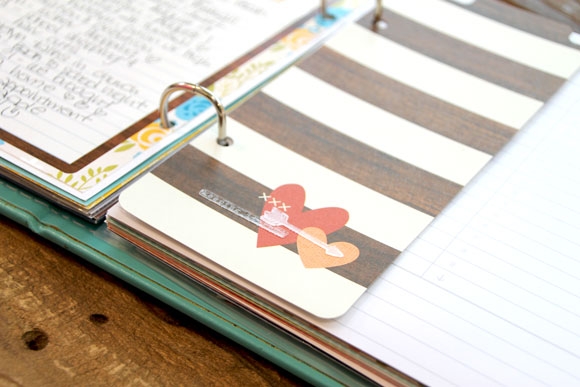
A little something fun I did for the month – I love the wood striped bookmark that is included in the We Are...Family SN@P! Journal Pages – these coordinate perfectly with our 6x8 SN@P! Binders and planner products so I simply added a few clear stickers and inserted in my planner.

What's fun about using our products to customize your planner is that we have so many options and themes, the possibities are endless.  We include all of the accessories like journal pages, clear stickers and even 2x2 squares that work not only with your scrapbooks, but also with your planner!  

FREE PRINTABLES!


Now we get to the really fun part!  We've designed these FREE printables for August to give you a taste of the We Are...Family collection!

Click here to download August's Free Life Documented Printables.

There are a 3 free printables this month, including:

August Month in Review
Family Schedule
People Cut Outs

TIP: The August free printables are on a single PDF document with 4 pages - print off what you want and the quantity you need.  We've added cut marks to each printable, so you can easily trim your pages to size.  

Thanks so much for letting me share how I've customized my planner this month!

Supplies

Click here to download your FREE copy of the So Rad eBook!  Visit the Project Downloads page for other free downloads!

Hey there friends!!
 
I am so happy to share this new Pocket Page I put together!  And let me tell you why I am happy…First, I love this So Rad collection!!  Having a boy who is teetering on the edge of becoming a teenager, I am often short on paper options that will work for him.  Second, I get to create a page about my boy!!!  Love this kid.
 
So here we go…a pocket page featuring Riley and So Rad…
 
 
These papers and embellishments worked perfectly!!!  Not too juvenile and the colors are spot on!!
 
 
I really like the slight distressing in this line with the “brush stroke” details.
 
 
I just used the “Awesome” on the bottom of the 6x12 portion of the So Rad 2x12, 4x12 & 6x12 paper as the starting point for my title and added stickers and Bits & Pieces.
 
 
The design on this 4x6 Journaling Card also created the perfect “starting point”.  I layered stickers and personalized it with “Riley”.
 
 
A few small photos of my crazy kid.  Love the grey!!!
 
 
As always, Simple Stories makes the creating so easy!!  I designed this page like a “god” scrapbook page with the help of the pockets and I love how it turned out!
 
 
If you have boys in your life and you want a great line to help tell their story, definitely check out So Rad!  Thanks for stopping by and happy crafting!!!


Supplies

 
Pinterest is such a great tool for us, as crafters.  I love to check through my feed and look for inspiring images...and they are not always necessarily craft related, but can trigger an inspiring idea that can be translated to paper crafting.  I decided to browse through Pinterest for some design ideas for the two layouts I'm sharing today, using the new We Are Family collection and Pumpkin Spice collection.  And here's what I came up with!
 
I started my first layout based on a fun hexagon graphic.  I loved the multi-colored look of the hexagons and the way they were arranged.  I cut 7 hexagon shapes on my Silhouette Cameo, from Cardstock and then cut the same sized hexagon from patterned papers included in the We Are Family collection.


After the patterned paper hexagon shapes were cut, I hand cut each shape into six pieces.  Then I mixed the patterned papers and layered each piece back over the Cardstock hexagon shape, to create a patchwork look.  I added texture around each of the hexagons, with machine stitching.
 
 
I wanted to continue the hexagon theme with my photos, so I cut both of those into the shape, too!  Then I arranged all of the hexagons into the same pattern, shown on the graphic.  I love that the hexagons created perfect embellishment spots on the layout, and I used a mix of Bradz, Chipboard, wood veneers, stickers and enamel dots from the We Are Family collection.


I finished the layout with my title, and used a mix of letter stickers and die cut letters.  I wanted the title to stand out, so I placed it below the hexagon design.
 
 
For the second layout, using the Pumpkin Spice collection, I found a gorgeous quilt image and knew it would be perfect with my photo and the theme of my layout.  The geometric design was really eye-catching and it gave me the opportunity to incorporate a lot of the patterned papers in the Pumpkin Spice collection.


This technique may look difficult, but it's really easy.  I started out cutting the patterned papers into 2.5x2.5 inch squares.  Once I had the squares cut, I hand cut on a diagonal across each of the squares to create triangle shapes.  After all of the triangles were cut, I machine stitched around the outside edge of each one.  Then I began piecing the triangles back together on my background paper.
 
 
I wanted my photo to be the focus of the layout, so I cut around the edges leaving a White photo mat, to help it stand out from the colorful background and placed it in the center of the design.  I clustered a few Chipboard pieces and stickers around the photo to help draw your eye to the center of the page.


Once my photo was in place, I had to decide where to add the title and some other embellishments.  I didn't want to cover a lot of the geometric design, so I decided to add my title and embellishments in the empty spaces of the outside triangle shapes.  And to bring in some more patterned paper (because you can never have enough patterned paper on your layout!) I created a border around the edge of the layout, and then machine stitched with White thread.
 
It's really fun to think outside the box, when you're looking for a design for your layout!  Inspiration is all around, and can come from a color scheme, advertisement, quote, art piece...the possibilities are endless!  This could also be a great way to get out of a creative rut, if you're feeling stuck.  So challenge yourself to look for inspiration in unexpected places.  Write your ideas down, sketch them out or snap a quick photo on your phone to reference later, when you are creating!


Supplies

By now, you are well familiar with the new collections that Simple Stories has released as the gals before me have shown you some AH-MAZING projects. I have two more layouts to add that will, hopefully, be of inspiration to you.
 
First up, We Are... Cousins created using the We Are... Family collection. I love this collection because it is family, who doesn't love family?!  I also love that the colors are very fitting for fall yet there are some bright pops of color in addition to the warmth.
 
 
Found throughout the collection are bits and pieces of hand stitching for that homey feel. To tie my layout into this, I used the cross stitch hoop from the SN@P! Journal Pages and handstitched some "x"s across the top of the page.
 
 
If you are as crazy about design as I am, I'm sure you have amassed a plethora of fonts too. And finding the matching font to coordinate with the font used with this collection was fun! LOL! I used "Honeycream" with my Silhouette to create "cousins" in order to finish my title. It's not the exact font but it was close enough using the free fonts collected over time.
 
 
Other decorations scattered through out the layout were just fun embellishments to add to the homey, family feeling of the layout. We only see these cousins for a very brief visit once a year so to have pictures to reflect back upon is a treasure.
 
My second layout also documents a family relationship, that of siblings. As the pictures were taken during fall and it's rather obviously fall, I used the Pumpkin Spice collection for this layout. I wanted something a little bit more intimate and went with a smaller size for that effect.
 
 
I used one of the transparencies that accompanies the Collection Kit as the header of this layout. It blends right in and appears as though there is writing directly on the layout. It was easy to adhere to the patterned paper using a thin liquid glue pen behing the brown lettering.
 
 
The title work and journaling are all on one of the 4x6 journal cards. The big ampersand tie the die cut "Happy" and popped sticker "together" together and still leave room to tell my story.
 
 
The fall flower bouquet at the edge of the page was constructed using love and bits & pieces in addition to leaves that I fussy cut from the smaller 2x2 squares from the Elements patterned paper. I love those small squares and though my layouts are rather linear, I can never incorporate the actual squares into my layouts. Rather, I prefer to fussy cut the elements and use them as bits & pieces.
 
 
Again, there is some stitching on the page. This time I went with machine stitching.
 
I hope you have fallen for the Fall and Family themed layouts! I don't know about you but working with these layouts as me ready for the golden glow of fall and the cooler temperatures! I just love having four seasons and can't wait for the transition to Fall!
 

Supplies

Hi everyone!  Teri here, and I'm excited to share some thank you cards I cooked up with Simple Stories' new Pumpkin Spice collection.
 
They say there's always something to be thankful for, and I find I am always in need of thank you cards to say 'thanks' with. The Pumpkin Spice collection is perfect for making those kinds of cards because it's jam-packed with gratitude-type phrases.
 
I played it clean and graphic with this first card.
 
 
I really liked the phrase on the SN@P! card. I wanted it to stand out so I placed the enamel dots and chipboard feathers in somewhat of a circle around it.  For good measure, I added an enamel dot to the little red heart.
 
 
When I think of Fall, I think of pumpkins and leaves. This thank you card has a real Fall twist with a pumpkin and pumpkin inspired sentiment.
 
 
To make that pumpkin stand out, I added a few enamel dots to it. And I added a couple at the top of the sentiment to just kinda even the whole card out.
 
 
Another gratitude phrase I just love is the one on this card.
 
 
Do you see the "u" shapes at the top and bottom of the card? Well, friends, they started out as one chipboard frame. Rather than using it as a frame, I cut it in half with my trusty old scissors and used the two pieces as decorative elements on my card.
 
 
I think they give the card a fun and funky look to it. I like that a lot.
 
This card is probably one of my favorite cards I've made  so far with the Pumpkin Spice collection. I framed the flower SN@P! card with a chipboard frame and then I used stickers to create the sentiment. 
 
 
To give the card some extra dimension, I adhered the chipboard bird onto the frame. And then I also added some enamel dots.
 
 
The last Thank You card I made it this So Blessed card.
 
 
I again brought out the chipboard frames. Boy, I dig them. This time, I adhered two to the card. For the third frame, I placed patterned paper behind it and then adhered it onto the card with foam dots. 
 
 
The sentiment was created by mixing together the "blessed" word on the frame with letter stickers. 
 
Alright! So that's what I have for you today!  Thanks for stopping by. I will be back again soon!


Supplies

Hello Friends! 

It's Kristine Davidson with you today and I am here to share a Life Documented spread featuring the So Fancy Collection!

I must admit this is one of my all time favorite collections. I love the colors, the gold accents and that fuchsia has my name all over it ;-)  A great collection for layouts and of course for pocket page scrapbooking!

When I started my spread I had pictures that I wanted to use and they honestly matched perfectly with this collection!  This spread is from the month of June 2015. The bleeding hearts were in full bloom, my husband and I enjoyed some travelling around, we had a yard sale and I found a typewrite for $10at our local antique store.

Here are a few close up pictures of the left hand side of my spread. - I added some stitching, and used washi paper tape on lots of my journal cards.

Here are a few close ups -

As you can see, if a journal card doesn't have any lines for me to write on I add them myself with a black marker.  I also like adding paper as a mat on most of my photos and cards.

Here's the right side of my spread -

Here are a few pictures of my filler cards. I cut a few cards and layer them on top of each other. Adding paper tape and a staple is easy and cute too!

I hope you enjoyed my post today and I hope you enjoy creating with Simple Stories!

Hi everyone, it's Audrey, and today I have a couple of card ideas to share with you using the new We Are Family collection. AudreyPettit-WeAreFamily-BestofFriendsCard Now I absolutely adore this collection, and think it can be used for so many events. Can't wait to use it for Thanksgiving this year with it's emphasis on family and blessings, but in the mean time, this versatile paper line is absolutely perfect for cards for all occasions. AudreyPettit-WeAreFamily-BestofFriendsCard2 I often find myself in need of general purpose cards, such as thank you's, birthdays, and friendship designs, so that is what I'm focusing on today. First up is a little 4.5" square card that combines lots of my favorite colors, patterns, and prints from the collection. AudreyPettit-WeAreFamily-BestofFriendsCard3 I am a huge fan of patterned papers, and as you can see, I like to mix and match quite a few on my cards for a fun layered look. One of my favorite tricks is to combine prints from the larger 12x12 papers with the smaller scale prints found on the 6x6 pad and journaling cards. Don't forget that both the SN@P Cards and Elements Journaling Cards are double-sided, giving you even more pattern options, like this yellow print and brown striped paper I used here. Those cards are often a great resource for card sentiments, too, like you see here. AudreyPettit-WeAreFamily-SoThankfulCard Next up is a standard A2-sized thank you card, once again made up of a fun mix of patterned papers and lots of adorable We Are Family embellishments. AudreyPettit-WeAreFamily-SoThankfulCard2 I love using the chipboard frames to call attention to my focal point, here a cutie pie die cut flower vase. Using pre-made embellishments is such an easy way to create a stunning focal point on any card design with very little effort. But to help my die cut stand out even more, I added a few extra details like these tiny black stitches from the Photo Stickers, and a simple twine bow around the center of the vase. It's those little touches that will really set your cards apart from the rest. AudreyPettit-WeAreFamily-SoThankfulCard3 The sentiment, too, was quick and easy thanks to the help of another pre-printed die cut. And since it's on the small side, I added a whole row of black stitches underneath to make it stand out. Great way to call attention to some of those smaller details. Hope I've given you some great ideas today! Enjoy!

Supplies

Pages