August 2015 Blog Posts

Click here to download the free So Rad Sn@pbooking Guide!  Visit the Project Downloads page for other Sn@pbooking guides and free downloads!

Supplies

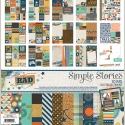
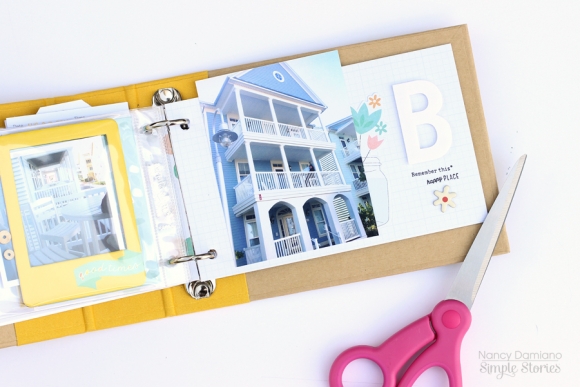
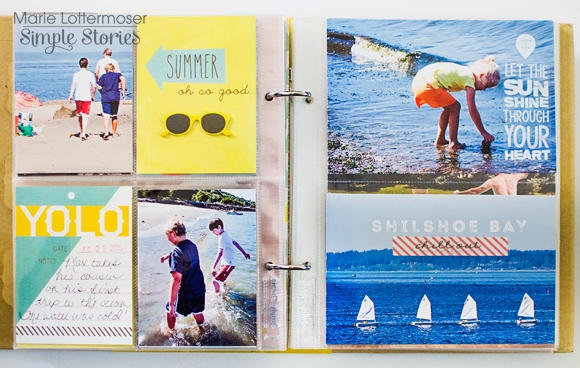
As summer starts to come to a close, I find myself looking through vacation photos and feeling nostalgic. Last year our entire family got together and rented a beach house on the Eastern seaboard. It was equal parts crazy and fun. I created this mini album so that I wouldn't forget the details and to see the entire trip in one small capsule. The Summer Vibes collection was perfect for documenting my memories!

​Take a look at the video to see how it all came together:

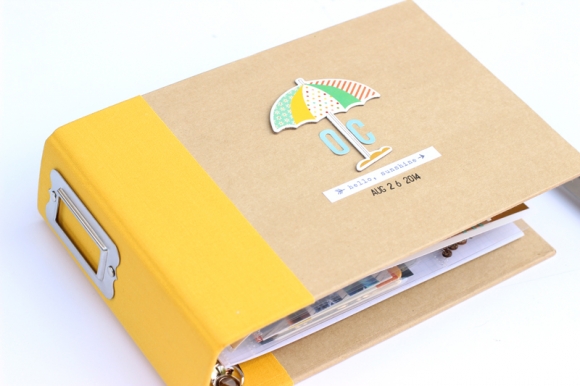
I used the 4x6 SN@P! binder album in a bright, sunny yellow. It's filled with page protectors in a variety of sizes, ledger pages and pretty yellow dividers.

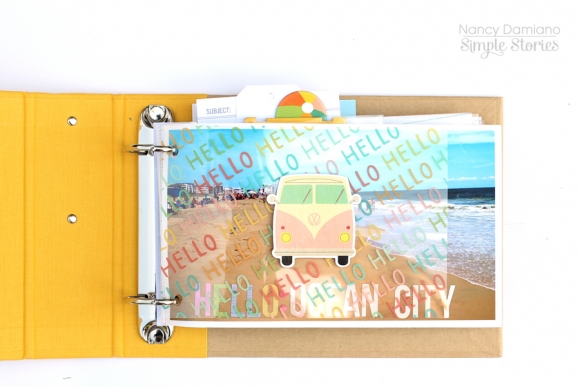
​Transparencies from the Summer Vibes Collection Pack make perfect dividers for your mini.

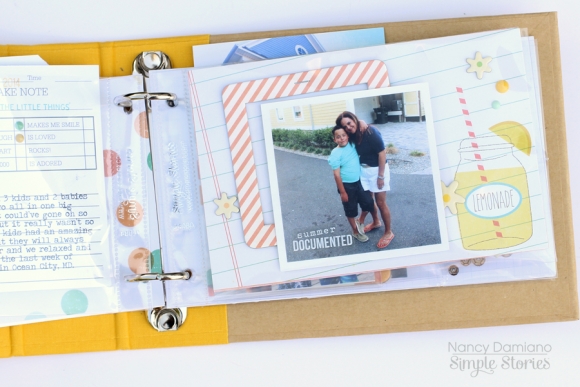
These pages came together quickly with die cuts, frames and stickers from Summer Vibes.

And now a peek at my planner set up for September. I went for a softer look with the Happy SN@P Pack. This is me not accepting that fall is coming! I'll stick with a tropical palette any time.

Planning out my video schedule with the daily pages, alpha stickers and more bits and pieces from the Happy SN@P Pack.

One of my favorite places to make lists are on the monthly divider pages. These let me focus on what's important for the coming month.

This is one of the busiest months of the year for me. I'm looking forward to having one place to keep it all! 

Supplies

Hello everybody. It's Mindi here with you today sharing some pocket pages about all things girly ! I wanted to show you that the Enchanted line is very versatile and can be used for more than just Princess projects. 
 
 
Back in May of 2014 the boys went off for a weekend of camping. It left us girls all alone to party !! We invited some friends over to play, scrap, and eat with us all weekend. 
 
Here is a look at the left side of my 2 page spread. 
 
I kept the title card pretty simple. Only added a few small embellishments with the most important info. (date and what the pages are about)
 
 
One of my favorite things to do is to take a journaling card and personalize it, embellish it, ect. Isn't that why we scrapbook, right ?!!! 
 
I started out with a journaling card and added one end of a chipboard piece to the side. I knew I wanted something inside of the chipboard frame. I added a strip of washi tape and a few stickers. So fun. 
 
 
Sometimes when I am short on photos I will add in a filler card, a big journaling card, ect. This was one of those times, especially since I had a lot of journaling. 
 
I decided to use a 4x6 journaling card and cut it up to fit into two 3x4 pockets. Before I cut it in half I added a few strips of the washi tape and some other embellishments. I also printed out some journaling on the card then finished it off by cutting it in half. 


Let's move on to the second page. 
 
 
Can I just say that I love these chipboard frames. I decided to use this square one as a frame for some embellishing. I took the pink VIP filler card and put it underneath the frame. I added the word US around the circle for a fun look. I decided to add the names of all us to make sure we would remember in the coming years. 
 
 
Here are some close ups from the second page. 


I wanted to make sure that I documented what we did over the weekend. Remember even if it's not in detail, those small details matter. 
 
 
That is it for me today. I had lots of fun working with the Enchanted line, which was all things pink, princess like, girly, and sparkly. It was the perfect product for my girls weekend photos and stories. 


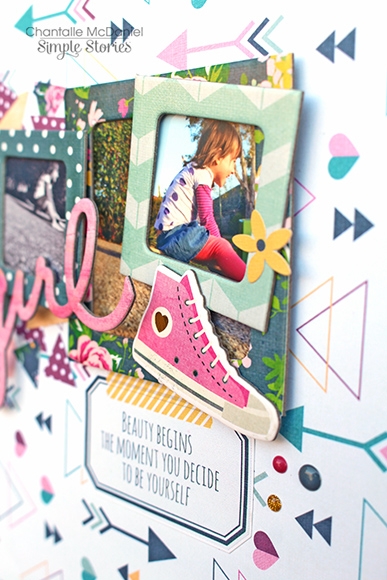
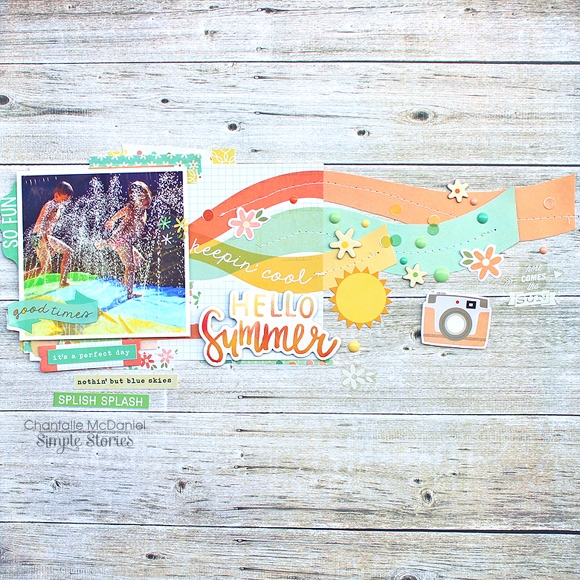
Hi!  It's Chantalle again :)  My final page is also about skateboarding, but this time my little girl’s version - which involves flying down our steep driveway, while seated! I took a series of burst shots as she was doing it and they help tell the story across the centre of my page.

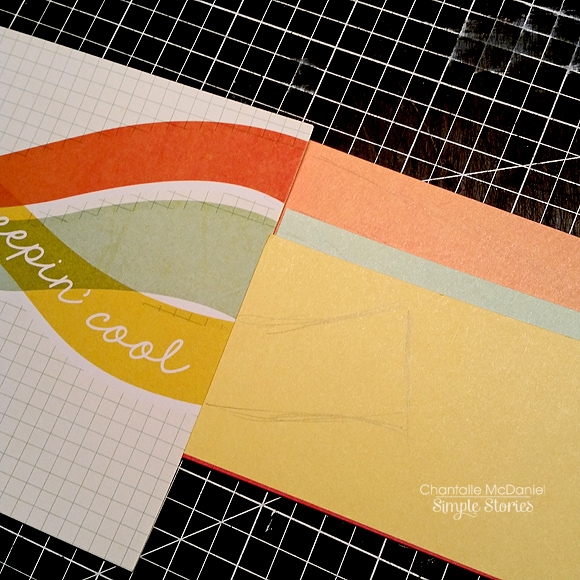
Mimicking the triangle print, the base layer of this layout comprises of a number of triangles which I cut from various sheets from the So Fancy 6x6 pad, using my Silhouette Cameo.

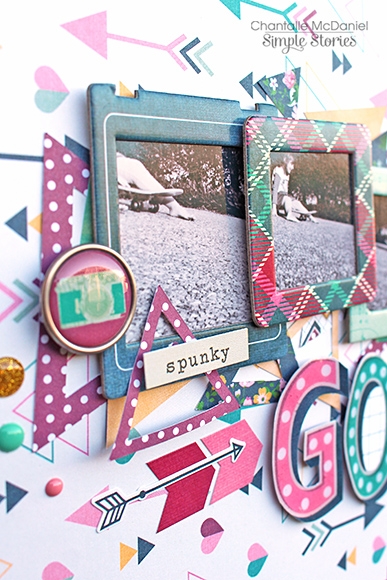
I grouped them so I could place two 6x6 sheets next to each other which can save time.

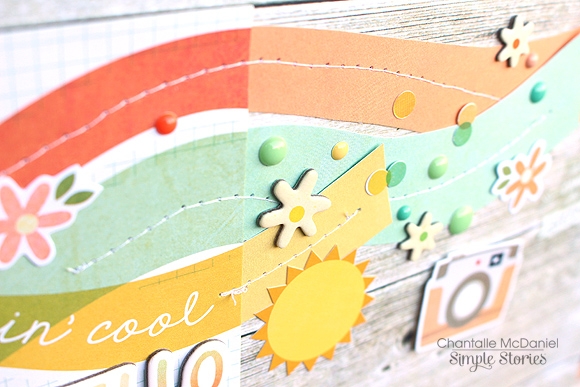
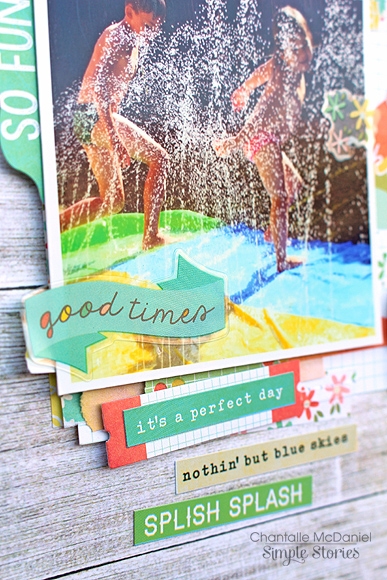
I just love the gold foil accents in this collection and the chipboard frames are perfect for highlighting areas in a photo. Her face says it all - pure joy!

Thank you so much for stopping by today! If you would like to see more of what I get up to, feel free to pop in to my blog (copasetique.blogspot.com) or you can find me on FB and Instagram @chantallemcdaniel.

Happy creating!

Supplies

Hi!  It's Chantalle back again with the 2nd of 3 layouts!

I’m sure I am not alone when I say that it feels as if So Rad has been designed just for me. With a nine year old Son, I find myself laughing out loud at the sentiments and images. Video games… skating… duuuuuude. Sweet ;)

I’ve made a feature of my photo by using a number of the smaller size So Rad chipboard frames. Almost like photo corners. I really like the angle they create in opposition to the straight title.

To create my layered SK8R title:

* I first planned the layout in Silhouette Studio (I will often draw out/type up elements I have in mind, so I can effectively plan where my cuts will be placed in relation to the paper I want to use.)
 
* I then deleted the holding areas and sent the title to cut on a sheet of So Rad 12x12 ‘X-Treme’. 
 
* To make the multi-layer title, I then selected the SK8R text and created an internal offset. (Select the offset menu from the tool bar in the upper right of the screen and click ‘offset’, adjusting the options to suit your project.) Now I had a smaller identical version of the word SK8R. I deleted the larger outline and using a contrasting shade of paper from the So rad 6x6 pad, I sent this file to cut again.


I backed the larger type area with a section from a sheet of So Rad 12x12 ‘Dark wood/Newsprint’ and raised the orange paper up on some foam tape.
 
 
I ran with a star theme for the embellishments and used whichever ones I could find, be it stickers, wood veneer, brads. I also punched tiny stars from a sheet of cork to coordinate with the awesome cork print in this collection.


Supplies

Hi!  It's Chantalle with you today with the first of 3 layouts!!
 
This first page documents, in my eyes, a little moment of madness on my children’s behalf. We were in the first couple of weeks of Spring last year - you know, when the sun is out but not really warm enough to swim… Well these crazies didn’t need any excuses to get themselves wet! The sheer joy of the moment is captured on their little faces. We were so looking forward to welcoming Summer!
 
 
I was really inspired by the ‘keepin’ cool’ 4x6 card from the Summer Vibes SN@P! card set. I wanted to extend the lines of the fan image and did so by placing the card next to a Summer Vibes 12x12 sheet of ‘Oh hello’ which has the same colours printed. I drew the lines freehand and cut the sections out with scissors.
 
 
Once I was happy with the pieces and the placement, I went about machine stitching them on for a bit of interest. I also think it adds direction and movement to the page.
 
 
The page has been embellished with lots of little elements like stickers. The new colour photo stickers across the new lines are definitely a favourite!
 
 
I'll be back later today with my 2nd layout!!


Hi Everyone!  Marie here today to share part two of my summer mini album using theSummer Vibes collection. 

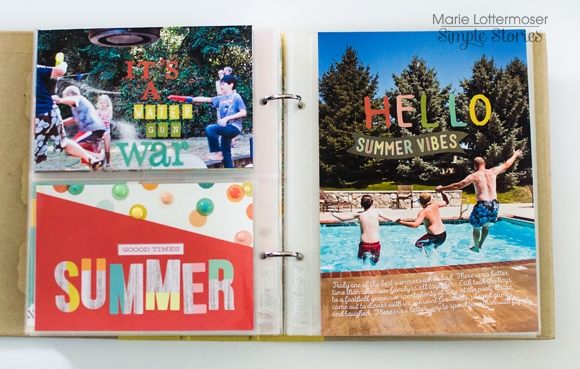
Summer vacation is already halfway over, and we have been busy!  I have been trying my best to keep up with my album while still enjoying the sunny days while we still have them.  On these pages I decided to simplify things by adding stickers directly on to my photos to add in some color and fun.

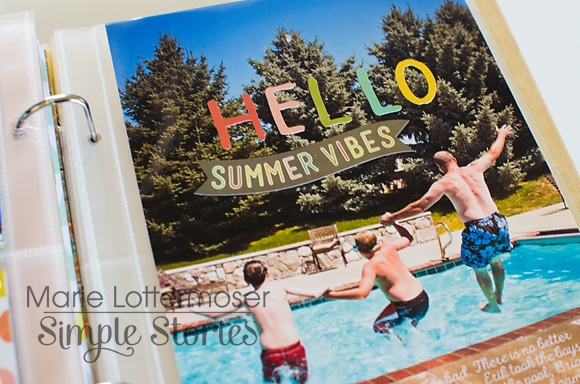
Nothing could be easier than adding a few words or phrases from a sticker sheet to add interest to a big photo. With stickers you don't need staples, tape or glue...it's just peel and stick.  This page was finished in under a minute.

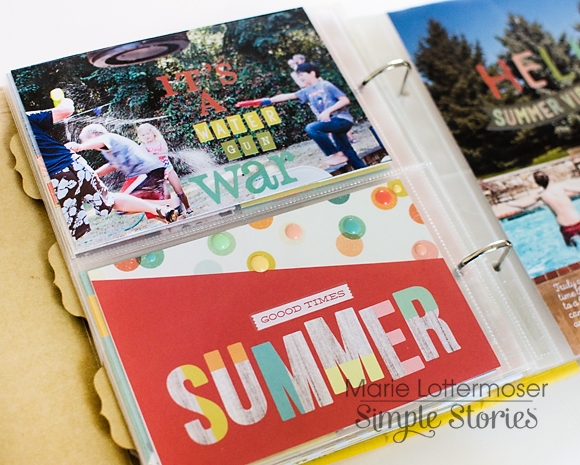
Here on the top photo I used different colored letter stickers to spell out a phrase in the empty space, and on the bottom photo I added some enamel dots to a 4x6 card.  I really love the ease of this.

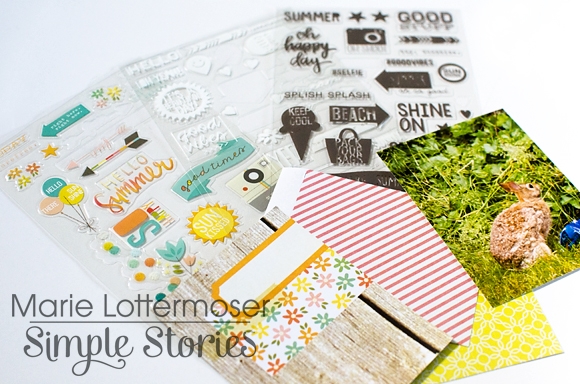
I am also a big fan of the clear stickers Simple Stories makes.  This pack came with white, black and colored stickers so you can decide which shows up the best on your photos. For instance, a white sticker will really pop against a darker background. 

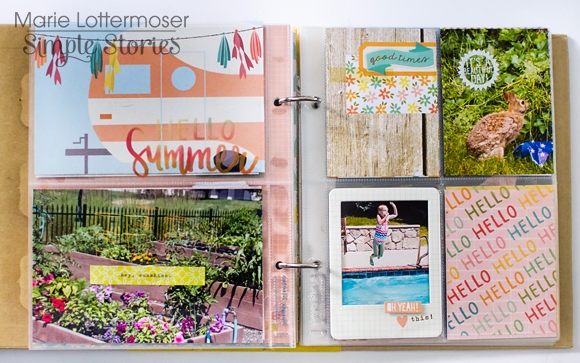
Since the sticker sheets are clear, you can hold them above your photo to decide on their placement before you permanently add them.

On this page I used the clear stickers in two ways.  First I added one directly on to a photo of my niece, and on the bottom photo I added a clear sticker over a piece of washi tape.

 I hope this gives you some ideas on how you can use stickers directly on top of your photos. I think you will love how much interest they can add to your pictures.  Thanks for stopping by today!  Have a great summer.

Summer is in full swing here and we've been enjoying the amazing hot weather.  It's unusual, though, for it to be so hot here so we're all trying to find ways to keep cool.  At the beginning of July we were able to get away for a week and my folks were able to join us as well.  We spent time at a cottage which was right on the lake. So it was nice to be able to jump in the water whenever you wanted.  However, there were times when sneaky little boys decided to get you wet as well!!
 
I used the fun Summer Vibes collection on this layout.
 
 
I printed off a large photo for one side of my layout and then added journaling, title and lots of fun embellishments on the left side of the page.
 
 
I used the die cut sunglasses to add some fun & play on the words of the title.
 
 
The photos stickers are a fun & easy touch to your projects too.
 
 
I love the dimension that the chipboard photo frames add to a project.


For my next layout I used the So Rad collection. This is just perfect for my boys and so I created a layout about my middle son who just celebrated his 13th birthday.
 
 
I just love the colours and patterns of this collection.  Plus when I saw the skateboard designs I knew it would be perfect!
 
 
I used lots of die cut pieces (adhered with foam tape) to embellish and add some interest to the layout.
 
 
I also added some Enamel dots for colour and texture.
 
 
I used a chipboard frame to show off my son's new longboard and on the journal strip I added a few little pieces of Washi Tape. I also used some white (gears) Photo Stickers in a few places.


Supplies

Pages