August 2015 Blog Posts

Click here to download your FREE copy!  Visit the Projects Downloads page here for more free downloads!

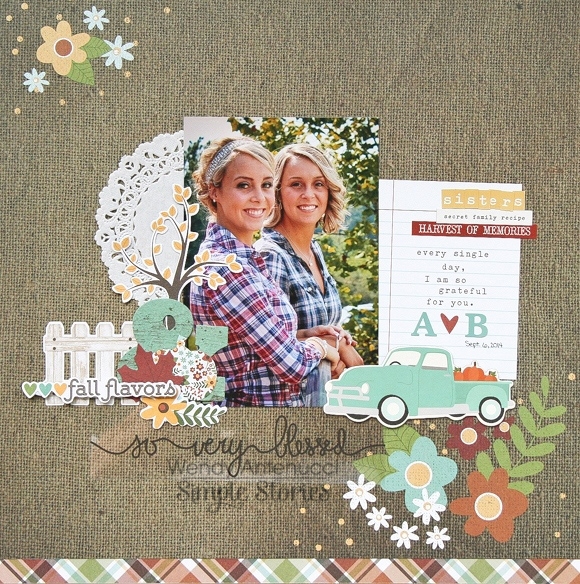
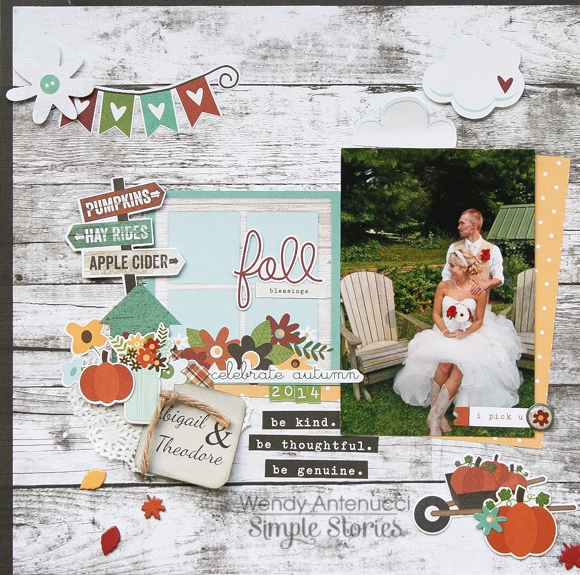
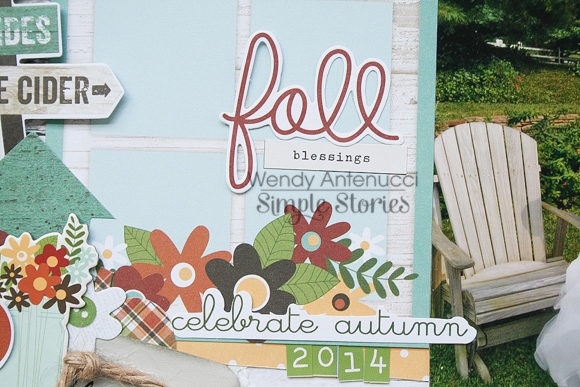
Hi everyone, Amy here to share a layout I created using the new We are...Family collection, which is AMAZING!  The colors are perfect for fall pictures, but they are also neutral enough for anything.  I used the line to create a layout about our recent trip to Punta Cana.

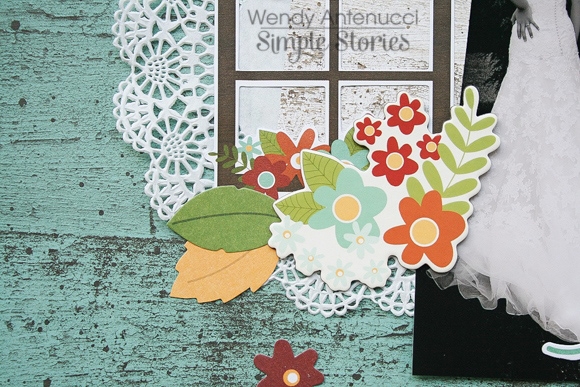
I used a loose grid design, so I could work in some more of my favorite chipboard frames. :) Here are some closeups. Simple Stories has some of the best ephemera out there, hands down!

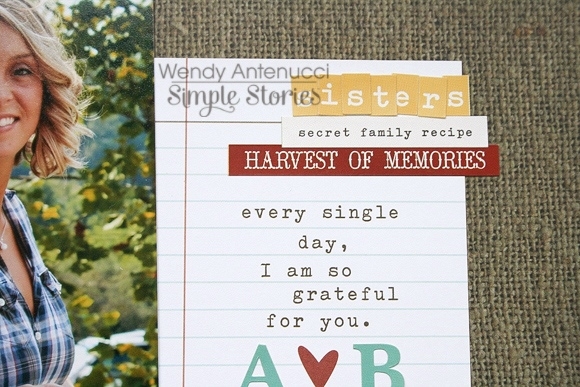
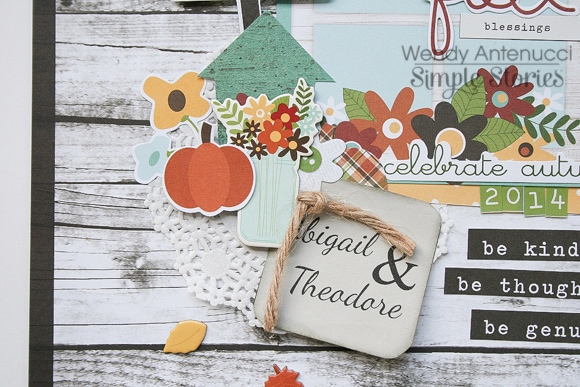
My chipboard frame that I used for my title and to house some ephemera.

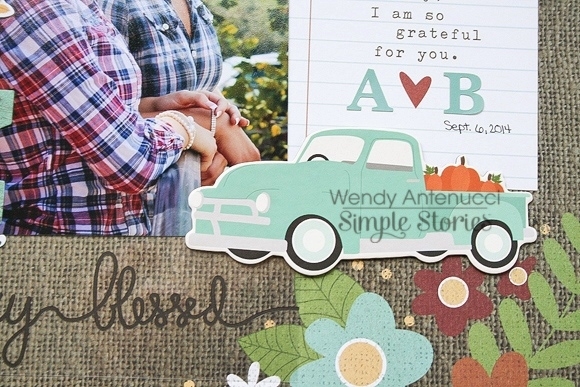
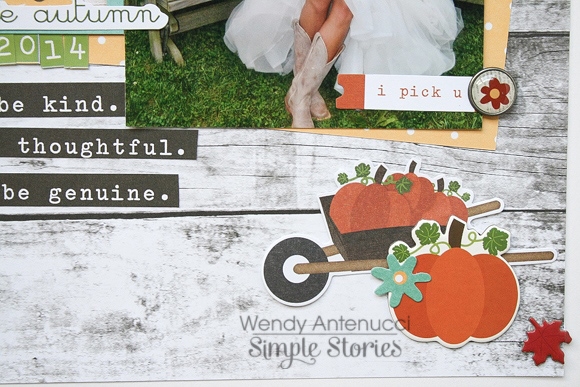
I could resist adding some goodies to the top of the photo.

Head over and check out the We are...Family collection, I promise you'll love it!

Supplies

Candi here today to show you how I am prepping for Fall inside my Life Documented Planner!  Winter is my favorite month, but Fall is my second favorite and using the new Pumpkin Spice Collection has me all HAPPY!!!!!!  New Collection means a new Binder too!!!!!!!  


I was a little nervous about doing this, but I added some Bradz and Enamel Dots to my cover!  Super pleased with the way it looks!!!


Open up my planner and you will find a dashboard/flyleaf that I created!  I took an 8 1/2 x 11 piece of transparency and trimmed it down to size and added "Autumn" (from the Fundamentals Cardstock Stickers) to the front.  Behind the transparency I trimmed down a 12 x 12 Designer Cardstock from the Pumpkin Spice Collection Pack and topped it off with several 2 x 2's from the Element Sheets.


Here is the opening for September...the original divider did not match the Pumpkin Spice theme so I covered it up with my favorite sheet from the Collection, Harvest Memories.  On top of that...I had to add the 4 x 6 Element: Pumpkin Everything!!!


September is ready for planning!  I always need a month on two pages (MO2P) to look at quickly to see what important tasks/appointments are coming up!  I highlighted a few dates with some Number Stickers and the rest of the dates I just wrote in myself.  Love the pops of color from the Number Stickers!  


This is the back side of the divider where I will highlight some of my September memories!  I added some Cardstock Stickers and a few Bits & Pieces...


I pulled out my Pouch and have it loaded with some miscellaneous 4 x 4 Elements!  I have them trimmed down and ready to go...I love to punch a single hole in these and add them inside my planner or just to jot down some notes or memories that I don't want to forget!


Inside my Pouch I also have this 4 x 6 Photo Booklet to store my Fall Bucket List!!!  For the cover I cut out a 4 x 6 Element and added that to the cover.  The inside has four 4 x 6 photo sleeves so I can add two photos, back to back, inside each sleeve.


I have my Weekly Planner Inserts all set and ready to go for September!  I stamped out the date for each day and already added some fun Cardstock Stickers and a few Bits & Pieces along the way...


Here is a dashboard that I created to mark where my day is at.  I will move this from week to week.  It is a good place to house those sticky notes until you have time to jot it down inside your planner!  I put it against this blue divider so you could see it a little better.  


Makes me happy to have September all set up!  That means more time out doing my Fall Favorites: Apple Orchard Trips, Mini Road Trips and Pumpkin Spice Lattes!
 
Thanks for stopping by and have a lovely weekend!
 
Happy Planning...
Candi

Supplies

Fall is right around the corner! And even if you live somewhere that doesn't enjoy the crisp nights and traditional fall weather, you can enjoy the scents and sights of the season. We are usually sweltering at the pumpkin patch, but we don't care! It is one of our favorite family traditions and so we go every year even if our weather is still unbearable! So imagine my joy when I saw the new Pumpkin Spice collection!
 
 
Fall colors and pumpkins galore! I created a mixed title with stickers, a die cut and a chipboard sticker.
 
 
 I layered some of the Bits and Pieces over patterned paper and popped the die cuts up on dimensional adhesive for a fun look.
 
 
I cut that journaling spot out of a larger journaling card and added some chipbaord sticker leaves and Enamel Dots.
 
 
Finally, I created the look of ribbon by cutting a small strip of green gingham paper from the Simple Basics collection. I folded it into pleats and machine stitched up the middle with some coordinating thread.
 
 
For my second layout I focused on the chipboard frames.I used the largest and middle sized frames for my photos.
 
 
I used a 4x6 card as my title and added some Bits and Pieces. I love to pop them up with 3D adhesive.
 
 
I added some Enamel Dots and Bradz to the larger frames and journaled with a white gell pen around the outside.


Supplies

Did you know that the Pumpkin Spice collection works for weddings?  I didn't either, but I found out how amazing the collection was when I was looking for fall pictures to use with this collection.  Wendy here today sharing some inspiration with the new Pumpkin Spice collection.

 
Sometimes a picture just works with a paper and you know you have to build your layout from there.  This picture and paper instantly clicked for me and with the addition of the 3x4 Sn@p! card a layout was complete.  
 
 
I chose to add a doily to the page (and all the other wedding pages I created) to add in a little wedding feel and to unite my pages.  Some stickers, chipboard pieces, 
 
 
and the Bits & Pieces were all it took to finish the layout.  
 
 
I used the overlay to add some subtle interest to my page.
 
My next page, was just some fun with the Bits & Pieces, forming a scene that I then added in a picture that fit the theme.
 
 
I began with the window and added a few flowers and the word for my title.
 
 
I added in my doily to tie together my pages, and some ephemera from the wedding forming an embellishment cluster.
 
 
A few odds and ends, added in my finishing touches and some journaling to the happy couple.
 
 
My last page, Blessed, is totally different for me.  I loved the black and white photo of my precious sister in law and the combination on the blue wood grain paper seemed to be timeless and stunning.  
 
 
I added in my doily again for the wedding theme and a few bits and pieces to form a simple yet hopefully stunning layout.
 
 
To me, a collection shows how wonderful it is depending on its versatility.  Needless to say, I am pretty impressed with the Pumpkin Spice collection and can't wait to finish the happy couple's wedding album.  Thanks for joining me today, I hope you've been inspired to try out this amazing collection!


Supplies


Click here to download your free copy of the Summer Vibes eBook!  Enjoy!


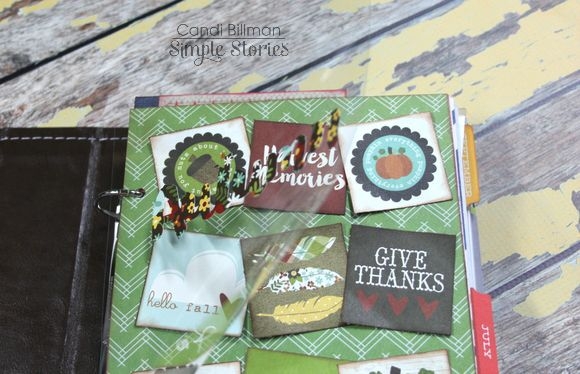
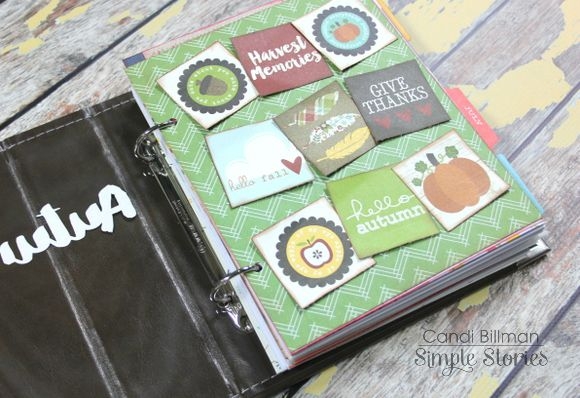
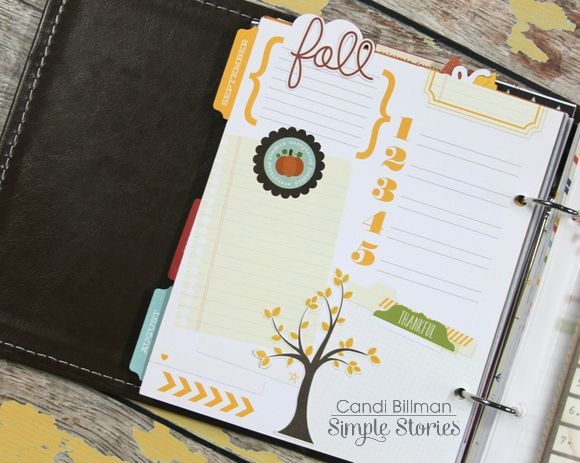
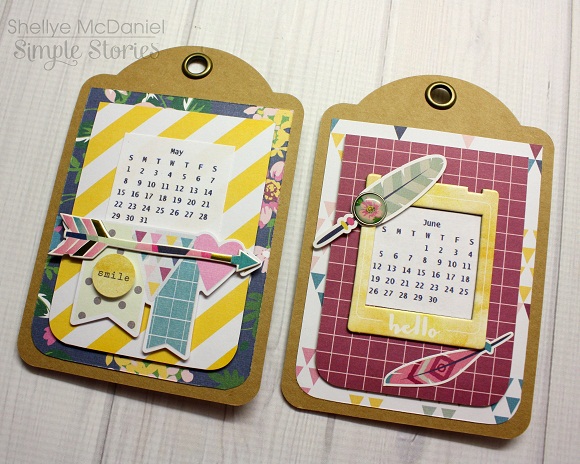
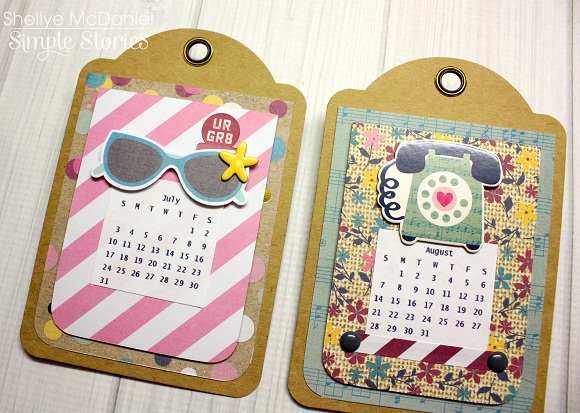
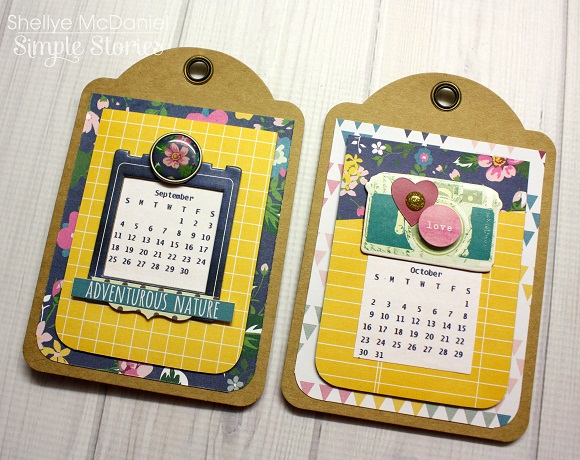
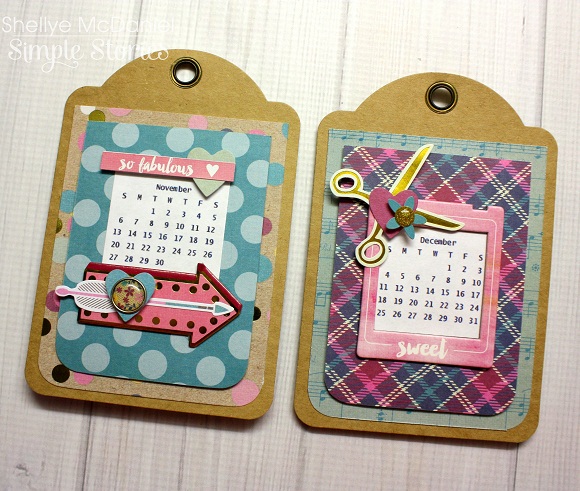
Hello!  Shellye with you today with a "So Fancy" tag-desk calendar for the upcoming new year!
 

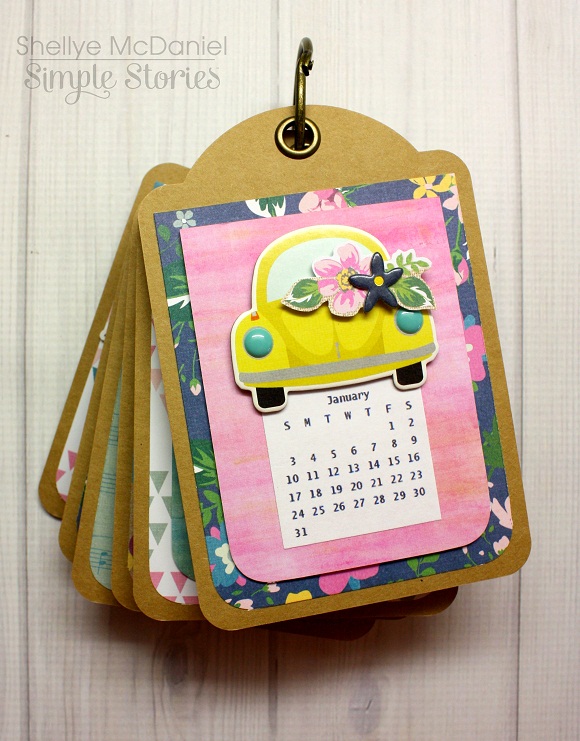
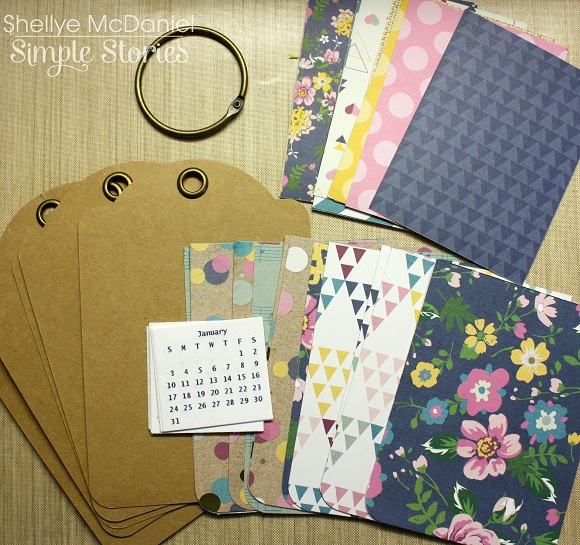
I started with a set of six kraft tags that measure 3.75" X 5.5", the "So Fancy" SN@P Cards, various patterned papers and embellishments from the collection and a free printable calendar that I found here.
 

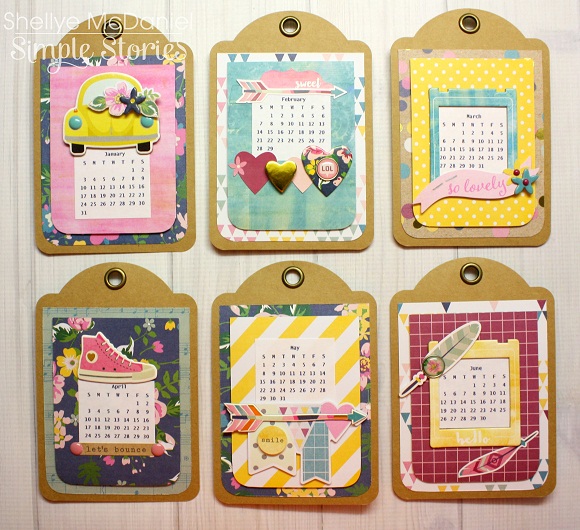
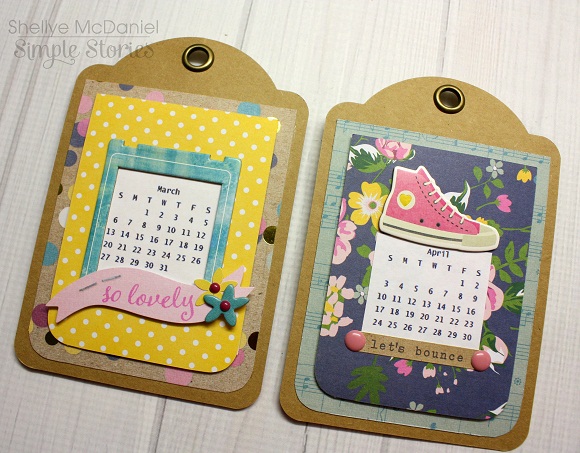
To begin, I cut the patterned paper down to 3.5" X 4.5" and corner rounded them at the bottom so that they matched the kraft tags.  Next, one of the 3X4 SN@P cards were added with foam adhesive tape.  The calendar was cut down to size, glued in place and then each month was embellished with various pretties!
 

The backs of the tags include a continuation of the calendar months, July through December:


The calendar is sturdy enough to stand up for display, or add it to an easel.  With holiday gift-making right around the corner, this would make a quick and fun gift for friends on your list!

Supplies

Hello Simple Stories fans!
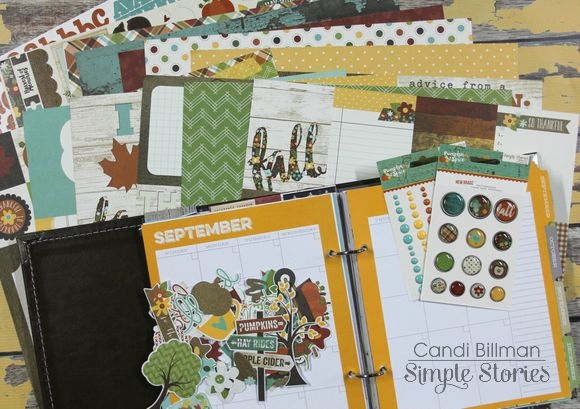
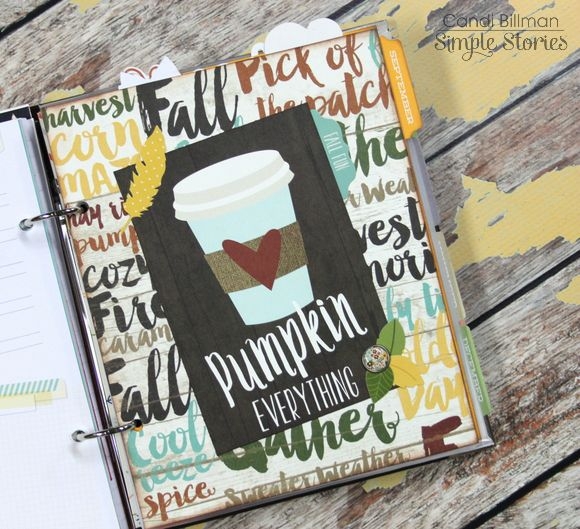
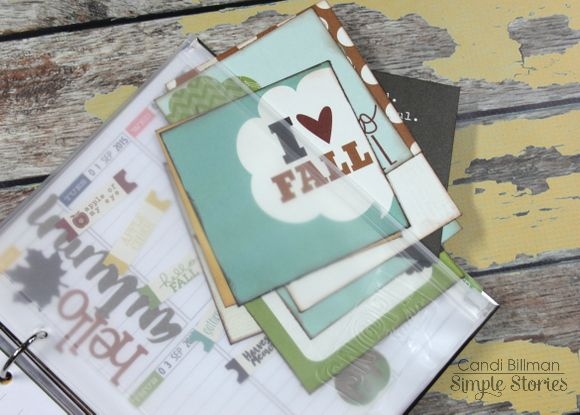
I couldn't wait to dig into the new We Are...Family collection!! I love mini albums, and it had been awhile since I'd whipped one together. This one came together in about an hour thanks to the handy pre-cut 4x6 booklet that comes in the Interactive Elements. Pages already stapled together with die cut edges were calling out to me...so I gave in. ;)

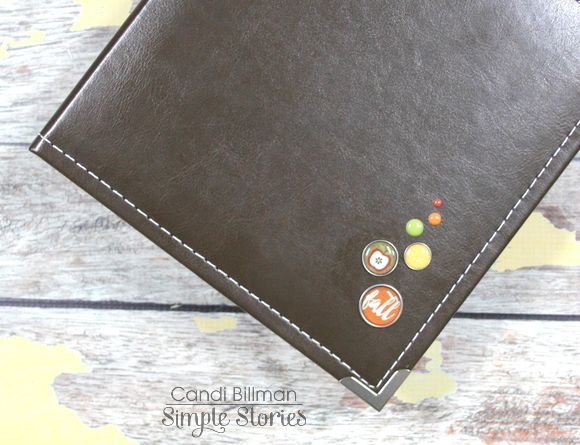
I love that all you have to do is add photos and embellishments in this little pocket album...that's the fun part, right?! My family and I had taken a last minute day trip to Niagara Falls (without checking the weather forecast) so I knew this would be perfect to house just a few photos + the story. The woodgrain alphabet in the collection didn't stand out against the woodgrain cover so I grabbed my gold Sharpie marker and switched them up a bit.

It dries almost instantly and looks great! :)

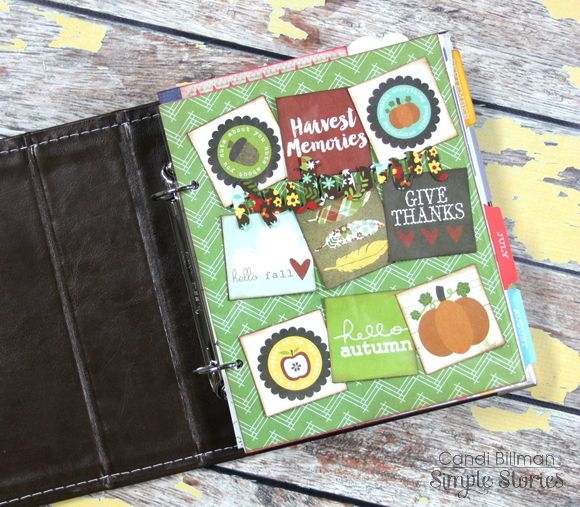
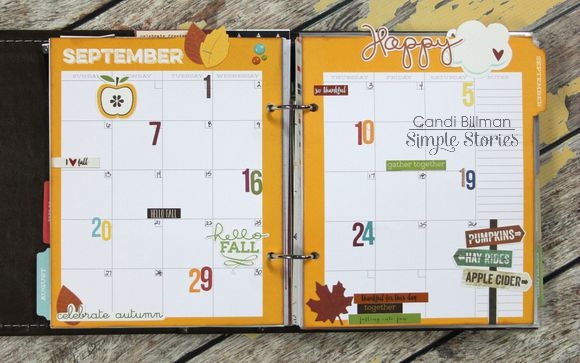
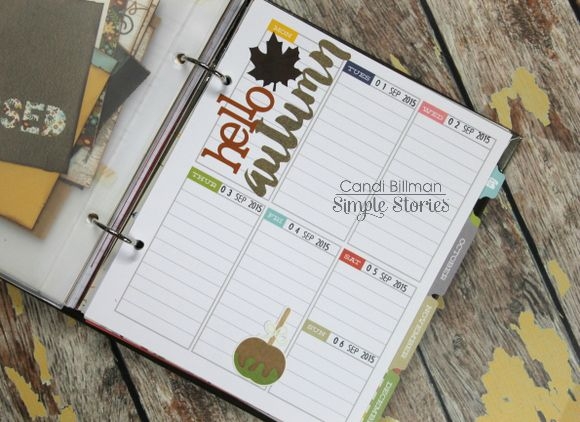
Inside the first page I added a 3x4 card from the Sn@p! set to the right side and heat embossed one of the smaller 'girl' wood veneer pieces with gold metallic powder...we are a family of three, after all. ;) On the left side I used half of one of the chipboard frames to kind of foretell the theme of the album...the weather we had was unfortunate, but we had a great time together regardless.

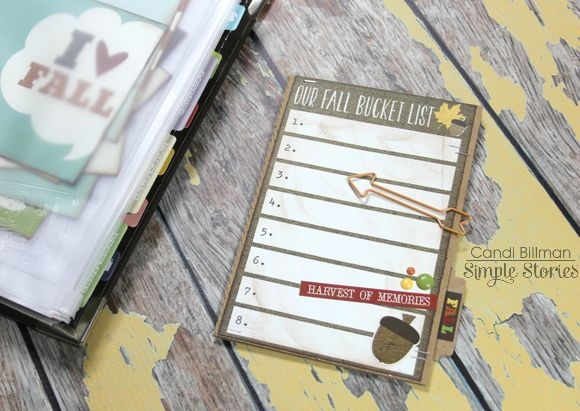
Each page comes with an image or phrase, so I just added a few details here and there. We spent the afternoon at the outlet mall (trying to convince ourselves that the torrential rain would wear itself out), and found some awesome deals to save for back to school time. Our daughter scored an insane steal on this purse and it was fun to document her first 'real' purchase from her summer job. A washi tape strip here and there paired with a few enamel dots + the flat backed brad were all that was needed to wrap this page up. 

The next page sums up the ridiculousness of the entire day, lol. It was STILL pouring with sideways rain after we had dinner, but we barreled through the bad weather and stopped by Niagara Falls despite the grey day. We stopped at a gift shop to grab a few ponchos, and sported the Canadian maple leaf all over town. We were on the U.S. side of the Falls, and so many folks told us we were troopers to brave the weather since we were 'visitors'...rather than correct them, we just went with the flow. :) 

I'm glad I stuffed the wrapper for one of our ponchos in my pocket during the downpour...I adhered it to the back of one of the 4x6 transparency pieces that comes with the collection kit, and made an extra page out of it. I used a washi tape strip and one of the foldover tabs on the back side to hold it in the album. 

The last page tells the story about the ponchos...I love the graph design that is throughout the album. It unifies everything and makes journaling SIMPLE. After layering a few stickers together, this album was complete!

There are several neat items in the Interactive Elements from each collection...make sure to check them out for simple projects like this one. :)

  •  

Supplies

Pages