April 2015 Blog Posts

Hi Simple Stories friends!!

I'm taking a moment this month to share one of my favorite new items from the SN@P! collections...the Fresh SN@P! Pack. I confess that I hadn't really investigated what they had to offer until recently, and boy was I surprised!!


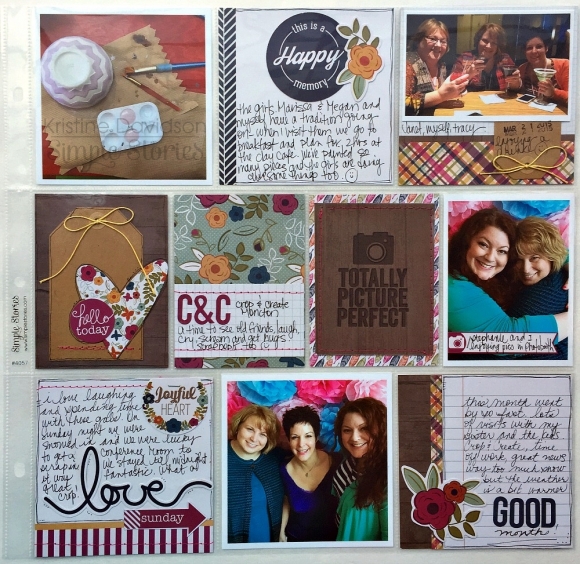
In one coordinated pack, you get my favorite elements from Simple Stories: die cut Bits & Pieces and a great variety of fun 2x2, 3x3, 3x4, 4x4 & 4x6 pocket cards that are 100% on trend. Phrases that are able to be used for just about any project you're working on + FIVE different sizes of cards!! I selected a few to fill in the backs of some 6x8 pocket pages I already had in my album and sat down to work.


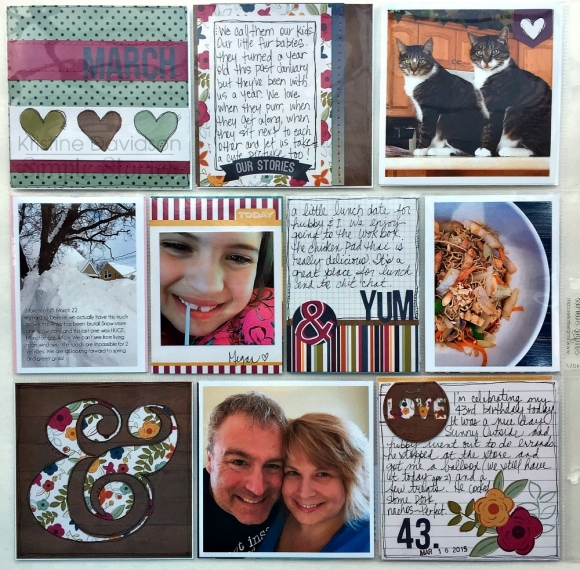
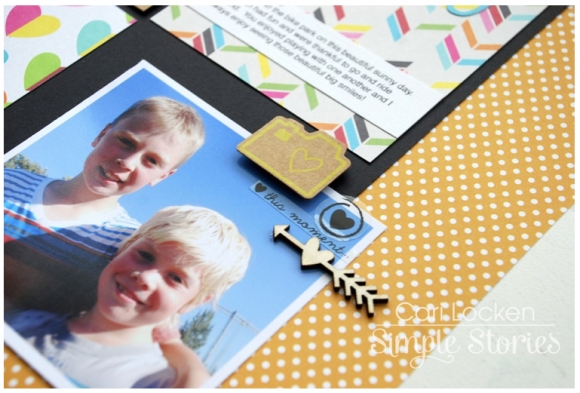
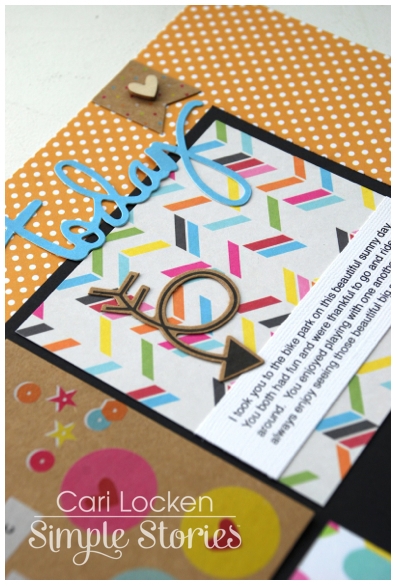
I will tell you that this pocket spread came together in 25 minutes...and that includes printing my own photos at home. The cards and die cuts literally took all of the 'work' out of figuring things out, and all I added were a few stickers from the Life Documented collection to spruce things up here and there!


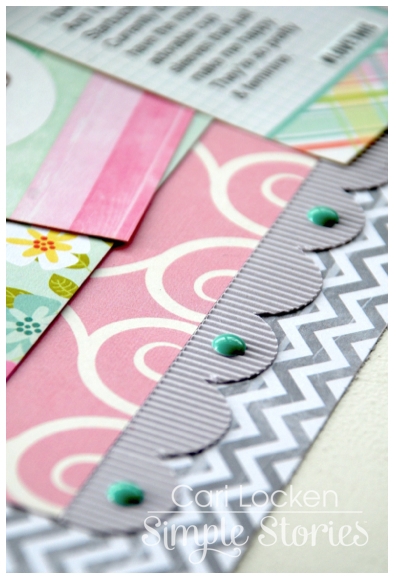
Layering cards together is a fun way to fill a pocket, and when you get different sized cards that coordinate well (like the two you see here from the Fresh pack) things just fall together. No joke...I can't stress how easy this makes things!!


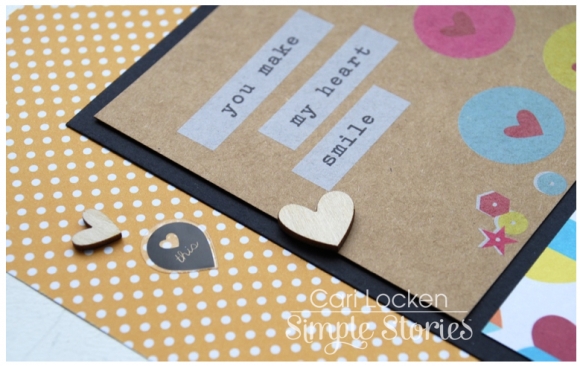
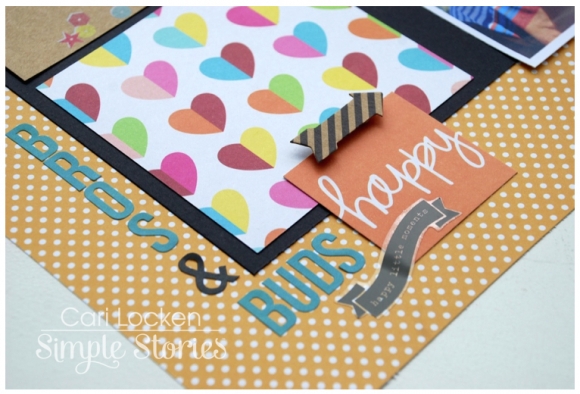
When I find a card that I love in a set, I'm totally OK with just slipping it into a pocket...as I did with the 'let's be happy together' card. Not every pocket has to be filled with a 'masterpiece', and as a lover of pretty paper things I do this frequently. Don't get hung up on the notion that each pocket has to be a work of art that you slave over for 30 minutes. ;)


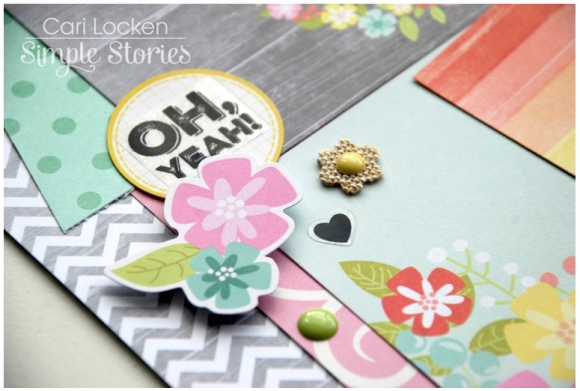
As I mentioned, the Life Documented embellishments paired perfectly with this pack so I sifted through and added a few elements. And with the 12x12 3-ring binder albums, I was able to slip these 6x8 pages right into my 12x12 album (the holes were designed to match up!!) ...I love the variety it gives to be flipping through and come across an unexpected page size. If you haven't checked out the SN@P! Packs, do so ASAP!!

Supplies

Click here to download your free copy of the Enchanted eBook!  Enjoy!

Hello!  Shellye here today with a set of three fun cards featuring all sorts of pieces from a few of the SN@P! Pack Collections.

To accommodate the larger 4X6 journal cards, I chose to use 5X7 card bases for each one.

For the first card, a 3x3 square from the "Fresh" pack was used for the sentiment piece.  A smaller 1.25" wide strip was cut from one of the other cards and layered side-by-side onto a mat of blue dot paper.  To tie in with the blues in the banner and bow, the assembled piece was then attached to a 4X6 arrow card from the collection.

I love this sentiment from the "Epic" SN@P! Pack; it's an endearment in the simplest fashion!  I dressed up the 'white' areas of the 4X6 sentiment card with two halves of a 2.5" circle that was die cut from the back side of one of the cards.  A few die-cut embellishments, enamel dots and this card was complete!

The final card features some lovely pieces from the "Lovely" set.  The 4X4 square was centered onto the 4X6 card and machine stitched in place.  Next, a circle was die cut from one of the cards and added with foam adhesive.  The embellishment pieces were clustered together and a burlap heart from the DIY collection just added to the homespun feel of the card.

Thank you for joining me today at Simple Stories!

Hello fellow memory keepers!  I'm having a really hard time believing we're already over halfway through April - spring has finally sprung here in Minnesota and we're just all crossing our fingers for no random blizzards to sprout up!  I've been enjoying getting outside to exercise and ride bikes and clean out the garage (okay, I didn't really enjoy that!).  But I've still managed to squeeze in some time after the kids are all tucked into bed at night to get some scrapbooking done. 
 
I was so excited when we were told that the Simple Stories Digital Pocket Pages were going to be offered as templates in the digital store!  I am all about anything that saves time - that allows me to get more memories scrapped - and I love the various unique configurations that Simple Stories offers in their page protectors and now I can use them on my digital pocket pages!  So naturally, that was the first thing I grabbed to work with this month to slowly (ever so slowly) inch toward catching up on my pocket scrapbook album, along with the Digital Daily Grind collection.  I was looking for something bright and colorful and inspired by the everyday, and Daily Grind was a perfect fit!
 
 
I went back in time to January (thankfully only in photos, I don't want to travel back in to winter!) when we celebrated a birthday in the family and my boys got silly with some stick on moustaches! 
 
 
To use the template, I just deleted the top layer and then just placed the card/paper/photo over the layer that I wanted it on, right click and select "create clipping mask" and then adjust as needed.  Once I have it where I want it, I merge the clipping mask and layer and apply my shadow style to make it look a bit more realistic.  They are so easy to use!
 
 
I love how the finished product turned out - using bright colors on my winter layouts is especially fun for me!
 
Have any of you tried the new templates from the digital store?  We'd love to see what you created with them!
 
Have a great day!

Hello Friends! 

It's Kristine with you today and I am here to share a pocket page spread featuring another NEW SN@P! Pack - Lovely! I love the SN@P! Packs because they have everything you need to complete a page spread and more!  It contains Bits & Pieces, cards of all sizes and of course you can also create a layout with the leftovers!

The month of March for me was a good one, I enjoyed time with friends, family and kept myself busy.  I found that a complete spread was enough for me and leaving out the minor details was okay. This spread captures what I want to remember and I can always add more later if i want to ;-)

I kept the inserts the same on both pages this month. I love the 4x4 size to add those instagram pics and also trimmed 4x6 photos.   

What i did differently this month is doodle! I went to a crop a few weeks ago and I created 2 layouts that were filled with doodles and I LOVED IT! The process was so easy, kind of liberating and fun. I decided to add some of those doodles in my spread this month. All my cards are traced with a black pen and I also added details around the images and diecuts.

Did you know that Simple Stories has a great Photo Crops for your pocket pages and layouts? YES! they do... simply place on your photo and cut to size!  There's also a video that show you how fun & easy they are to use.  

Here are a few more of my pages featuring some Doodles and Stitching.

I hope you enjoyed my post today and I hope you enjoy creating with your favorite Simple Stories Products!


Supplies

Click here to shop from the new Silhouette designs.

Click here to shop from the new digital collections.

Hello Simple Stories fans!  Cari here with you today and I'm excited to share some layouts that I created with the new SN@P! Packs.  They are so easy to work with and help you create a layout in NO TIME!!!  You have everything you need right there in that little package! Makes it so easy to pack up for a crop or weekend of scrapbooking!
 
The first layout that I'd like to share with you is called ENJOY THE LITTLE THINGS.  I used the Happy SN@P! Pack.  Such pretty colours and designs in this collection and they went perfectly with my picture.  
 
 
I know many of us love our coffee and I'm one of those people.  But this time my layout really doesn't have to do with the coffee but rather the sweet packaging it came with!  Yes, I was rather smitten with that adorable little pink sleeve around my cup.  So I used my Silhouette CAMEO to cut out a border similar to the one that was on the coffee sleeve.
 
 
I dug through my stash and used some of the awesome burlap embellishments from the DIY collection (flowers, hearts) and then added some enamel dots to the center of the flowers.


I love the photo stickers and on this layout I really liked the contrast that the black stickers gave to the layout.


The second layout that I'd like to share with you isn't so feminine.  This one is called BROS & BUDS and it's about my 2 amazing boys!  
 
 
For this layout I used the Kraft SN@P! Pack. It's so fun, colourful and quite cheerful!  I kept my design simple so the patterns came through along with my single photo.  I used some photo stickers again in various places on my page as well as some wood veneer embellishments (which I just love!)


The die cuts that come with these collections are great too. Often there's more than 1 colour of a similar design so that makes it easier when you're trying to match things up.


Thanks for stopping by and I hope you're inspired to try out these awesome little collections.


Supplies

Hello, Hello :)

Candi here today and I am going to show you a few peeks inside my April planner pages as well as a few extras!  First things first...set up my month on two pages all filled in with numbers for each day, embellishments and jot down my important to-do's!  I just love how this turned out!  I grabbed different numbers from several different embellishment packs.  I am taking a vacation at the end of the month and I blocked it off with several stripes of the washi paper tape.

On the back side of the month on two pages is a month in review...I filled out a few things and left some spots open since it's only mid-April.  

I took a pocket page from the Vertical Pocket Pages Variety Pack and added a few of my favorite washi paper tape sheets...love having that right at my finger tips when I am jotting down notes and plans!


For April I am using the weekly planner inserts and I forgot to start my week on this side that you see here...instead of leaving it empty I covered it up with a few sheets from the 6x6 Life Documented Paper Pad and added a 3x4 card from the 2015 Card Set.

Here are my first two weeks in April.  I am one to use embellishments and stickers all over my planner pages...makes planning extra fun and it kinda makes you want to do the not so great things on your to-do list :)

I took Amber's awesome tip and added my printables inside a 6x8 pocket page.  I adhered two printables back to back and added a tab so it's easy to pull in and out of the pocket page.  I really love the March Free Printables because I hate to clean and hopefully this will get me on track to do little tasks throughout the week instead of spending so much time on the weekends!  


YES, I am behind on my pocket pages and YES, I am ok with this!!!  I am ok with it because of the Life Documented Planning Inserts...I know I sound like I am on repeat all the time, but these inserts really are a HUGE lifesaver for me!  Here is week 5 - I have everything written down...all of my photos and memorabilia are slipped into a 6x8 pocket page until I am ready to dive in!  
 
 
Thanks for stopping by and taking a peek inside my Life Documented Planner!  
I hope you all have a great weekend!
 
Happy Planning...
Candi

Supplies

Pages