
Click here to download the Say Cheese II eBook! Enjoy!

Hello, again! This is Amber, founder and creative director of Simple Stories. I can't believe how fast this month has flown by - here I am for another installment of my monthly Document It blog feature.
I don't know about you, but March has been a crazy busy month for me. From meetings and deadlines for Simple Stories, to soccer practice, dance competitions and school activities for the kids - plus planning a major family vacation for Spring Break - I feel like I'm barely keeping my head above water. Thank goodness I've been using my Life Documented planner to keep me on track with all I need to accomplish this month!
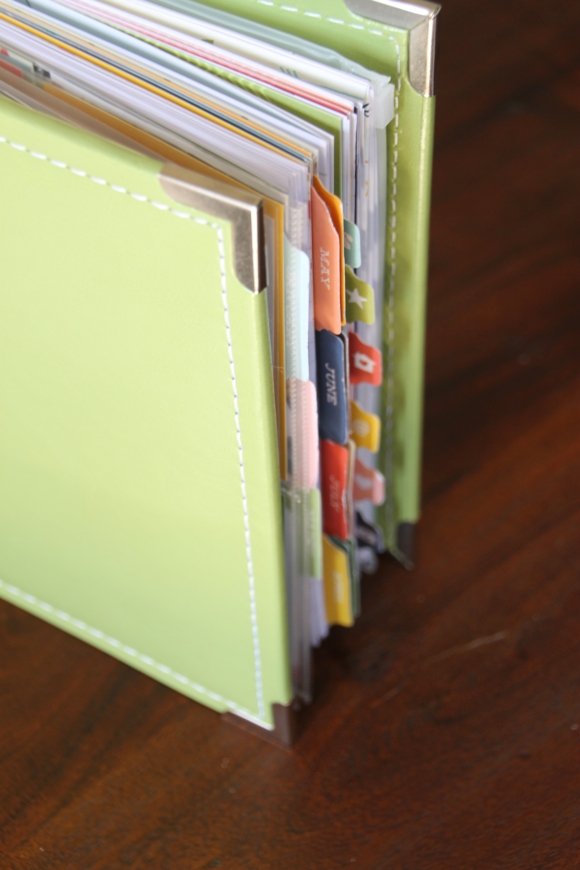
For the month of March I wanted to switch it up a bit - so I moved into the green 6x8 faux leather album - such a fun and bright color for spring. I love how my planner is filling up with pages and things to help me keep my life together.
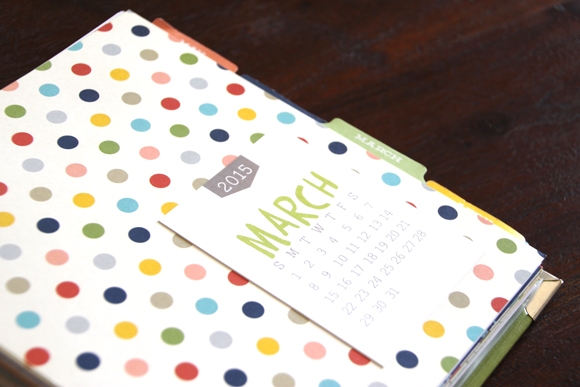
I love opening each month to the colorful Monthly Dividers - and by simply adding the 3x4 March 2015 card from the Life Documented 2015 Card Set, I have a great reference for the calendar days at a glance.

This month I'm focusing on how I'm using our Basic and Designer Washi Paper Tape along with the free "Who. What. When. Where" printable included in the January Free Printables for a quick and easy way to document and track all of our on-going monthly activities.
Step One

First, I get out all of my Life Documented Washi Paper tape sheets. These are my all time favorite product - cool little washi tape strips in 3x4 sheets! We have a great assortment of colors and designs to easily plan my life - and brighten up my pages. There are two sets in the Life Documented Planner Collection - each set inclues two sheets each of 12 different designs - that's a total of 288 pieces of washi in each set! I love that they're sheets vs. rolls, so it makes it so much easier for me to take them on the go in my planner. Having the large assortment of colors and patterns in one package is another plus!
Step Two
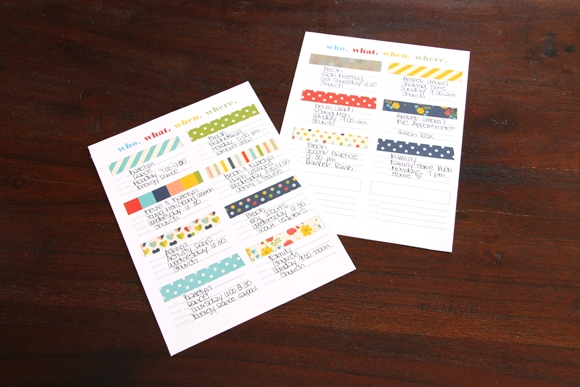
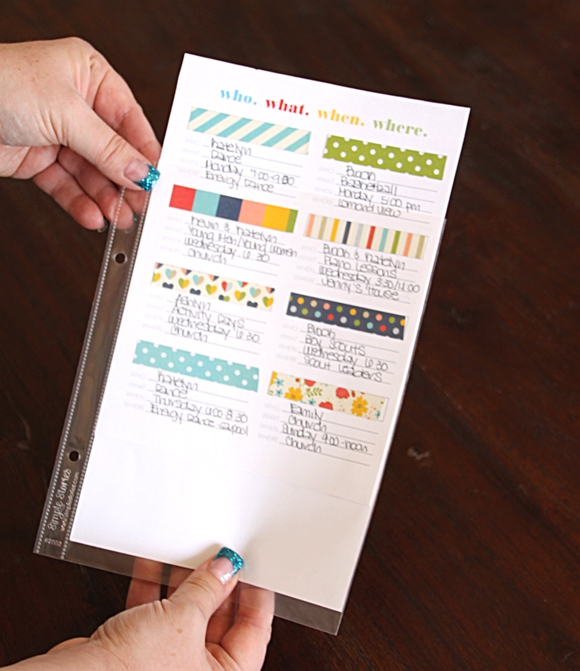
Next, I printed off the "who.what. when. where" free printable from the January Free Printables and trimmed to size. This provides a dashboard for my washi tape strips and information - a sort of "key", if you will, for our monthly activities. Each activity is assigned a certian washi tape design or color - and I simply added pieces of washi tape to the provided space on the sheet and filled out the corresponding acitivty. This works best for ongoing and reoccuring activities as the who, what, when and where details are consistent from week to week.
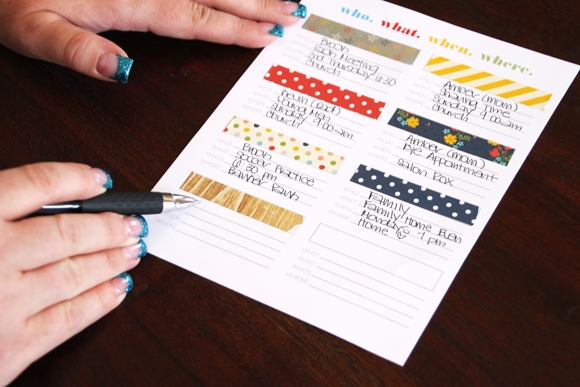
After I've added all my main events to this dashboard, I slip it in a 6x8 pocket page so it stays protected since I'll be referring to it througout the year & then insert in my planner.
Step Three
The final step is using the washi dashboard as a key for filling in our activities on the calendar each month. So instead of writing the details for each event in the calendar square, I simply add the strip of washi tape that corresponds with the event. This saves time and space on my monthly calendar. The Washi Paper Tape comes in both thin and thicker pre-cut strips, so on really busy days like our Wednesdays I can use the thinner strips to get all of our activities in.
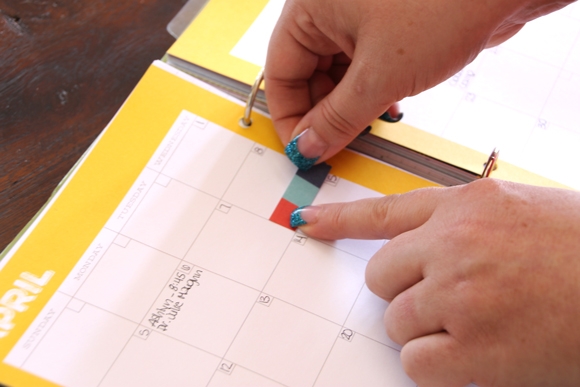
That's it! Three easy steps to plan your month - and add some fun to planner pages!
COOL COLORS - March
Last month I shared how I'm using my planner to also plan and document my year-in-review album, plus a fun assortment of cool colors using your Life Documented cards. Check out some fun possibilities for this month, with a mixture of green, navy, grey and a touch of wood grain.

FREE PRINTABLES!

Now we get to the really fun part! We've designed these FREE printables for March to coordinate with your Life Documented planner. Even better, we'll be offering free printables each month!
Click here to download March's Free Life Documented Printables.
There are a 5 free printables this month, including:
March Month in Review
Clean it Up - week at a glance
Clean it Up - daily
Clean it Up - weekly
Clean it Up - monthly
TIP: The March free printables are on a single PDF document with 6 pages - print off what you want and the quantity you need. We've added cut marks to each printable, so you can easily trim your pages to size.


Hi there Simple fans! Nancy here today with one of my favorite collections this season. I love the color palette and message behind the I AM collection. I decided to challenge myself and try to use the collection for a topic other than ‘me’.
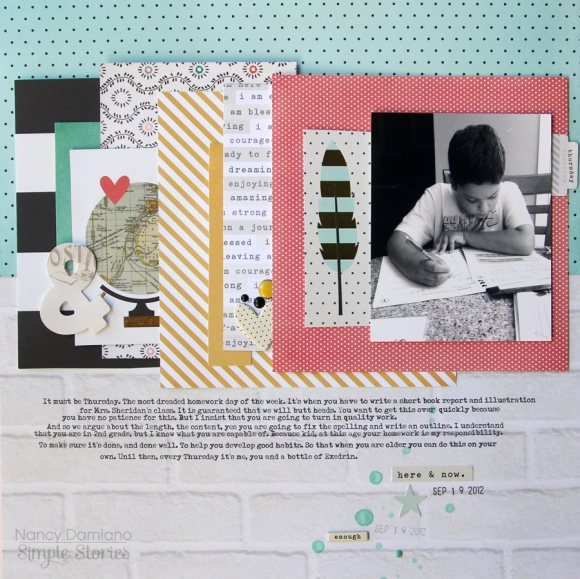
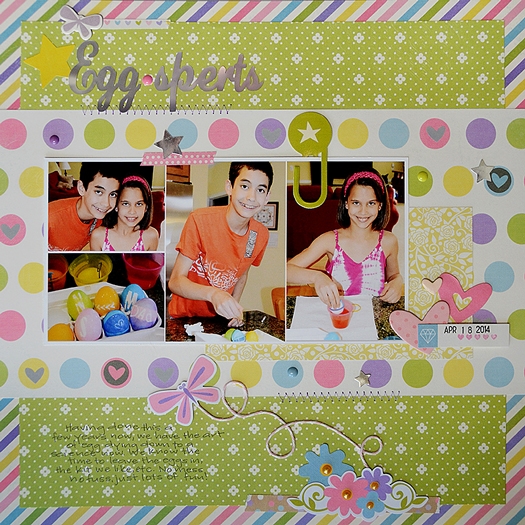
I know a collection really works when I can use it for just about anything. Versatility is important! This page proves that I AM is going to help me tell stories of all kinds. By picking out the globe, heart and ampersand I was able to create about my son and our struggles with his homework last year. The feather represents the one in my cap for helping him get this done!
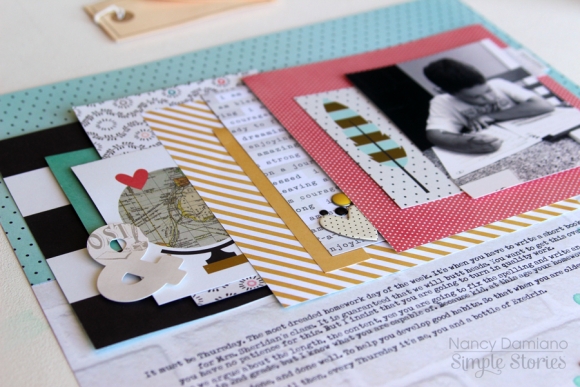
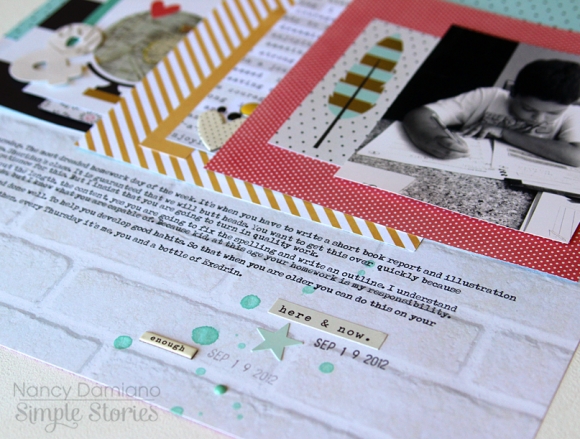
I based the design on pattern – it’s everywhere. The background was made of two subtle patterns, using the white brick and blue small polka dot print. The center of the layout though – it’s a burst of pattern and color. I included a few chipboard and sticker icons to highlight my theme and break up some of the angular edges.
Look beyond the theme in I AM and focus in on those pieces that help you tell a different story!
Here's a look at my Life Documented Planner and how I'm setting it up for the coming month. I used some leftover pieces from my project with the I AM collection to decorate the monthly planner pages.
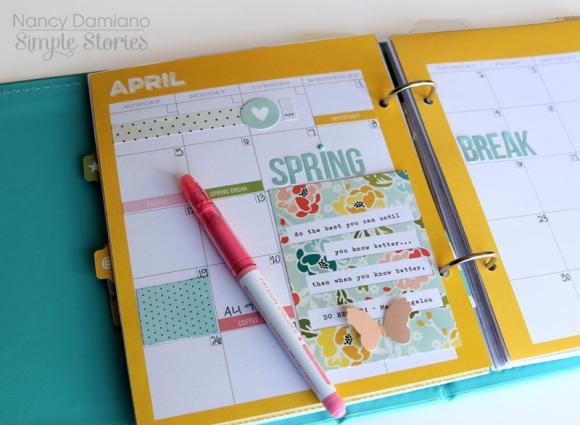
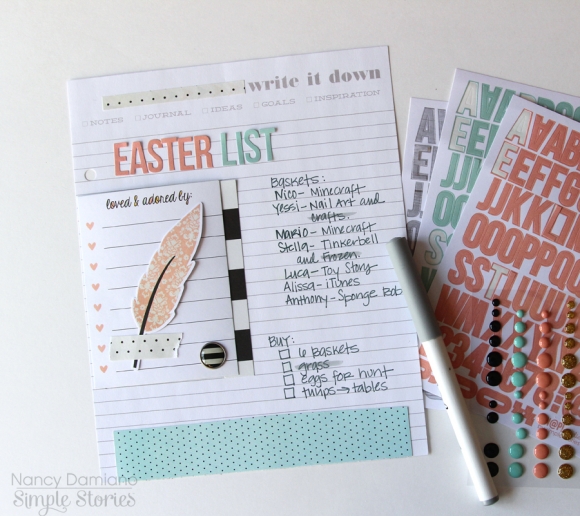
Getting ready for the Easter holiday and planning all of the baskets that I will be making this season. I used the pale pink and blue accents from the I AM collection to give this list a pretty Easter feel.
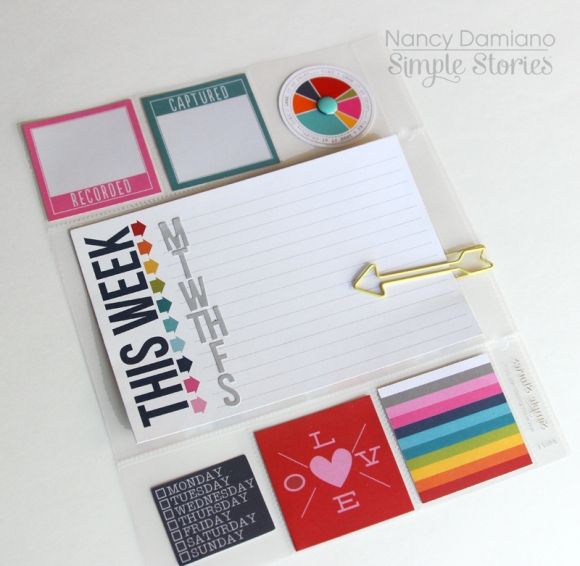
To end the month I used a divided pocket page and the Fresh SN@P! Pack to add a punch of color to my planner. It matches the monthly planner pages nicely and gives me a spot to plan out things I need to create.
Take a second look at the I AM Collection and be sure to use it to tell all of your stories!

Hi Everyone! Marie here today to share some pages I made using the new Fresh SN@P! Pack. I am continuing to make monthly album pages, and the bright colors were exactly what I wanted for my spring photos.

I have become a big fan of SN@P! Packs because each package is full of options for all different sizes of Pocket Pages. On these pages I used several sizes of photos (6x8, 2x2 and 3x4) and the SN@P! Packs have cards and embellishments to use for each pocket size. They also come with cards in 3x3, 4x4, and 4x6, plus Bits & Pieces. You can use the cards as they are, or layer them together to make your own.

On my first page I printed a full-size 6x8 photo, and all it took was a couple of the bits and pieces to dress it up. Everything is already color coordinated for you, so it's just a matter of picking your favorite designs.

On the following page I used 2x2 photos, and there were 34 cards in that size to choose from in my pack. I picked out my favorites for this page and still have more for another page or two.

On my final pages I used 3x4 cards layered with some of the bits and pieces. It's a lot of fun to mix and match them.
If you are looking for a quick way to build your pages, especially if you are using different sized pocket squares, I highly recommend checking out the SN@P! Packs. They will make putting your pages together a breeze!


Hello Simple Stories fans!!
While the success of the I AM... collection is well deserved (I love that we are encouraging people to document themselves in their projects!), I am always a fan of trying to think of a different way to use products. So I challenged myself to use I AM... on a pocket page all about the One Direction concert my daughter and I attended last summer. SO many of the stickers and embellishments had phrases that seemed to fit perfectly with the good fortune we had when finding these tickets, so I ran with it!

Still a fan of the 12x12 pocket page that has this 6x8 pocket, I knew it would be perfect to have enough space to tell the story of lucking out with $50 floor seats to a sold out show. I chose one of the I AM... SN@P! Pages for the base and started writing down the story. There was enough room at the side to attach one of our wristbands and the rest of the page fell together with a few of our favorite photos from that night.

It wouldn't be right NOT to include our tickets, so I adhered them to a piece of 3x4 cardstock and slipped them into a pocket. This pocket page has all 4x6 photo slots, but to switch up the look overall, I just paired (2) 3x4 cards within one pocket...totally changes the feel of the page and allows you to include other items besides 4x6 photos! The Simple Stories 'nothing but blue skies' die cut file from the Silhouette store was perfect for expressing the 'cloud 9' vibes my daughter had the entire day. Again, I just adhered it to a base 3x4 card and added stitching.

My favorite photo of the whole event is the one of her at the top left of the project...in her element, enjoying the experience as a whole. She told me this was the greatest night of her life, and that photo says it all. I added a journaling card next to it with a few more thoughts and added a few of the photo stickers...again, using (2) 3x4 elements in a 4x6 pocket.
The 6x8 pocket ended up telling the story, and since the floral pattern on the chipboard I AM... didn't quite fit the rock concert vibe, I colored it with a gold Sharpie marker. After layering a few stickers + spray mist on and around it, I stopped...I could have layered my little heart out, but wanted to focus on the story for this one.
I plan on using the I AM... collection for plenty of projects about my little family of three, but wanted to encourage you to take a second look at it for more than just the obvious. :)

Hi everyone! Shellye here to share an easy-to-make gifting mini album using the "I Am" Collection.
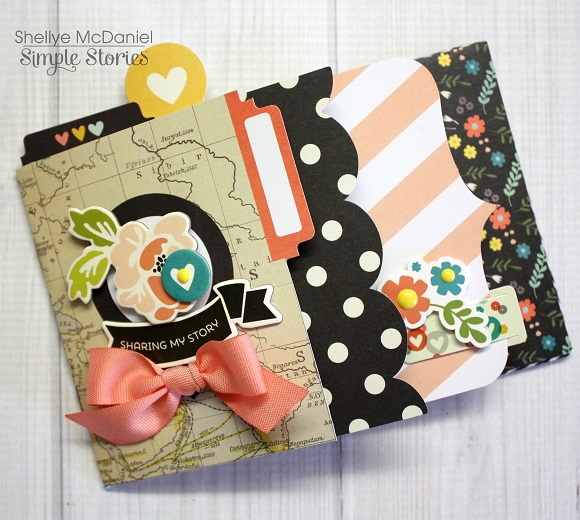
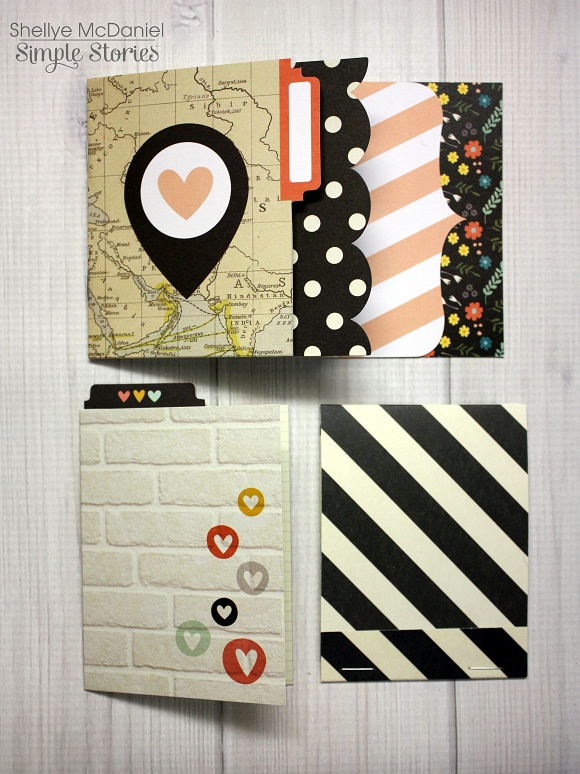
To begin I started with three of the components from the Interactive Elements: the larger 4X6 flip element, the matchbook element and the tri-fold element:
I adhered the two smaller elements to the inside pages of the 4X6 element with a high-tack adhesive.
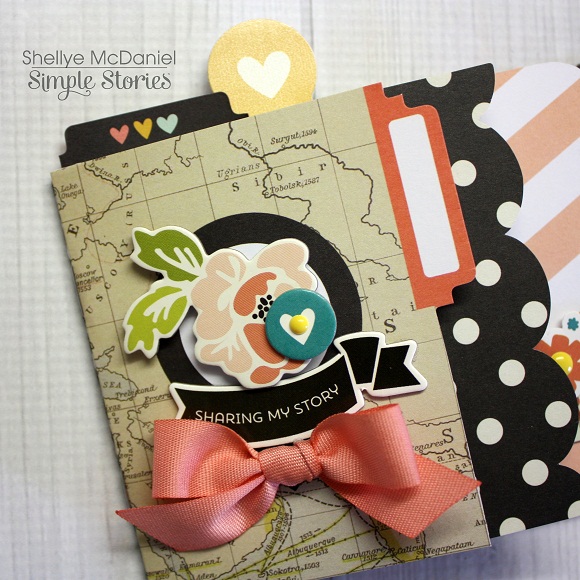
The front was decorated with chibpoard stickers and a ribbon bow.
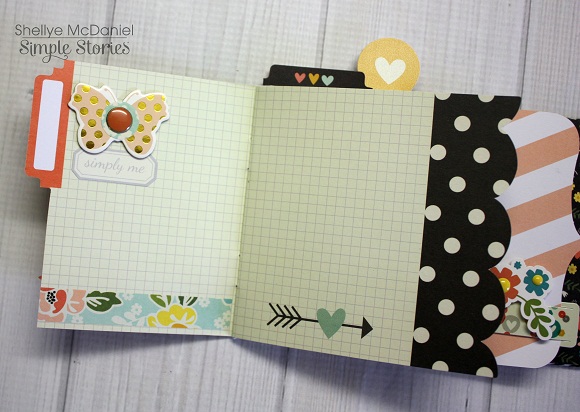
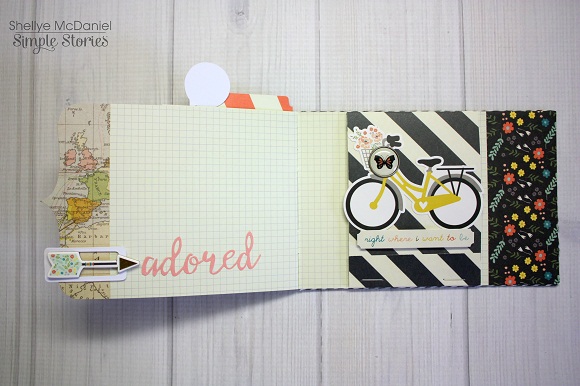
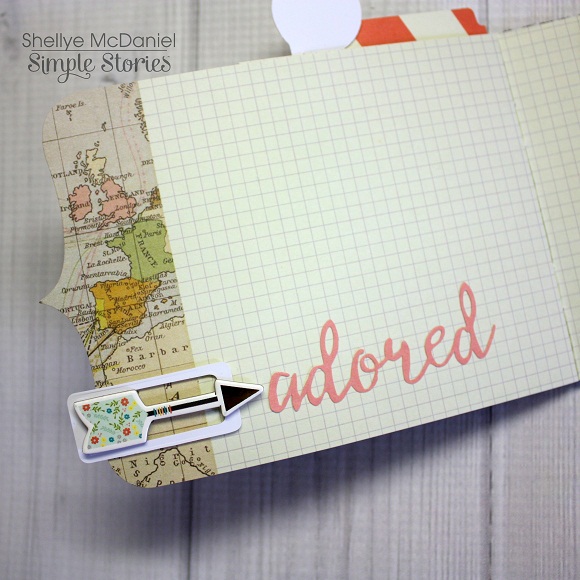
When the album is first opened, the original pages from the 4X6 element is given. I added a strand of washi tape, a chipboard butterfly, etc. The opposite page was left blank.
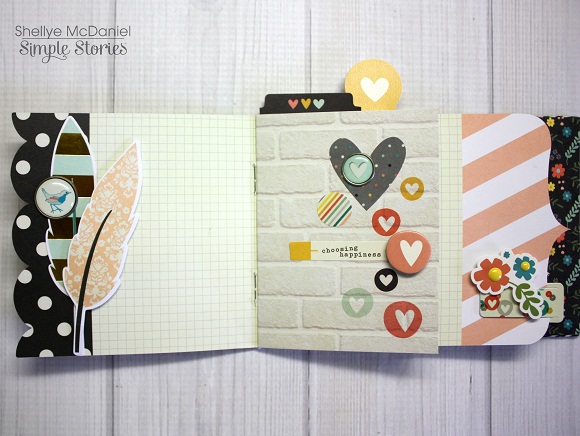
When the page is turned, you will find the tri-fold element has been added to the right-hand page.
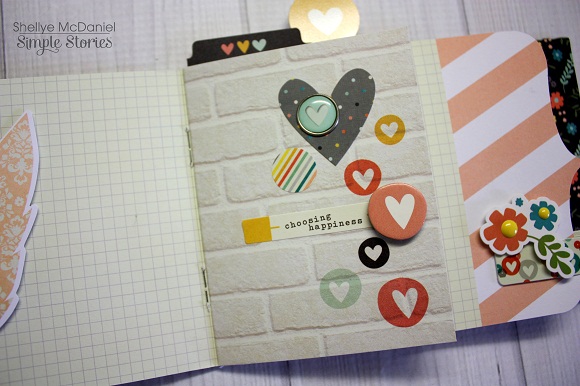
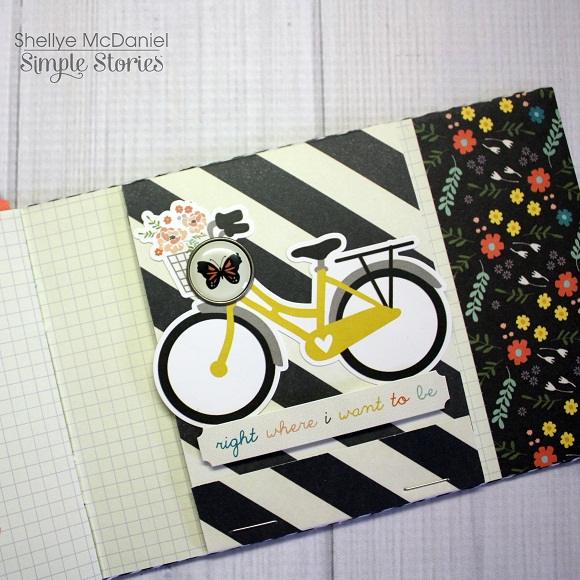
Here is a close-up of the front of the tri-fold.
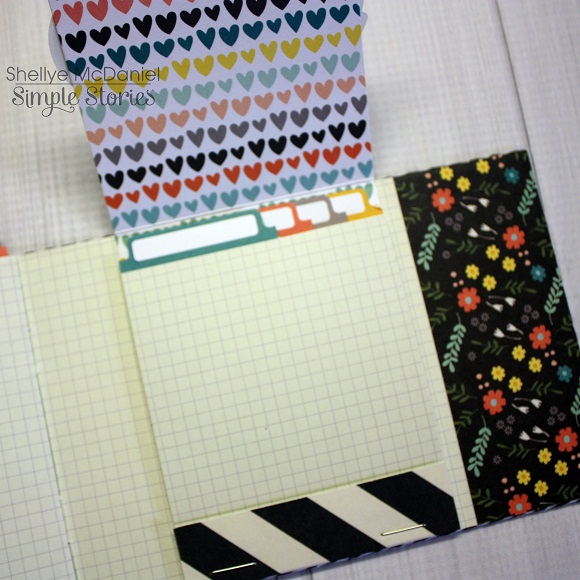
To the inside of the tri-fold, a 3X4 journal card was attached. The other pages were left plain so that small photos or journaling can be added.
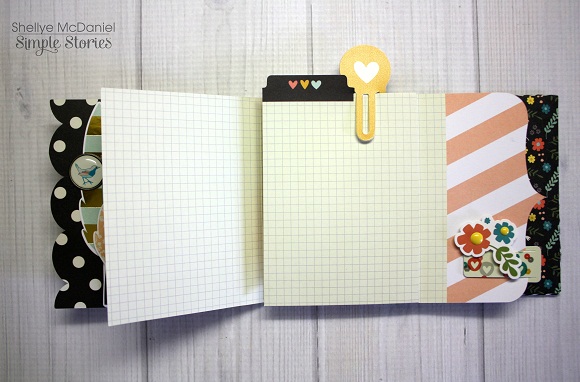
As you go further into the 4X6 flip element, the pages get larger. The left-hand side of the page was lightly embellished and the right-hand side is where the matchbook-style element was added.
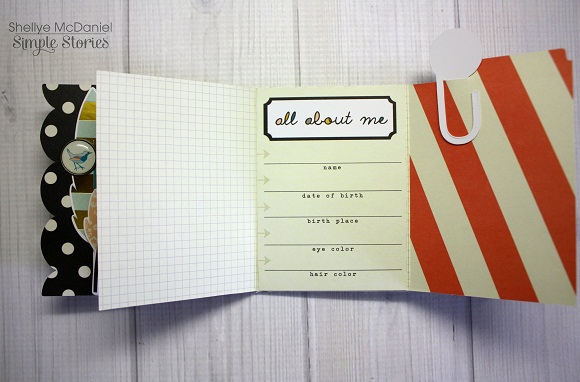
Just the front of the matchbook element was embellished; the inside pages were left as-is.
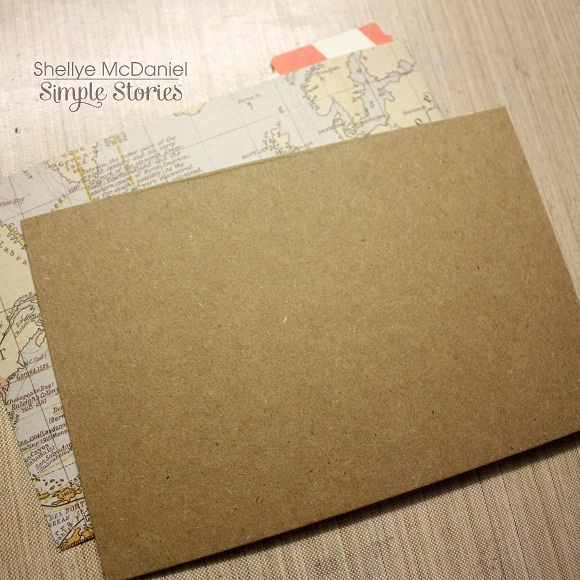

I wanted the back of the album to be a bit more sturdy, so a piece of medium-weight chipboard was cut slightly smaller than the 4X6 size. After adhering the chipboard to the back page, a covering was made by adding one of the 4X6 journal cards.
Now I have the perfect little girlie-girl gift on hand...with a teenaged daughter, we're always needing a last-minute gift for a friend :)
Thank you for joining us today!