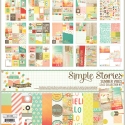
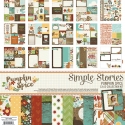
Hi Simple fans, Audrey here! Today I have some fall card ideas to share with you, made with our adorable new autumn-inspired collection, Pumpkin Spice.  I absolutely love the warm colors and prints in the Pumpkin Spice collection. For my first card, I pulled together an earthy palette of patterned papers for my jumping off point. The green and brown prints have a natural feel that work well all year round, but bringing in a touch of orange and russet definitely says fall is here.
  I always love working with the chipboard pieces on card designs, as they provide a great framework for my focal point. In this case, a cute fall garden scene made up of die cuts from the Bits & Pieces ephemera pack. I added a die cut cloud image above the frame to extend the view, and popped some of the images up with foam adhesive for a bit of extra dimension.
  The background is made up of a mixture of prints from the 12x12 Collection Kit and the Simple Basics Kit. I added machine stitching to help define the layers. And a scalloped cardstock sticker snipped into several sections adds a final little detail and pulls it all together.
  My second card is a smaller 3.5" x 5" design, that also utilizes a fun Pumpkin Spice chipboard frame to ground my happy little fall scene.
  Simple Stories offers so many awesome embellishment choices, that it really is easy to create adorable focal point scenes. This one is made up of more Bits & Pieces die cuts along with that cute chipboard pumpkin. The backing is one of the 3x4 journaling cards from the SN@P packs. Love the green slope. Makes an instant hilly background with literally no effort.
  The card base was once again pieced from the 12x12 papers with a thin sliver of the Simple Basics prints. Simple and sweet! I hope you enjoy!
September 2015 Blog Posts

Supplies
Howdy friends! Every so often we're happy to feature a company that purchases our products, makes some pretty cool kits with them and then offers them to consumers. With that said, we're happy to introduce you to The Button Farm Club! They've created an amazing mini book kit featuring our We Are...Family collection and have offered us a kit to give away to one of our random lucky readers!

The Button Farm Club offers exciting paper crafting project kits exclusive to club members, featuring the hottest materials on the market. You can expect the same high quality kits that you have enjoyed from The Button Farm in the past. Each kit is thoughtfully planned, packed and delivered to your door monthly, complete with full color detailed instructions. What makes The Button Farm Club different from other clubs? Their Fabulous Designer!! Angela Moen put in long creative hours designing your kits. Each Kit comes with step-by-step Full Color Instructions. You can follow along or alter your kit to fit your needs. One of the most unique and fun features of the Button Farm Club is the altered project included in each kit. From clipboards to mini albums,to tag books, there will always be something fun to create each and every month. These altered projects can be used as meaningful gifts or priceless family treasures. Silver and Gold members will get a free bonus kit every six months!! For membership information you may email Laura@buttonfarmclub.com or give them a call 918 207 9515.
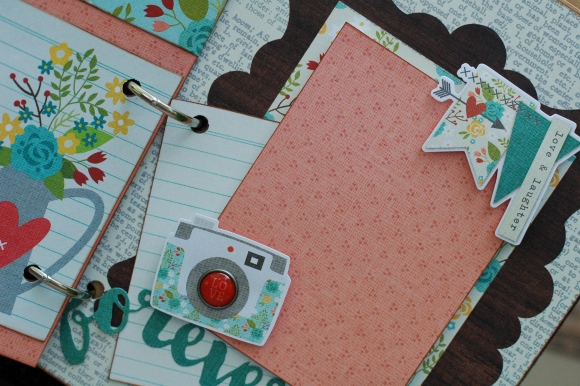
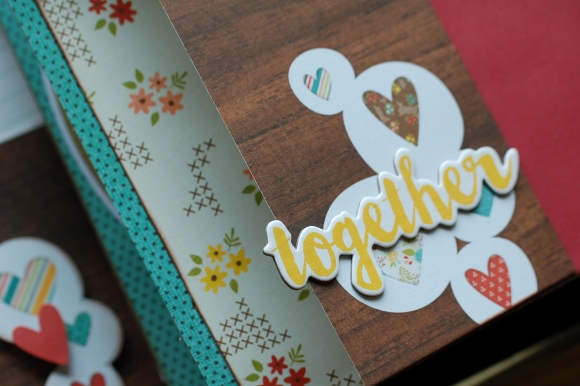
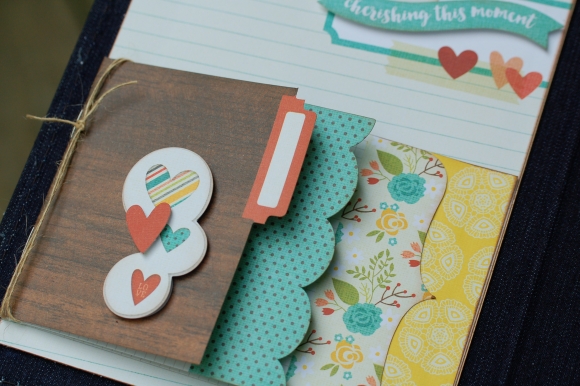
Here are a few pictures of the completed mini book from their We Are...Family kit -

If you'd like the chance to win one of these amazing kits from The Button Farm Club, enter via the Rafflecopter widget below by end of day Tuesday, September 22nd by midnight mountain time and we'll pick and announce the random lucky winner here on the blog on Wednesday. Good luck!!
Visit The Button Farm Club on their website for more information about their kits!


Supplies


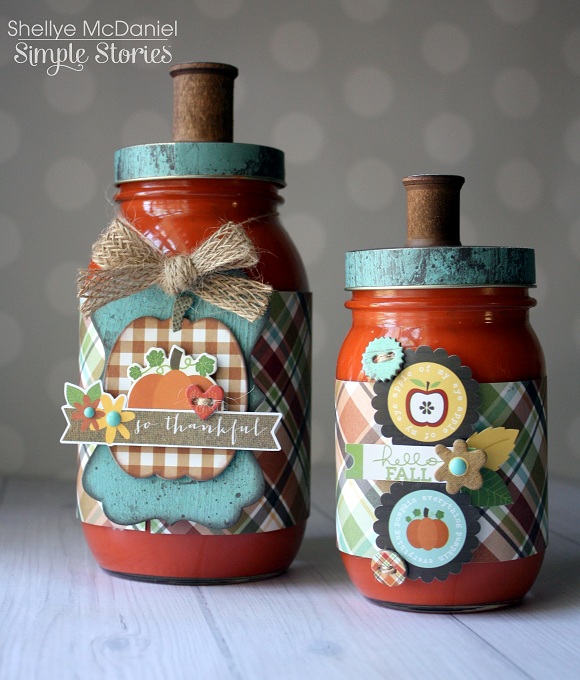
Create this pumpkin duo with your favorite pieces from the "Pumpkin Spice" Collection, a couple of recycled glass jars and burnt orange acrylic paint!

Before decorating either jar, a generous amount of burnt orange acrylic paint was squirted into the bottom. After reattaching the lid (securely), the jar was shaken and rolled around until the interior was completely coated. Next, I placed the jars upside down onto a thick mat of newspaper and allowed the excess paint to drip off. You may need a sponge brush just to touch up some spots if needed. I also used a heat tool (or hair dryer) to complete the drying process.
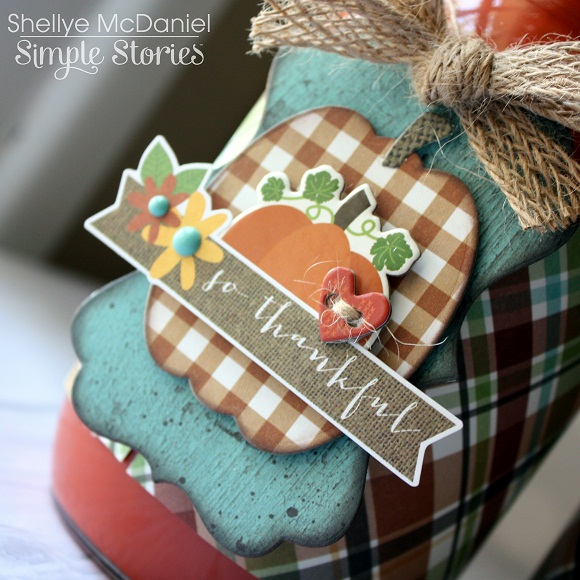
The largest pumpkin is a standard Mason jar size. To it, I cut a strip of "Autumn Splendor" paper to 3.75"X12" and taped it in place around the jar with high tack adhesive. I used a couple of dies that I had on hand to create a cute tag for the front. The tag was distressed around the edges with a walnut ink and then embellished with goodies from Pumpkin Spice.
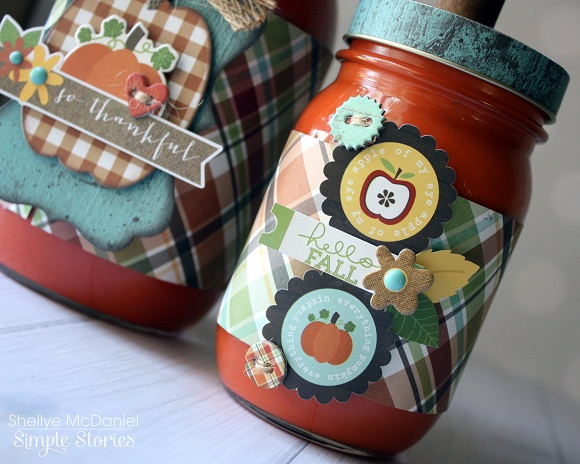
The second pumpkin is a smaller 2.75"X5" jar. The same paper was cut to 2.5"W and just enough to wrap around the jar completely. After threaded the chipboard buttons with jute, they were attached with a glue dot.
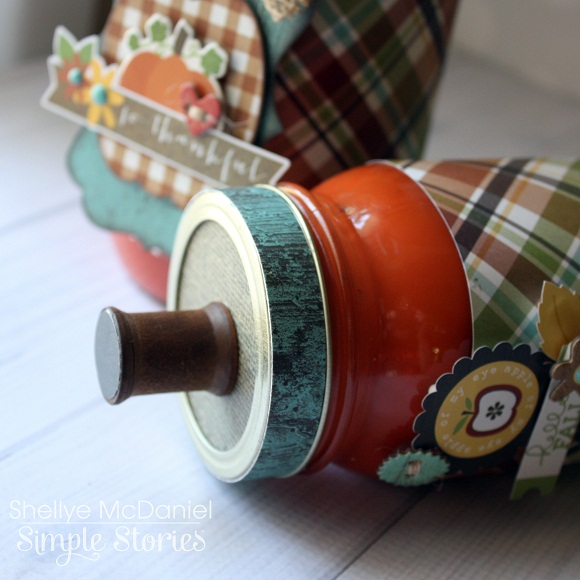
The bands of the lids were covered in a strip of the turquoise barn wood paper from the Simple Basics pack. A wooden spools was inked with walnut ink and added to the top for the stem.
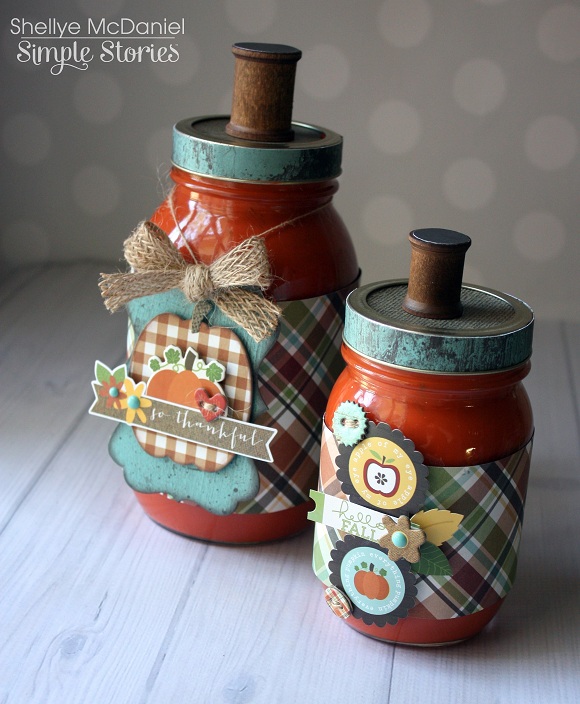
What an adorable display or gift for the upcoming Autumn season! I can't wait to share them with my visiting guests soon. I hope you've enjoyed!
Supplies

Click here to download your free copy of the We Are...Family SN@PBOOKING Guide or visit the Project Downloads page to download it as well as other free downloads!
Howdy! Layle here with you today. Welcome to Day 5 of the Simple Stories & The Cut Shoppe Product Swap!

Both design teams have swapped products and will be sharing on our blogs all week long. Join us for some great inspiration as well as a chance to win a prize package from both The Cut Shoppe & Simple Stories!
Today design team member Ashley Horton wraps up our week with The Cut Shoppe with 2 fabulous layouts! And hey, did you know she's also the talent behind The Cut Shoppe?!
________________
One of my favorite looks to use on a layout, is a large die cut backed with multiple patterned papers. I started this layout by cutting the I Heart Plaid cut file from the So Very Loved patterned paper in the We Are Family collection. Once the heart finished cutting, I used a mix of patterned papers from the collection to back the inside shapes of the heart. This is a great technique if you're using papers from a 6x6 paper pad, or have a lot of scrap pieces that you want to use up!
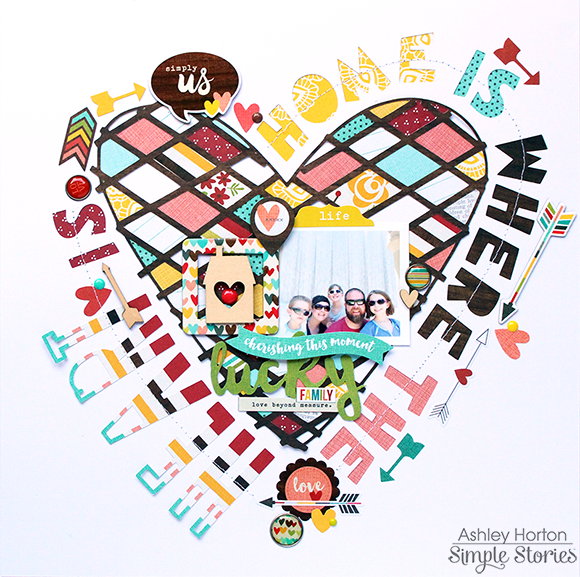
After I finished backing all of the open spaces on the heart, I added it to the center of the layout. Then I backed the words in the title, that I also cut on the Cameo, with some of the same patterned papers. I wanted to add a positive and negative look to the title around the heart, so I also cut the word "Heart" from the Tall Type cut file set. I wanted the word to stand out, so I enlarged the letters and cut them from the Making Memories patterned paper.
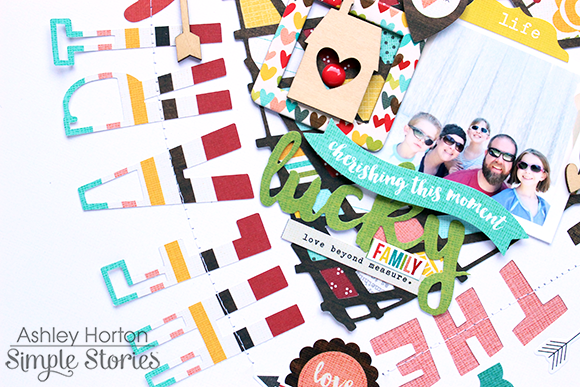
When the title work was finished, I added my photo to the center of the heart. I like to layer my photo and embellishments over the die cut elements, to give dimension to the layout. I also like to draw attention to my photo, by clustering various embellishments, so I added some of the Bits & Pieces, stickers and wood veneers from the collection.

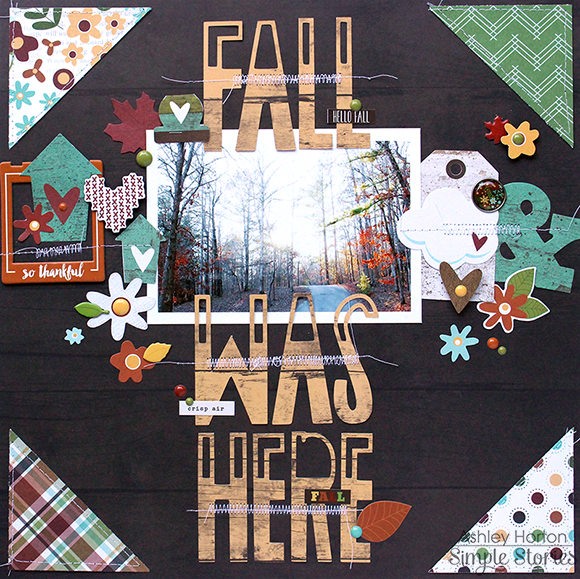
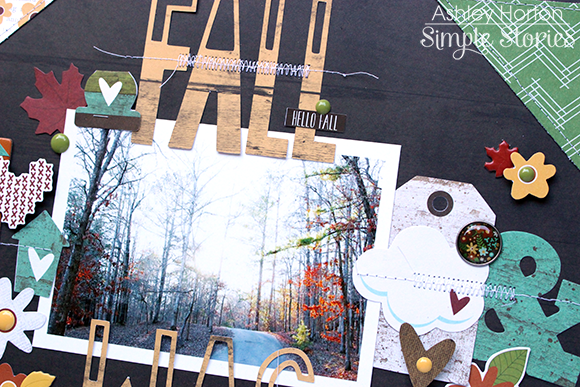
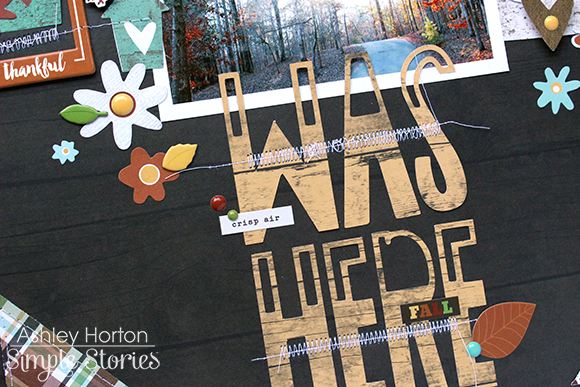
On my second layout, I used the Tall Type cut file to create a large title element. I cut the title letters from the Pumpkin Spice Simple Basics Apple Cider/Gingham patterned paper. Then I placed the title and photo on the Acorn/Gingham background paper in a vertical design.
Now for even more fun!! Enter via the Rafflecopter widget below and we'll draw one lucky winner on Sunday to win a Pumpkin Spice collection pack!
After you enter, head on over to the The Cut Shoppe blog to see what their team has created. Make sure to enter there as well - they're giving away a $25 gift certificate to their store!
Want to follow The Cut Shoppe and keep up with all of their great projects & products? Here you go!
Website: https://www.etsy.com/shop/TheCutShoppe?ref=ss_profile
Facebook: https://www.facebook.com/thecutshoppedigitalcuts
Instagram: thecutshoppe
Blog: http://thecutshoppe.blogspot.com
We hope you've enjoyed the swap this week with The Cut Shoppe and have been inspired!!

Howdy! Layle here with you today. Welcome to Day 5 of the Simple Stories & The Cut Shoppe Product Swap!
Both design teams have swapped products and will be sharing on our blogs all week long. Join us for some great inspiration as well as a chance to win a prize package from both The Cut Shoppe & Simple Stories!
Today design team member Nicole Harper joins us with a pocket page
________________

I am a HUGE fan of clear elements in my pocket pages these days, and the transparency pieces in the Summer Vibes collection kit seem made to shine all on their own. I used several die cut shapes from The Cut Shoppe, love how easy they are to use! The 'lifeguard on duty' cut file from Life's A Beach set in their shop paired perfectly with a photo of my daughter + her fellow coworkers from this summer. I cut it from white cardstock, and then added gold metallic embossing powder to it...then just stapled it to the 'hello' transparency and slipped it into the upper right pocket.

It's fun to kind of get a 'sneak peek' of what's coming up on your next pocket page by allowing the transparencies to stand alone.

The EmotiCards set is right on trend and cuts like a dream...I backed the 'happy days' card with the B side of a 3x4 Summer Vibes card and added a few doodles. After placing it into a 4x6 pocket, I reailzed that the van diecut fit perfectly alongside it, so I just tucked it in the same 4x6 pocket. Again, this allows for some 'clear' pocket space, which I LOVE!! The 2x12 pocket along the left side was filled with some random Bits & Pieces, and I sealed each little pocket with the Fuse tool (WOW!!)...versatility at it's finest, and I didn't have to limit myself to just one or two diecuts. ;)

Just a friendly reminder, that photos are for embellishing as well...they aren't sacred relics that should only be handled with care, lol. I added stickers to both of the photos at the bottom of this page, so don't hesitate to give it a go!! ;)
Don't say farewell to summer just yet...there are still plenty of warm + sunny days ahead!!
:)
________________
Now for even more fun!! Enter via the Rafflecopter widget below and we'll draw one lucky winner on Sunday to win a Pumpkin Spice collection pack!
After you enter, head on over to the The Cut Shoppe blog to see what their team has created. Make sure to enter there as well - they're giving away a $25 gift certificate to their store!
Want to follow The Cut Shoppe and keep up with all of their great projects & products? Here you go!
Website: https://www.etsy.com/shop/TheCutShoppe?ref=ss_profile
Facebook: https://www.facebook.com/thecutshoppedigitalcuts
Instagram: thecutshoppe
Blog: http://thecutshoppe.blogspot.com
Join us again here tomorrow for more inspiring projects!

Supplies