Kelly Alexandra's Blog Posts

Hi everyone, it is Kelly here today on the Carpe Diem blog. Today I will show you how I have decorated my February planner spreads with gorgeous florals from the Kissing Booth collection by Simple Stories. I am still using my color wash A5 Carpe Diem (one of my absolute favorites) and the ‘Hello’ monthly inserts.

I used the ‘Always be true’ paper from the collection with some gorgeous florals as a background. I cut the paper to size and used the planner punch to punch six planner holes. Next, I layered some pieces of papers on the bottom of the page, including a little journal card to write on. I added a vacation sticker so I can make a list of some fun little things I want to do in my vacation week.

I fussycut a few florals from different papers from the collection and glued them on the ‘this month’ page. I also cut a row of little envelops from the ‘4x6 Horizontal Elements’ paper and glued them on the middle of the page. I decorated the page with some stickers from the Combo stickersheet and the planner basics sticker tablet. I use this page to get a quick overview of important to do’s, appointments and goals for the month.

I created a fun little corner bookmark by folding a piece of paper in a triangle and adding some florals and stickers. I also added a few enamel dots to make it more dimensional. Happy news: in some of the new Simple Stories collections they added matching enamel dots again. Love to use them in my planner because they do not make your planner too bulky! I can put the corner bookmark on the page of the current spread and can easily flip to it.

I hope you enjoyed reading this blog, you can find more fun planner inspiration on my instagram account. Have a nice day!

Supplies

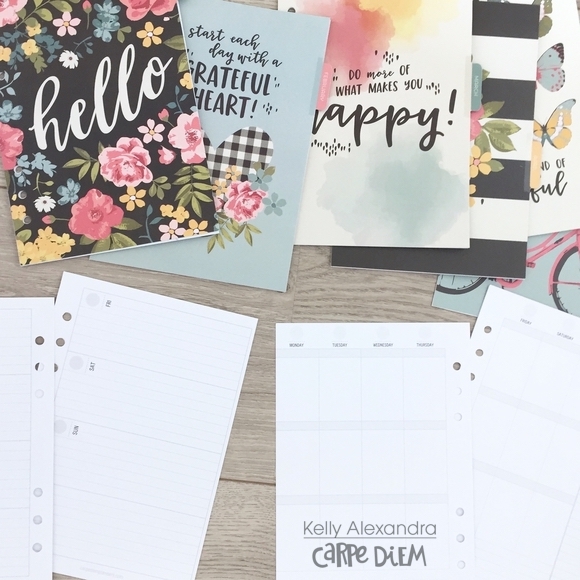
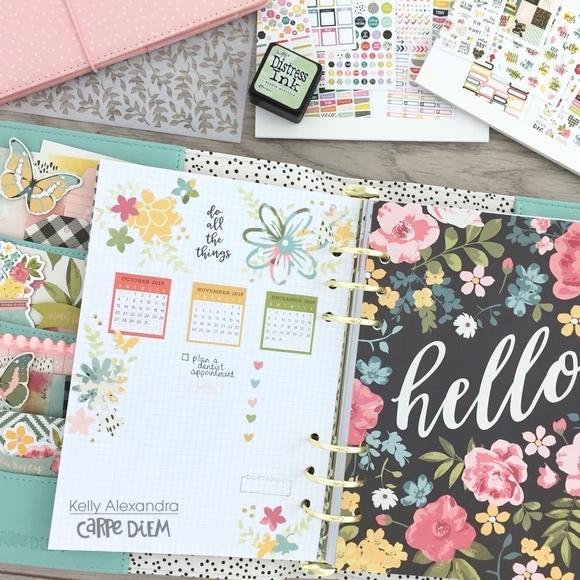
Hello, it is Kelly here today on the Carpe Diem blog. Last year I showed you how I have setup my Color Wash Carpe Diem planner for 2019 using the ‘Hello’ monthly inserts. In this blog I will show you how I have decorated my spreads for the winter.

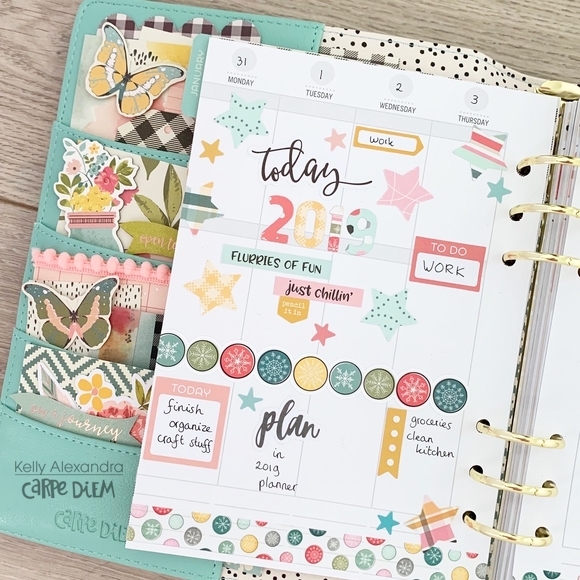
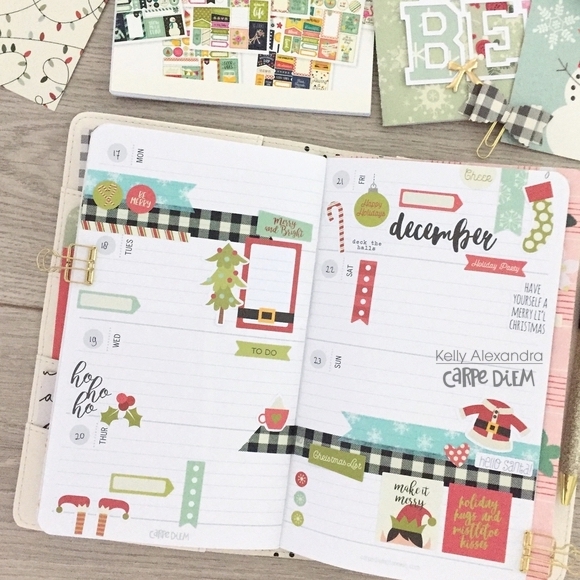
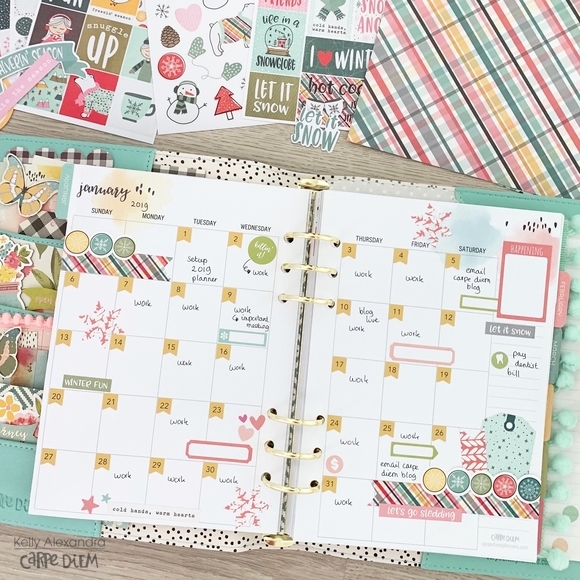
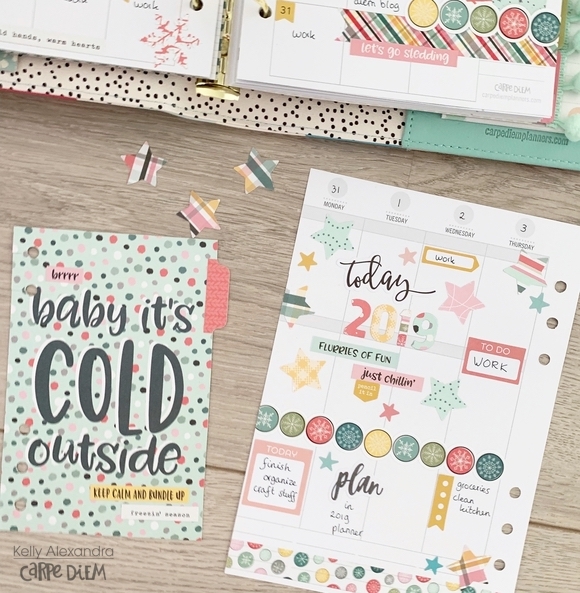
I first decorated the first week of the new year. This month, I am using vertical inserts and because I did not have very many appointments or to do’s I decided to decorate the whole page with some stickers and punched stars. I punched ‘2019’ from four different papers of the Freezin’ Season collection. I love how this spread turned out!

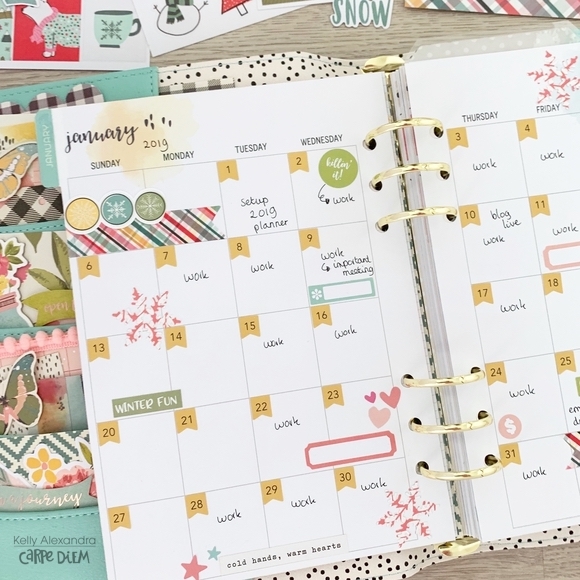
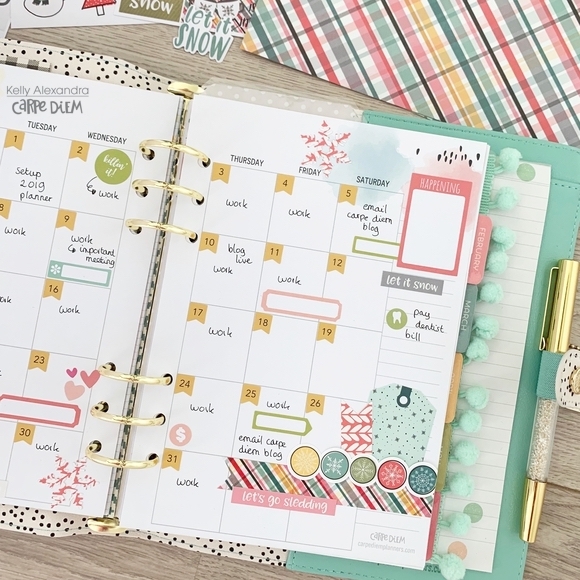
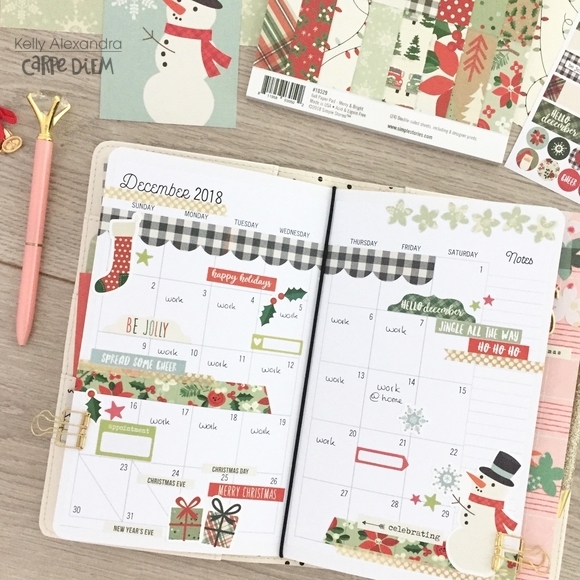
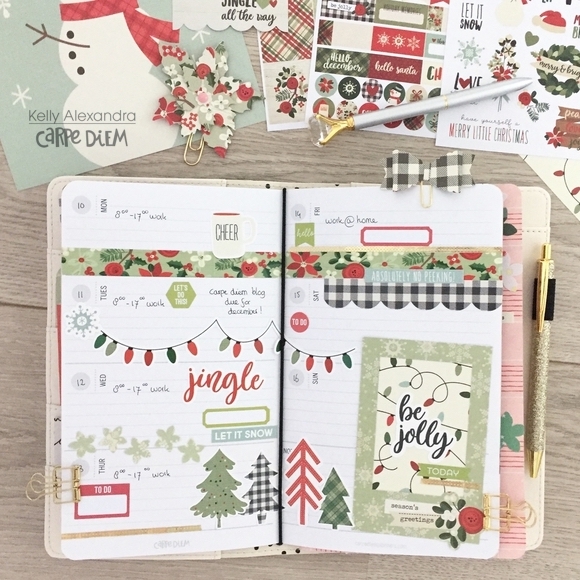
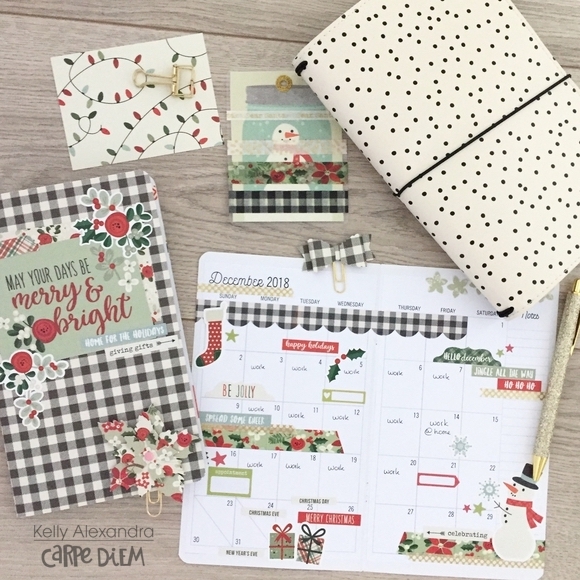
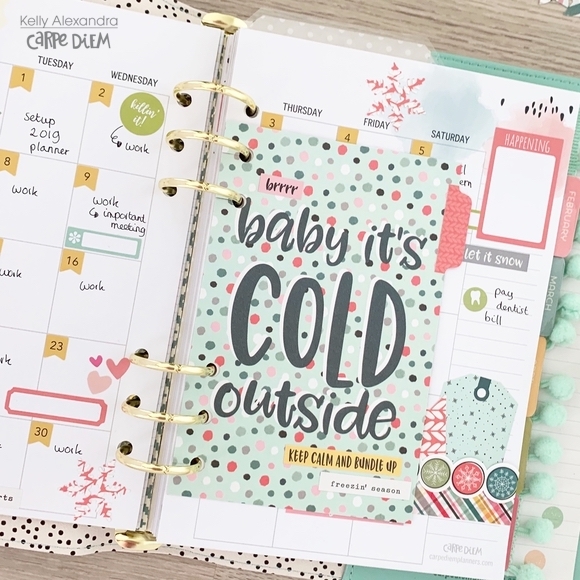
Next, I used the Numbers sticker tablet to date the entire monthly spread with the yellow flag number stickers. I added some functional label stickers from the Basics sticker tablet and decorated the page with some stickers and washitape from the Freezin’ Season collection.

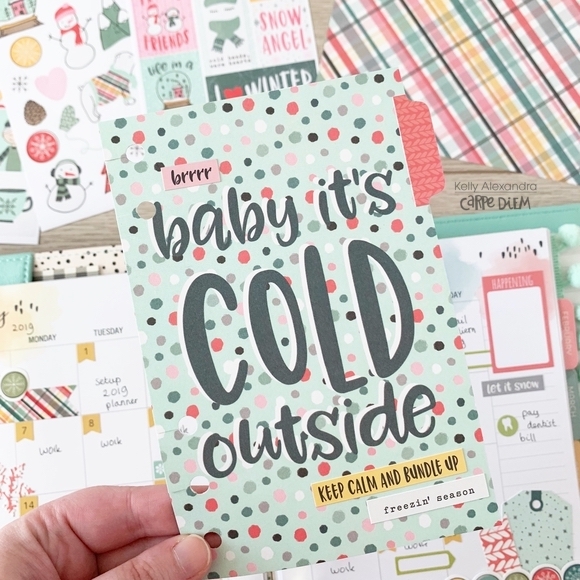
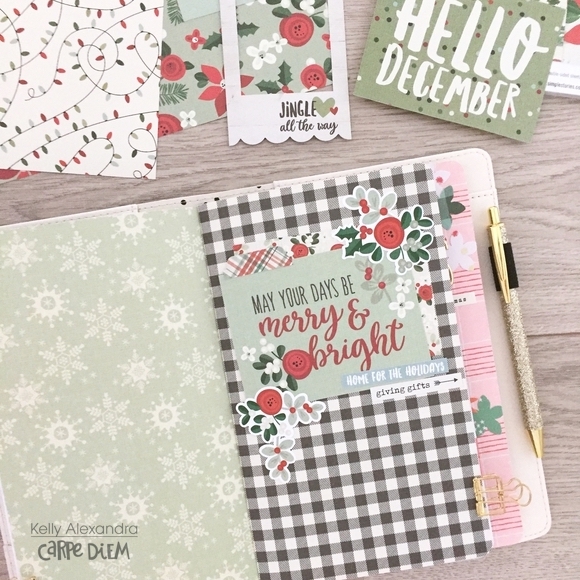
For this month I already know I have a big to do list. Therefore, I created an extra 4x6 card: I used the 4x6 vertical elements paper and cut two 4x6 cards. I glued them together and used the planner punch to punch 5 holes. I used my scissor to cut some slits in the holes so I can easily take the card in and out.

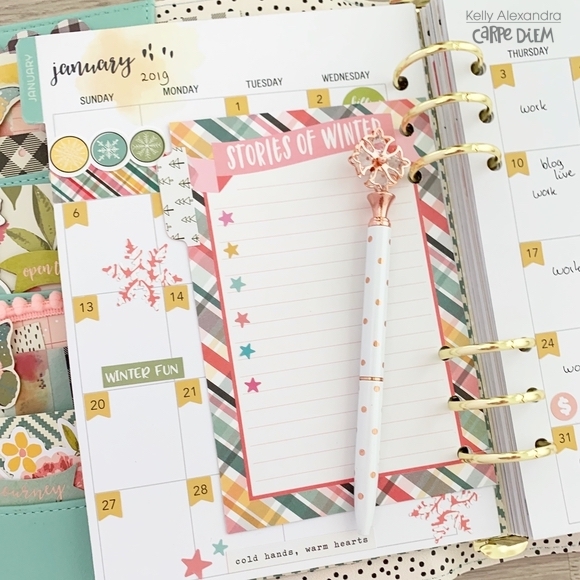
On the back side I stuck some little stars from the Basic sticker tablet to serve as bullet points for my to do list. Now I have to start writing everything down!

I hope you enjoyed reading this blog, you can find more planner inspiration on my instagram. Have a great day!

Supplies

Hi everyone, it is Kelly here and today I will show you how I have setup my December traveler’s notebook (TN). I used the Carpe Diem Cream Dot TN and the Merry & Bright collection by Simple Stories.

For my monthly spread I printed the monthly December overview from the December free printables at the Simple Stories website. I printed the two monthly pages on plain printer paper, cut them to size and glued them on blank note pages. I decorated the spread with washitape and lots of stickers from the Merry & Bright collection.

From the backsides of the 4x4 Elements paper and 4x6 Horizontal Elements paper I made TN covers for my monthly insert and weekly insert pages. I decorated the second cover with a 3x4 card and floral and word strip stickers from the combo sticker page.

I used a few pages from the weekly TN inserts and decorated the weekly spread in the Christmas theme. I used decorative stickers and pieces from the Merry & Bright collection and some red and green functional stickers from the Basics sticker tablet.

I also laminated a little 3x4 card and made a little Christmas washicard. I wrapped some of my favorite Christmas washitapes around it.

For the second weekly spread I used stickers from the December page from the Seasonal sticker tablet. These stickers match the free December printables!

I hope you enjoyed reading this blog! Check out my instagram for more inspiration Have a nice day!

Supplies

Pages