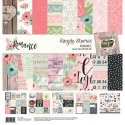
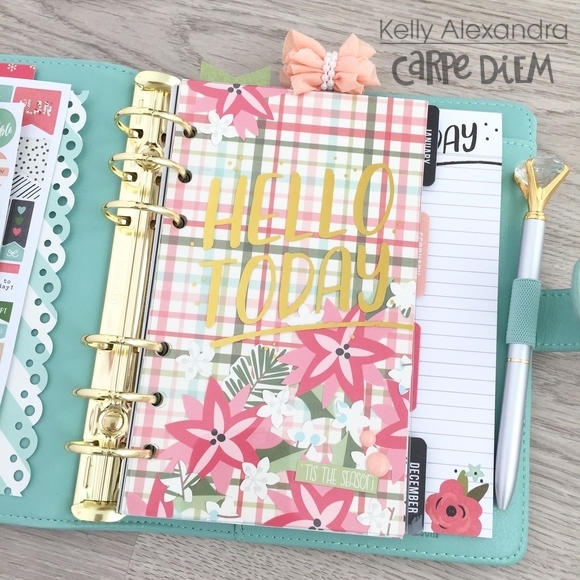
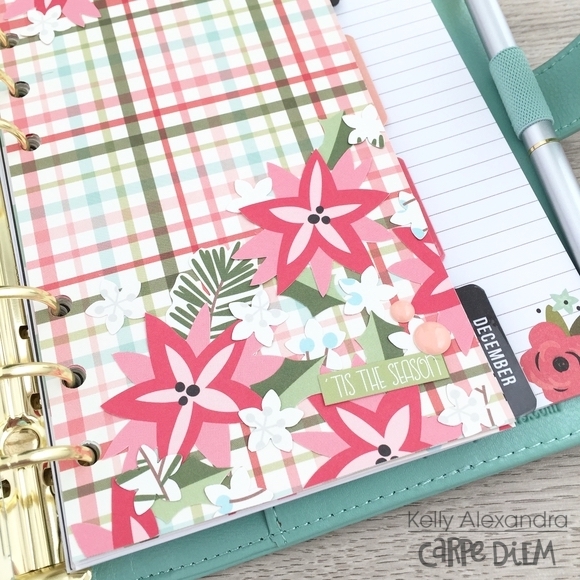
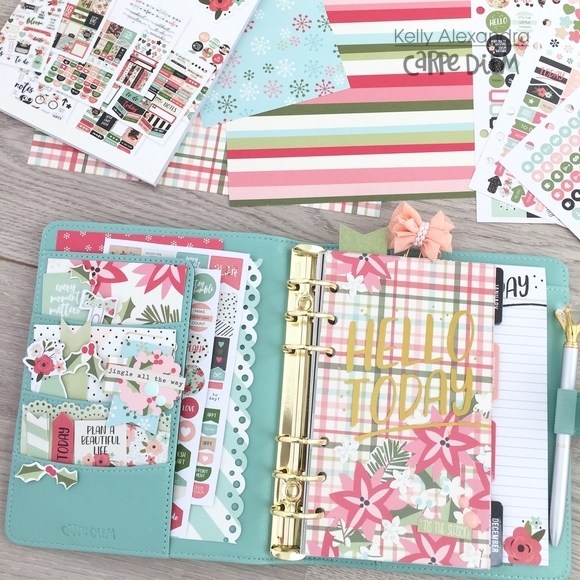
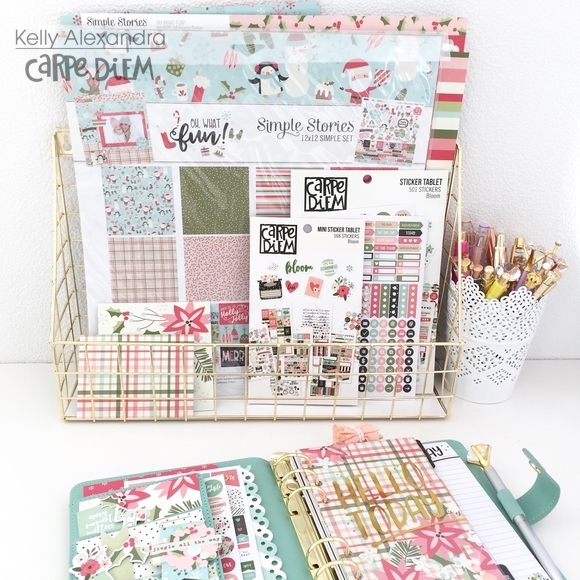
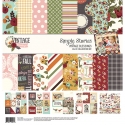
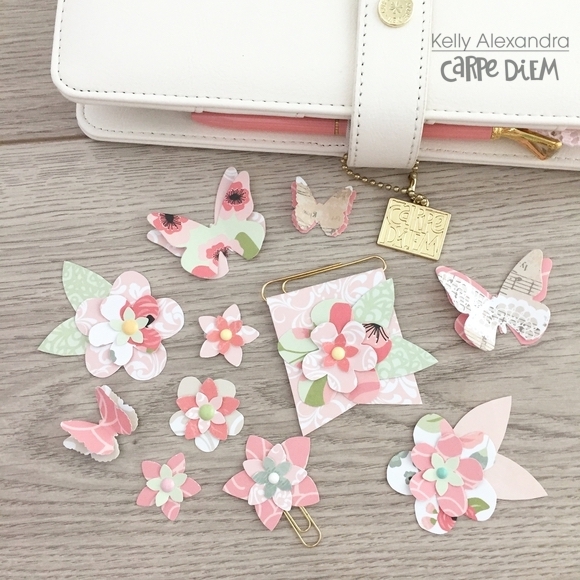
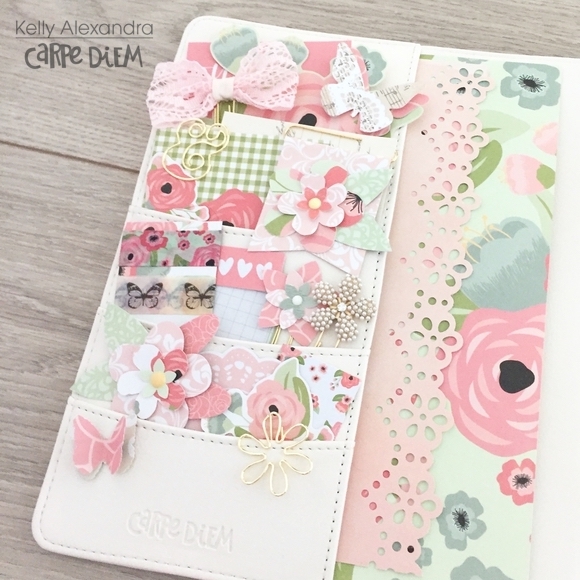
Hi everyone, a new year means the setup of a new planner! This year I decided to use the Ivory A5 planner and the Bloom planner inserts. For this setup I’m using the new Romance collection, and I created some diy layered flowers and butterflies to use as decoration.
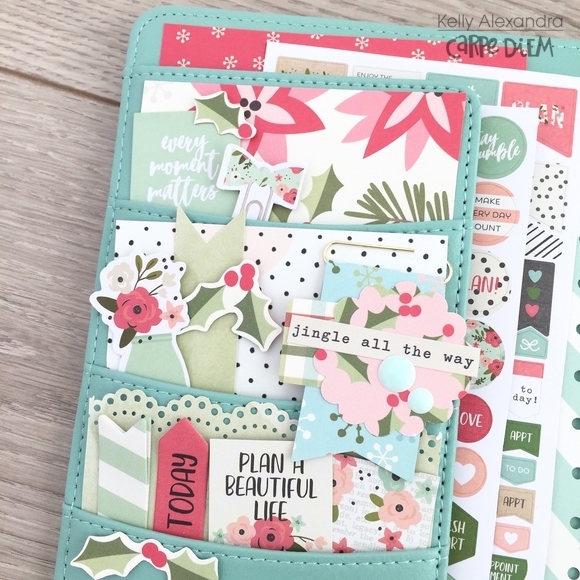
I stuffed the pockets with some bits and pieces, paperclips, cards and a little washi sampler from the Romance collection.
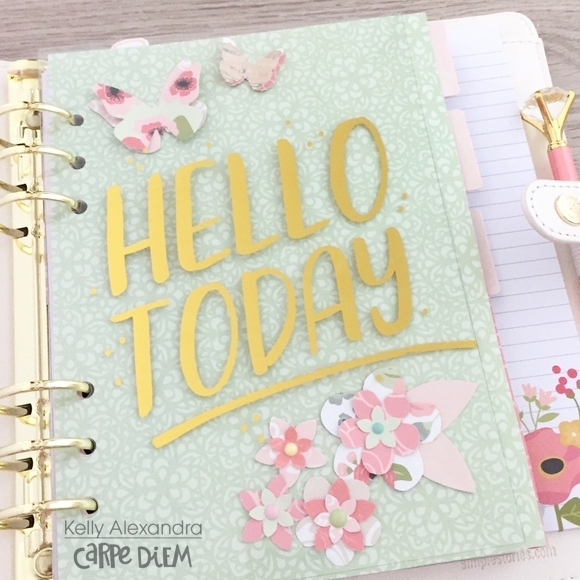
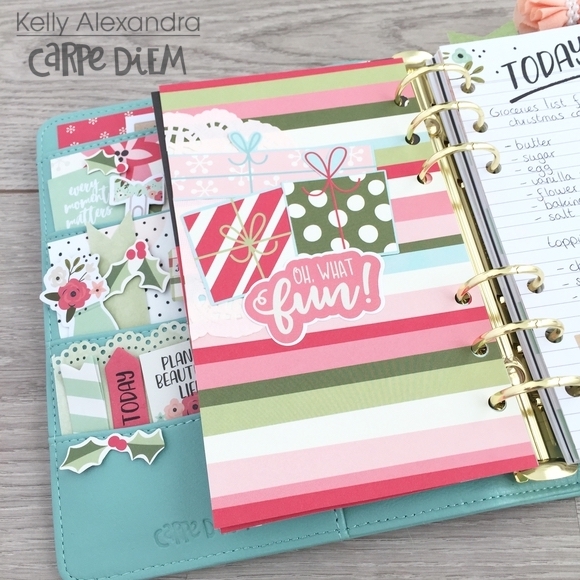
I used scrapbook papers to make my own dividers; I chose five different patterns that coordinate well together.

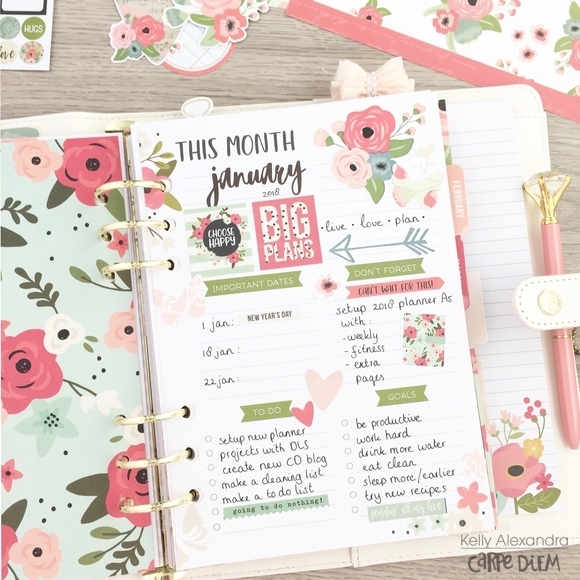
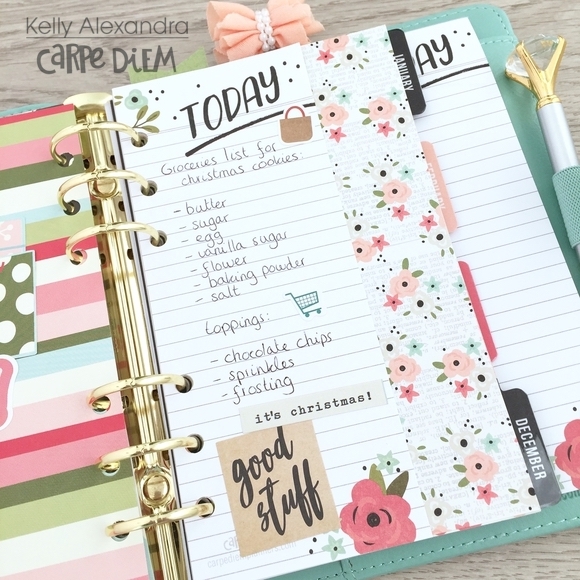
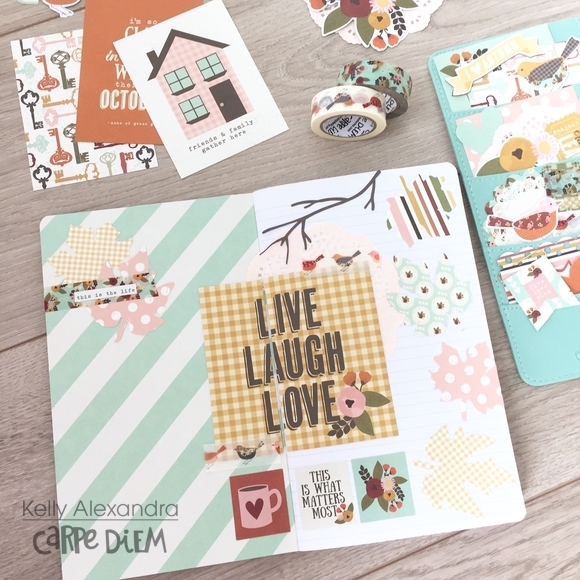
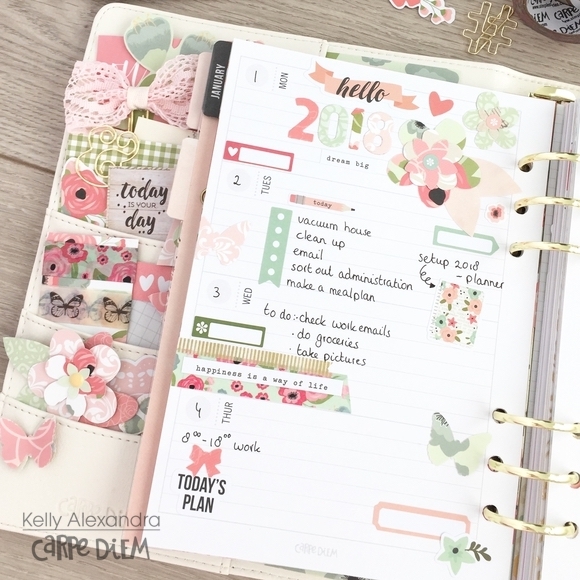
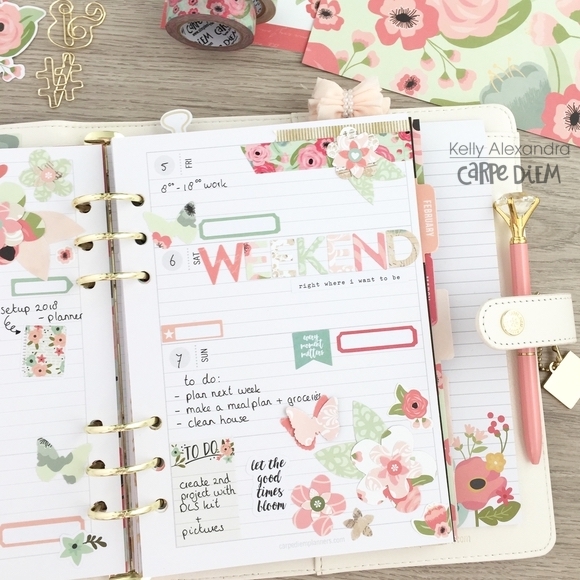
I love to decorate the ‘This month’ page, I use it to write down my goals for the month and important things I need to do. I decorated the first week of the year using planner stickers from the Bloom sticker tablet, some washitape and my own layered flowers and butterflies.
I hope you enjoyed reading this blog and looking at the pictures of my planner! You can find more spreads in my Carpe Diem planner on Instagram createplannernl https://www.instagram.com/createplannernl/