July 2018 Blog Posts

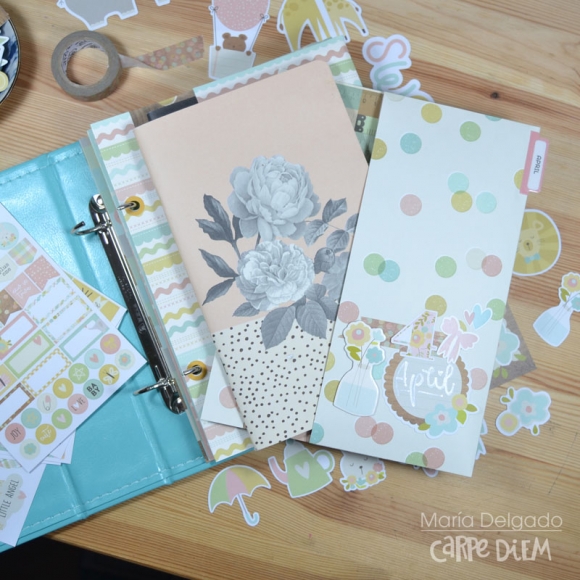
Hello friends! It's María back, this time I will share with you a way to store our bullet journal inserts.  I was thinking about this for a while. I kept them in Traveler's notebooks, but I thought that making a file could be more practical.

I thought that using a the Faux Leather "6x8 Sn@ap" album would be a good idea. I chose the teal color, it's beautiful! And it matches perfectly with the collection that I have chosen.

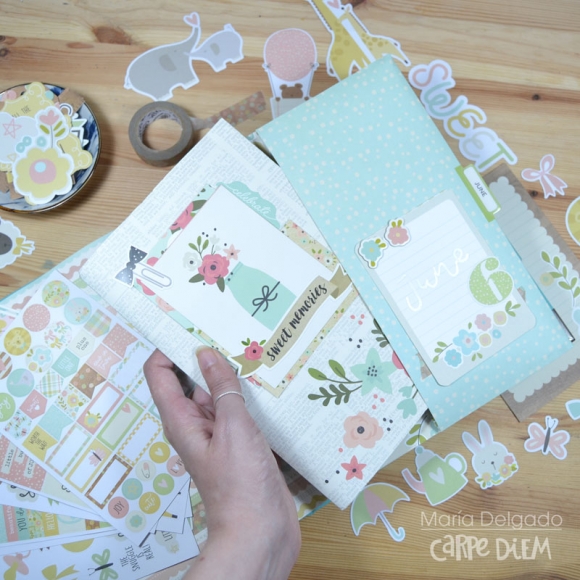
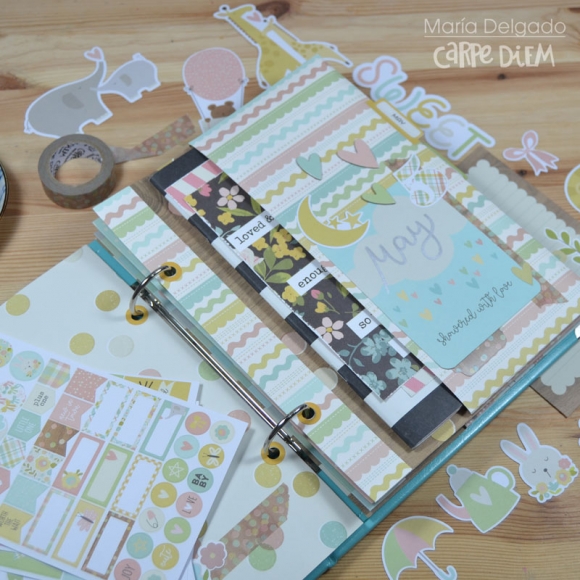
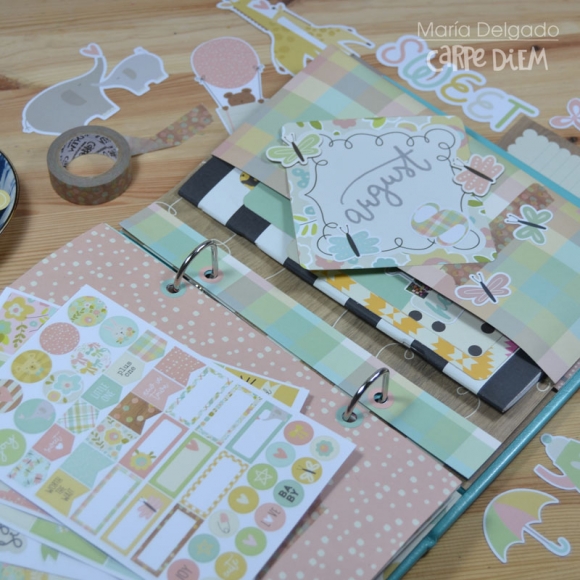
The collection "Oh Baby!" I fell in love from the beginning. The colors and patterns are beautiful (even before you know you are pregnant). With the 12x12 papers I have created some pockets to put the notebooks in.

The "Tabs Sticker Tablet" along with "Clear Tab Stickers" have been perfect to create tabs in each of the pockets. I have decorated them with the washi tape, stickers and chipboard of the collection, they are adorable!

See you next month with a new post to decorate your bullet journal.

Supplies

Hello Simple Stories Friends!

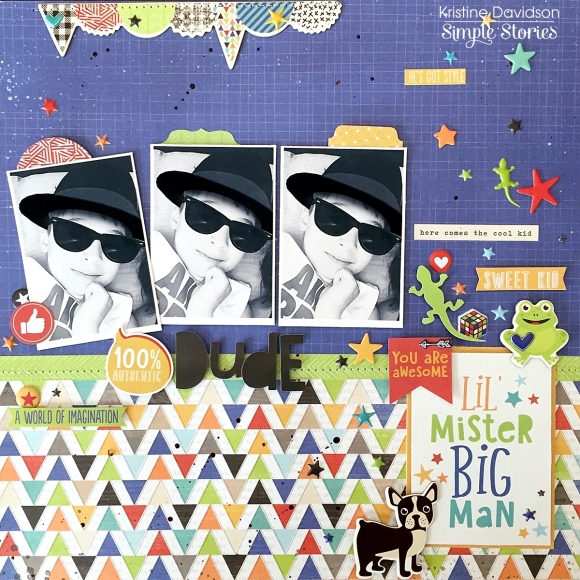
It's Kristine here today and I am excited to share a layout with you using the super cute collection called Lil' Dude!  The elements in this collection are sooooo cute -- dinosaurs, cars, dogs, and so much more. It's a great collection for silly boys in your life - a birthday perhaps or in my case a nephew playing with Snapchat filters!

I wanted to create a layout with a few pics but since I only had 1 good one of my nephew being a little dude I printed 3 of the same pic in a 3x4 size. I like the look and to balance it out I used a 3x4 element card on the right hand corner.

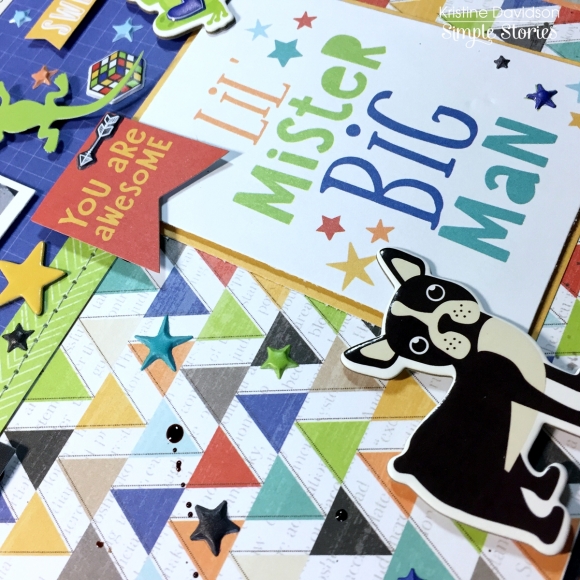
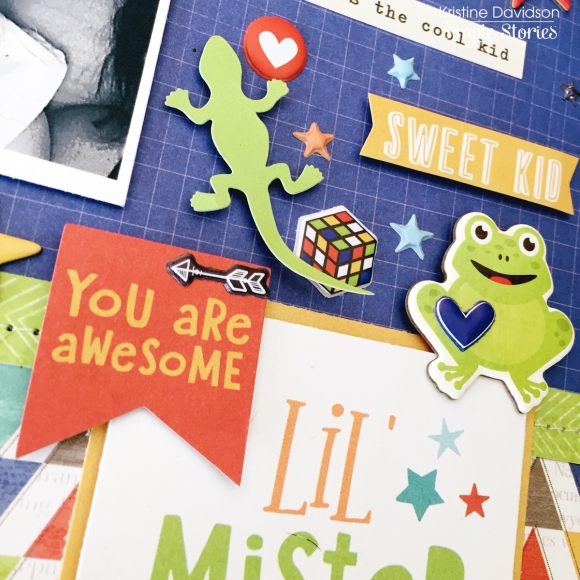
The NEW puffy stickers in the Simple Stories collection is perfect! I added some all over the layout and really used mostly the puffy stars, the rubik cube(remember those?). I think they add the perfect little touch to a layout. I will be using those again for sure.

My usual go to is a bit of sewing and some layers with my popdots. I hope you like the layout and it provides you with some inspiration to create a few of those Lil' Dude layouts!

Visit me on social media for more of my work @KristineDavidson and of course follow @SimpleStories_ for tons of designer projects.

Supplies

Hi, it’s Cara here today with your regular dose of traveler’s notebook fun! And what fun it is today! The new TN inserts arrived at my door and I just couldn’t wait to test them out. 
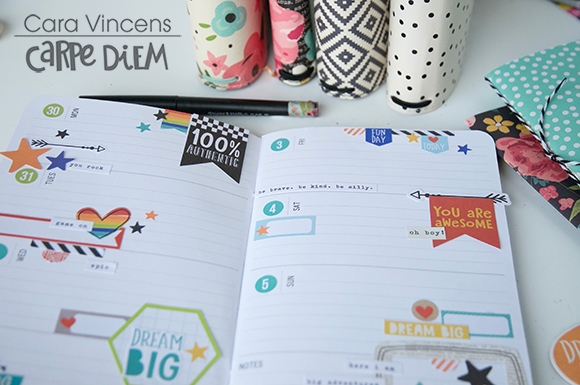
I have covered a few of the inserts with the Dream Big collection and set up my Cream Dot Traveler’s Notebook with that collection as well. You can see that process in my YouTube video

Today, however, I’ve used the AMAZING Lil' Dude collection. I have 5 sons and so this line really makes me giddy. I’m in trouble though because my dinosaur loving 5 year old discovered my stickers yesterday. I need to hide them a bit better, don’t worry, I’ll share my stickers with him… just not very many ;)
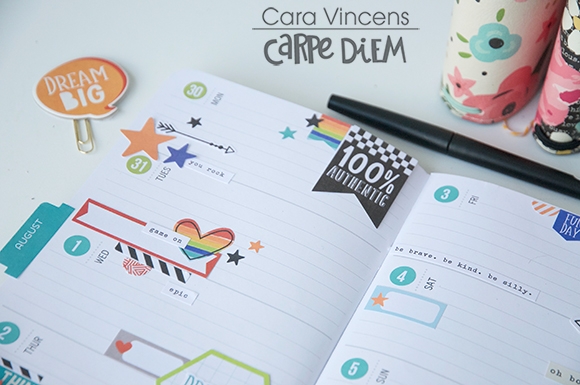
I scattered in some stickers from those fab Sticker tablets. I’m so in love with these tablets, they are so versatile and there are so many colours.
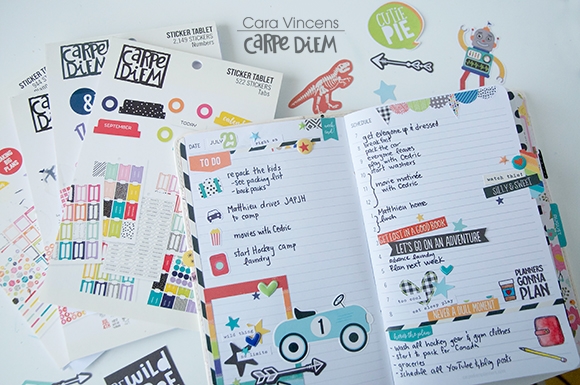
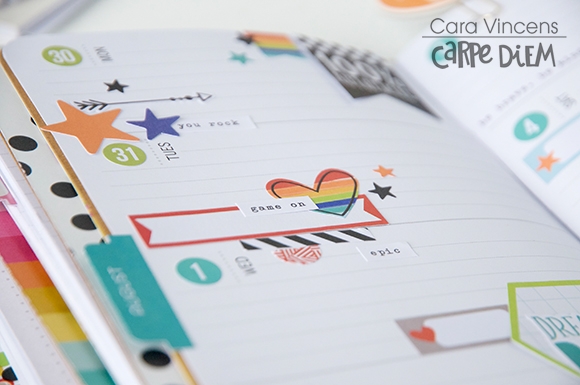
For the monthly spread, I went minimal. I used a few of the square stickers from the 4x6 sticker pack to fill in the extra squares at the beginning and end of the month. 
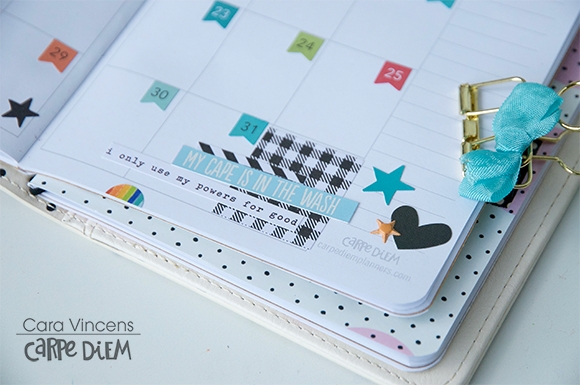
I layered other stickers from the collection and mixed up flag numbers from the numbers sticker tablet, using colours that matched the Lil Dude colours. 
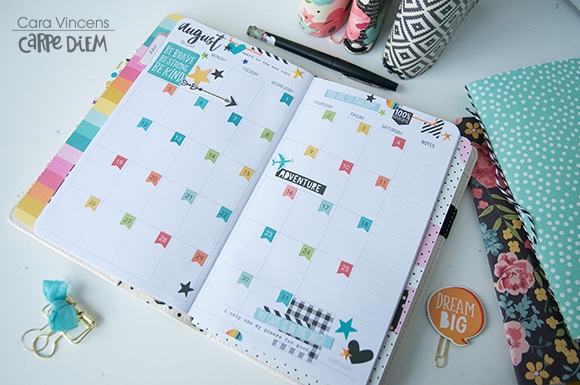
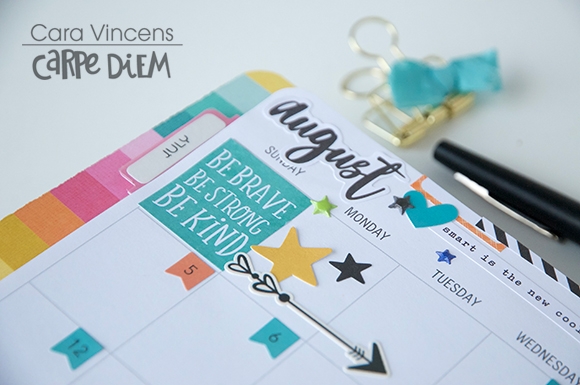
I took the scripty ‘August’ sticker from the Seasons Tablet and simply covered up the plain August that was there. I layered a few stickers along the top for a border and that was it! I was able to keep this spread pretty minimal.
Next up is the weekly! Again, I used numbers from the Numbers tablet and since this week spans July and August I chose different colours for each month. That is the only thing that I used that wasn’t in the Lil' Dude collection. 
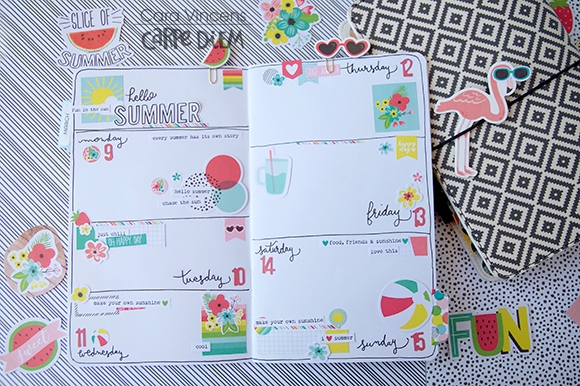
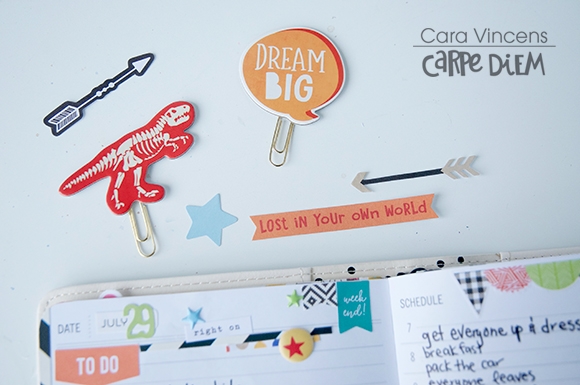
I only used one really boy-ish image, the dino skeleton.  The collection is FULL of versatile stickers and die cuts. It may look like there are only robots and dinos at first glance, but as you can see from my spread there are tonnes of things you can use in your planner without it looking masculine at all!
Lots of layers here again, because they are my favourite! Layers are a great thing to try if you feel like yours stickers tend to float around on your planner spreads. 
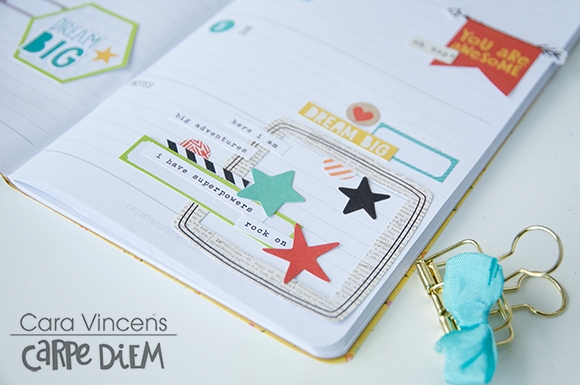
I cut up the white and black diagonal striped box sticker and used a bunch of little strips around the page. I love this look, it’s almost like mini washi. Speaking of washi, I just realised I didn’t use any washi this time, wow that has to be a first!
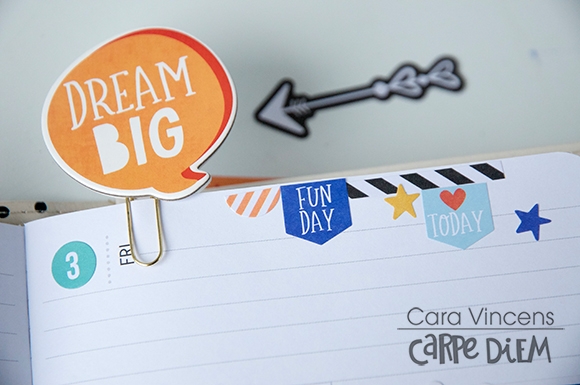
 

Last but definitely not least is the daily insert. Today is Sunday and usually I don’t have a lot to plan on Sundays, so I really enjoy decorating my Sunday’s because less activities to schedule, means more room for stickers! 
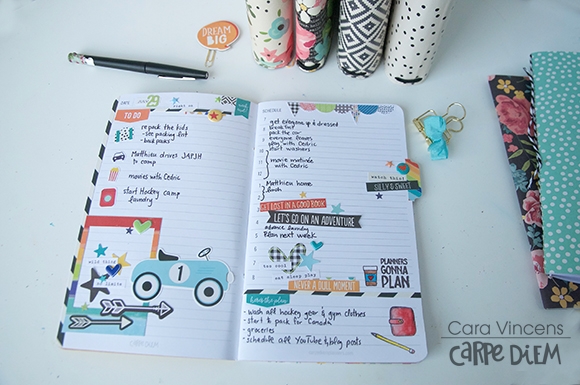
Along with Lil' Dude, I use some of the new stamps and coloured them in with watercolour. Did you notice I stamped the planner backwards? Oops!! 
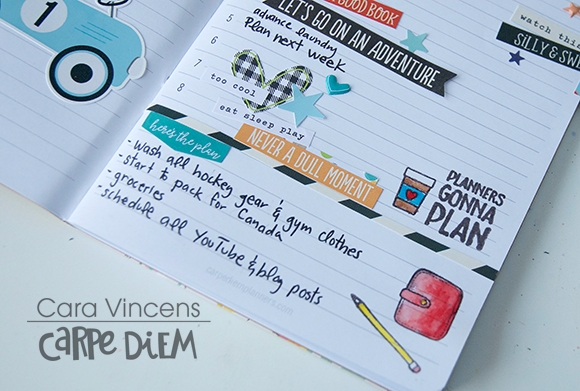
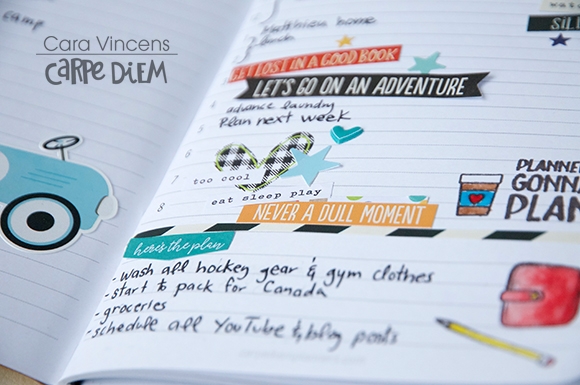
I also mixed in quite a few of the Sticker Tablets in the daily spread. The date alone comes from two different ones, Numbers and Tabs. I used icons from the Calendar Sticker Tablet for bullets for my to-do list. I added flags from the Planner Basics Sticker Tablet for my to-do list header, ‘here’s the plan’ covers ‘notes’ so that I can use this space to plan the upcoming week and I added a couple to the top left page to repeat the banner sticker on the right hand page. And a few extra stars from Planner Basics in the same colours as the Lil Dude collection polish off the spread.
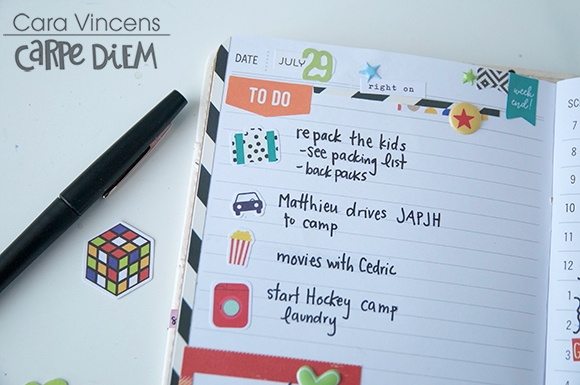
Its super easy to match pretty much any collection from Simple Stories with these generic tablets because they have so many colours included.

Again lots of layers of fun stuff from the collection. One car sticker fits the theme of my day… driving kids to camp. 
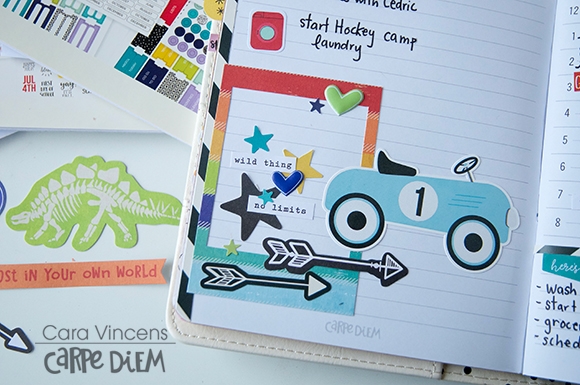
I trimmed bits from the black and white striped border on the big cardstock sticker sheet. The entire thing is a bit overwhelming for these little planner pages, but cut up it’s perfect!! I’ve got one strip down the left side, then two thin strips to section off parts of the page. One at the top left below the date and the other on the bottom right to section off my plans for the rest of the week.
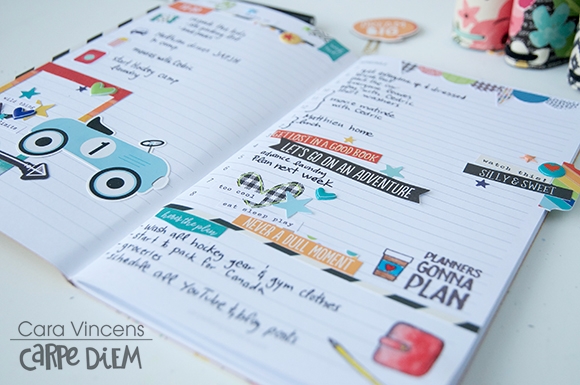
Of course I couldn’t resist making a couple of planner clips with the chipboard pieces, my favourite thing to do! 
I hope I’ve inspired you use these fantastic boy themed products in your planner today! You can check out my process video for these spread on my YouTube channel.

Happy planning!
Supplies

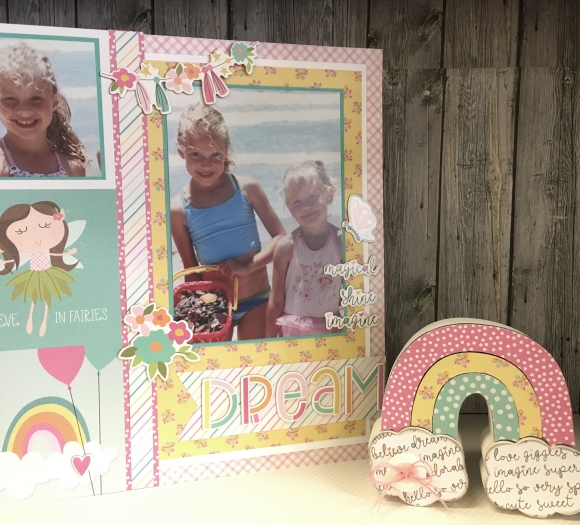
I just can’t get enough of the darling colors and patterns in the Dream Big line!!! They are so adorable and can be used for almost any theme! I used this line for a fun summer layout on the beach. 

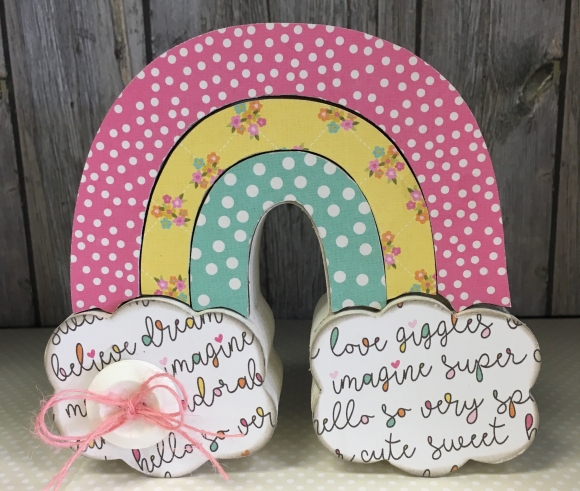
I also used some of the papers to make this darling wood rainbow decoration using Foundations Decor wood products. I love how cute these papers turned out on it!!! 

I used Chipboard Elements and papers from the collection kit to make these darling projects. 

I love the way these projects turned out!!! 

These chipboard icons are the perfect touch to embellish your pages!

Supplies

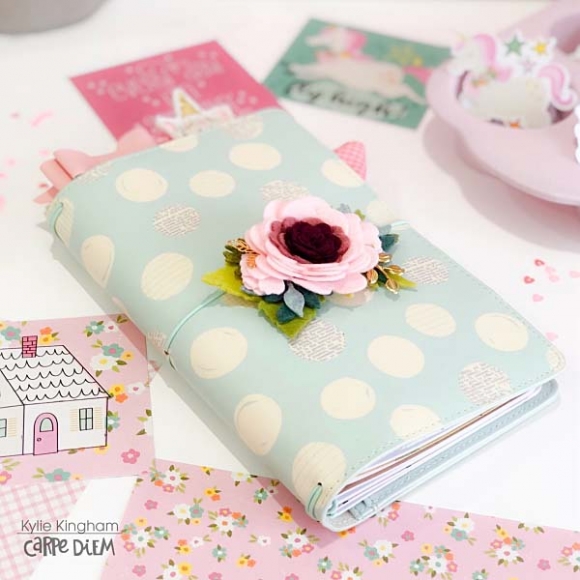
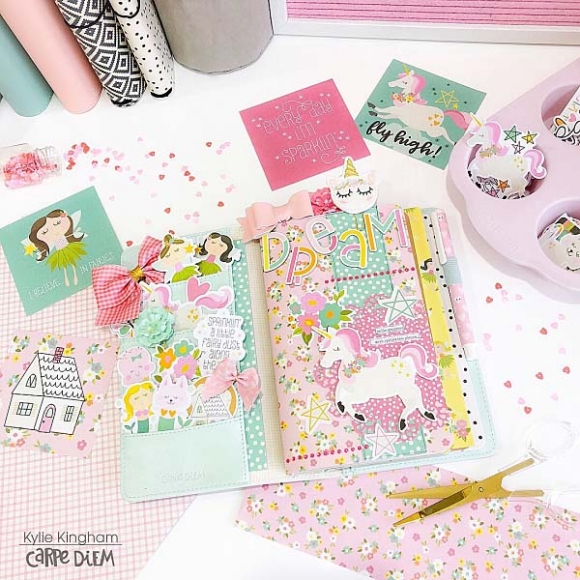
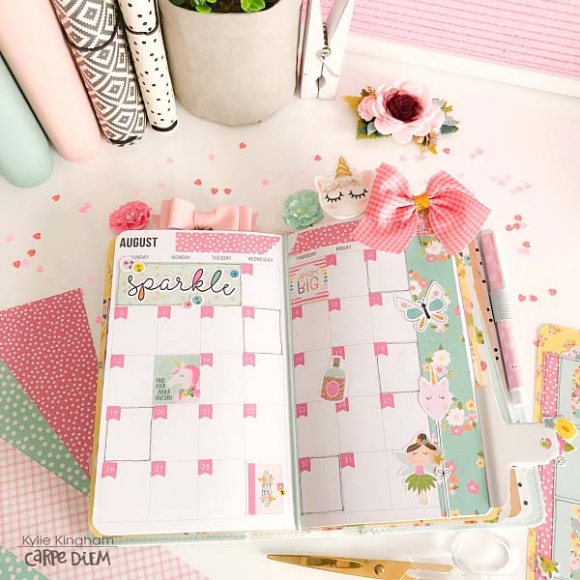
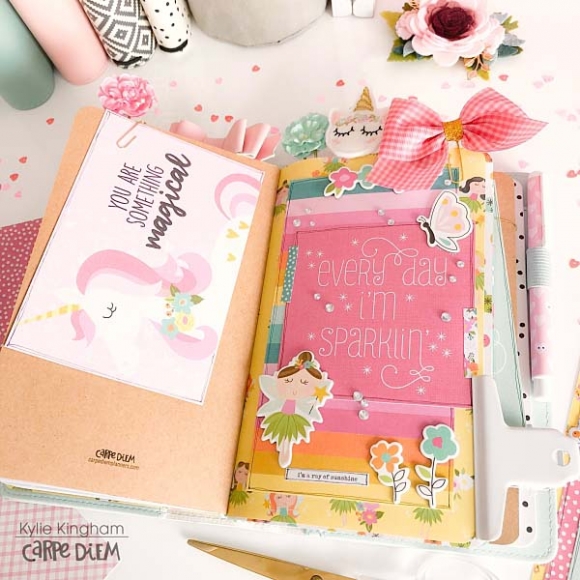
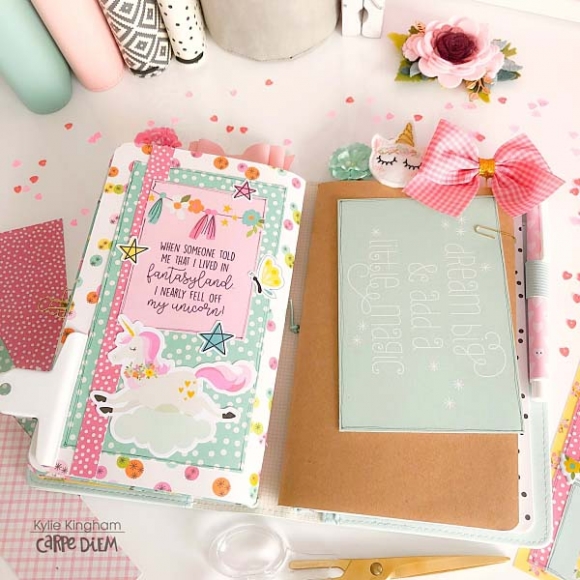
Hello friends! It’s Kylie back with you today sharing my latest planning set up in my new Typewriter Circles, Travelers Notebook.

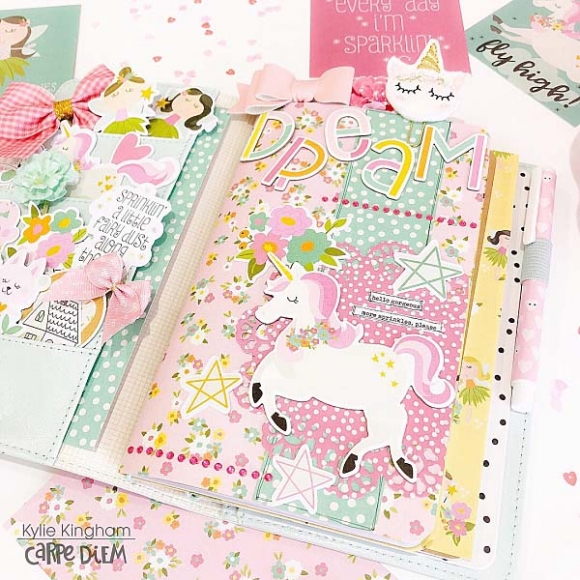
As soon as it arrived I couldn’t wait to get started personalising it. I decided to use the super cute Dream Big collection by Simple Stories. So many Unicorns, Fairies and all things adorable! I could of easily covered the notebook inserts but decided to make some removeable dividers instead (That way I can change them whenever I like). These are so easy to create; all I did was cut some paper to the size of my notebook laying flat. Then I rounded the corners and folded it in half.Once decorated it will just slide into my notebook and wrap around my inserts. You can make as many of these as you like, they really add some lovely colour to your planning.

I layered many different papers onto my front cover and used some of the sweet chipboard stickers. That Unicorn is so gorgeous!I also added some rhinestones that I had in my stash for a little extra sparkle.

On the inside of the front cover I cut down one of the 4 x 4 elements. I also like adding some of the 4 x 6 elements with a paperclip to the front cover of my insert. I used some of the phrase stickers from the 4 x 6 stickers, combining them to bring together inspirational quotes.

Here’s a look at my monthly insert. I have cut down some leftover pieces of paper to add some colour to my pages and the small banner date stickers were added as well.

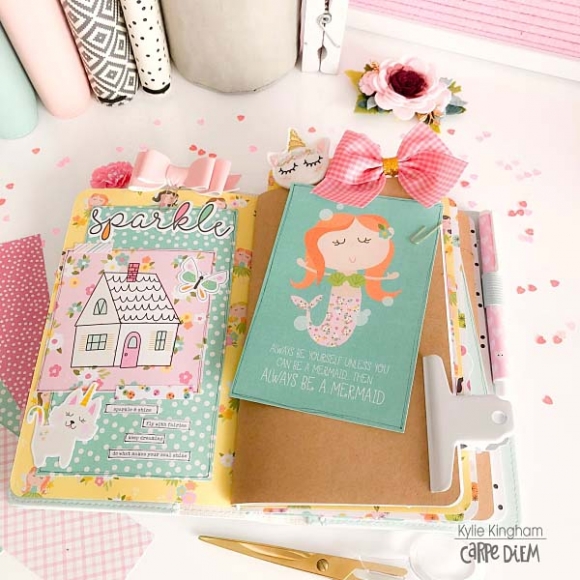
Moving through my notebook and this is the inside of my first cover. I added some more bling from my stash, as well as used some more of the chipboard and puffy stickers.I love the dimension this gives.

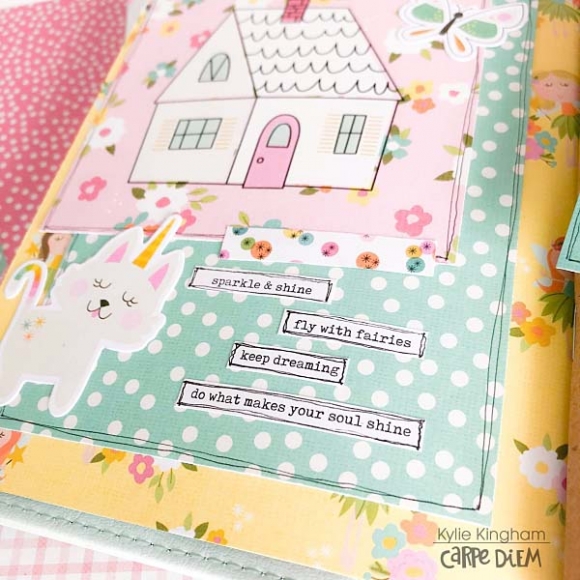
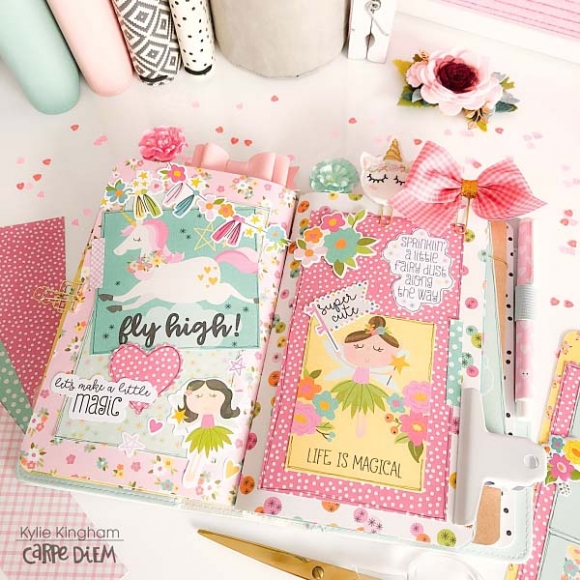
I think this next photo is of my most favourite area in my notebook. So much colour and so many cute icons……

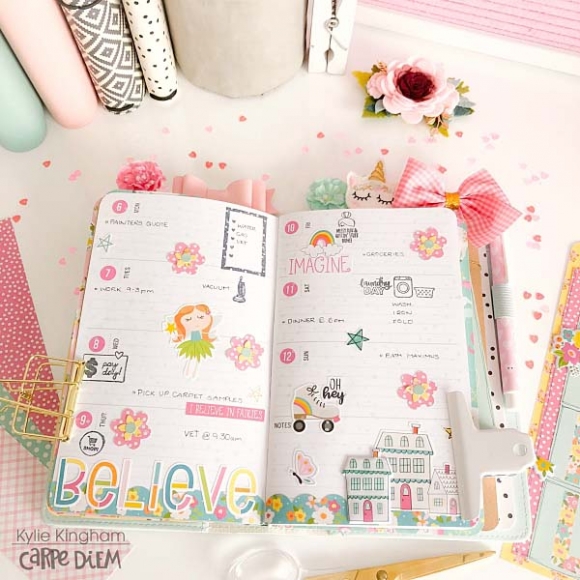
I also love using the weekly inserts and I had fun adding some of the new stamps available. I finished off my pages with some punched flowers from the papers and more stickers.

The 3 x 4 element card I cut down for this cover is one of my favourite quotes in the whole collection.So cute!

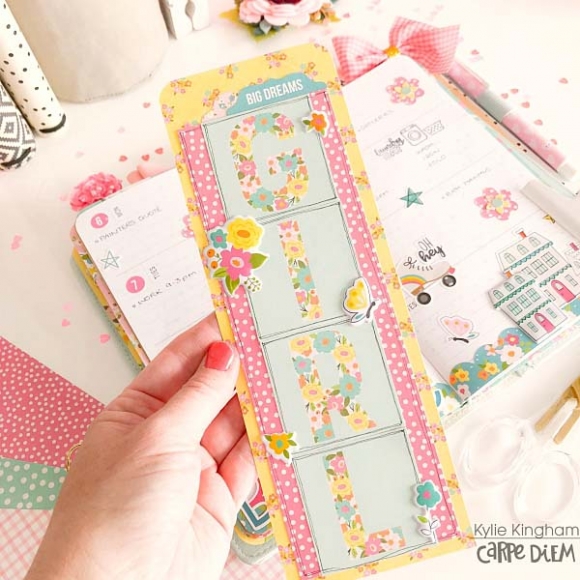
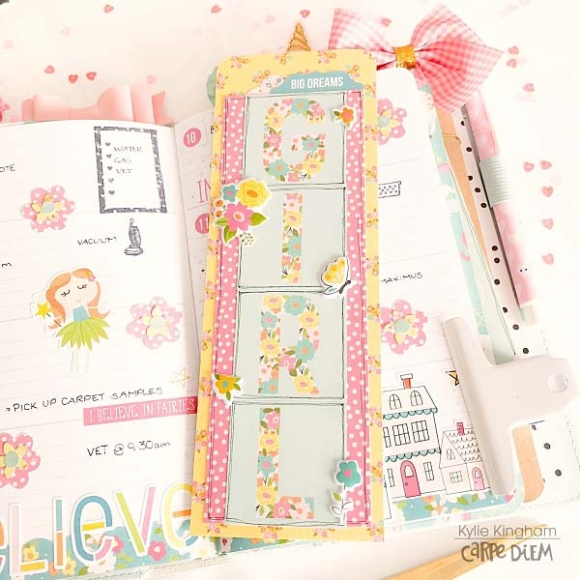
I also created a page mark from some of the papers, cutting down the small icon squares.

Because I have made it slightly higher than my notebooks dimensions, the top just sits out so I can find my page easily.

I hope you have enjoyed my Notebook tour today, and you have loads of fun personalising your own planner.

Take Care,

Kylie xo

Supplies

As soon as I saw the Lil’ Dude collection I knew it would be perfect for scrapbooking summer fun with my boys! Bold colours, cute icons and great phrases, it’s just so much fun! I am just loving documenting in the 6x8 size and love the Teal Faux Leather SN@P! album with Lil’ Dude

I did an title page with a SN@P! protector full of 2x2 pockets. There’s a whole page full of 2x2 elements. I picked some of my favourites and cut up a 4x4 picture to fit in the pocket.

On the other side I used some of the stickers and puffy stickers on my photos to add in some text. I can never ever get enough phrase stickers and Lil’ Dude did not disappoint.

The next spread has a lot of black and white, I really liked the strong graphic black and white cards, embellishments and stickers in the collection and paired with a few bright spots, used some of my favs on these pages. The puffy hearts and stars on the puffy sticker sheets are a perfect little embellishment for any photo!

I really liked the “Be Wild Be Free Be You” piece from the bits and pieces set so I cut the Super Hero paper down and also added the fox outline to make a journal card. The thumbs up puffy sticker on the photo below it might just be one of my favourite things from the collection!

These pages make up for the lack of colour on the last ones! I went bright and bold. I used some of the 12x12 element pages to add journal cards throughout and all the phrase stickers! I added in a smaller vertical protector to add in some journalling.

The other side of the vertical protector was the perfect place for a 4x4 photo. On the other side I used some of the cute stickers and embellishments on my photos.

In the corner I used one of my other favourite pieces from the collection, the bear outline from the bits and pieces. I used it and a phrase sticker from the combo sticker sheet to take a basic photo and help it tell the story.

Finishing up these pages I used one of the 4x6 journal cards and cut it down to a 3x4 because it is perfect for list making! On the other side I used black and white pens to journal on the black and white stripes. And I just had to give the frog a speech bubble!

I hope you’ve enjoyed this peek in my SN@P! album using the Lil’ Dude collection! I had so much fun creating with it.

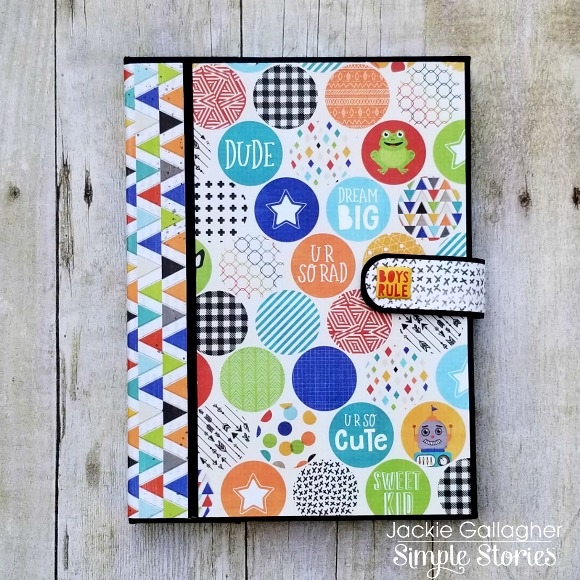
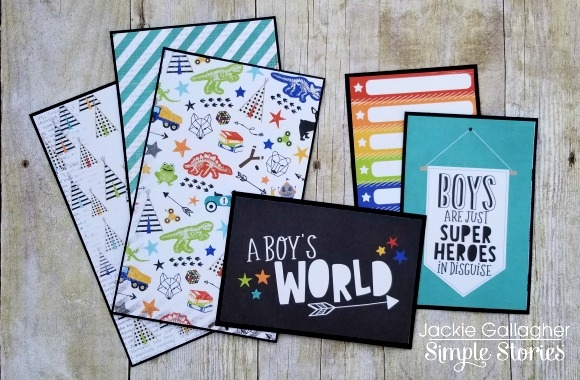
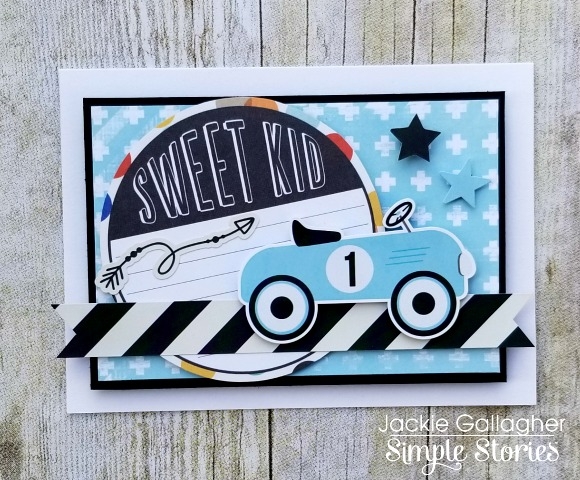
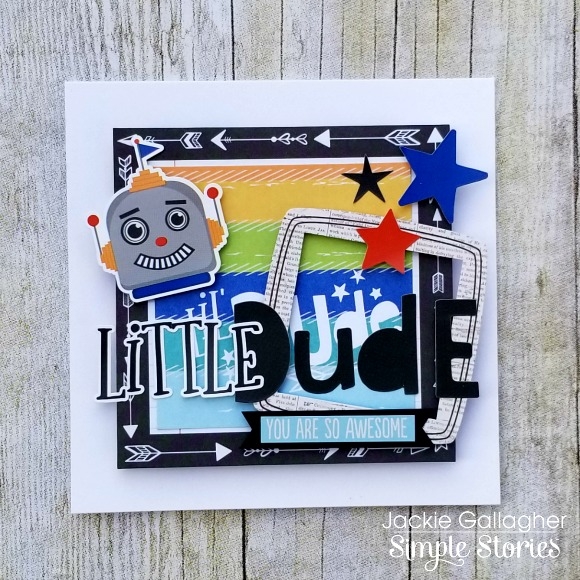
Hello everyone!!  Jackie G here!!  I’ve got some really fun projects to share with you today using the AMAZING Lil’ Dude collection!!  As a mother of 3 boys I am always on the hunt for a good boy collection…and let me tell you, this collection does not disappoint!!  I love that it can work for all ages!!  So of course I was super excited to get to work and create something!!  So let’s get started!!

The first project I created is a scrapbook folio.  Measuring at 7” x 9.5” this “not so little” album can hold lots of photos of my boys and will be a great gift to give to their Grammy!!  Hope you’re not peeking Grammy!!  I created a flap closure with a magnet to give it a “notebook” feel. 

When you open the folio up on the left hand side it has a pocket for tags and extra photo mats of different sizes.  The 4x6 journaling cards are perfect to use as photo mats or journaling cards.

On the right hand side I created a waterfall feature.  I LOVE these because they can hold so many photos or journaling in a small area!!!   

Before I pack up and put a collection away after a big project I like to take the scraps to create a couple cards.  It’s a great way to use those smaller pieces you don’t want to store!!

Thanks for stopping by!!  I hope you all enjoy this collection as much as I do!!!!

Supplies

Hello, from Tarragona, Spain!  This is Rachel, and I am so excited to share a little bit of travel documenting and planning that I am doing in July. My husband and I are on an extended vacation and have made Tarragona, a beautiful, Mediterranean beach town, our home for the month. Of course, I brought my planner (ok, planners!) to document our days here. The hardest part about packing was choosing which planners and supplies to bring! One collection I knew I wanted to bring was the Bloom Collection. I love the florals and black accents in this very feminine collection.

You may notice something a little different about my personal size Robin’s Egg planner and its inserts. That’s right! I have performed a little “planner hack” to transform this ring-bound planner into a B6 size travelers notebook! There are lots of videos on youtube explaining how to do this. I have included a few photos here to share my process.

First, I used a pair of jewelry pliers to remove the middle rivets on the spine mechanisms. This take a little time but, eventually, the rivets will come out. From here, I was able to pop the ring mechanism off. 

Next, I used an crafting knife to remove a few stitches from the bottom of the planner. This allowed me to pull the inner mechanism out. Finally, I threaded some elastic through the top and bottom of the planner for the bands that hold the inserts. To make the inserts fit into the planner, I simply trimmed about a .75 from the bottom and .50 inch from the top of the insert. This travelers notebook size and format is so compact and fits nicely in my smaller purse that I have carried it with me everywhere we go!

Since coming to Tarragona, we spend a lot of time outside. I love all the outdoor cafes and restaurants. And with that gentle sea breeze that is never far away, there is no need for air conditioning! On this afternoon, John and I decided to sit at one our favorite cafes near the Cathedral Basilica of Tarragona with books, drawing supplies and, for me, my planner!

I just love opening my planner to see my pockets filled with Bloom bits and pieces and the 3x4 element cards. I always have my 4x6 stickers on hand for documenting on the go. I also keep the 4x6 photo crop inside this planner for making straight lines in my weekly spreads, trimming washi, and even acting as a study surface for writing inside my planner.

Planning has looked a little different for the month, which is I why I love using this blank grid Bloom notebook to totally customize my planner pages. I have laid out weekly pages toward the front of the insert and daily pages in the back of the insert. The weekly pages are great for planning things like the two mini-trips taken this month. To make this week’s layout, I used the photo crop as a ruler to make the lines and used Simple Stories Letter Stickers for the days of the week.

For both weeks, I decorated with the Bloom washi, the 4x6 stickers, and the A5 Bloom Sticker Tablet. While this collection is very feminine, it is also so versatile and almost neutral in theme, which I really like. You can decorate just about any week with this collection.

The heart of this insert is reserved for memory keeping with daily documentation. I work on these pages after the day has passed. Typically, I use one page per day, although, there were a few days that needed two, and I number the days using the A5 Numbers Sticker Tablet. The beauty of a blank insert is that I can adjust my planning according to my needs!


Each day, I like to include a little bit about what we did and a story or two about something unique that happened. One of the lessons I’ve learned while traveling, is to document the little moments as well as the big ones. The details will get fuzzy later if you don’t write it down! So now, I document it! If I’m not ready to decorate a page, I simply write the story on a post-it and come back to it later.

I hope you enjoyed this look into my personal planner turned travelers notebook. Be sure to check out my instagram to see more of my travel documenting!
 

Supplies

Pages