July 2018 Blog Posts

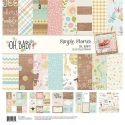
Hello everyone! Nathalie with you today with a new layout that celebrates those sweet baby sleeping moments ( i so miss seeing my kids sleeping faces!).  The new Simple Stories  "OH, BABY!" collections are ideal to document all those sweet baby moments

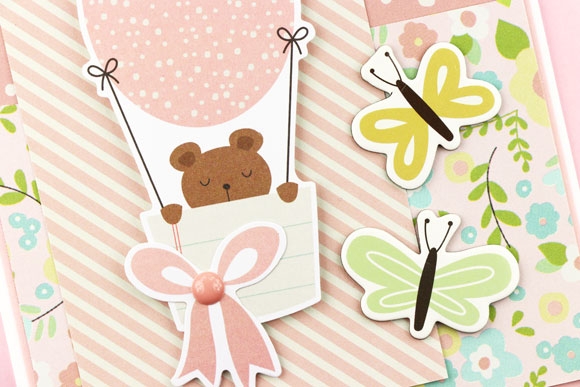
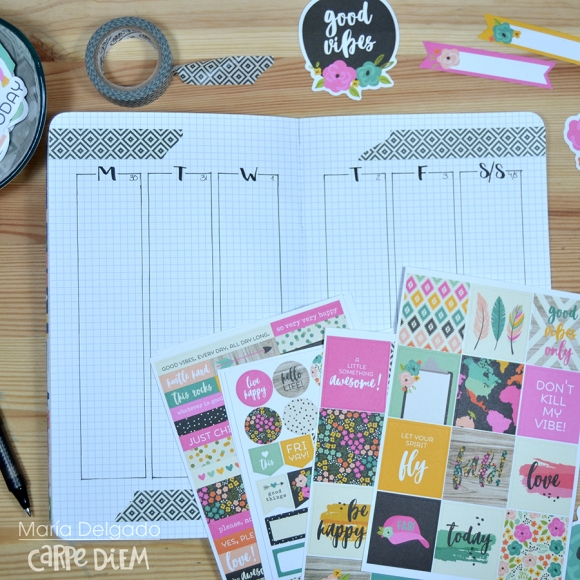
To start this page, i drew a few stars on some of the patterned papers of the Oh, Baby! collection, and the Oh, Baby! Expecting collection,  backed them with white cardstock, and added a bit of hand stitching around the edges.

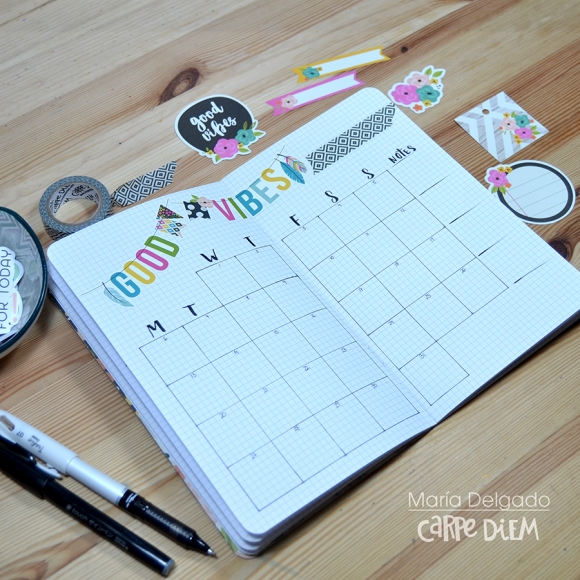
To create the title of the page, a JustNick Studio cut file was used.  All the letters of the cut out were backed using papers from the Oh, Baby! paper pad.  Having the smaller pattern of the large papers is perfect to combine and display a lot of color  in the title.  The chipboard sticker just completes the sentiment of the title and page.

I wanted to create a very soft look for this page, so I used a sheet of vellum to cover a light blue piece of cardstock, and added all the  the stars, picture and title on top of the vellum piece.

Just a few extra details were added to the picture and around the stars.  All those little star stickers are a easy way to complete the look of the page.   A few drops of gold ink were added to bring some shine to the page!

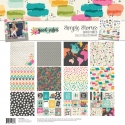
Love the softness of the page, and all the starry background is the perfect frame for my sweet sleeping cousin.  The new Oh, Baby! collections are ideal to document your parenting journey, and beyond!  Remember to chek them out at your local scrapbook store. 

Well that is all for me for now. 

XO

Supplies

Hi there, it’s Emma here and as promised I’m bringing you a blog full of rainbows and unicorns this month, with the magical new collection by Simple Stories, Dream Big.

I know every month I say ‘this is definitely my favourite’ and that is true, because every single collection Simple Stories brings out, and I’m lucky enough to work with, is my favourite! This particular collection is bursting full of rainbows, unicorns, fairies and all things little girls (and big girls) dream of! I’ve chosen the new Carpediemplanners Blush Speckle TN to set up, the pretty blush pink works beautifully with all the dreamy colours.

I filled the pockets with some of the chipboard pieces, doilies, papers cut out from the 12x12 sheets and some sticky notes.

I have covered a few of the new monthly, daily, and weekly TN Inserts using the 12x12 papers and some 3x4 elements to decorate. I used a doily on each one to tie them all in together. 

On the first insert I used the great big chipboard unicorn, I just couldn’t resist it!

You can see it here in my TN, you can also see how I made a folder with a selection of the 12x12 papers that I laminated so they were nice and sturdy and edged them with some pretty Pom Pom trim. 

On the back of the inserts which I covered I’ve also added some embellishments, this was to add interest as I flick through my TN. 

When I made the laminated folder I used a snap pocket on the back page to store bits & bobs, again this adds interest throughout the TN.

So there we have it, the beginnings of setting up the beautiful Blush Speckle TN with the dreamy Dream Big collection. 

I hope you’ve enjoyed looking at how I’ve started to set up my TN, if you would like to see more pictures using Simple Stories products then checkout my IG account

https://www.instagram.com/heartsbyemma

Supplies

Jeanne here today and I’m so excited to be sharing four cards made with the new Oh Baby! Collection!  This collection is perfect for celebrating the new addition to the family whether it’s for baby’s shower or a warm congratulations.


The collection is a beautiful mix of pastels – the pink, blue, yellow and green you’d expect with a touch of neutral woodgrain.    The papers are perfectly coordinated for mixing and matching so you’ll be able to use every last scrap!

The collection is complete with paper, stickers, bits & pieces, chipboard and washi tape.   You can decorate to your hearts content making banners, cupcake decorations, pinwheels and so much more.  I love all the little animals and florals in the set.

If you’re the expecting Mom you’ll want to have plenty in your stash to document every special memory from the baby shower to all of baby’s firsts!

I can’t wait to hear some happy news so I can share these pretty cards and all my best wishes for a wonderful life!

Supplies

Hello Simple Stories fans.  Iris here documenting one of my precious snapshots of my oldest when she was a little girl playing dressup. If fairies and magic and dreams are big in your family, you're going to love the new Dream Big collection.  It made me and my girls squeal in delight!

I was drawn to use the b-side of the 4x6 Elements because it was similar to the background of my photo, and it has all those twinkling asterisks, which made me think of fairy dust. I wanted to showcase lots of the adorable patterned papers, so I decided to use a cut file (The Cut Shoppe, GeoGlobe).  I liked that I could fill the spaces with lots of paper and it's reminiscent of the facets of gemstones. I raised the entire cut file with foam and left a few open spaces for the background to show through. Contrast stitching helps define all the spaces.

Within the open spaces, I added the little bubble stickers - more fairy dust! - from the Combo Sticker sheet and puffy stars, keeping the bigger chipboard fairy, rainbow, and butterfly pieces on top of the cut file. The Puffy Stickers are my new favorite thing and I made sure to have some in the three clusters surrounding the photo and cut file.  To draw attention to the photo, I matted it in the hot pink dot pattern (b-side of Chase Rainbows).  That chipboard flower and tassel banner is perfect for the photo of my daughter wearing flowers and tutu. And of course so is the fairy that looks a bit like her!

Along with the new puffy stickers, one of my true Simple Stories loves are always the word strips, so of course I made sure to add some of those.  

Lots of great phrases in this collection.  For my title I paired "Sparkle" from the Bits & Pieces pack with "Shine" from the Puffy Stickers, and snipped a teeny "&" from a word strip in the 4x6 Stickers Pack.  

The colors of Dream Big are candy sweet and there are so many dreamy icons and phrases. I barely scratched the surface of the cuteness to use on fun little girl layouts. And it's perfect for everyone who is still a little girl playing dressup at heart!

Thanks for stopping by. If you haven't had a chance, please visit my my Youtube channel where I have a haul video showing you every little piece of this new collection, other collections, plus process videos.

Supplies

Hi everyone, it is Kelly here today with a new blogpost about the setup of my Mint Blossom planner. I love the floral print on the front of this planner and coral/pink and beige interior design. For this setup I am using lots of products from the matching Carpe Diem and Simple Stories ‘Bloom’ collection.

First, I made two paperclips and a tag to decorate my front planner pockets. I used some of my punches and the 12x12 papers from the collection to create my own shapes such as butterflies, scalloped circles and leaves. I decorated the shapes with some stickers from the Bloom sticker tablets.

I filled the front pockets of my planner with the decorated paperclips and some stickers and pieces of paper. On the papers, I used a few different scalloped and lace border punches to create a fun effect.

I decorated my ‘This month’ page with some stickers from the collection and sticker tablets. The main decoration of this page is a border of fussycut flowers from the backside of the ‘4x6 elements’ paper. As a background of this floral border I stamped a leave pattern using light-green ink and a stencil.

For my weekly spread I used some fussycut flowers from the ‘Happy times’ paper and some leftover flowers from the ‘4x6 elements’ paper. I glued these flowers on four spots on my weekly spread and decorated the rest of the spread with some planner stickers. Lastly, I wrote in all my to-do’s and appointments.

I hope you have enjoyed reading this blog! You can find more spreads in my Carpe Diem planner on my Instagram account createplannernl https://www.instagram.com/createplannernl/

Have a nice day!

Supplies

I had a fit when I saw this Dream Big paper line by Simple Stories. I love how magical this line is and couldn’t wait to start creating these fun cards. 

I used the Dream Big Collection Kit and had so much fun product to play with!!! 

I love all the cute sayings and elements on the sticker sheet!!!! 

These cards will be super cute for any occasion or would be perfect for your snap album!!!!

Supplies

I just love the bright colours of Hello Summer, so I was pretty excited to use it with some photos from a recent trip to the fair with my family! 

I started off this story in my summer fun album (the SUPER cute Robin’s Egg Stripe Designer) with a vertical 4x6 page protector that holds a 4x4 photo and 2 smaller 2x2 photos. This is a good way to separate different stories in my album and make a mini title page to a smaller story. I used a colourful ferris wheel photo and some of the SN@P! Basic alpha stickers along with some of the 4x6 Hello Summer stickers to give the story a title. I added in a bright word die cut from the bits and pieces in the 2x2 slot.

I added the date on one of the Carpe Diem Tabs sticker tablet - I’ve been using these a ton in my albums, they’re great for adding dates and phrases, especially to these smaller page protectors. You can even get clear stickers to cover them and make them stronger. If you haven’t tried these out you really should! Of all the new things I’ve tried out so far this year, these have been a real favourite.

On the other side of the small page protector I used one of the 4x4 journalling cards and a cut out word from the patterned paper. On the other side I picked a couple of my favourite photos to start off the story. I cut down the Life is Good paper with the rainbow stripes using the Photo Crops and added some chipboard and bits and pieces to make a bold journal card. I embellished my photos using simple bits and pieces and word stickers.

I feel this way with every new collection, but I just LOVE the phrase stickers that come in the Hello Summer 4x6 sticker pack. They’re perfect for adding a few simple words to a photo and are the perfect blend of basic themed phrases and cheeky sayings.

The colours in my fair photos go perfect with the colours in Hello Summer! I pulled out a few of the 3x4 and 4x6 journalling cards that worked with my photos here and added in some cute stickers from  the 4x6 sticker pack, the chipboard stickers and the combo sticker sheet. It’s all just perfect together!

There are a few Hello Summer elements just waiting for some sunglasses and this sun was one of them. Throughout the story I added sunglasses to all of the journal cards that looked like they could use them and between all the different embellishments from the collection I had a number of shades to pick from. These chipboard heart sunglasses are a favourite. 

I finished the story with some more bright journalling cards and embellishments. Once I finished this I realized that the entire story was told with pictures, word stickers and large die cut words. I didn’t pull out a pen once and felt like the pieces of the Hello Summer collection I chose told my story perfectly.

I just had to pull this dorky photo of our annual family ferris wheel ride at the fair from my husband’s Instagram and include it. A simple screenshot and it is in there. I added various phrase stickers here to capture the feeling that summer is really starting. I hope you enjoyed this look at my summer album! I’m just loving the 6x8 size to get our summer fun documented.

Supplies

Hello, bujo lovers. My new proposal to decorate bullet journal is here. This time using the Good Vibes collection, very colorful to accompany the next month of August. I hope you like it.
 
 
In this decoration I wanted to do something simpler. First I have decorated my future log with "Bits & Pieces", washi and "Combo Stickers". For the notebook for my month I used the 4x6 cards that includes the "collection kit".
 
 
For the inside cover I used the papers in the collection, adding a pocket to store the 4x6 stickers. For the cover I used "Bits & Pieces" decorating with lettering the name of the month.
 
 
"Good vibes only" is the perfect title to announce my "gratitude" sheet.
 
 
For the "habrit tracker" I decorated with stickers and washi, simple but beautiful.
 
 
The menu sheet is decorated with washi tape and some stickers.
 
 
Here I point out the movies and series that I see, so I do not miss any episodes.
 
In the month seen I have decided to use the banners, I think they are perfect.
 
 
Weeks seen in columns are my favorite, they help me plan better. Along with the stickers I will decorate every week. You can see it in my instagram account (@ungirodetuerca)


Supplies

Pages