January 2019 Blog Posts

Hello Simple Stories friends!

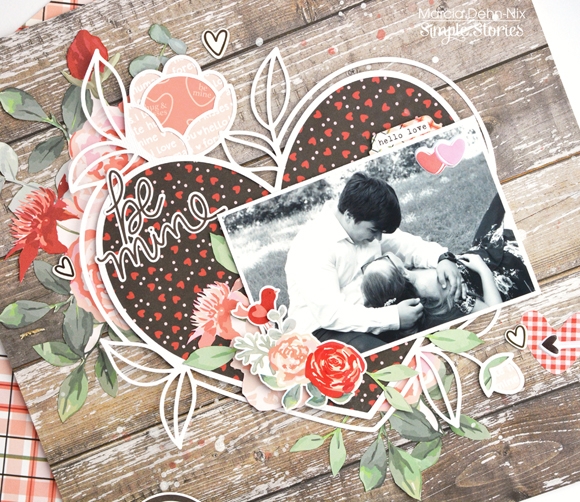
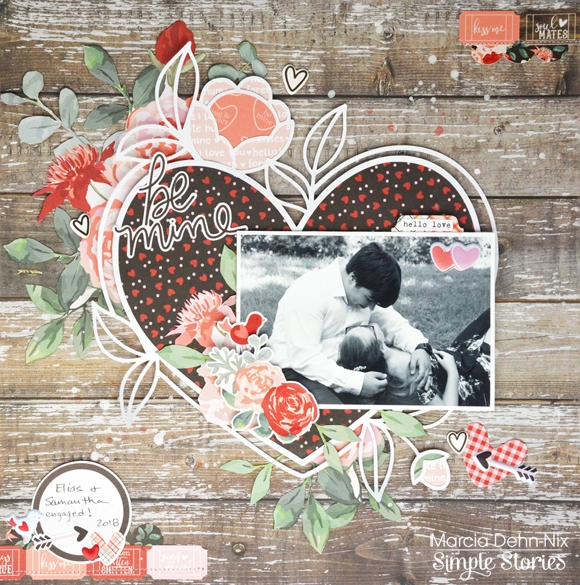
Marcia here today with a layout all about LOVE that I created with the Simple Stories Kissing Booth collection. This collection is so gorgeous!!!! When I saw those beautiful floral pattern papers I knew I was going to be doing a lot of fussy cutting! I wanted to display those florals in a rustic setting so I chose a woodgrain pattern paper from the SN@P! Basics paper pack for my background. Every layout about love needs a heart too, right? I found a gorgeous heart digital cut file in the Handipaper Etsy shop. Here is how my layout turned out ...

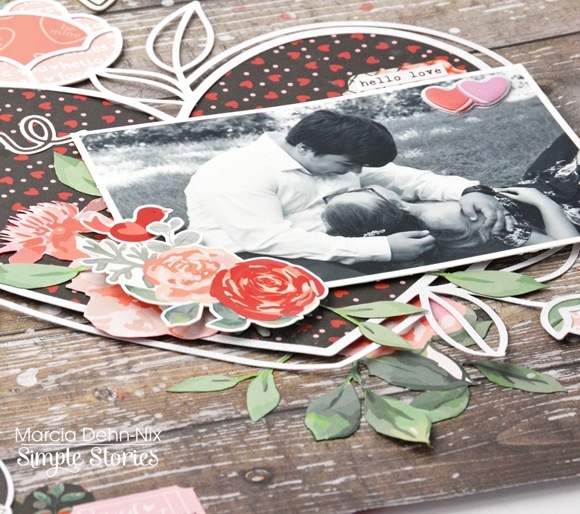
I backed the heart with the Crazy for You pattern paper. I really like how the black and red contrasted with my black and white photo. There are more gorgeous flowers in the Bits and Pieces die cut packs. They are great for layering. I added a little sticker bird here in this cluster. Isn't he adorable. Those fussy cut flowers are tucked behind my photo as well as peeking out from around that big heart cut file.

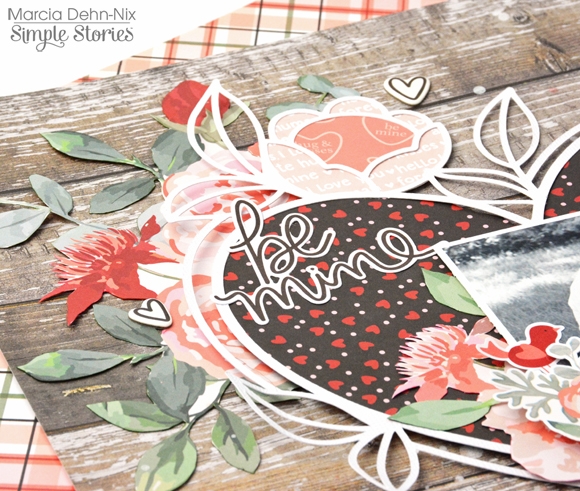
The Be Mine die cut was perfect to use for my title. You can see more of those fussy cut flowers peeking out underneath it. A few scattered chipboard hearts helps to add some dimension.

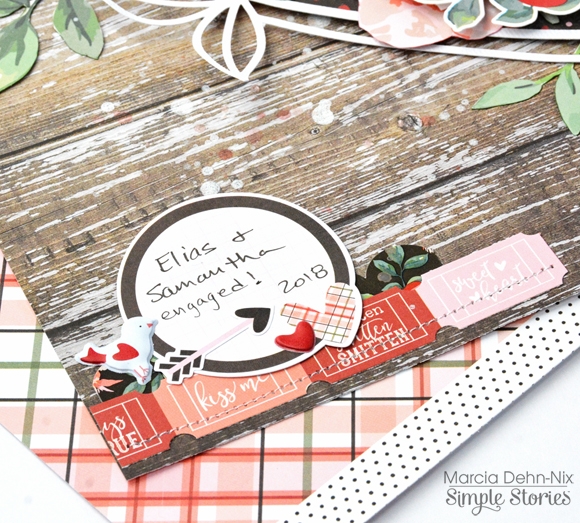
The pattern paper with the tickets is fun to cut into strips. I combined it with a border sticker to ground my journaling spot. This embellishment cluster has another bird from the puffy stickers pack. The puffy stickers are a great way to add dimension as well.

Put the Kissing Booth collection on your must have list. It is perfect for documenting all your love stories and more.

Thanks so much for stopping by today! Enjoy the rest of your week.

Supplies

Hi! Odessa here with some SN@P! pages using the Kissing Booth collection. I just love Valentine’s Day collections so much. They’re always full of pinks and blacks and reds and hearts which are some of my favourite things to use in a layout. Other than the things that actually say Valentine’s Day on them I find they can work all year for me. I had intended to do some cute lovey layouts with Kissing Booth and had photos all ready to go but my pages took a different turn. My older son’s birthday just passed and when I sat down to scrap them I really wanted to use this collection with them. I had no trouble putting together some non-Valentine’s Day pages with Kissing Booth and still have more than enough supplies left over for those cute lovey pages I had planned to work on.

I started my layout with a 6x8 full page spread. I had a great picture I wanted to use to start off with that I thought would be great for a focal point. I started with it in the middle and worked my way around with layers of paper and stickers of all sorts. Puffy stickers, chipboard stickers, border stickers and phrase stickers. All the stickers! 

I used the back side of the Crazy in Love cardstock  as a base because the simple fine dot pattern goes with anything. I used a few more prints as a layered base under my photos and then all the embellishments! The love you chipboard sticker was a great title for the page with the cute fringe cardstock sticker behind it. To balance it on the other corner of the photo I cut down the scalloped border cardstock sticker and added a pretty floral chipboard sticker. I then added some hearts all over, a tab and a bit of journalling. 

On the other side are some fun photos from his birthday celebration and some more journalling. I cut down one of the sheets of 12x12 cardstock and added a journalling spot cut from one of the 3x4 journalling cards and embellished with some of the chipboard and puffy stickers. I added some phrase stickers to the photos and some cute hearts. 

The second page has more fun birthday pictures along with some 4x6 journal cards. I stuck with more simple embellishing because there is a lot going on in the photographs. With the 4x6 cards I added some phrase stickers and bits & pieces for more words on them and added some stickers. The floral with black and white stripe combo in Kissing Booth is so good! Like the page before I added some simple phrase stickers along with heart stickers all over the photos to pull them together with the journal cards.

Love is in the air...it’s time to remind those special people how much you love them!! 

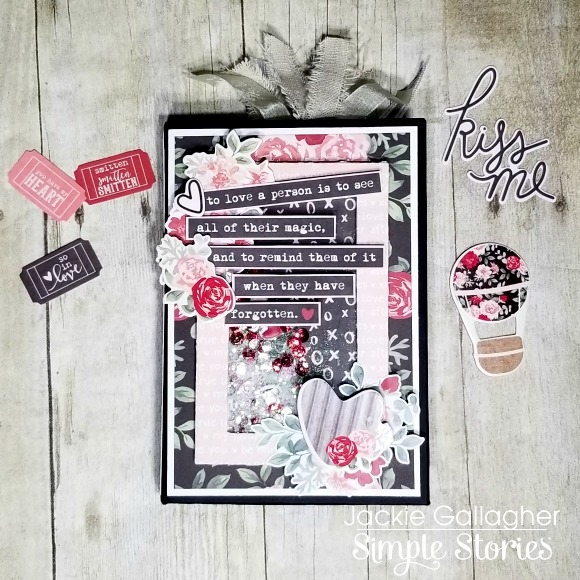
Jackie G here on the blog today to share a simple little mini album using the collection Kissing Booth!!  This little project is perfect to share with that special person!!  I decided to keep it more “love” themed than Valentine’s Day so it could be used anytime of the year. 

To start off I made a simple 4.75” x 7” folio with chipboard.  I wanted my cover to be super over the top…because why not?!  So, I made a fun little shaker that I filled with lots of different kinds of glitter, sequins and even some of the hearts from the puffy stickers.  I then popped up lots of the stickers and chipboard elements to decorate the frame.  Lastly, I took one of the journaling cards and cut the sentiment out “to love a person is to see all of their magic, and to remind them of it when they have forgotten.”

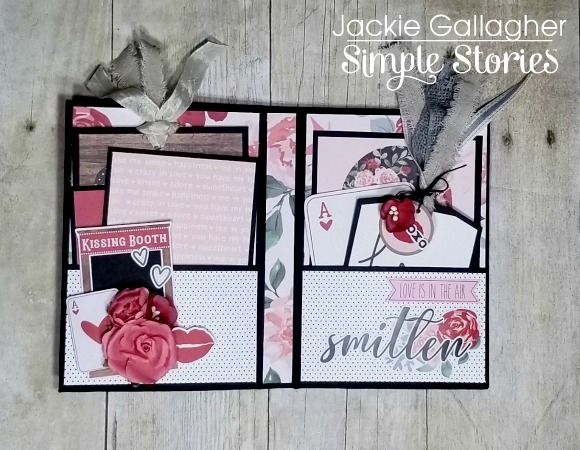
The inside of my folio is pretty simple.  It has lots of room for photos and journaling though!!  I used the bits and pieces, stickers and some flowers I found in my stash to decorate my pockets. 

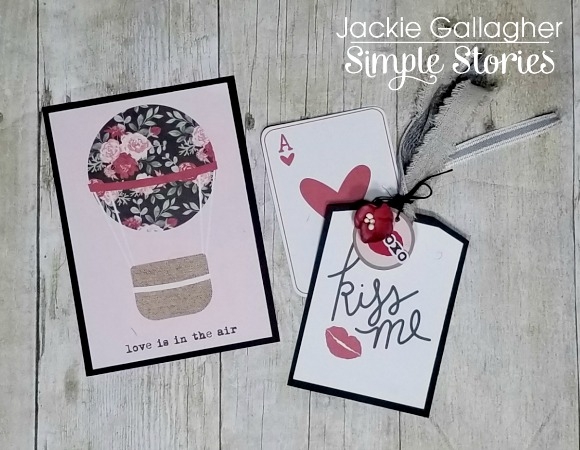
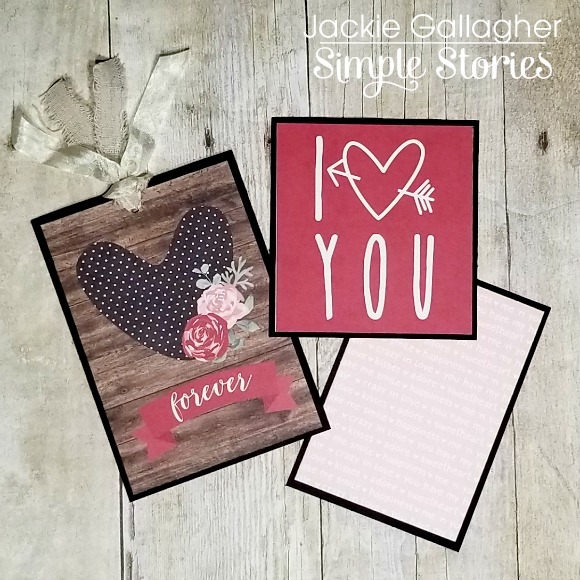
I did make two of the journaling cards into tags so I use some cute ribbons!!!  All the photomats and tags are blank on the back so you could put either photos or journal on them!!  With a 1” spine, there is lots of room to stash additional photos inside the pockets. 

I hope you enjoyed this project!!!  Have a wonderful day!!

Supplies

Hello Friends!

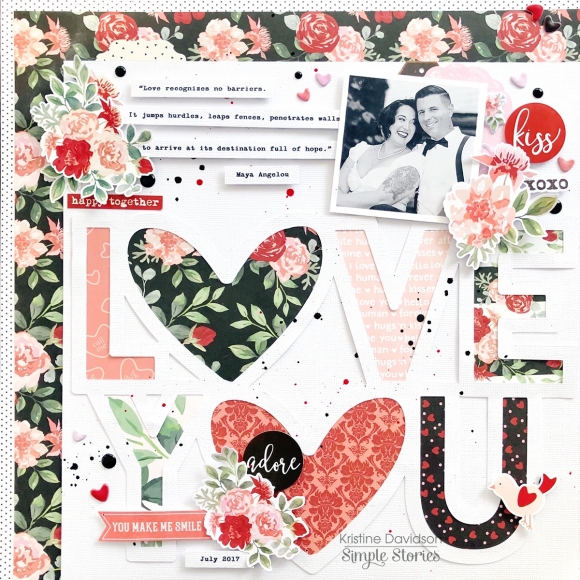
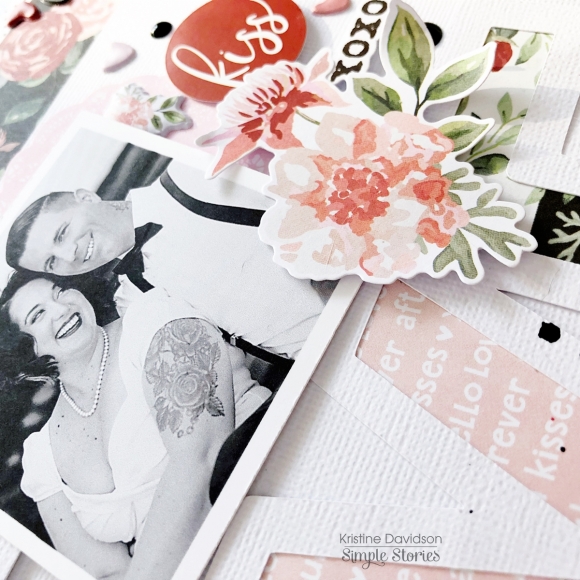
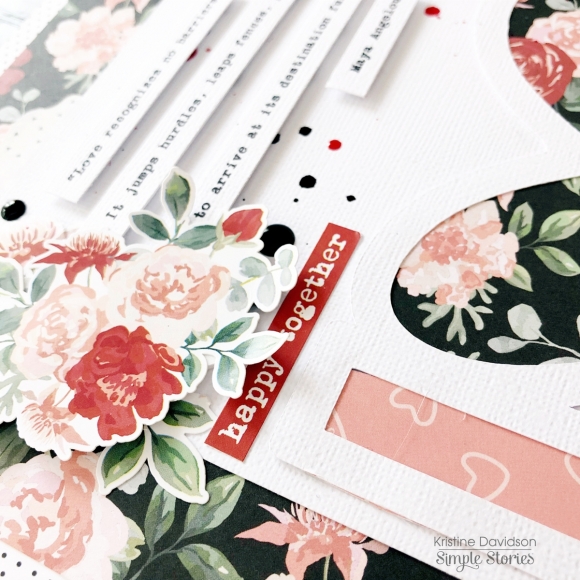
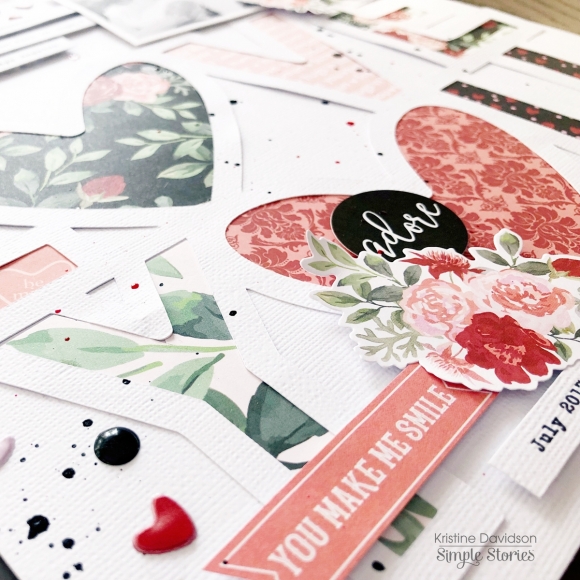
It’s Kristine with you today and I’m sharing a little LOVE today! I created a layout using the Valentine’s day collection called Kissing Booth. I used a photo of my cousin and her husband for this layout and a cut file from Paige Evans. The cut file allowed me to use several pattern papers and then I was able to add some Bits & Pieces!

Creating layers on layouts always gives such beautiful dimension and even a bit of texture. Add some adhesive that is dimensional under your diecuts and stickers and see what effect this gives your page. You can add layers to titles, photos, diecuts and even your entire cut file on a piece of cardstock!

I added my cut file on a piece of white cardstock and then to add interest and color I added it to the bottom right of my page. The cardstock is cut 10”x10” and gives me space to add some pattern paper on the edge of my layout.

A few enamel dots and some paint splats adds interest to your page and eliminates a bit of that white space. Some prefer not to use splats and that’s okay – why not try some of the small puffy stickers we have. Those are super cute and you can add them anywhere ;)  I added some hearts to my layout and love the little punches of love all over my page!

I hope you enjoyed my layout and come join us on Social Media @SimpleStories_ and myself @KristineDavidson

Supplies

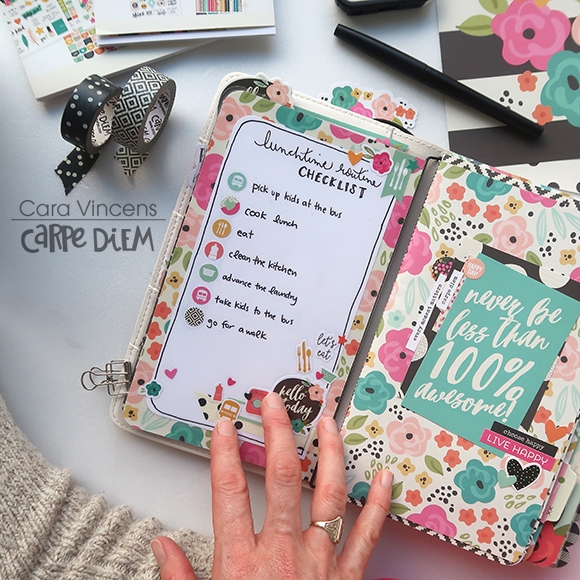
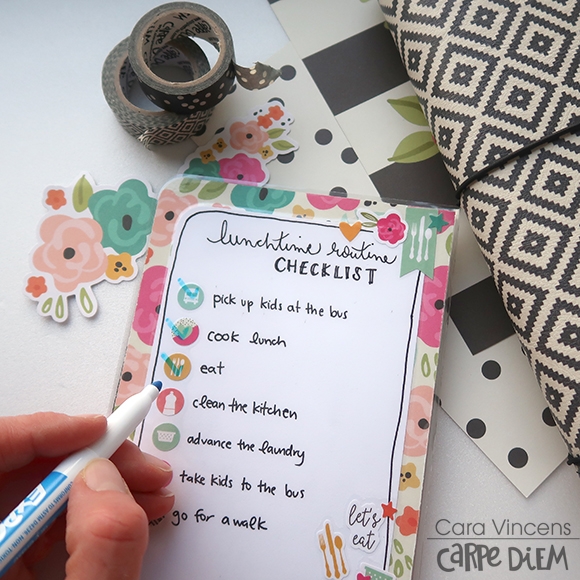
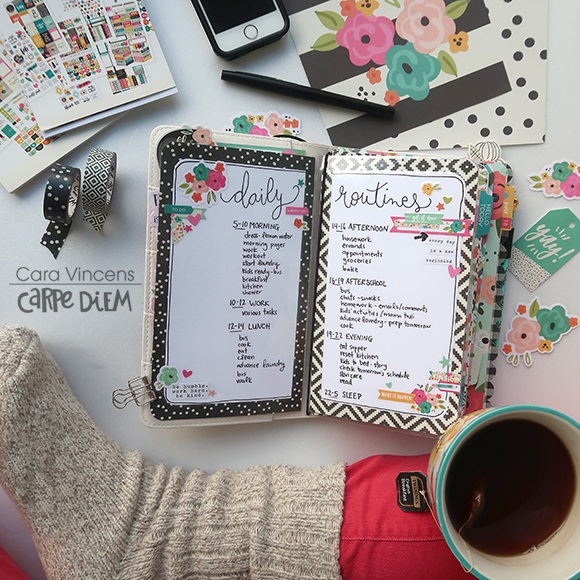
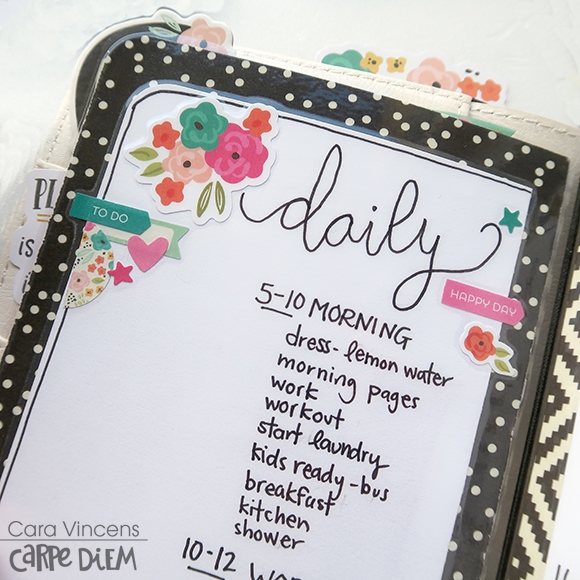
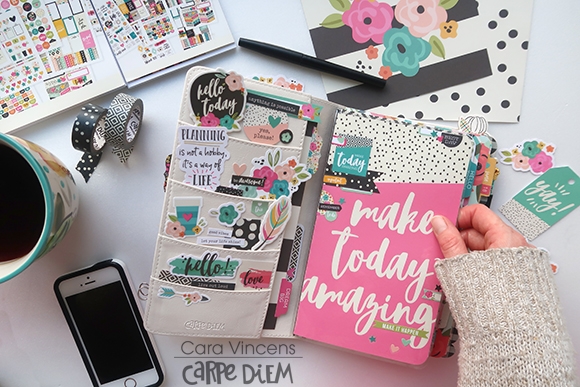
It’s Cara here today and I’ve been trying to manage my time a bit better in 2019. I discovered calendar blocking a few months ago and it’s been working well for me. To help me keep on track with this, I’ve added a laminated list of my routines to my planner. It folds in half so that I can easily slip it into my traveler’s notebook. On the back, I added a checklist from the one routine I’m having the most trouble completing, my lunch time routine. And because this folder is laminated, I can use a dry erase marker to check off each task as I complete it.

I used the Good Vibes collection for it’s fun colours and pretty, peppy designs, these are my happy colours so I know they will keep me motivated.

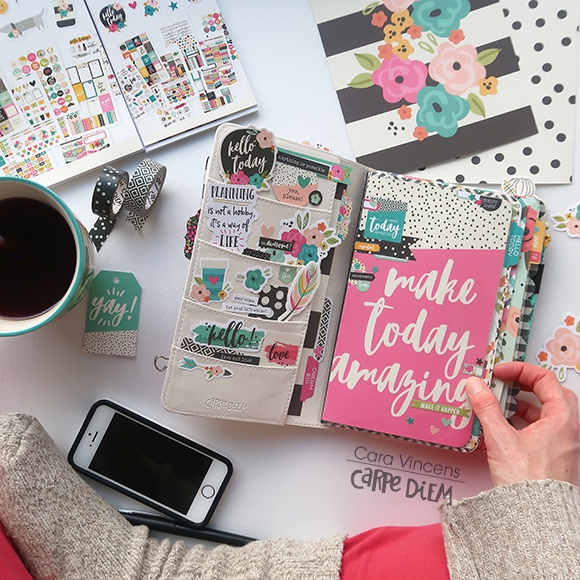
The front cover is a sheet from the Good Vibes 6x8 paper pad trimmed down. I used a TN insert for reference to help get the size right so that it would fit in my TN. I initially added quite a lot of stickers from both the Good Vibes Sticker Tablet and the Mini version, but there were too many and it overwhelmed the bold ‘make today amazing’ so I took some off. I love how easy it is to remove these stickers without ripping the paper, whether it’s to simply move them around or to take them off completely if you’ve change your mind.

The back cover has that pesky lunch time routine of mine, I mentioned above that I’m having trouble getting it finished. I put it on a sheet of white paper and mounted it on a pretty floral paper from the 6X8 Good Vibes paper pad. I used more stickers from the Good Vibes sticker tablets, but I also used some from the Home Sticker Tablet for the bullet points of my checklist because they matched the tasks better (dish soap for cleaning the kitchen and a basket for advancing the laundry etc). I love that you can mix stickers like that from other collections because the sizes are the same and the colour schemes are very similar and always match.

The inside of the folder houses all my routines mounted on the backs of the papers I used for the front and back cover. I chose my papers wisely so that the two inside papers would match each other, they are both black and cream. I added clusters of the Good Vibes stickers and then laminated the whole thing, being careful to keep the pages lined up as they went through my laminator.

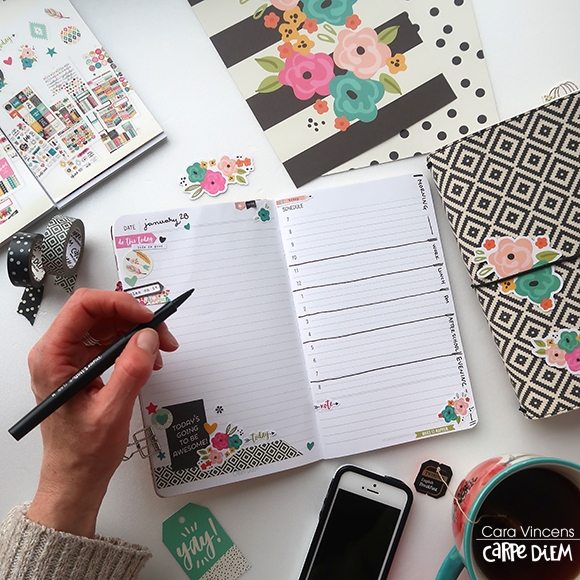
I also created a daily spread in my Daily Insert, so that I could try out writing in those routines into my schedules today.

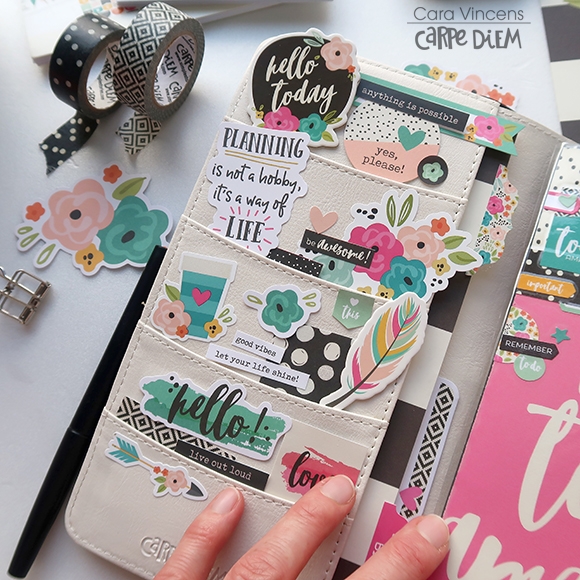
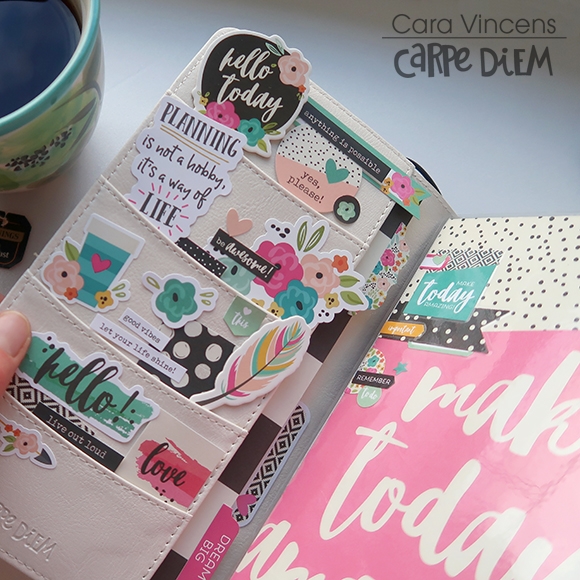
And what TN would not be complete without decorated pockets? This may very well be my favourite thing to decorate. I love the cream colour of the inside of the Aztec Traveler's Notebook. It really makes the colours in the Good Vibes collection pop!

I mixed in some chipboard pieces, Bits & Pieces die cuts, stickers from the Combo Cardstock sheet and the 4x6 pack, all from the Good Vibes collection. I added a few tabs to a another sheet of patterned paper from the 6x8 paper pad and tucked it into the long pocket in the back.

I’ve created a process video for all of these projects and if you’d like to watch the video, you can pop over to my YouTube channel and watch it at this link:

Routine Checklist Process Video

Happy Planning!

Supplies

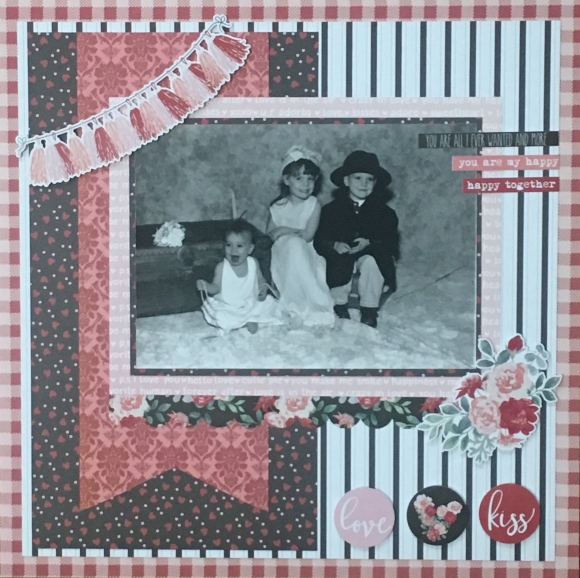
Hi creative friends! Karen here today to share a layout I created using the bold and beautiful Simple Stories Kissing Booth Collection. The gorgeous colors and fabulous designs in the Kissing Booth collection made it perfect for this darling vintage inspired black and white photo.

With so many stickers to choose from on the 12x12 sticker sheet I had a hard time deciding which stickers to use! I just love them all so much! I added pop dots to my stickers to give them little dimension. Hope you enjoy this simple but sweet project!

Supplies

Hello again everyone! Leah here today and I’m excited to show you some different ways I’ve been using the Carpe Diem Planner sticker tablets to experiment with new weekly layouts in my Typewriter Circles TN.

I have been using the daily insert for my day-to-day plans for a while and I am still loving it. At home, decorating my planner pages is a creative outlet for me, so it’s important to me that whatever layout I am using allows space for the décor and the planning. However, one thing I’ve been missing with this daily layout is not having a weekly view. The good news is, there are lots of options to easily incorporate a weekly view into my TN. Carpe Diem Planners has a horizontal weekly insert which I may try out soon, but I decided to experiment with a couple of other formats this month within the inserts I currently have in my TN.
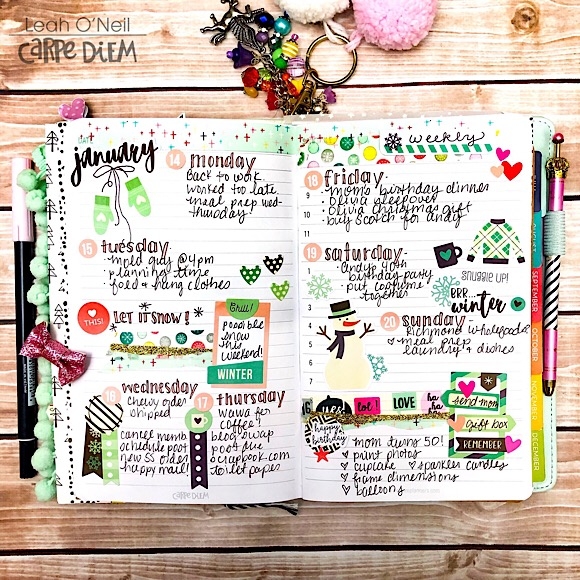
Because the daily insert is undated, one simple option is to use one day’s pages as a weekly view in between weeks. There are hours listed on the right page, but since the numbers aren’t super bold, I don’t feel the need to cover them up, although it would be easy to do so with a thin strip of washi tape. I like the ease of building my weekly view right into the daily insert I’m already using.
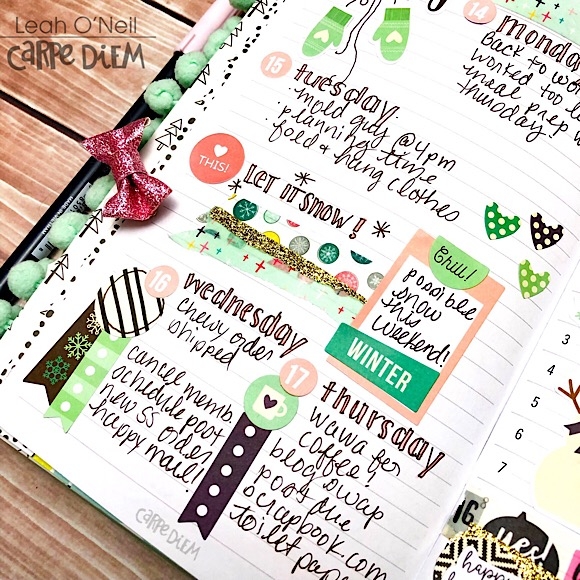
I used a lot of the January stickers from the A5 Seasons sticker tablet to decorate this layout. The color palette for January was pretty subdued with lots of wintery shades of blue. I really wanted to brighten things up by adding in pops of pink. I pulled a few pink functional stickers from my favorite sticker tablet, Planner Basics, to use on the layout. I tied the blues and pinks together by using a couple of my favorite colorful washi tapes that had similar blues and pinks in the design.
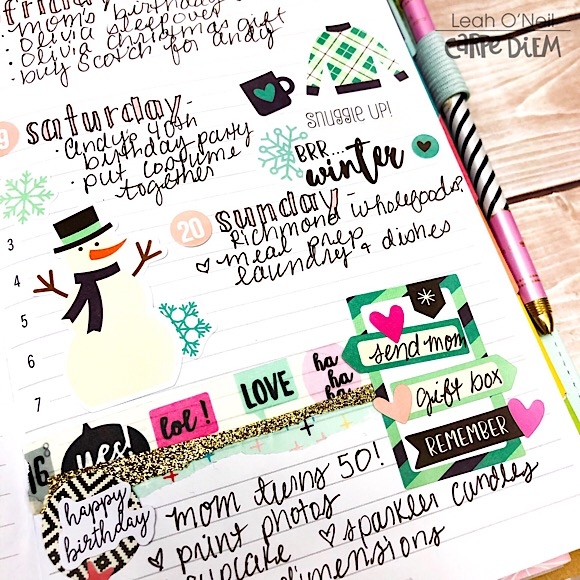
Carpe Diem Planners has a few basic sticker tablets that do not belong to any particular collection. What I love most about these tablets is just how flexible and functional they are. You get loads of stickers in each one and there are so many colors to choose from, so you will always be able to coordinate them with other sticker tablets or Simple Stories collections.

For this week’s layout, I decided to design my own weekly layout in a separate grid notebook insert. While this does mean my week will be in a separate insert from my daily planning pages, both inserts would still be right next to each other in the same TN which works just as well for me.
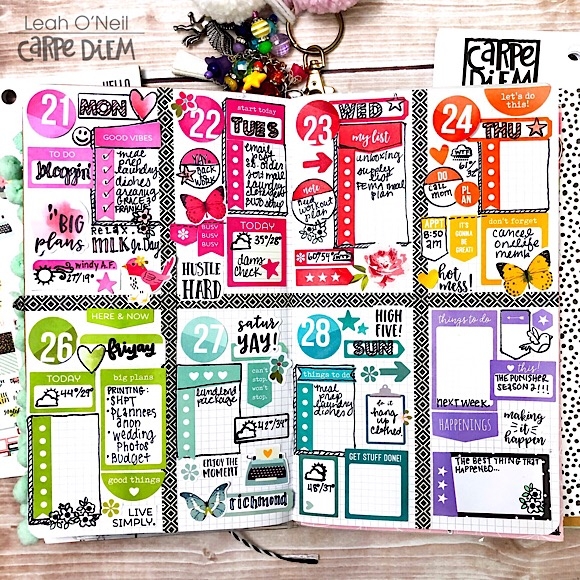
I created this simple layout by dividing two pages into 4 sections using thin washi tape. This created 8 total sections, one for each day of the week and one to write in tasks for the following week. I decided I wanted to go for a fun rainbow color scheme to decorate this layout so I chose a neutral black and white washi tape to create the boxes.
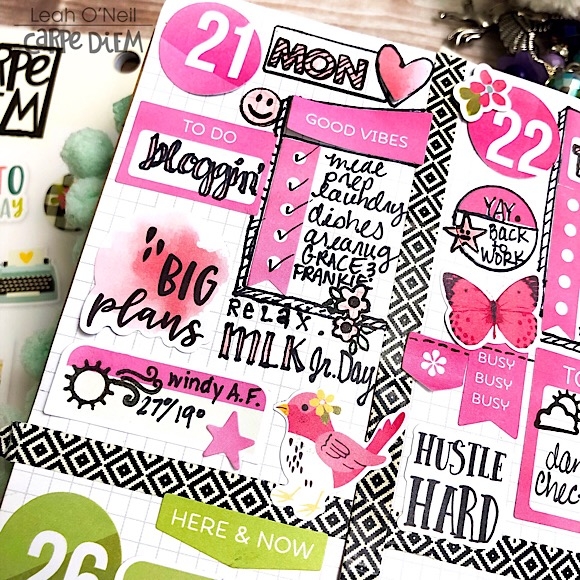
I really love that I was able to take stickers from the Planner Basics, Calendar, and Numbers sticker tablets and group them by color into the separate boxes on my layout. While these stickers are all more functional by design, I added a little whimsy to the layout with a few flowers, birds, and butterflies from the Hello sticker tablet that coordinated with the colors on my spread.
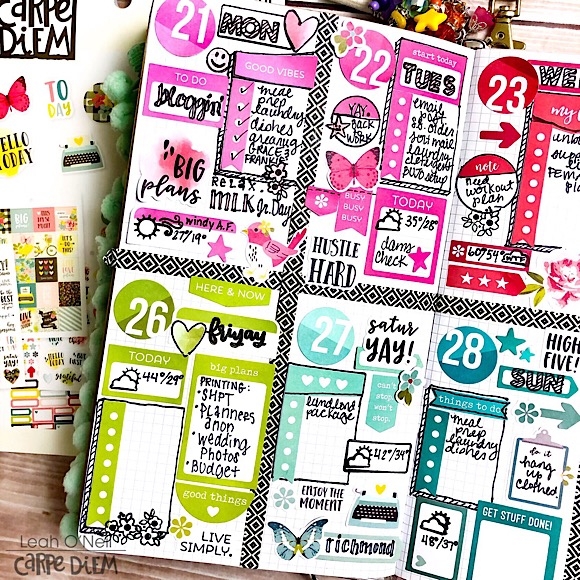
When using a bunch of stickers like this in a confined box, you can sometimes end up with little “awkward” corners or spaces between stickers where you know there isn’t enough room to write anything. To fill these spaces, I used some icons from the Get it Done and Seasons stamp sets. I decided to use black ink so that the stamped images and words wouldn’t compete with the colors.
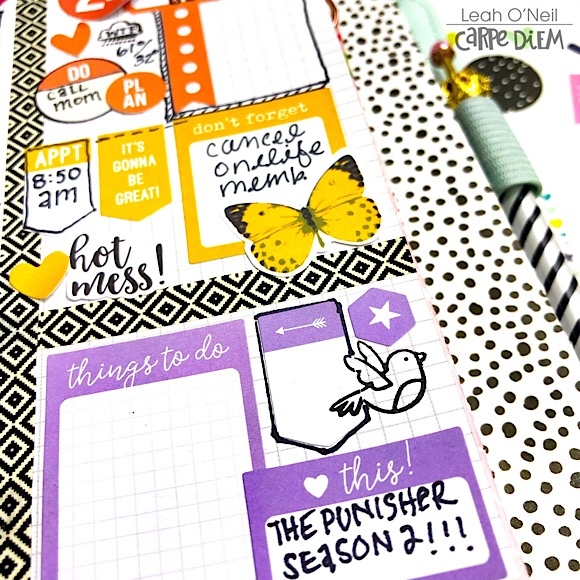
While there is a lot going on in this layout, grouping stickers together by color helps create some order. If I had used this many stickers in this variety of colors, shapes, and sizes without grouping them together by color, the layout would have had a much different impact. Everything would have been “floating” separately and the eye wouldn’t have known where to look.
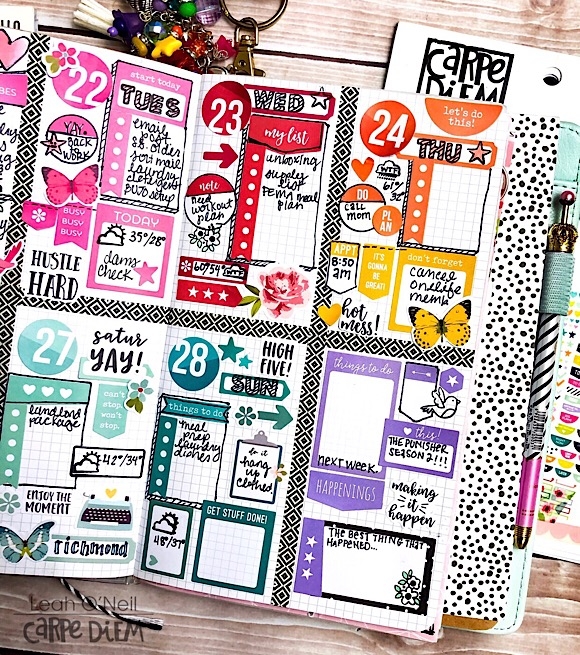
I decorated ahead of time this week, and since I’m going to be planning as I go, there are some elements that I repeated in each box to establish some consistency and to allow for greater functionality. For example, I have designated space for a checklist on each day. I also added the weather forecast. On days where I knew I had a scheduled event or deadline, I added a separate sticker to write it in so that I wouldn’t take up space under the checklist.

Do you have a set planning style/format that has been working really well for you? The search for “planner peace” can be a bumpy one, but unless you get really lucky, most of us don’t figure out exactly what works on the first try (or second, or third, or tenth…). Sometimes you just have to keep experimenting until something clicks with your brain. If you are not consistently using your planner, then that’s a good sign that your current format isn’t working for you. Don’t be afraid to switch things up and try something new, and don’t think you have to spend a bunch of money to do it. You can test out different formats in a single blank notebook using just a pen at first. The beauty of having these undated, customizable TN inserts is that I am not obligated to stick to one specific style or layout when planning. I can adapt my planner to my needs and change up my format any time.
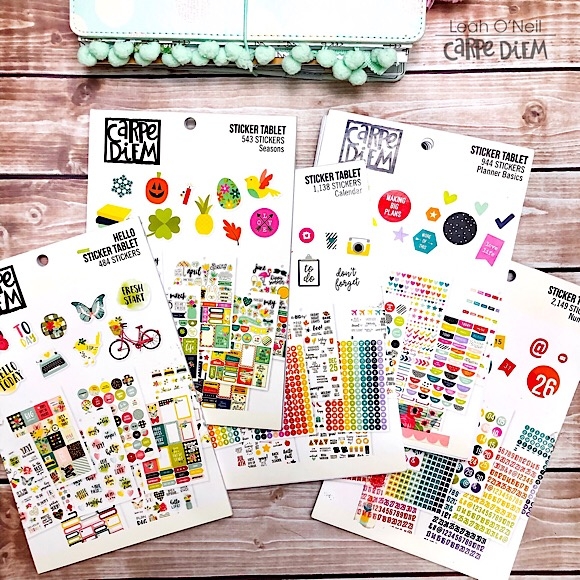
No matter where you go or where you end up, you cannot go wrong with the value and versatility you get from the Carpe Diem sticker tablets. They are flexible enough to transition with you throughout your planning journey. 

Follow along with me on my planning journey over on my Instagram @sunny.leah. Until next time friends, happy planning!
Supplies

Hey planner friends! It’s Rachel, and I am back on the blog sharing my January setup in my “on the go” planner/wallet. Now I know that from the outside, this looks a ring bound planner, but surprise! It’s actually a travelers notebook! I shared a few months back how I converted or “hacked” my personal size planner into a B6 (5x7in) travelers notebook and I’m back in this planner for the month of January!

I “hacked”a few of the travelers notebook inserts by trimming off less than an inch from the top and bottom to make the notebooks a B6 size. I have three inserts this month; 1 blank insert for notes/brain dump, 1 for my calendar/bullet journal, and 1 lined insert for journaling. In the back, I have a pvc wallet insert.

I am using the Simple Stories Freezin Season collection this month for decoration and I could not be more in love! Even though this is a winter collection, I love the mix of coral, yellow and pink - such a cheery choice for winter!

And how adorable are all the little creatures with their cozy winter gear? This penguin makes me so happy every time I open my planner.

Making insert covers is alway so fun! And easy! My process involves only one 7 inch cut of the 12x12 papers I used. Once this cut is made, I simply fold the rest of the paper around the insert and adhere down with a little washi tape on the inside cover. Add a few element cards and combo stickers and I am done!

Sometimes, I think people shy away from travelers notebooks because they are worried they won’t be able to finish the whole insert. If that’s you, here is a trick: since these inserts are stapled and not sewn, you can easily remove the staples and take out some of the pages to have a slimmer insert, which makes it easier to fill up! This is exactly what I did. I knew I only wanted my planning insert to be for this month, I removed the staples and pulled only 6 insert pages and slipped these insert pages into the cover. This is especially helpful if you are like me and you love to stamp. I can just pull the pages you are working on from the travelers notebook and stamp on a flat surface.

I wanted to do something a little different this month, so I am trying my hand at bullet journaling. Honestly, I don’t think this is a true bullet journal, but that is ok with me! For the monthly spread, I measured out the boxes I needed and used my rectangle photo crop to make the lines. I knew I wanted to use my stamps, so I found some inks that perfectly matched this collection and then stamped out the days of the month. Once the month was setup, I got to decorating! I used the 4x6 stickers to decorate in the open space. I love coming back to this page all month!

I decided to create a monthly dashboard that I can use as a “currently” page and for some memory keeping. Again, I used the photo crops to trace out my shapes, some washi, and the 4x6 stickers and I was done! These pages will get filled in at the end of the month to act as a “recap” of what happened.

On the next two pages, I made an expense log and wishlist. I’m trying to be better at tracking my personal spending and to make a wishlist first, to avoid spending impulsively.

On to the weekly spreads! Part of the reason I wanted to try out bullet journaling this month was to experiment with different weekly layouts. Here I chose a favorite vertical layout. I mixed stickers and stamps including Make a List, It’s a Date, and Plan It Stamps.

The following week I switched things up and created a week on 1 page layout on the right-hand side with my to do’s and habit tracking on the left-hand side. I used several of the A5 Sticker Tablets on this week including fitness, calendar, and home. A great layout option, though, I was pretty sick all week and not much got done or tracked. That said, I would definitely use this weekly format again.

Thank you for stopping by to see my planner setup for January. Be sure to check my instagram to see how the rest of the weeks turned out.

Supplies

Pages