January 2019 Blog Posts

Happy New Year! Emma back with you, and today I’d like to share with you my ‘heartsbyemma’ twist on divider making! Now, it’s a trade secret, so this is purely between you and me! ;)

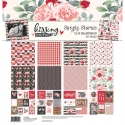
I’ve chosen to use the delightful Kissing Booth Collection that Simple Stories have brought out as the ‘Valentines’ collection. Firstly, let’s scrap the whole ‘valentine’ theme!! The florals in this collection are far to beautiful to only be seen in February!! I want to use them all year round! ...if you fancy it too, then, keep reading!!
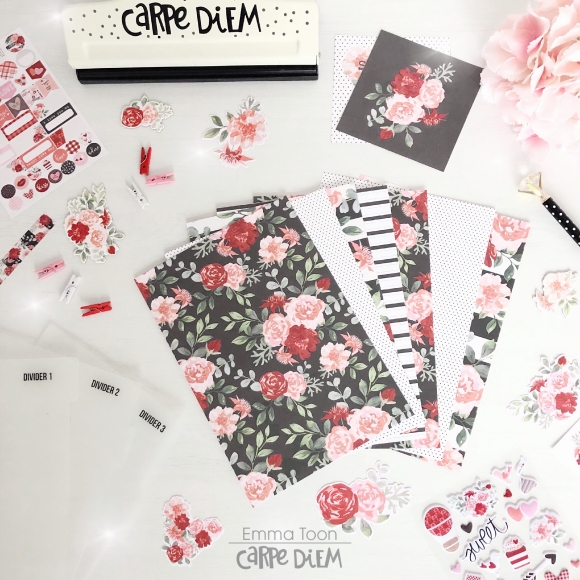
I picked out my favourite sheets of paper from the 12x12 collection pack, grabbed my divider templates from Carpediemplanners essentials and got cutting! You need to cut out as many dividers you’d like to have for your planner and one extra for the dashboard (pretty front cover) When you cut them out, there’s no need to cut the tabs out for each one, leave them off. So, really, it’s like cutting out lots of dashboards...you still with me? 

Hearts! Yep, I know I said I was skipping the whole ‘valentines’ thing, but, this is my ‘heartsbyemma’ secret! You need to cut out or punch out twice as many hearts as you have dividers. I’ve done six dividers, so, punched out twelve hearts. Oh, and don’t forget to use your trusty Carpediemplanners A5 hole punch, every planner girl needs one! 
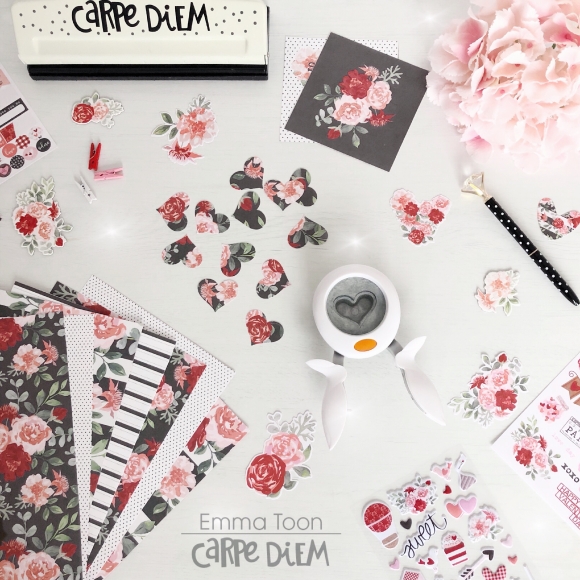
Using a punch makes this much quicker than handcutting each heart, but it’s not essential! I like to use, just an ordinary stick glue, as this gives you time to manoeuvre your hearts around into the perfect position! You want to evenly place the hearts as you would with your usual style tabs, depending on the number of dividers you have chosen, will depend on how big or small the gap is between each one. You’ll need a heart on both sides of the divider, this makes them look visually nicer, but also double the thickness, gives double the strength! 
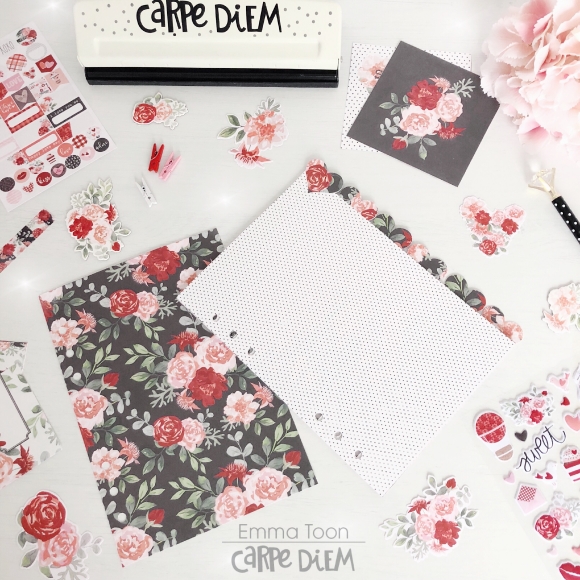
You can see here how the finished result gives a wonderful scalloped effect! Now it’s time for the fun bit! Decorating!! I have to warn you, you’re going to be shocked when you see my ‘minimal’ decoration! 
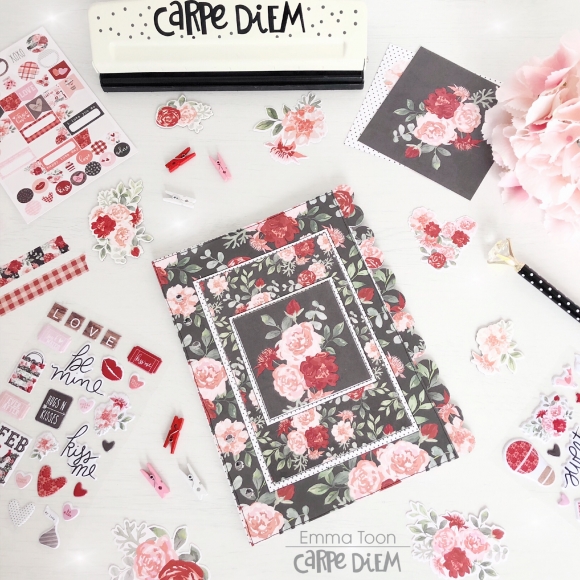
I know, I know, Emma, Minimal?? You never thought you’d see that did you! Let me explain myself! I have chosen big, bold, in your face, florals! These florals are centre stage, they speak for themselves, why cover something up when it screams beauty, like these florals! 
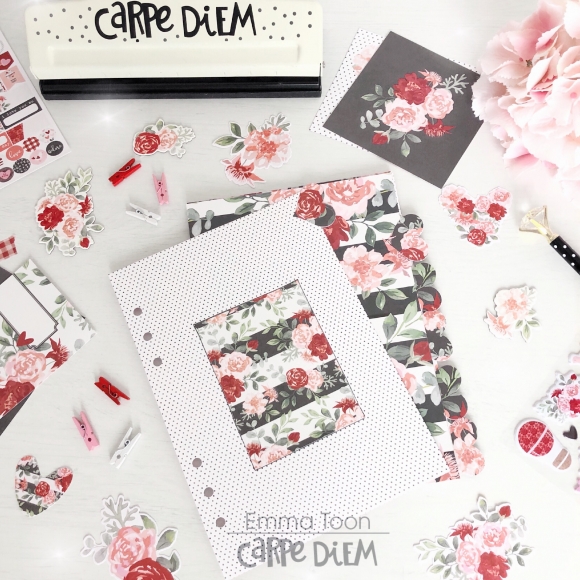
I have interspersed the florals with polka dots & stripes, this is to break up the florals, making them stand out and shout even more. Here is where decoration can be added, but, you guessed it, I’ve gone minimal again!  
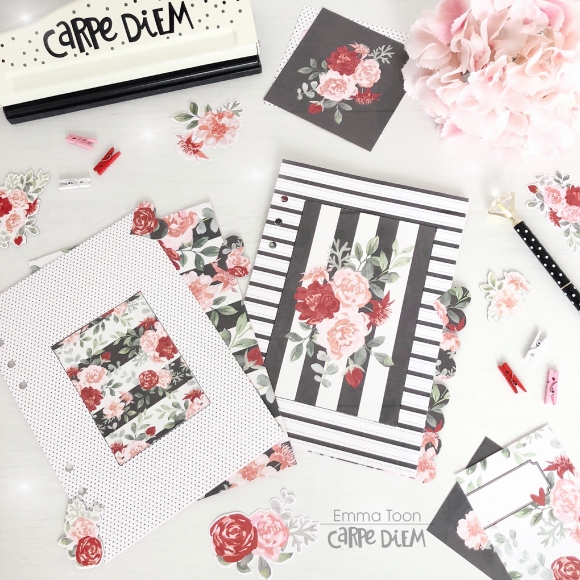
Using only images from the 12x12 cut apart sheets for decoration. You could just as easily cut out some pieces from the floral sheets if you prefer. To make the journaling cards ‘pop’ , I have simply drawn around the edge of each one with a black ink pen, and as daft as it sounds, it really makes a difference! 
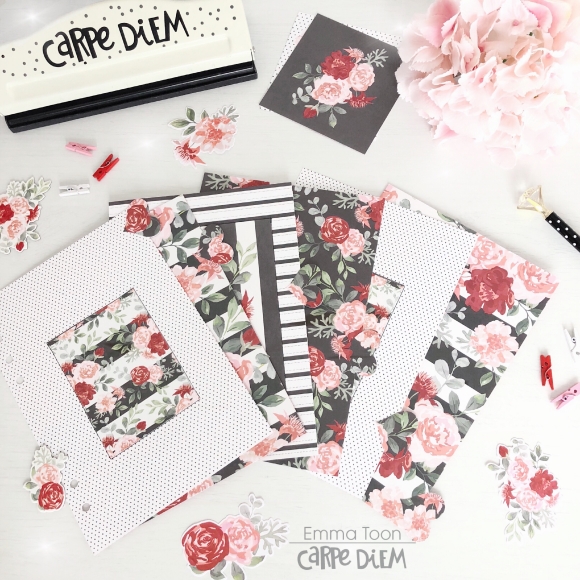
There we have it, a full set of dividers, which although the papers are from a ‘valentines’ collection, these can be used all year round! Always look beyond the title, I say! Well, thank you for sticking with me, I hope you’ve perhaps taken some ideas from this blog, or, if it’s just made you smile, then, I’d say that’s pretty good! If you would like to see more pictures using Simple Stories products then checkout my IG account  https://www.instagram.com/heartsbyemma

Supplies

Hello Simple Stories friends and fans!

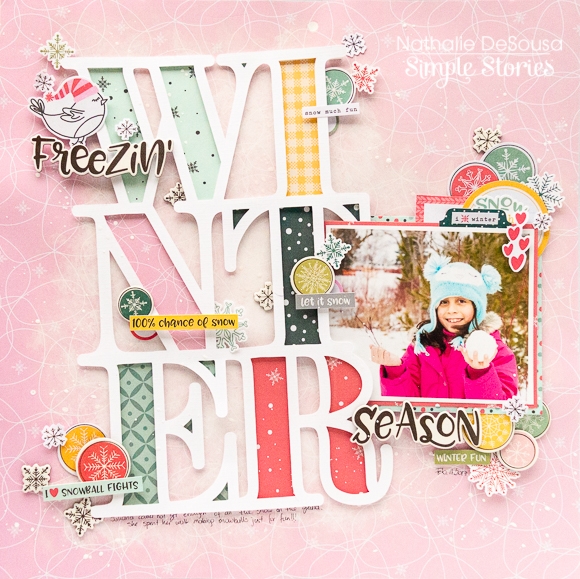
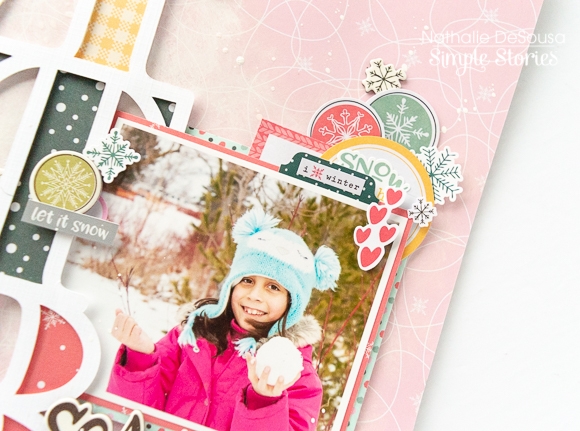
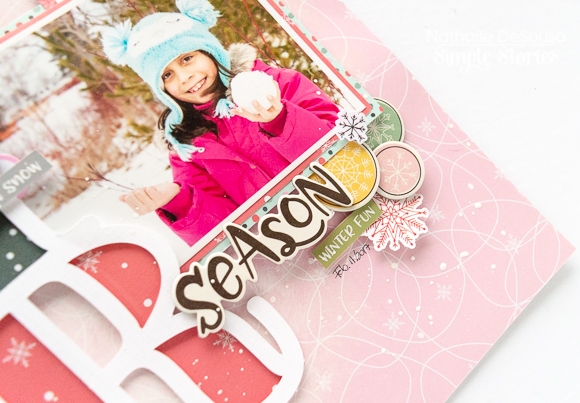
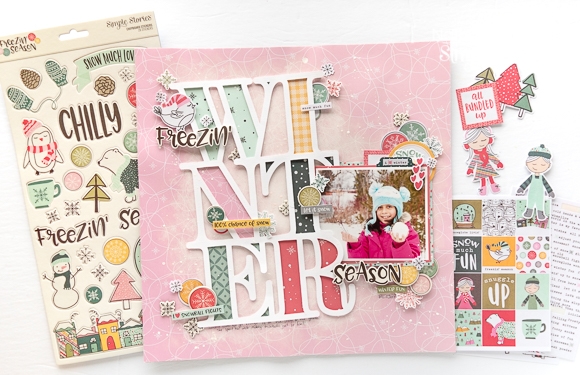
Nathalie with you today to celebrate the arrival of Winter (here in the Northern Hemisphere) with a colorful and fun layout using the beautiful Simple Stories new line Freezin' Season.  Though, Toronto-Canada has yet to get some snow, i have so many memories of snowfalls past, and the colors in the collection were perfect to bring the fun of Winter to my scrapbook album.

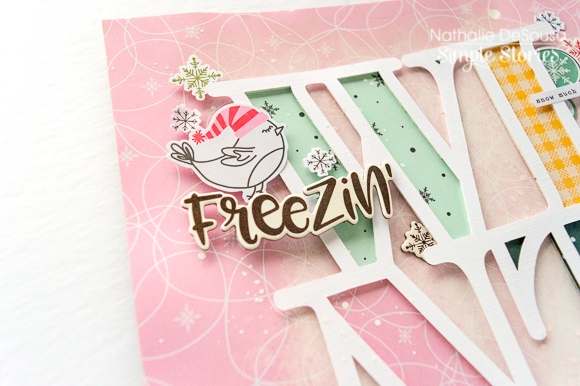
To start,  a bit of white acrylic paint was added to the Hello Winter paper -this hazes the pattern in the background, while creating a whiter canvas for the layout-.  While the paint dried, the"Winter" cut file (from Paige Evans) was cut from white cardstock, and backed with papers from the Freezin' Season collection.

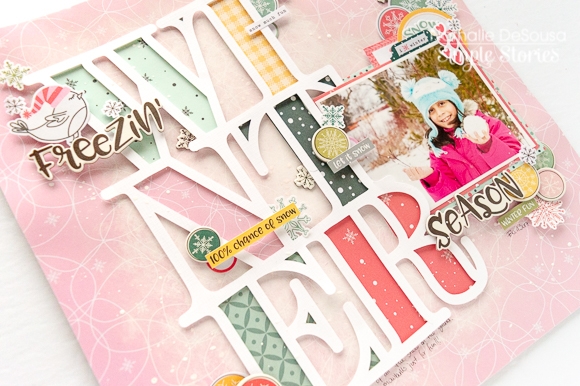
The cut out was placed on a slant on the background, so that it adds playfulness to the page.   The picture was backed with papers from the collection ( the element pages are a great to layer and back pictures!), and then it was nestled in between the background and the cut out.

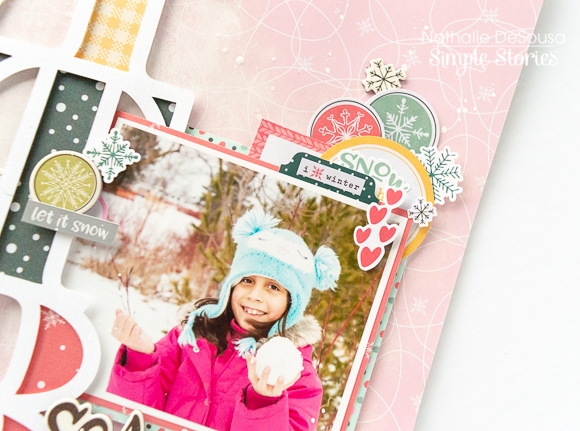
Since the picture shows my niece holding a snowball, i decided to continue the circle motive throughout the page.   For this all the circle snowflake embellishments from the collection were used to create clusters around the picture, along with some die cuts and stickers.  Love all the colors!

To complete the title of the page, a cluster of snowflake embellishments was created at the top left corner of the cut out.   Here the the "Freezin'" chipboard was added.  In a similar manner the "Season" chipboard sticker was added at the opposite -diagonally- corner of the cut out, so that the title reads "Freezin' Winter Season".

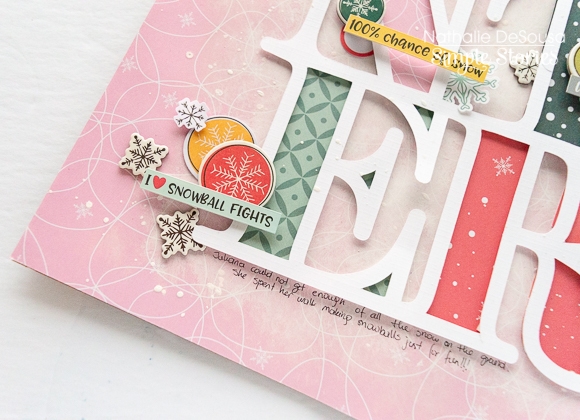
Those circle snowflakes were perfect to create clusters around the layout.  Some were tucked under the cut out, while others are floating on the page along with sticker words and embellishments from the collection.   Just a few lines of journal and some white ink were the final touches of this page.

I hope this inspires you to check the colorful designs and colors of the Simple Stories' Freezin' Season collection.  It is  the perfect collection to document all those happy Winter memories.

XO

Supplies

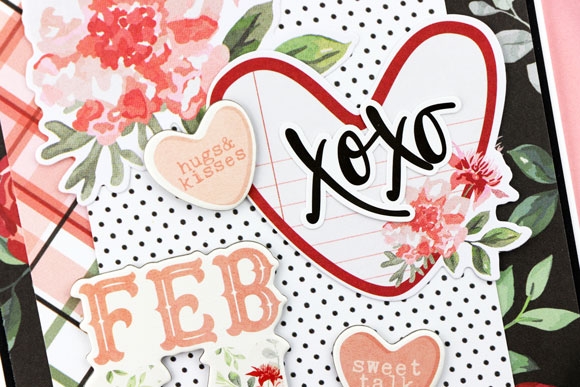
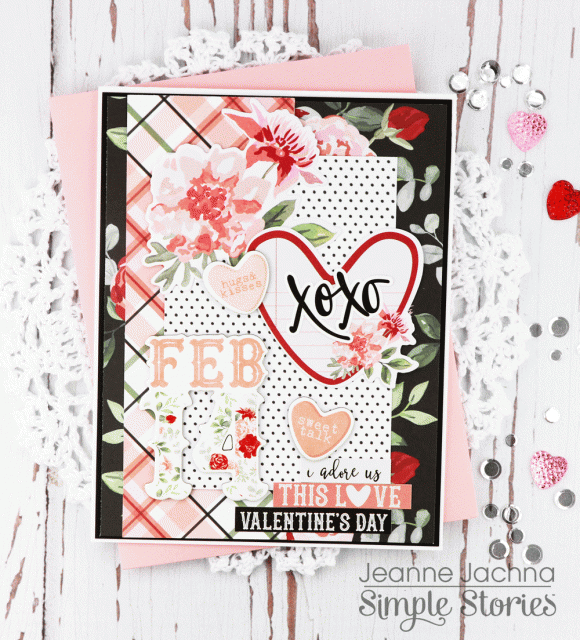
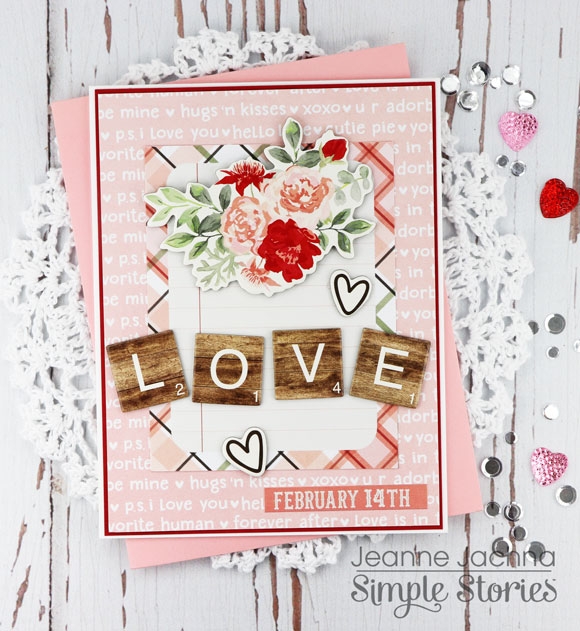
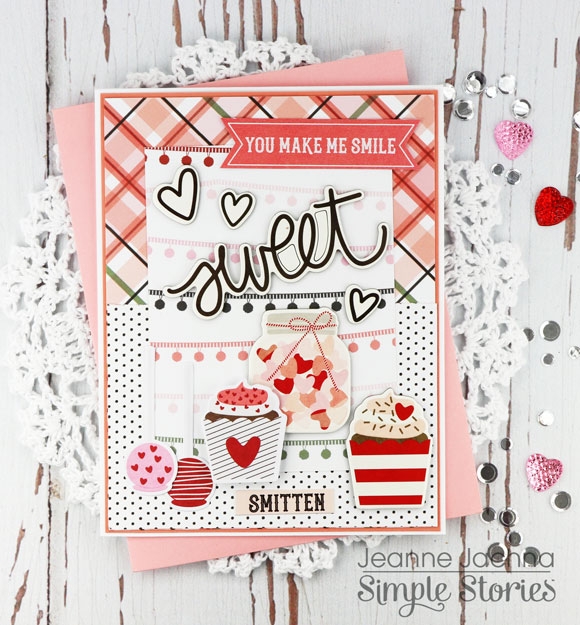
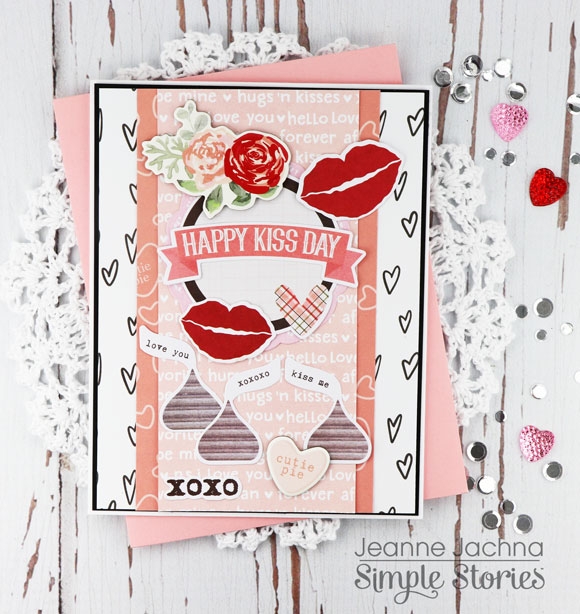
I hope you’re having a great day! Today I’m sharing projects created with the Simple Stories Kissing Booth Collection.  You’re going to ADORE this collection.. it’s got romantic dramatic florals, pretty plaids and polka dots, and flirty hearts and kisses!

You'll find die cut Bits and Pieces, 6x12" Chipboard and stickers that make creating with the collection a breeze.

I like to use the 3x4 journalling cards as a focal point for my cards.  They’re quick and fun to embellish and the possibilities are endless!

The Collection Kit includes a sticker sheet.  I sprinkle them with powder to remove the adhesive backing and then add adhesive foam tape so I can add dimension to my creations.   If I later decide I want to adhere them flat I use liquid adhesive.

This collection is sure to make your Valentine’s Day cards, gifts, décor and page layouts a treat!

Supplies

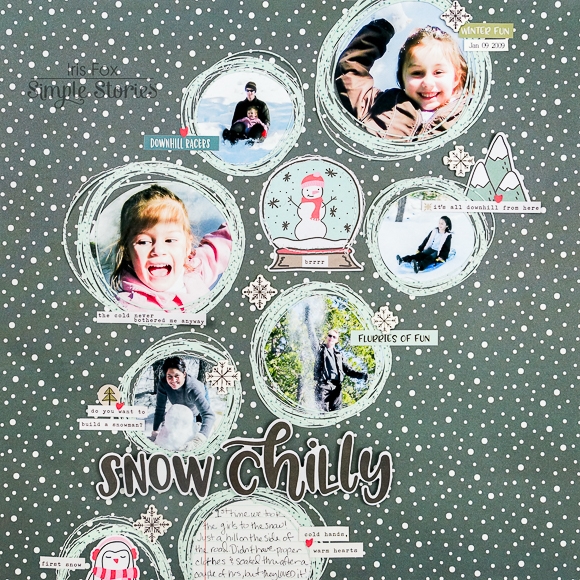
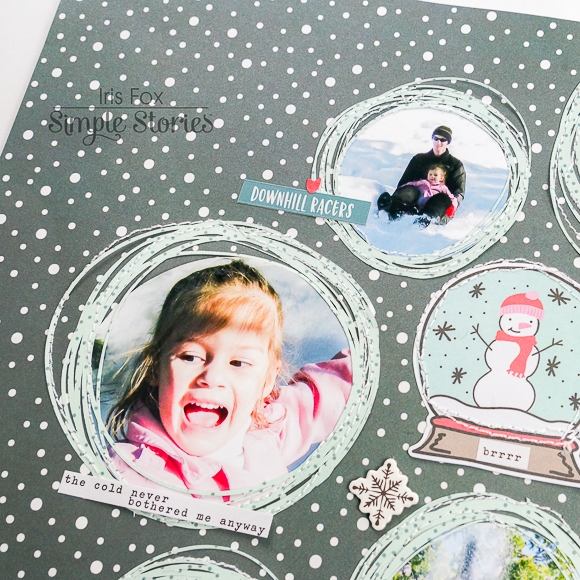
Hello, Iris here with a layout that's all about embracing the Freezin' Season!  This whimsical collection was perfect for documenting the first time we took my girls to play in the snow!

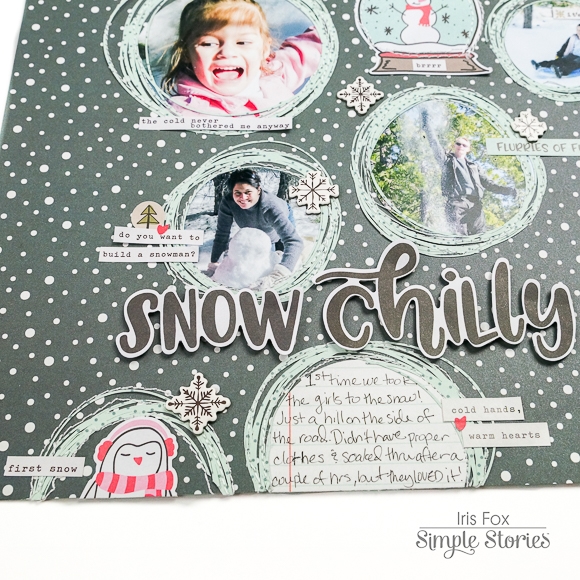
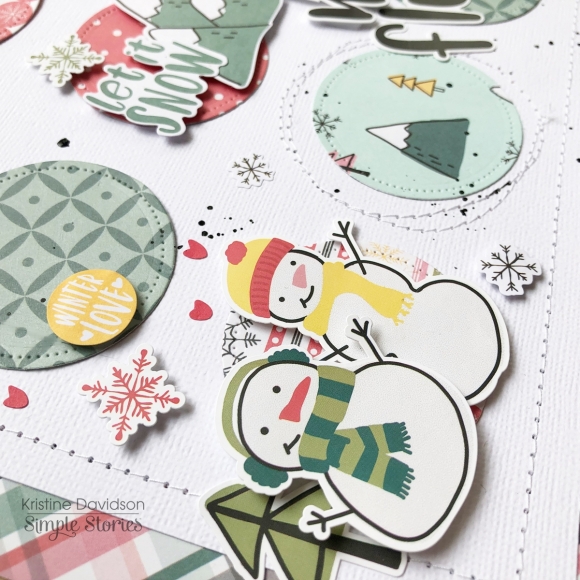
I picked the dark, snowy Shiverin' paper as my background to provide great contrast.  I wanted a design reminiscent of snowballs tumbling down, so I printed my photos at 2", 2.5", and 3", and punched them with circle punches of those sizes.  Then I cut some Doodle Circles (Silhouette Store Design ID: 68077) from the Snuggle Up paper with my Cameo to frame them.  I arranged them across the diagonal, varying placements and leaving space to intersperse some cute elements.  The circles along the edges are cut off because that gives the design even more movement.  For texture, I machine stitched several times around the frames.

I added some of the die-cuts from the Bits & Pieces pack to fill in the gaps, including the snow globe to add some interest in the middle of all those photos.  There's stitching around the globe as well.  I placed word strips form the Combo Stickers and the 4x6 Sticker pack to caption each photo. I always delight in finding just the right little phrase to go with my photos.  Chipboard snowflakes help bring the die-cuts and word strips together into clusters.

The final piece was to add my title, which I propped up on foam, across a small gap between my photos and the journaling. For my journaling, I punched a circle out of one of the journaling cards from the 4x6 Horizontal Elements. See that cute penguin poking up from the bottom instead of another photo within the circle?  He adds something a little unexpected. 

Freezin' Season is so stinkin cute, with fresh fun colors and icons that will make documenting all those chilly winter outings super fun!

Supplies

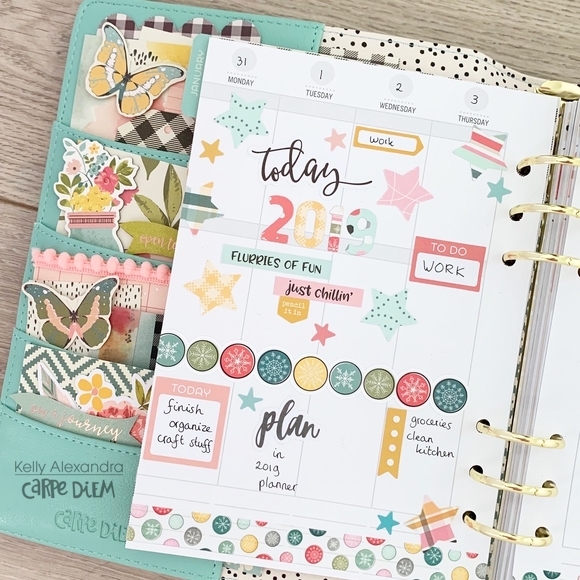
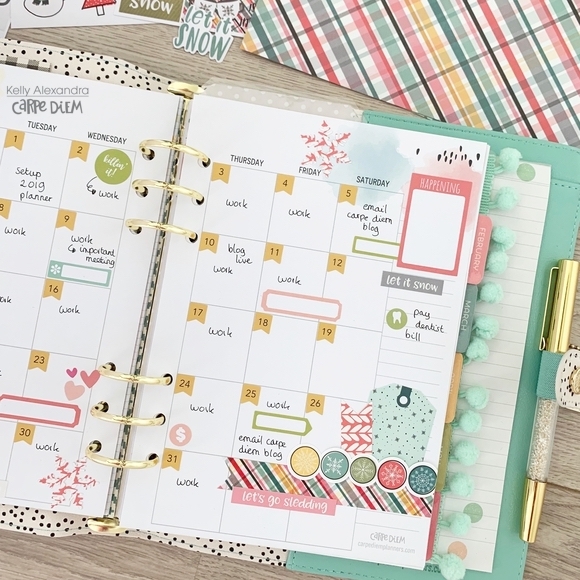
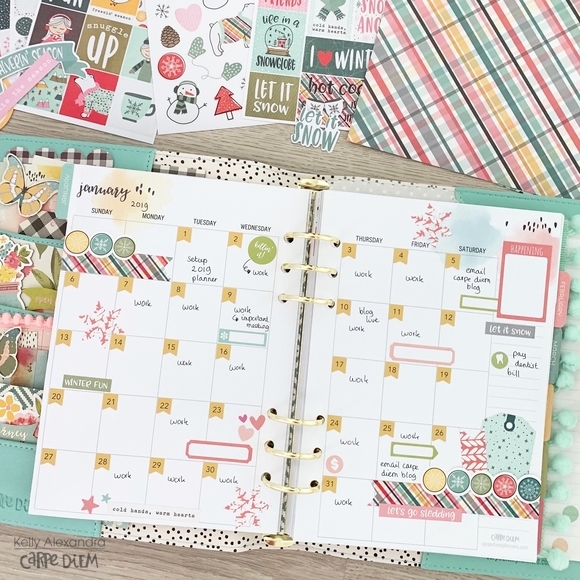
Hello, it is Kelly here today on the Carpe Diem blog. Last year I showed you how I have setup my Color Wash Carpe Diem planner for 2019 using the ‘Hello’ monthly inserts. In this blog I will show you how I have decorated my spreads for the winter.

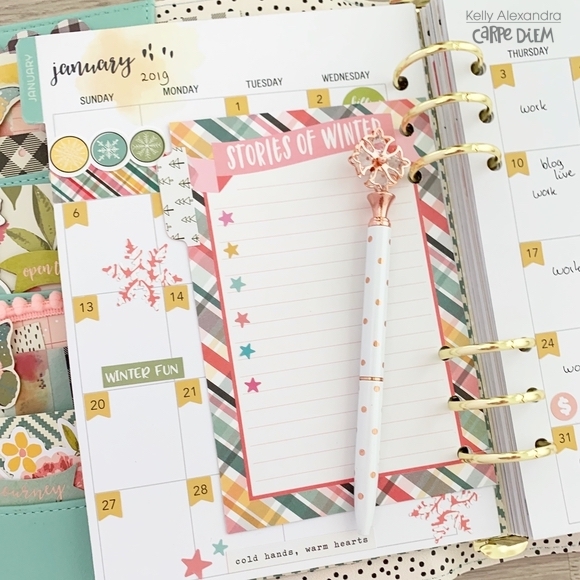
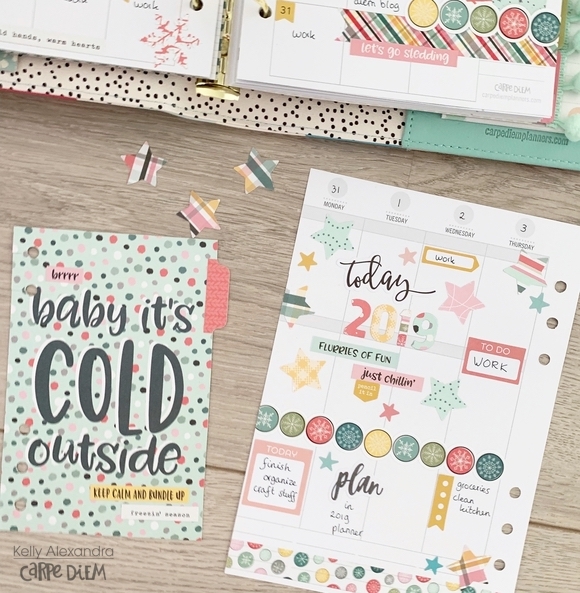
I first decorated the first week of the new year. This month, I am using vertical inserts and because I did not have very many appointments or to do’s I decided to decorate the whole page with some stickers and punched stars. I punched ‘2019’ from four different papers of the Freezin’ Season collection. I love how this spread turned out!

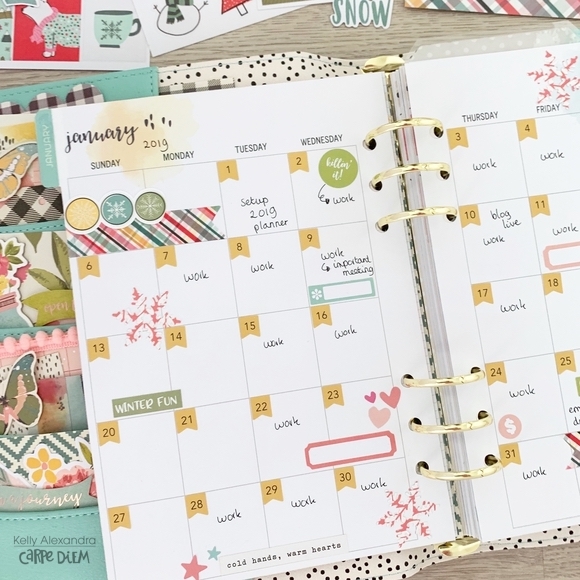
Next, I used the Numbers sticker tablet to date the entire monthly spread with the yellow flag number stickers. I added some functional label stickers from the Basics sticker tablet and decorated the page with some stickers and washitape from the Freezin’ Season collection.

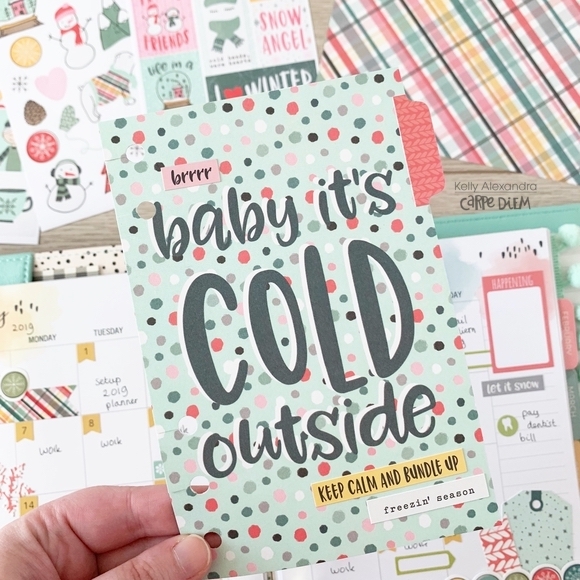
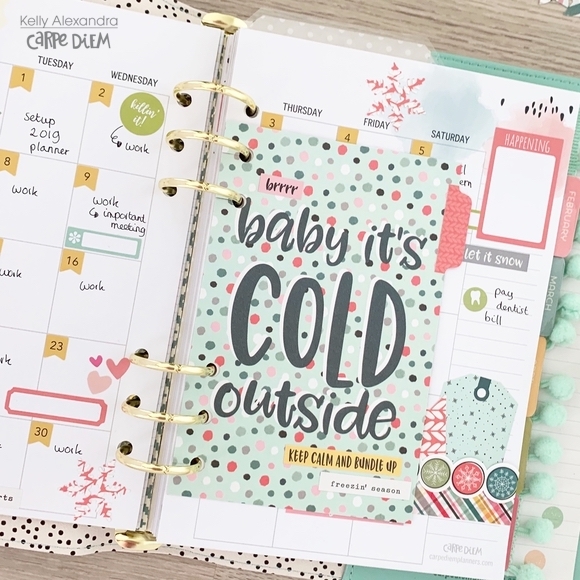
For this month I already know I have a big to do list. Therefore, I created an extra 4x6 card: I used the 4x6 vertical elements paper and cut two 4x6 cards. I glued them together and used the planner punch to punch 5 holes. I used my scissor to cut some slits in the holes so I can easily take the card in and out.

On the back side I stuck some little stars from the Basic sticker tablet to serve as bullet points for my to do list. Now I have to start writing everything down!

I hope you enjoyed reading this blog, you can find more planner inspiration on my instagram. Have a great day!

Supplies

Hello Simple Stories friends!

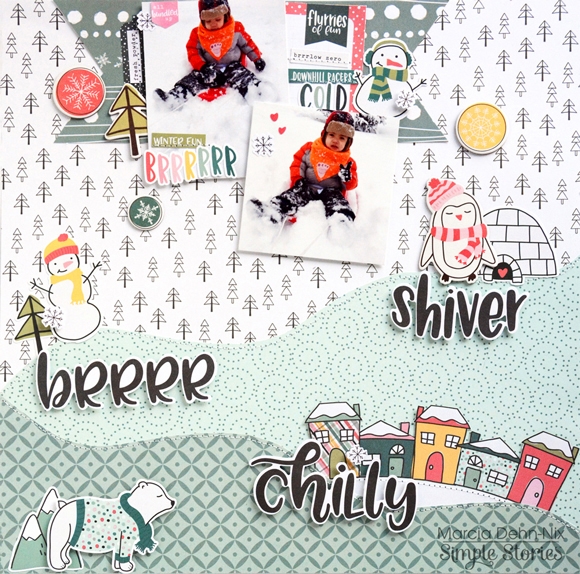
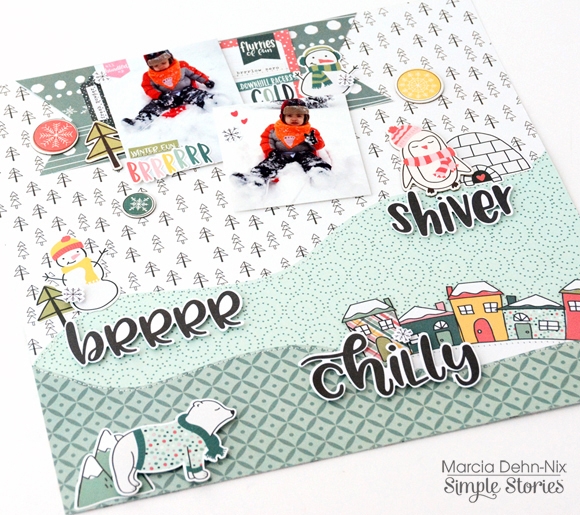
Marcia here today with a fun Winter layout I created with the Simple Stories Freezin' Season collection. I live in Minnesota, so am all too familiar with snow ... and cold. Somedays you just need to get outside and play though or that cabin fever sets in. One of my favorite outdoor winter activities is sledding. All you need is a hill and a sled. The bigger the hill the better. I love the adrenaline rush you get as you are hurtling downhill with the wind in your face. It was so fun seeing my nephew enjoying sledding too.

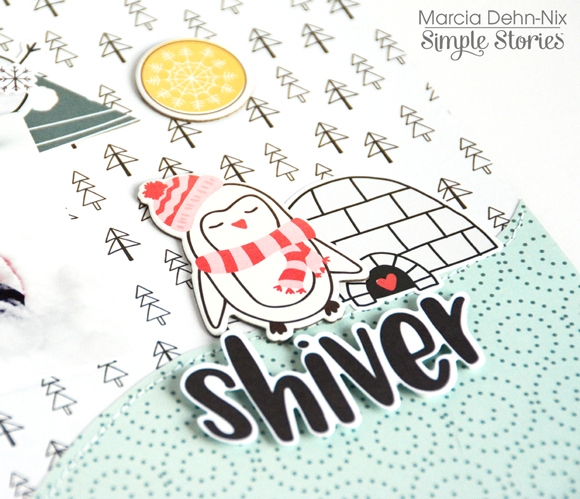
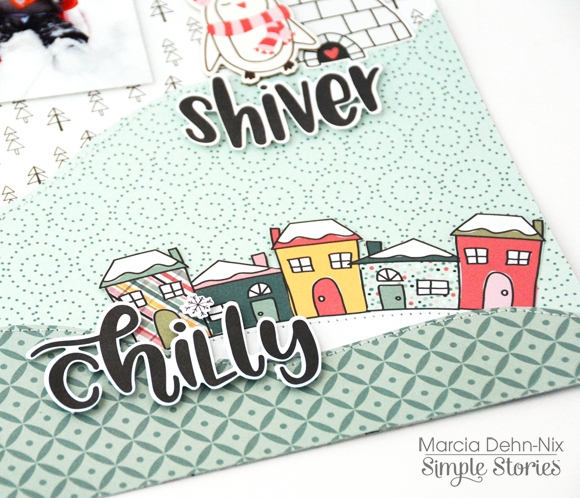
I knew I wanted to create hills of snow on my layout. I used various pattern papers to achieve this and cut them in curves to resemble hills. Then I embellished my hills with an adorable snowman, a penguin, a polar bear, and a village of houses. It was fun layering the bits and pieces words "brrrr', "shiver", and "chilly" along with other fun elements.


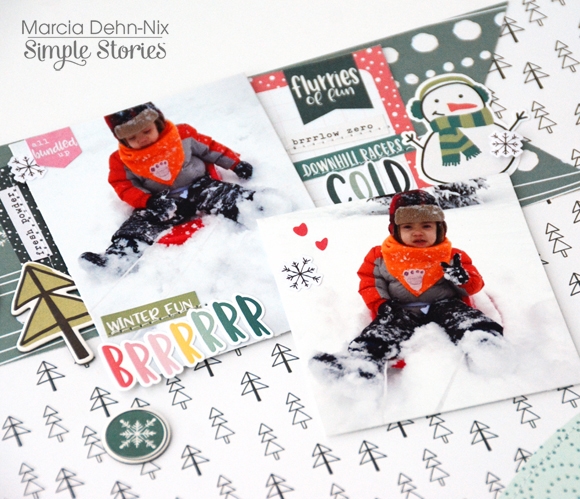
When sledding, you start at the top of the hill ... so I wanted to arrange my photos at the top of my page. Tucked in an around my photos are another cute snowman, some snowflakes and phrase stickers, and a bits and pieces tree (because you got to watch out for those trees when sledding!).


Thanks so much for stopping by today! I hope you get a chance to get out and play in the snow! Don't forget your camera so you can document those moments with the Freezin' Season collection.

Supplies

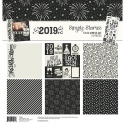
The Simple Stories 2019 collection makes it so easy to document the New Year! I did a bit of a look back along with some pictures from our family New Year’s celebration in a 4x6 SN@P! album. I love the small size for little stories.

I started out my album with an empty 4x4 page protector with some song lyrics using the Basic Alpha stickers in an off white. I love how it lays on top of the page beneath it. I added a tab from the Planner Tabs Sticker tablet and a clear tab sticker to make it a bit more durable. I use these tabs SO much in my layouts, they’re a great way to add simple tabs to a layout and the booklet comes with lots of styles and colours. I also used some of the reinforcing tabs from the same booklet on the holes on the protectors to give it a bit more contrast since the protector was empty. 

Under the clear protector I printed out a roundup of great moments from the year before. I cut down one of the papers from the 2019 kit (with my photo crops of course!) and added some stickers to round it out. The countdown sticker makes a great border for the page.

On the other side I used one of the 4x6 elements from the 2019 kit with a word sticker from the sticker sheet in the middle. Simple and sweet! On the other side are my year in colour from the year past and a cute Instax picture of my boys mounted on one of the papers from the kit cut down. With more stickers, of course!

To finish it off I used some pictures from our New Year’s celebration along with some of the 3x4 elements from the kit. The word stickers in the 2019 kit rounded out my page nicely along with the black and white stars.

The 2019 Collection kit was perfect for some sweet layouts going into the new year. The black and white colours go with everything and the stickers were super fun.

Supplies

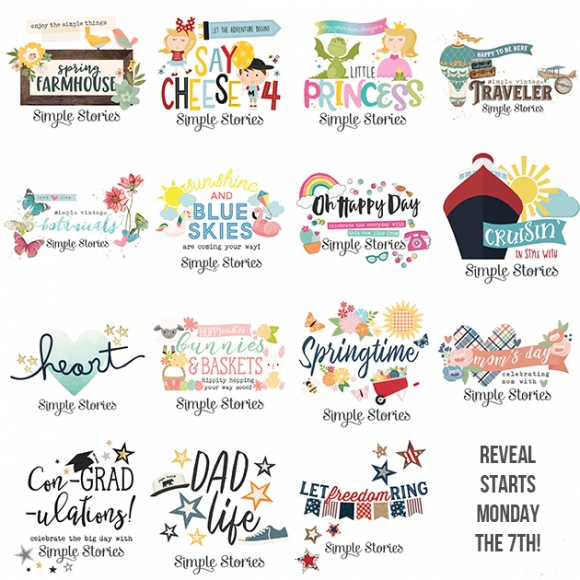
Howdy Simple Stories fans! Today kicks off almost TWO FULL WEEKS of our Spring AND Summer release reveal!

Be sure to visit our Facebook and Instagram accounts each day for chances to win and to keep up with all of our product reveals over the next two full weeks!!

Pages