January 2019 Blog Posts

Hello Friends! 

It's Kristine here today and I'm going to share my latest layout using the Freezin' Season Collection. I live on the east coast and right now it's WINTER! We have snowdays where we don't really go outside because it's a storm too cold. The day after a storm is usually so calm and beautiful and that's when everyone goes out to play!

To create my layout I first used a 2" metal die to cut out circles. I placed my circles on a piece of white cardstock about 11"x11" and then placed my cardstock on a piece of pattern paper. I did a bit of messy sewing on the egde of my cardstock and around 3 circles. This just added texture for me and a few subtle details. 

I added little stickers, bits and pieces as well are chipboard pieces to decorate my page and of course used some dimensional adhesive on most of my elements. To create my title I used the Winter and Flurries stickers from the sticker sheet. Once my layout was finished I added journaling and some black ink splatters. I know that's probably out dated by I love it on my layouts. 

As you can see this collection is super fun to create winter pages. Please tag us on social media @SimpleStories_ #SimpleStories to show us your latest Freezin Season layout!

Have a great day !

Supplies

Happy New Year! It’s Cara here today and I LOVE a fresh start and that’s why I love Mondays. I love that fresh new week, a blank slate, but the very first Monday of a new year? Wow, it’s like my birthday!! And so, I’m super excited for this coming Monday and this coming week.

I’m using the gorgeous Bloom collection today to pretty up my January planner and that very first full week of this year. These stickers are so pretty and feminine, which is a great way for me to get motivated to work towards my goals. I have both the regular sticker tablet and the mini one, which is a fabulous way to always have the right size sticker on hand. No more thinking ‘I wish this sticker was just a bit smaller’.

What I really want to do is to put my first few goals for 2019 front and centre in my planner to keep them top of mind. I want to make sure that I’m reminded every day of what I want to accomplish this month. My three main goals for January are written in the notes section of my weekly spread with little check box banners with enough space to check off one per weekday.

I’ve also written each goal out at the front of this weekly insert so that I’ll see them often and I flip open my planner. My big goal gets the place of honour on the front cover and the other two are written just inside. I used the matching Bloom scrapbook papers to cover the insert and the inside front cover along with cards from the cut apart sheets.

A tip for when you are covering inserts: make sure that the book will open and close smoothly after you'd added the paper. Close the book before sticking down paper completely on the outside. I'll stick the front cover, close th book, then I'll even wait to cut the width of the paper until after it's stuck down so that I'm sure there's enough. When adding paper to the inside leave a fraction of an inch near the binding to make oping and closing a cinch.

Since my first goal is a big one, I am also including an entire spread dedicated to it. I 'borrowed' some pages from a blank insert and stuck them in. I started a list of the steps I need to take to make progress on my goal, but I didn’t include the entire list because I don’t want to overwhelm myself. That would just backfire and I’d make no progress. This list is already long enough to get me started and once I get close to finishing it, I can add in new steps. I also added in 3 mini monthly calendar stickers to the bottom because I’d like to make some real progress towards this goal in January, February and March.

I also used the Bloom chipboard to make a couple of planner clips. I added a bit of the Bloom washi, dated the page with stickers from the Numbers tablet and added a tab and covered it with a clear tab sticker.

I will have a process video up on my YouTube channel on Monday, so stay tuned for that and if you are reading this after Monday and can’t find the video, simply search Forgotten Resolutions along with The Hooting Pirate and you should find it.

Happy Planning!

Supplies

I’ve been having way to much fun making Valentines cards!!! I put together some more fun cards using the Kissing Booth line. I love the chipboard it looks so cute and adds such cute dimension. he colors and patterns are so cute in this collection!!! 

The colors and patterns are so cute in this collection!!!

Supplies

Hello friends! It’s Kylie with you today sharing some of my most favourite planning supplies. For January I am planning in my Blush Personal Planner for its cute and compact size. I’ve also teamed it with the new Kissing Booth collection by Simple Stories.

My first favourite supply I want to share with you is the Personal Divider Templates. This awesome tool also comes in the A5 size and is super easy to use to create dashboards and dividers for your planner.

All you need to do is place it on your paper, then trace, cut and punch.You can trace yours with or without tabs and use your hole punch where the ring holes are marked.They are fully reversible so you can turn them over to change the tab position.

Once you have cut out your dividers you can leave them plain or decorate them as I have.I love layering lots of different elements to them.

For fun I added a photo to one of my dividers using the Kissing Booth die cut.

I also used lots of the chipboard stickers and 4 x 4 elements.

The next favourite supply I like to use in my planning are the Season and Calendar Sticker tablets.

The cute icons and text are great for adding to your planner pages and note taking.Perfect for highlighting important events or reminders.

Another favourite supply are the Carpe Diem stamp sets. Not only are they adorable but serve such a practical importance for your planner.

The Home Sweet Home stamp set is perfect for adding all your domestic chores as a reminder. I also like to use the border frames from the Make a List stamps for highlighting important reminders.

A finishing touch of colour for my planning this month was my pocket divider. I cut down one of the snap pocket pages to size and added some washi tape to the side, before punching the ring holes to fit.

I love how all the colours came together and for the fun element it adds to my planner.

Thanks for stopping by today. I hope you enjoyed reading about my favourite planning supplies.

Warmest Wishes,

Supplies

Christmas has come and gone…and the New Year has just begun.  Valentine’s Day is just around the corner!!  Jackie G on the blog today to share a fun and super quick project with you using the Kissing Booth Collection to help you get those Valentine’s treat boxes ready!!!

The first little box I want to share with you is this adorable 3x3 treat box with a built in card!! You can find the tutorial for this cutie over at My Sister’s Scrapper YouTube Channel.  This little box is so incredibly easy and is perfect to store those little treats!! Great for those classroom Valentine’s!!

After creating this box I wanted something smaller that I could fit a giftcard inside…so I did some measurement testing and came up with this little holder.  It’s the exact same thing as the treat box above but measures 2.5” x 3.5”.

For the box you will need a piece of cardstock measuring 3.5” x 9”.  Score at 2.5”, 3”, 5.5”, 6” and 8.5”.  To create the drawer you will need a piece of cardstock measuring 3 3/8” x 4.5”.  Score at ½” on all four sides.  Use the tutorial linked above to assemble the box.  Tada!!

I hope you enjoy this fun little project to help you with those Valentine’s!!!

Supplies


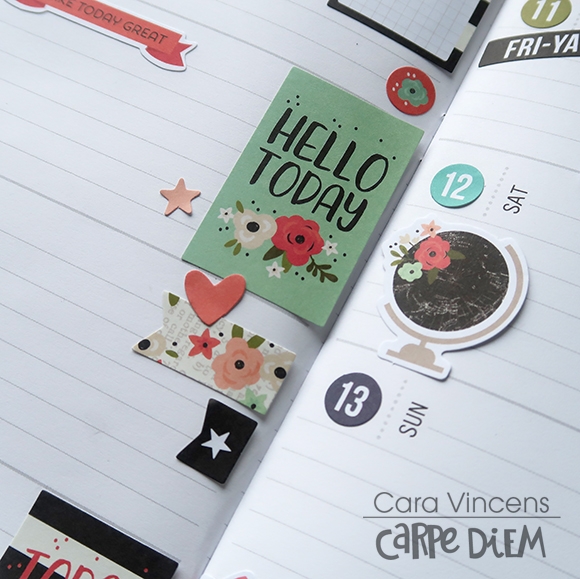
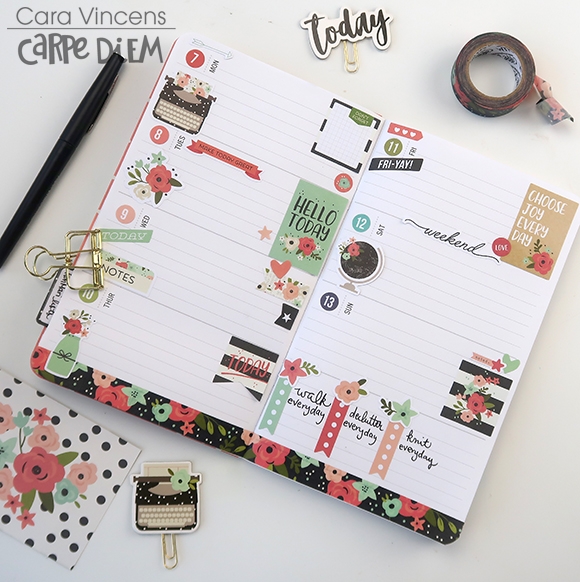
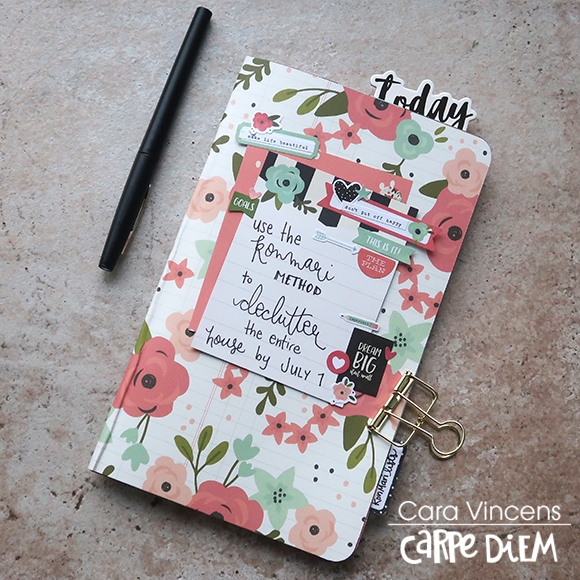
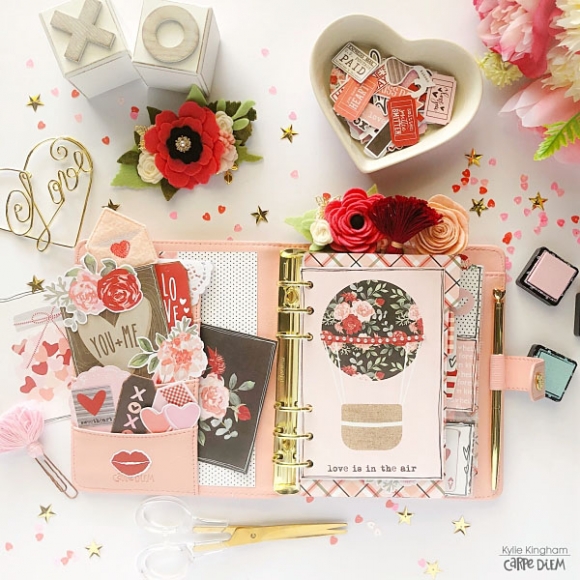
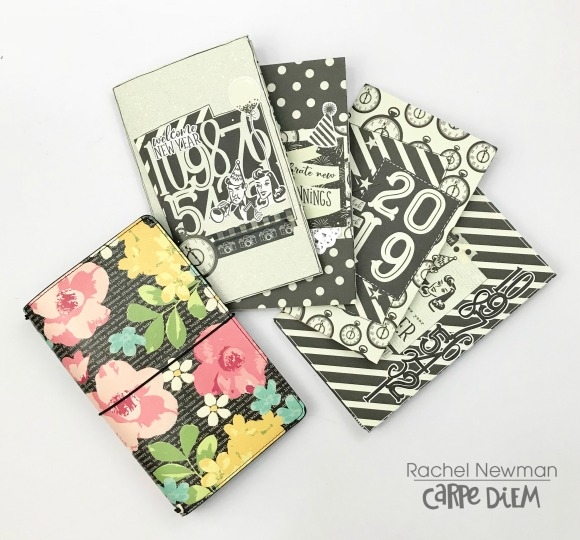
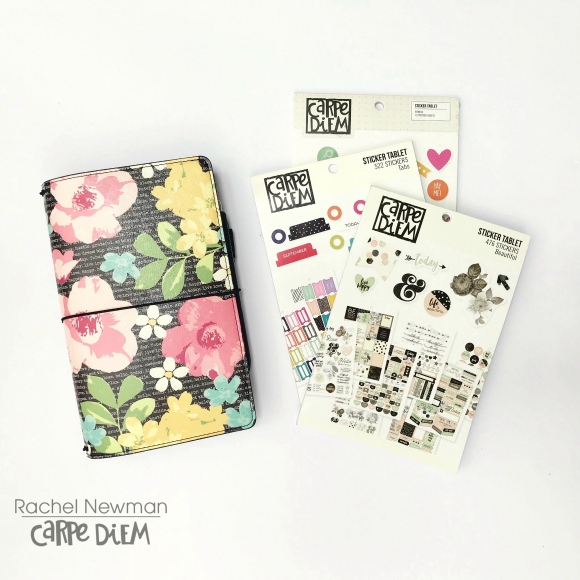
Happy New Year, Planner Friends! It’s Rachel and I am so excited to be on the blog today, sharing a special planner setup that I will be using for 2019! I am jumping on the One Little Word bandwagon and will be using the word ENJOY to shape the way I experience this next year! I decided to set up a Traveler’s notebook specifically for this project. I chose the Floral Typewriter Travelers Notebook Cover because I love the pattern and it has little typed sayings that put me in a happy state of mind! 


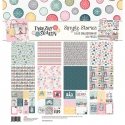
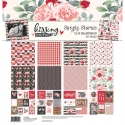
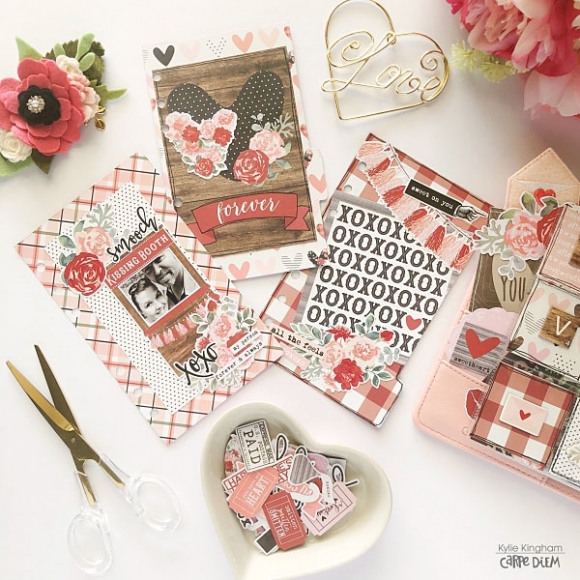
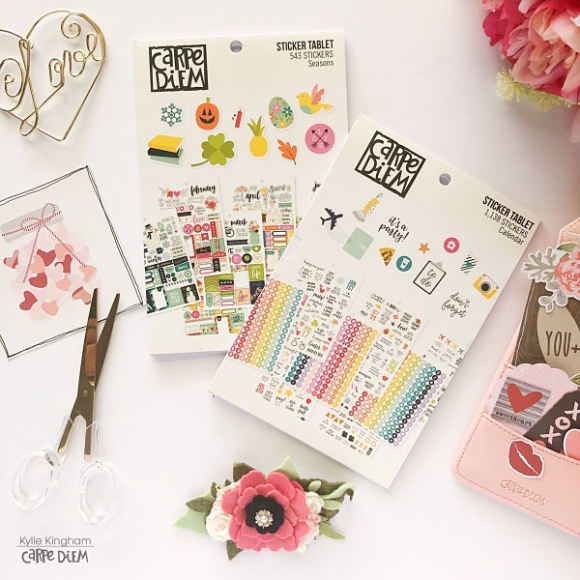
With the start of the new year, I just had to use the adorable 2019 collection. Even though this collection is smaller than some of the other scrapbook collections, there was more than enough goodies to decorate four travelers notebook covers, the travelers notebook pockets, and several inside pages in the monthly insert


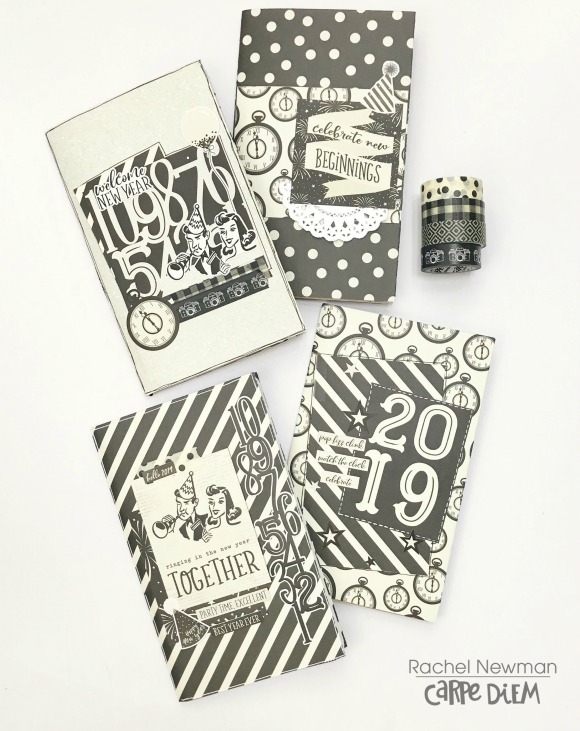
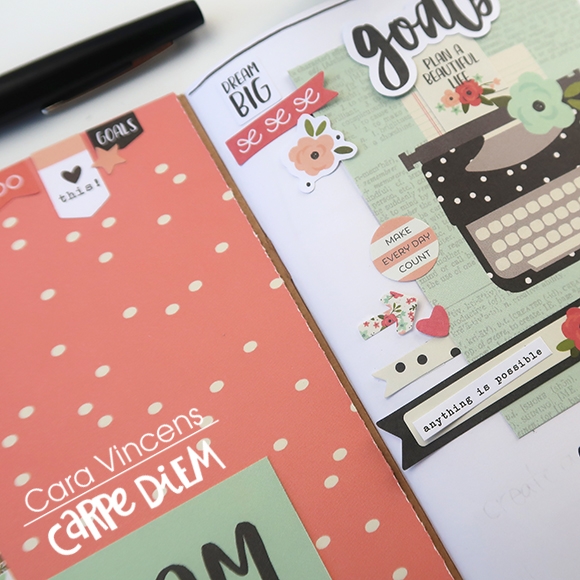
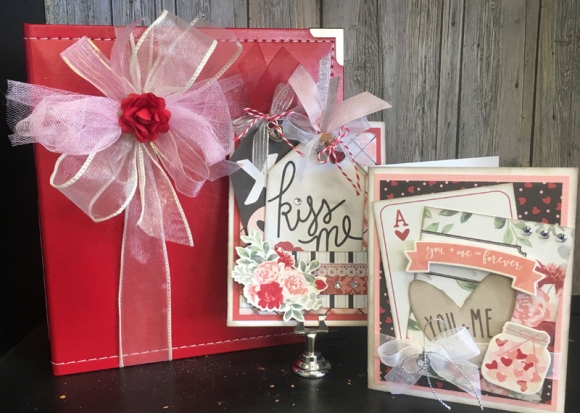
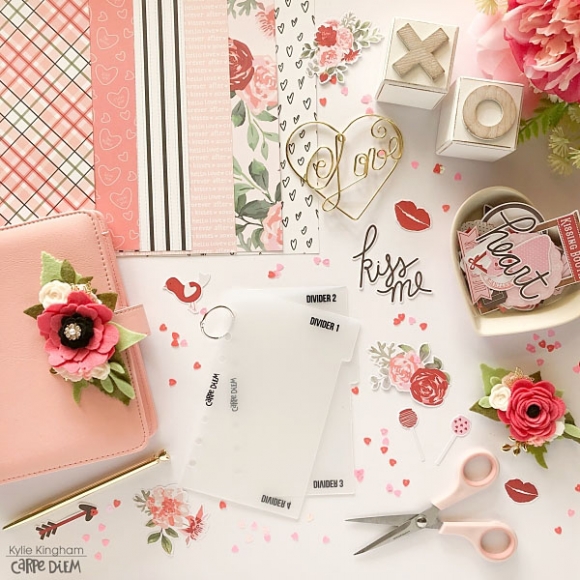
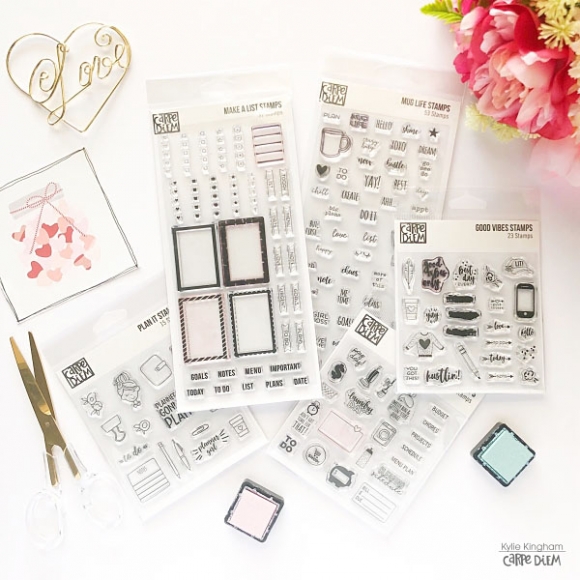
I am a black and white lover at heart, so this color palette definitely spoke to me. For this setup, I used every inch of each 12x12 paper. The paper was used to cover my inserts, decorate the covers and as little pocket pieces inside the cover itself. I also incorporated the elements page on the covers and fussy cut a few of the cards to make bigger die cuts. Lastly, I added the stickers from the 6X12 Sticker Sheet and a few strips of washi to complete the covers.  


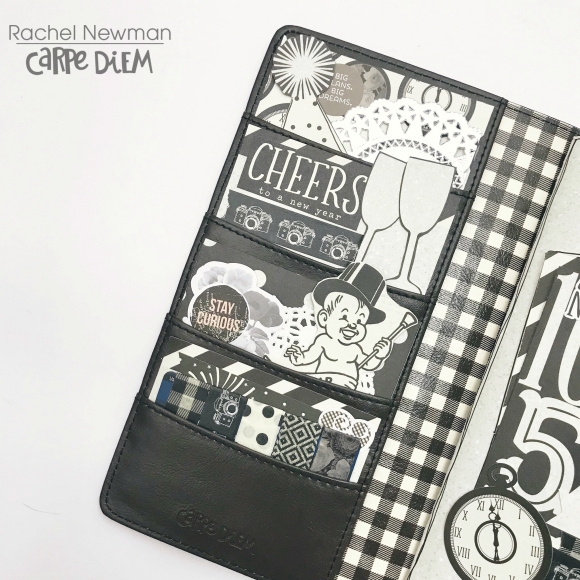
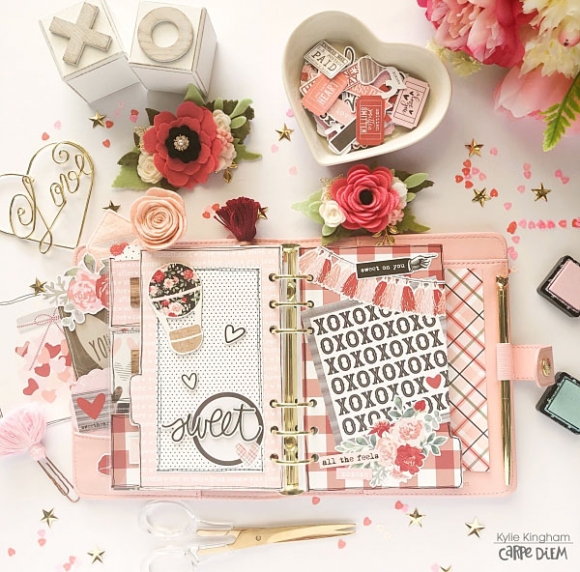
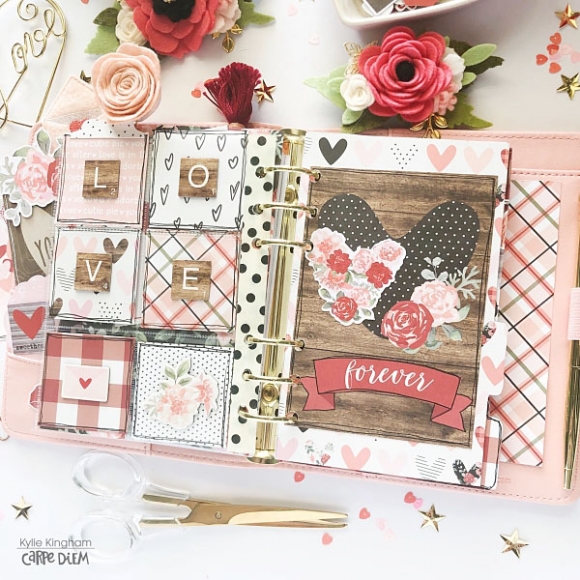
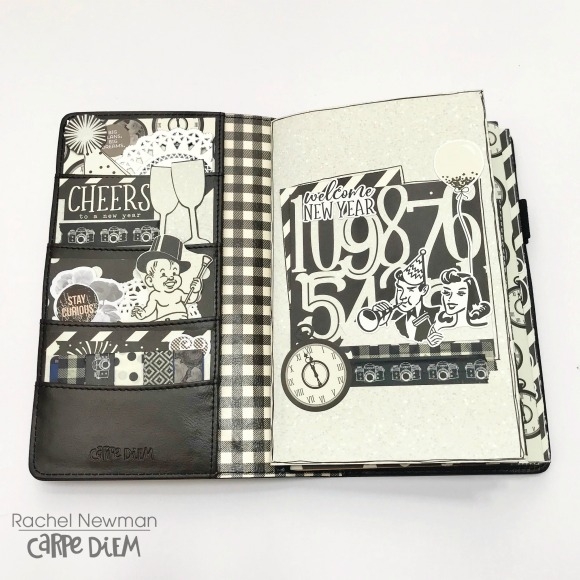
I did a fairly simple pocket setup this month. To avoid a bulky travelers notebook, I am finding that I prefer a more minimal pocket setup these days. For some washi on the go, I chose a few of my favorite patterns from my stash and wrapped it around an old card. 


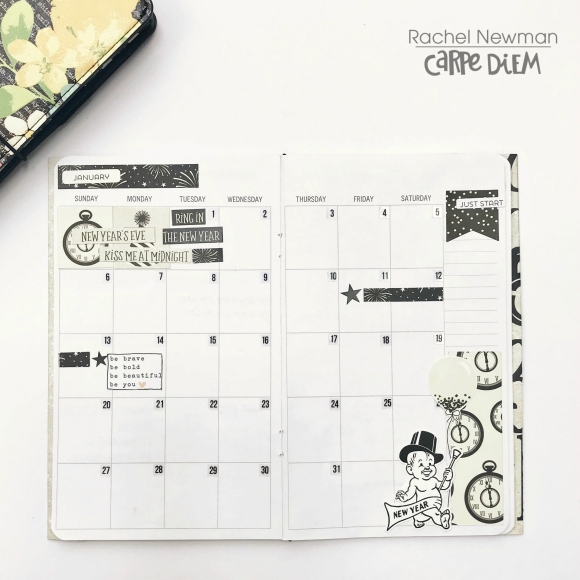
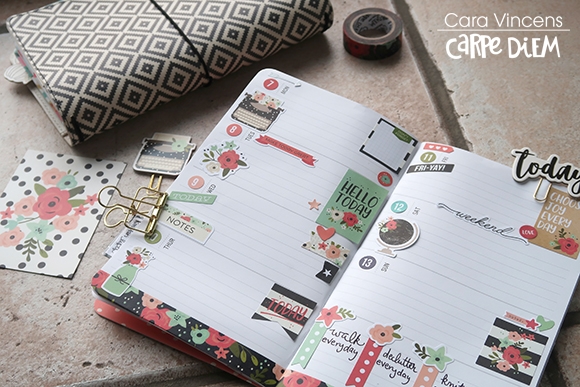
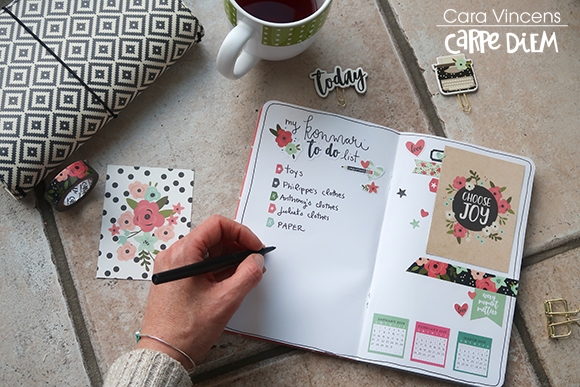
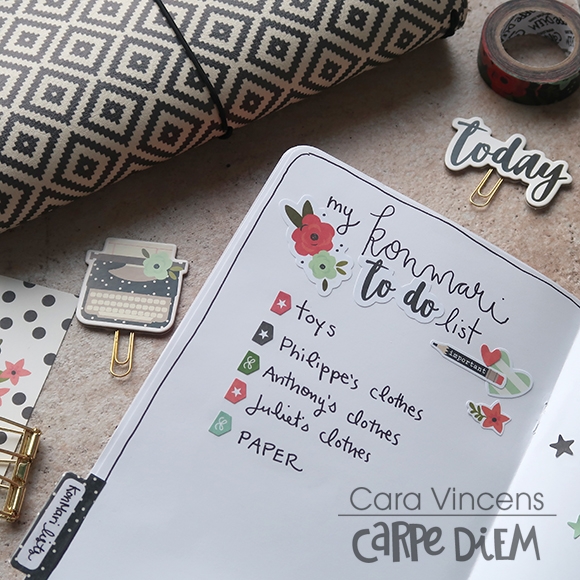
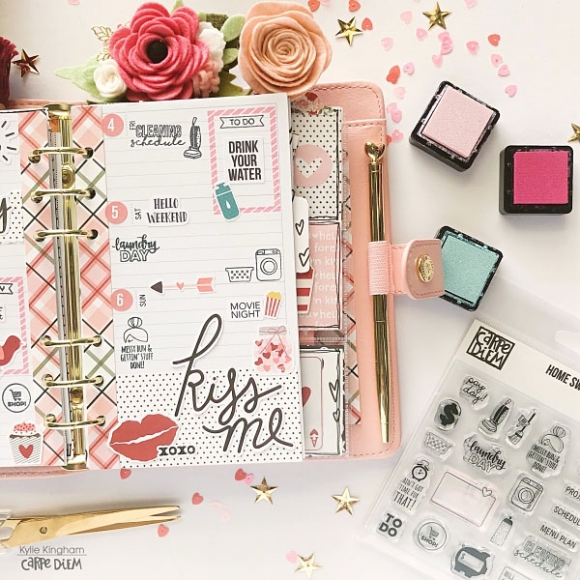
Since this setup is specifically from more “One Little Word” project, I decided to keep the monthly layout pretty simple, so that I can go back and document something I enjoyed about each day of the month. For January, I want to enjoy feeling good (through exercise and some much needed routines), eating well, quality time with my husband, and some productive “me time”. Each day, I will document what I enjoyed that day that relates to one of these four categories. 


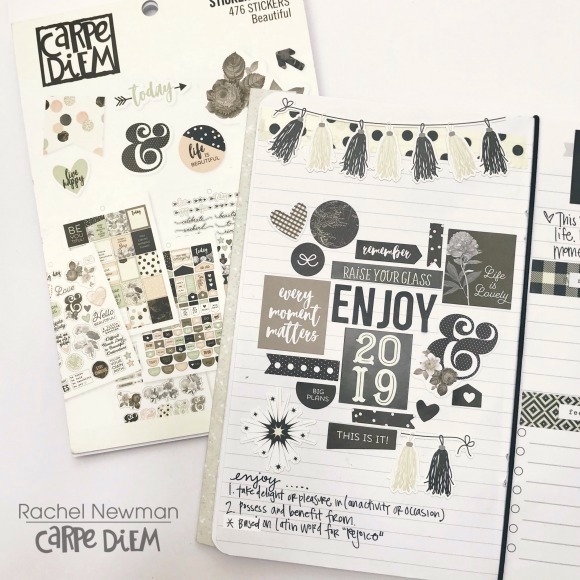
For the monthly notes pages, I decided to make a mini ENJOY mood board. To do this, I used stickers from the 2019 collection, along with stickers from the Beautiful A5 Stickers Tablet. With its muted color palette, it was easy to incorporate these stickers with the 2019 collection. 


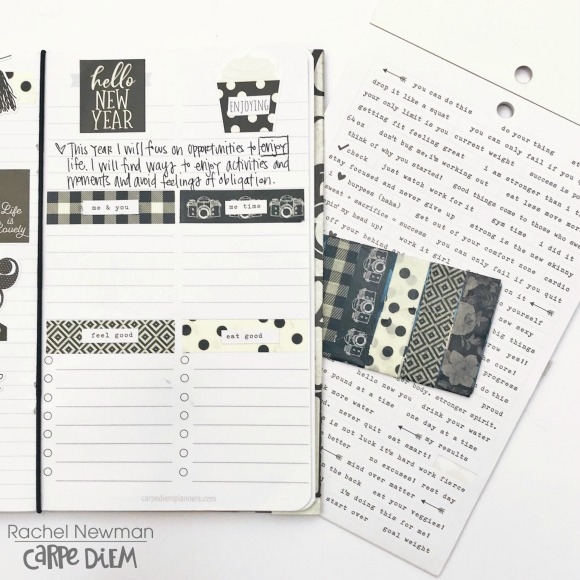
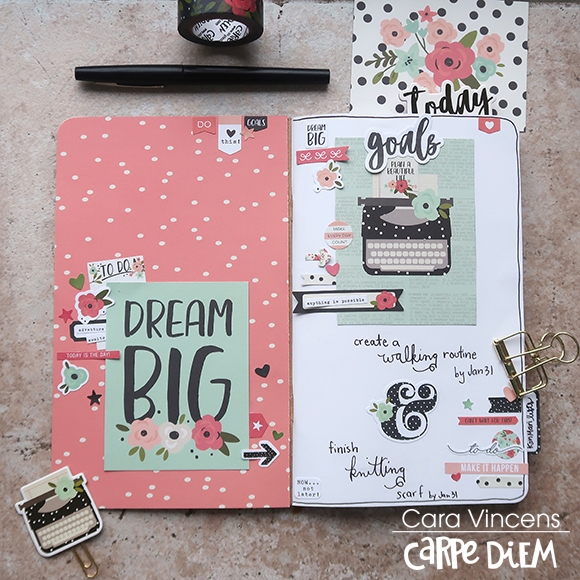
The monthly dashboard page was the perfect place to include the four “enjoyment” areas, along with a short intention for this year. As someone who sometimes focuses more on obligations and outcomes, I want this year to be more about enjoying a full, healthy life and the journey this year takes me on. So, I will reflect on these areas of enjoyment this month. That way, I can look back and remember what I did to create enjoyment in these areas, and build on this knowledge in the following month. To make this page, I used washi to cover the labels for each of the sections. I also used word strips from the Fitness A5 Sticker Tablet to label the sections.


Thank you for stopping by to see my planner setup. How do you plan and prepare for the new year? Do you have a word or intention you are focusing on in 2019?


Be sure to check in on my Instagram to see these completed pages.


Pages