August 2018 Blog Posts

Hi there, Nathalie with you today bringing you a new colorful and fun layout using the new Simple Stories "LIL' DUDE" collection.  This collection is filled with fun details for all those little boys and kids at heart, but my favorite thing is that it features a "Boston Terrier" design in it, and as a mom of a "Boston Terrier" baby, i cannot get enough of it (and might have to hoard quite a bit of it, too!)

To create the background of this page, I used a Just Nick cut file  to create all the stars from white cardstock, and backed them all with papers from the Lil' Dude collection.   

Since the Boy Oh Boy paper from the collection is being used as the background,  a little bit of white acrylic paint was used to mute the pattern under the stars.

Once the stars were set with a bit of foam adhesive,  the picture of my nephew with our baby Boston Terrier was backed and layered with papers from the Lil' Dude Collection, and nestled in between the star clusters.     I created clusters of ephemera at the corners of the picture using all the embellishments from the collection.  Love all the small details in each embellishment! 

In addition, small clusters were also created around the background.   Some cardstock stickers and stickers from the 12x12 sticker combo sheet were combined to add more interest to the page>.

The large Chipboard sticker phrase was used to create the title of this page.  Love the addition of black in the Lil' Dude collection!

This page is all about fun and my little nephew, and i love how easy it was to combine all the elements in the Lil' Dude collection in this page!!!  Remember to check it out, I am sure you will love it!!

XO

Supplies

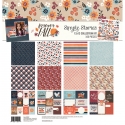
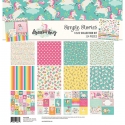
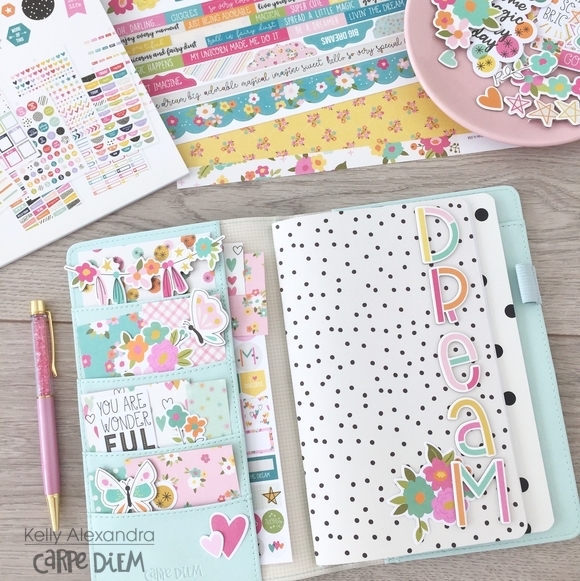
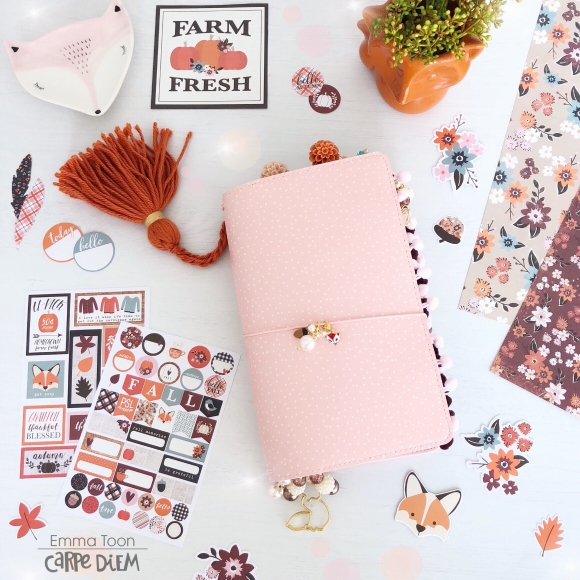
Hello, it’s Emma here, who’s ready for fall? I’d like to show you how I’ve set up my beautiful blush speckled tn. I chose the blush not only because it’s pink, and I love pink! but I thought it would pick out the delicate pinks dotted throughout this collection, and soften some of the darker colours, oh and yes, I should mention, it’s the Forever Fall collection that I’ve used! 

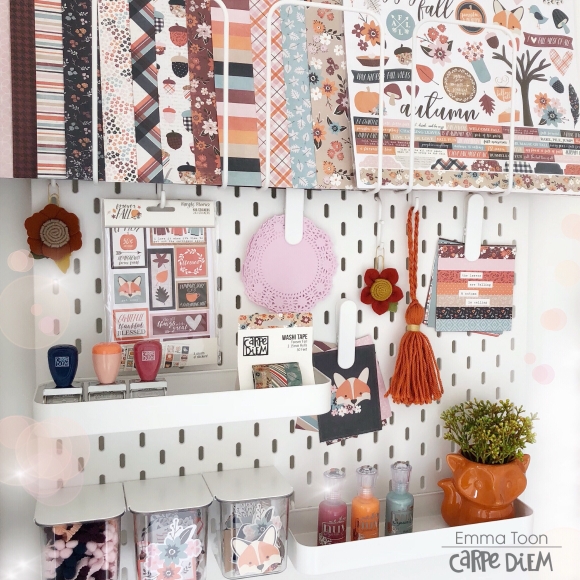
I love to display whatever collection I’m using on my pegboard, it makes my crafty area look pretty, but also, it keeps everything in one place for when I’m doing a new set up. 

Now, I’ve been playing around with different ways to cover my tn inserts, and I’ve found a new way, it’s a little bit fiddly, I’m warning you now, so if you haven’t much patience, this isn’t going to be for you! 

I wanted to be able to have a cover without it being a permanent cover, but I also didn’t want a loose cover where you could still see the ‘original’ cover...if that makes sense? Bare with me, I’m getting to the good bit! 

So! My idea light bulb lit up and I decided that pulling the staples out of the inserts, taking off the ‘original’ cover and then in a very fiddly fashion reinstating the staples back into the insert, minus its cover, was the way forward!! See, I told you’d need patience!! 

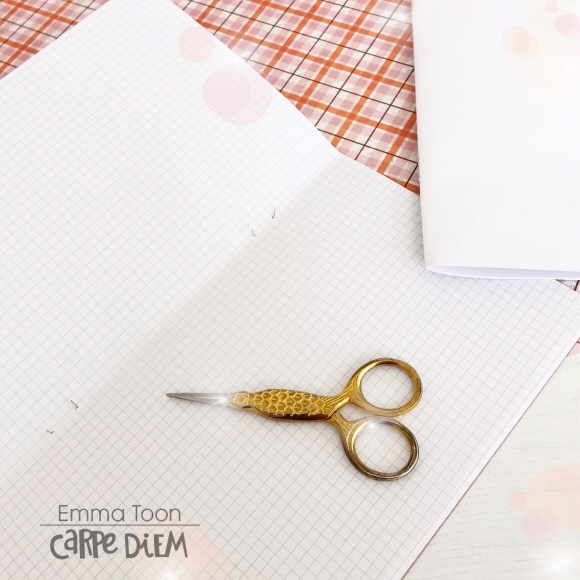
This then left me with ‘naked’ inserts! Perfect, It meant then I could make new loose pretty covers but not have to look at undecorated ‘original’ covers, and when I move into a new set up, I just move the ‘naked’ inserts, ready to dress them up with new loose covers! Yay!!

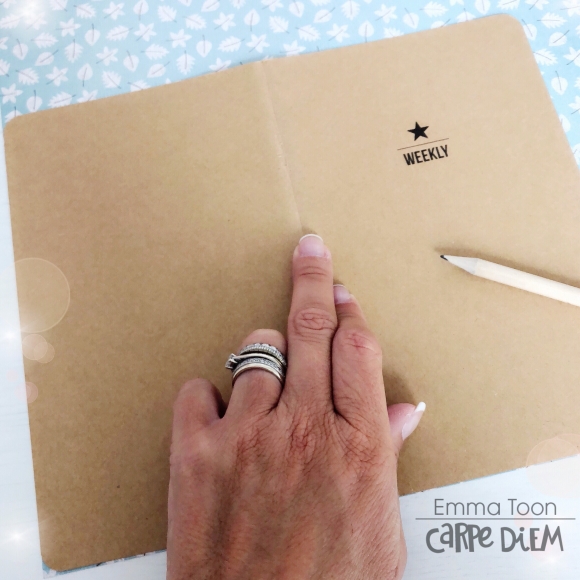
Don’t be tempted to throw away the old ‘original’ covers, keep one back to use as a template for making your new loose covers. 

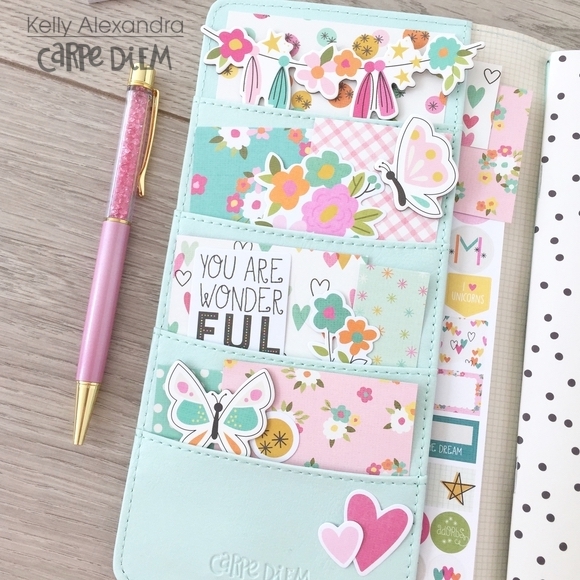
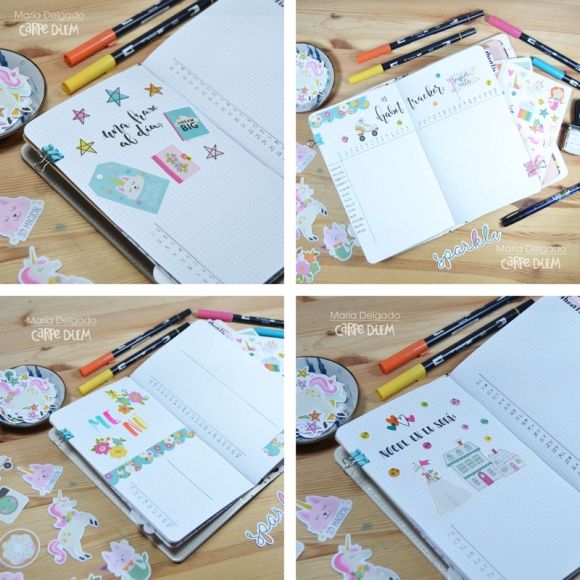
It’s now time for my favourite bit, setting up my TN, we’re talking pretty pockets, decorated inserts, page markers, all the things that make your TN unique to you, yes, we all have our own ‘style’, you could have a whole room of us, all using the same collection, setting up the exact TN, but each one would be very different, and that’s what I love about creativity!! 

Simple Stories make all these awesome products for us to use, but it’s our own creativity, no matter how basic you might think yours is, that brings the collections to life! 

What I’m trying to say, is don’t feel intimidated when you see some of the incredible set ups that people do, you are just as incredible and totally unique, so, always remember, you rock girl!! 

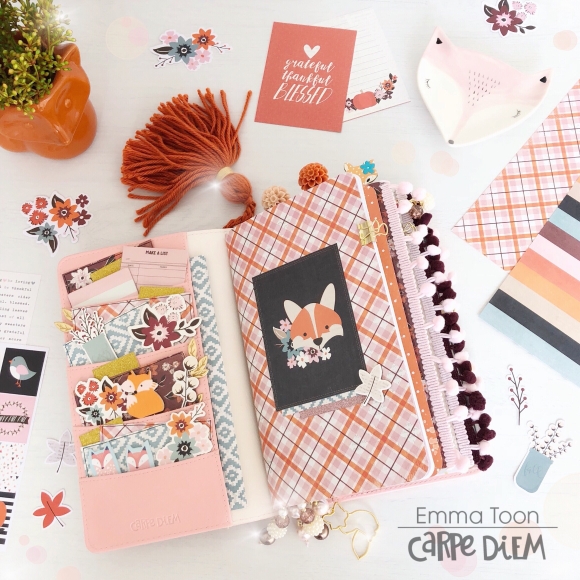
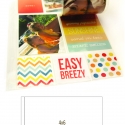
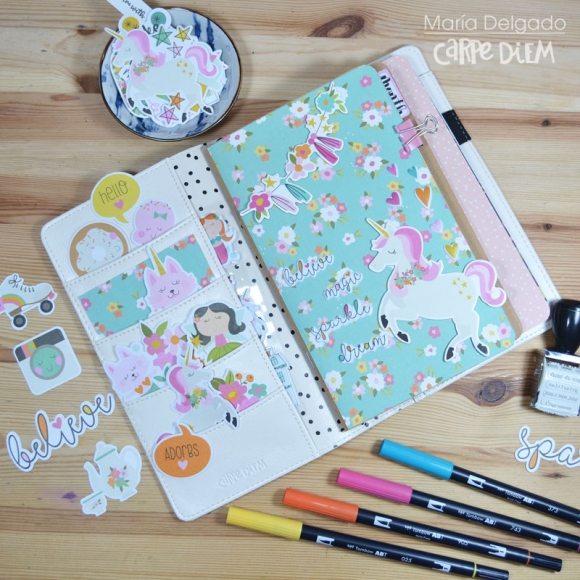
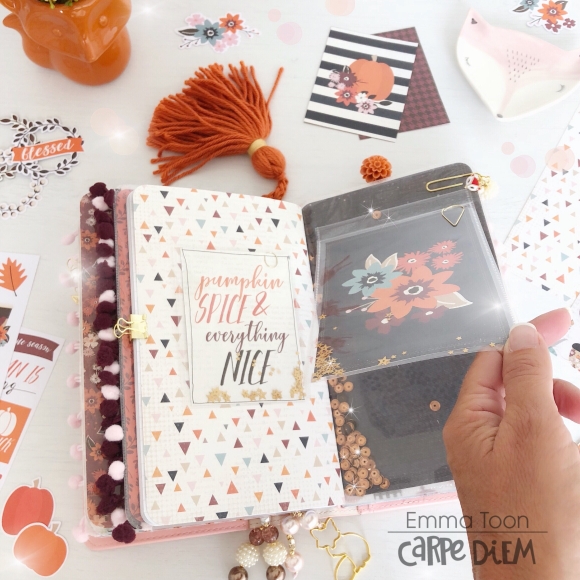
There’s so many fun ways to jazz up your tn, here’s one of the loose covers I’ve decorated really simply by using a 3x4 card cut from the 12x12 page included in the collection kit, a bit of glittery washi and a cute acorn chipboard sticker! See, easey peasey!! 

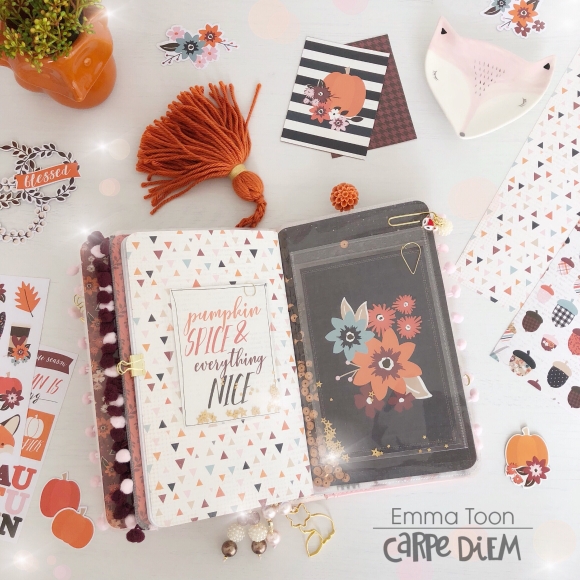
Hands up who loves sequins?? Well, here’s another really easey way to add some sparkle, I’ve cut out a 6x4 card, again from one of the 12x12 papers in the collection kit, slid it in a 6x4 photo flip pocket, chucked a few sequins in the pocket, used a dinky little paperclip to clip the card to the front of the photo flip pocket (this stops the sequins falling out) and stuck it on an insert cover!! You don’t even need to have any double sided sticky tape, as the photo flips come with a strip already attached!! 

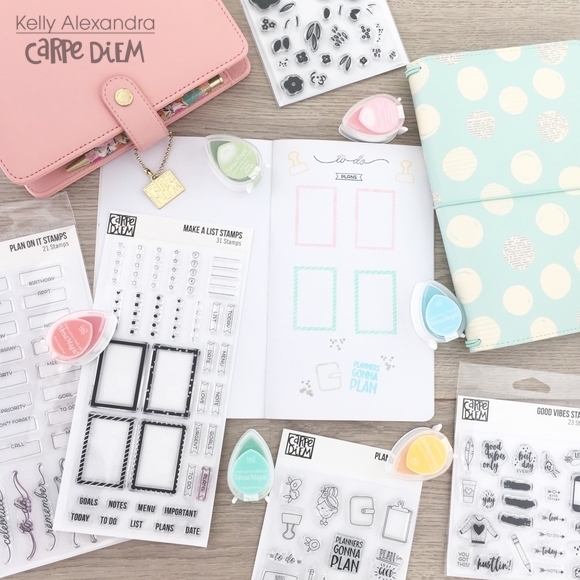
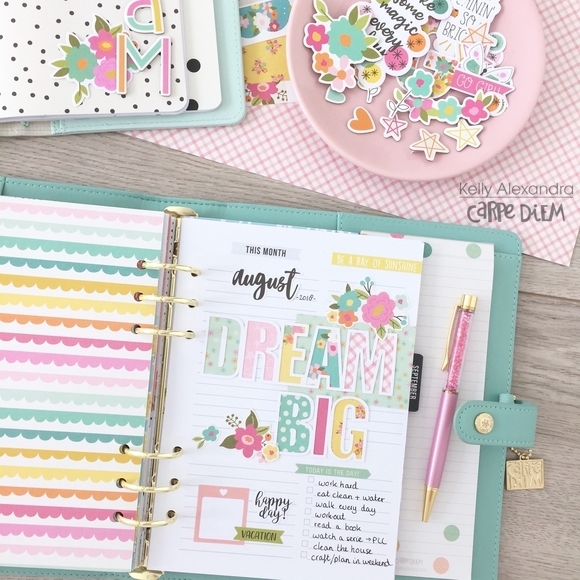
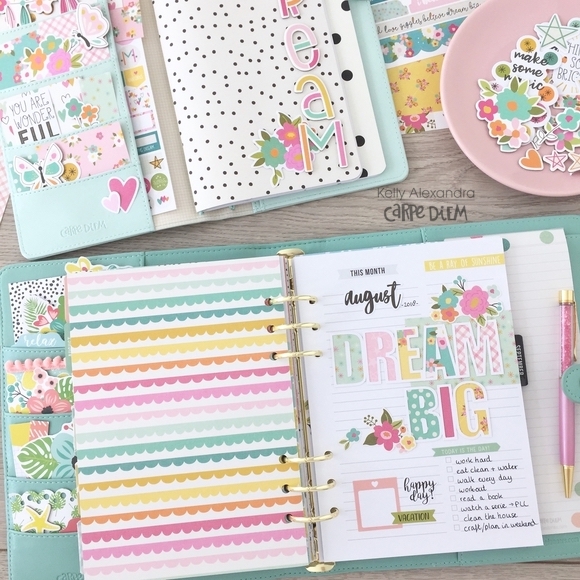
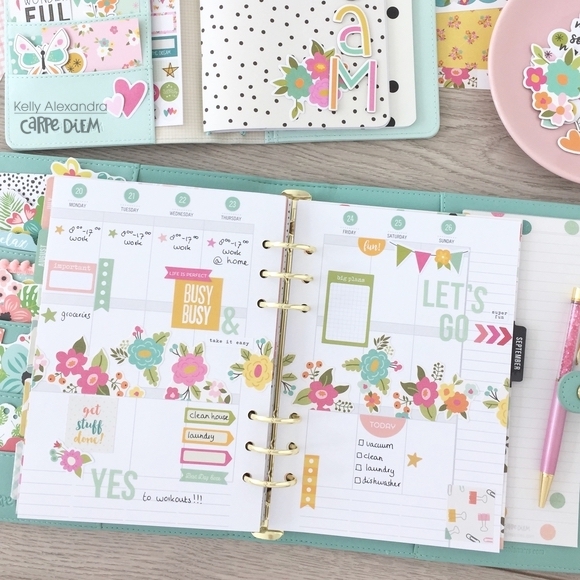
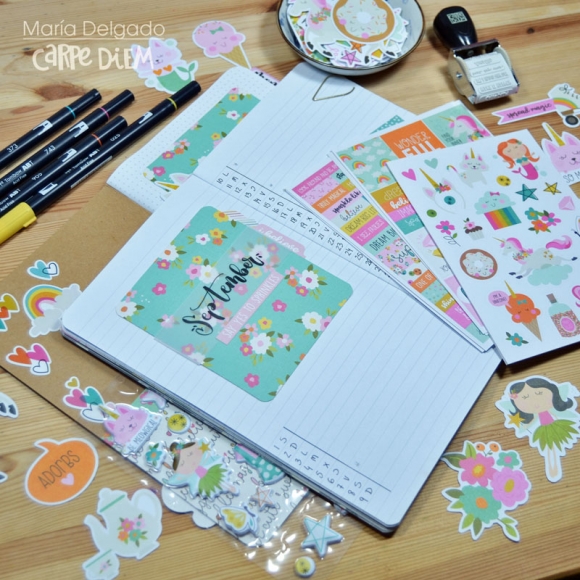
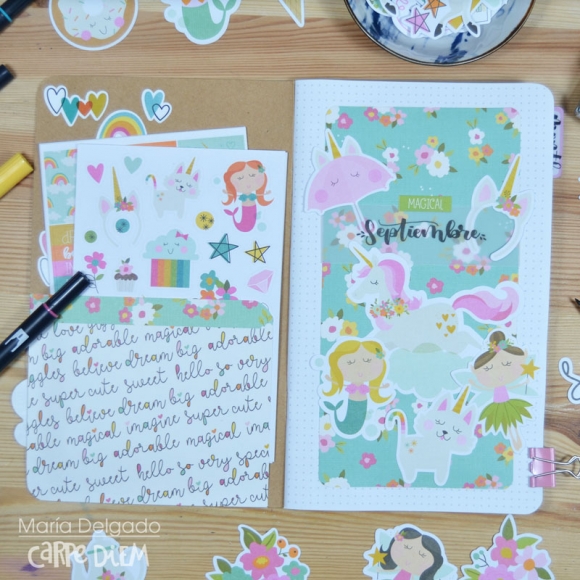
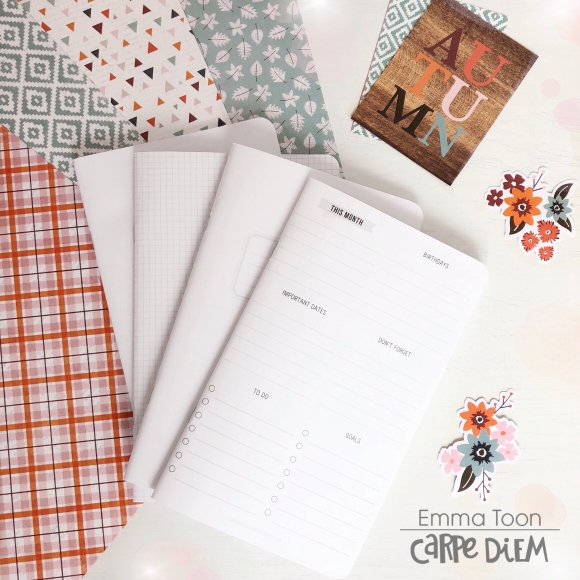
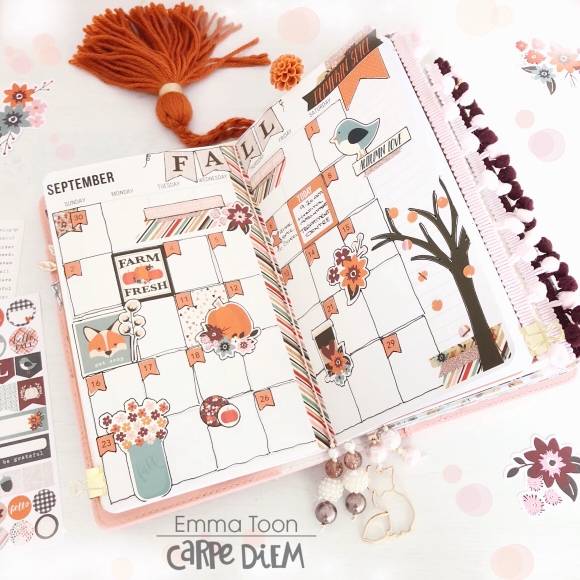
Carpe Diem planners have recently brought out, monthly, weekly, daily and various other tn inserts. Here’s how I’ve set up September in my Monthly insert. 

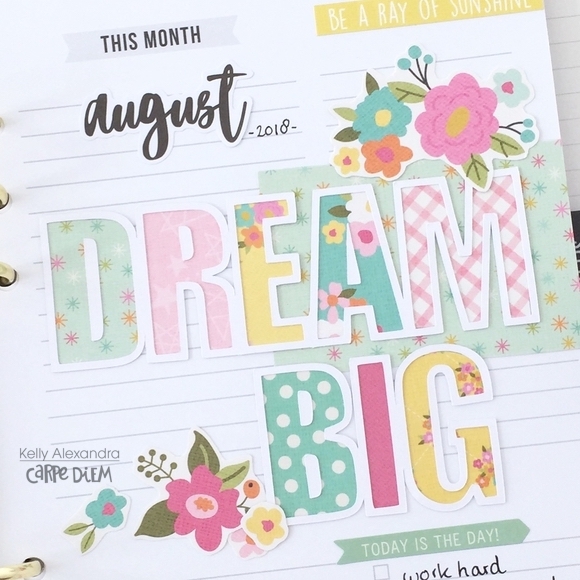
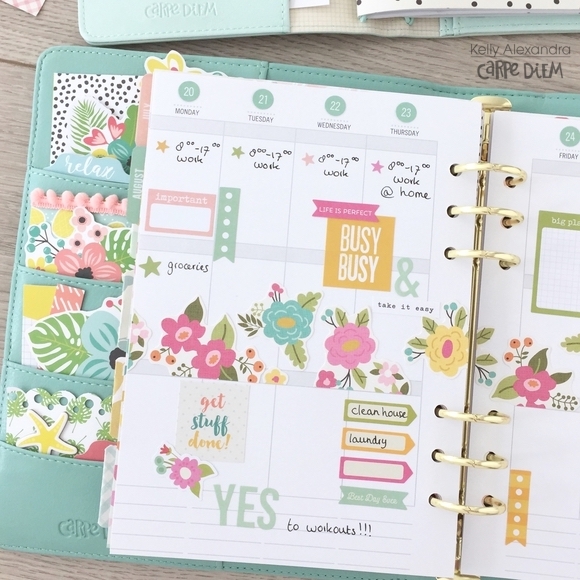
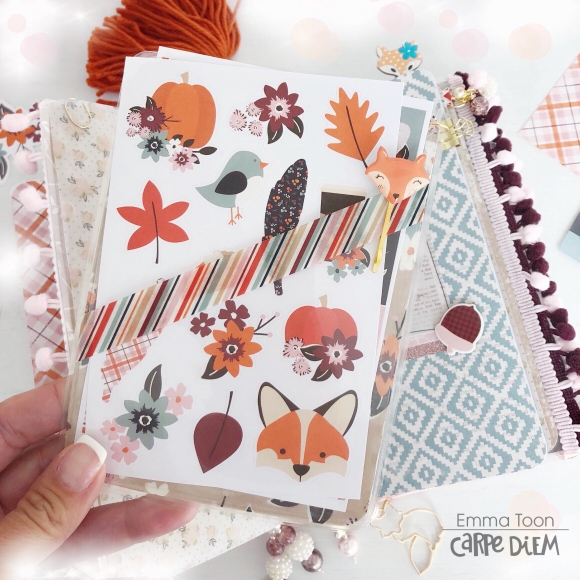
The Forever Fall stickers are perfect to fit in the boxes and pretty up the pages, I’ve also used some of the stickers from the 12x12 sheet. 

To number the days I’ve used the Numbers sticker tablet, this is great, full of number stickers in every size & colour you’ll ever need! 

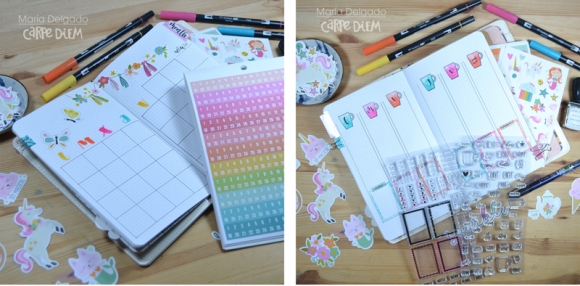
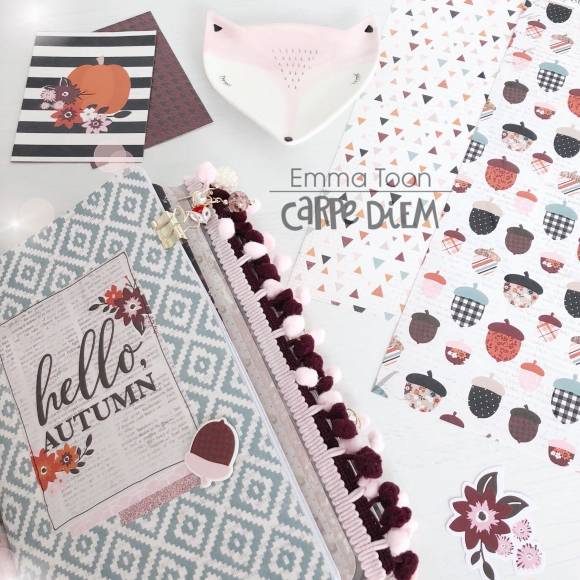
I also made a page marker, it’s quite simple, I cut down 2 12x12 papers, stuck them together for added strength, laminated (but you don’t have to!) and stuck a 6x4 clear pocket on, I cut at an angle across the front of the pocket and stuck some washi on for decoration. It’s a great place to store your stickers and to mark your page. 

I hope you’ve enjoyed having a peek inside my TN and possibly even taken away a few ideas from it. 

If you would like to see more pictures using Simple Stories products then checkout my IG account  https://www.instagram.com/heartsbyemma

Supplies

Oh happy day!  If you have a dreamer in your life (or maybe you are one too?) you are going to love the new Dream Big Collection from Simple Stories.  It’s filled with rainbows unicorns, fairies, mermaids and so much more!

Simple Stories has pulled out all the stops so there’s lots and lots to play with.  Printed and die cut Bits and Pieces, thick Chipboard Stickers, and pattern papers that will make you sigh with contentment! 

The papers are easy to mix and match because they’re perfectly coordinated.  You can find inspirational sentiments on the sticker sheet that’s included in the Collection Kit paper pack. I adore the colorful round sparkles that make great accents for all the images… fairy dust  for the pixies or bubbles for the mermaid.

I think this collection is so much fun ! I know it’s going to delight the young ladies in my life, but I know a few grown ups that would be just as happy to receive one of these cards!  Who doesn’t love to shine?

With this collection anything is possible.. ride a unicorn, fly with faeries, and make some magic with a mermaid.

Supplies

Hello! It's Jennifer up on the blog today to share a layout I created using the adorable Dream Big collection! I adore the bright colors and whimsical prints that are perfect for your girl photos! My little girl isn't so little anymore and the only way I seem to get a good posed photo is by swiping them off of her Instagram! 

I  wanted to incorporate a few of my favorite patterns around my photo. Starting with a white cardstock background, I  adhered strips of patterned paper then stitched through the centers to add extra flair (and I love to stitch on all of my pages). I  accented my page with these "sparkle" circles found in the stickers, chipboard, and Puffy Stickers!  

Dream Big has so many cute shapes and sentiments to chose from! This Insta camera from the Bits and Pieces is the perfect accent to my photo! I  used pop dots to give it some dimension then layered my title sticker underneath.  You can also spy a small section of the floral border sticker underneath my title. Both can be found on the Combo Sticker Sheet which includes so many shapes and sayings to accent your page! 

To the left of my photo, I  utilized the 3x4 Elements by layering a color underneath the ledger print.  I'm totally in love with the chipboard banner found on the 6x12 Chipboard Sheet!  The flowers mixed with the tassels make a beautiful accent! I  also added a floral cluster sticker as well as sentiments from the Combo Sticker Sheet and 4x6 Stickers.  

Showing one of the word bubbles included in the Bits and Pieces! I adhered this "hello" with pop dots and affixed over the top right corner of my photo.  

Thank you for stopping by the blog today!  Check out Dream Big on the Products page as well as what is coming soon from Simple Stories! Have a great day!

Supplies

Hi everyone, Kelly here today with a new blogpost! For this month I decorated my Robin’s Egg A5 planner inserts and Typewriter circle TN with the same ‘Dream Big’ collection. This collection has lots of fun florals and awesome rainbow colors. I use the planner for planning and the TN for documenting and lists.

I decorated my TN pockets with a few papers, some chipboard stickers and ephemera. For the front dashboard I decided to keep it simple and used the Dream chipboard stickers and one floral ephemera.

I love all the new stamps by Carpe Diem planner, I used a few frame stamps and a to do stamp to create my own custom to do page. I also used a few of the icon stamps to try them out, love them!

I used the back side of the 3x4 Elements paper with the scalloped borders to create a dashboard on the left side. For the ‘This month’ page I made a ‘Dream big’ silhouette file and backed it up with some of the papers. I decorated the page with some florals and wrote my to do list for the month.

I decorated my weekly spread with some florals from the ‘So adorable’ paper from the collection. For the rest of the spread I mainly used some functional stickers from the ‘planner stickers basics’ tablet.

I hope you have enjoyed reading this blog! You can find more fun spreads in my Carpe Diem planner on my Instagram account createplannernl https://www.instagram.com/createplannernl/

Have a very nice day!

Supplies

Hello Friends!

It's Kristine here today to share a layout with you! I used this super cute Lil' Dude Collection. It just screams fun and adventure for those little boy pages. I love the colors and the die cuts that include robots, cards, and dinosaurs are perfect!

This is a layout I created with a picture of my nephew. It was a photo shoot last year and this crow is painted on a large cement wall in the city. This photo was perfect for this collection.

Something I want to share with you on this layout is my title. I like simple titles and don't over think it. To create my title I used a 4x6 card from the Lil' Dude 4x6 Elements sheet. I cut it to fit my page as a banner. I thought it was perfect and so easy to do. Perhaps on your next layout you could try and use a journal card or element card to create your title!

Thanks for visiting today and please visit us on Social Media for more Simple Stories projects.

Kristine

Supplies

Hi! Odessa here with some more SN@P! layouts! Lately I’ve been using them to document our summer adventures and I am just loving these 6x8 binders for telling my favourite stories.

Dream Big is such a me collection. I’m pretty girly. I like glitter and unicorns and everything cute. I also have 2 boys and the majority of my scrapbooking involves them. But I don’t let that stop me! While Dream Big might not go with some of our bigger adventures, it’s perfect for a nature hike and a day at the beach with a giant inflatable unicorn. I made a cute title page for this story with a 3x4 journal card (with an added cat unicorn embellishment because why not?!?) and a 3x4 cut from one of the gorgeous papers from the collection. I used some of the Basics alpha stickers to make a fun title. I added in a picture of all my fav guys and some more embellishments from the collection and my title page is done.

For this spread I used a bunch of the journal elements I loved from the cut apart sheets with some of my fav photos from our walk. It was a pretty magical place so this kit works well.  And those new puffy stickers give me major heart eyes! They are great for adding a bit of dimension.

Sometimes a plain journal card is just to plain to me and I have to jazz it up. Here I added this adorable banner chipboard and a phrase sticker to personalize it.

Next up was the part of this story that really went with the collection. Blue skies, floating away on a unicorn and white sand. I went for a brighter look with this page, all of the cut apart journal cards are really bright since my photos are pretty cohesive colour and composition-wise. I added in a card with a spot to write so I could get some words in and added a few stickers here and there to the other cards. I accented my photos with some puffy stickers, words and phrases.

I was really excited to have a legitimate reason to use a sticker that says “ride a unicorn.” One of my favourite things to add to a photograph is a few loosely related phrase stickers to create a little story on the photo.

Ok, so maybe every single beach trip I document says “Beach Please” on it, but I don’t know if any of them look as good as this one. Those alphabet stickers are perfect!

I finished off bold with lots of rich colour. I love the pinks and oranges in Dream Big so I let them shine here. On the left are a few pics from our drive home embellished with various stickers. On the right I used a page full of 2x2 squares. The Dream Big collection includes a paper full of 2x2 elements perfect for sliding into these proctectors. I cut down a 4x6 photo to fit in the middle and worked my favourite 2x2 squares from the paper around it. Then I added a mermaid cat sticker because it seemed like a good place to use it.

I hope you enjoyed this look inside my album and how I used Dream Big! It’s a great collection to embrace colour and all things cute!

Supplies

Hello friends! María here with another edition of my bullet journa, this time for September with the Dream Big collection. If you like unicorns, cats, fairies and mermaids, be careful! this collection will bewitch you.

This is the decoration of my "future log" I used one paper of the collection kit that I have decorated with vellum paper and lettering. I also used the stickers from same kit.

This is the outside decoration of my notebook, I have lined it with one of the papers of the collection, then I have adorned with "chipboard stickers" and "puffy stickers". I love the new TN  because it has the interior decorated with dots.

As I have done in previous months I have made a pocket on the inside of the notebook, it is perfect for storing the "4x6 stickers". To decorate the cover I used the "Bits & Pieces".

Here the collections of this month: "gratitude", "habit tracker", "menu" and "night on the sofa" where I point out the series and movies we see.

In the monthly insert I will use the number stickers to mark the days. In the weekly insert I used the stamps "mug life and "make a list". The ink I used for stamping was my tombow markers.

Supplies

Pages