August 2018 Blog Posts

Is there a rough and tumble Lil’ Dude in your life?  Then you need to check out the newest collection from Simple Stories called Lil’Dude!   It’s got all things boy.. think dinosaurs, robots, puppy dogs, and race cars!

The collection includes everything you need for cards, layouts and so much more including pattern paper, stickers, cardstock stickers, journaling card “elements” and die cut “bits and pieces”.

I love the bright bold rainbow colors with contrasting accents of black and pastel sky blue.   The reverse side of some of the card stock sheets have journaling cards too.  I used this one with the “Lil’Dude” sentiment as the focal point on my card.

What a fun way to tell you’re little guy that you think he’s awesome!   The chipboard sticker robot is totally rad!  No adhesive foam tape for this guy – the chipboard is thick enough to add dimension without it. 

The kiddos grow up fast so you better gobble up this collection while you can!

Supplies

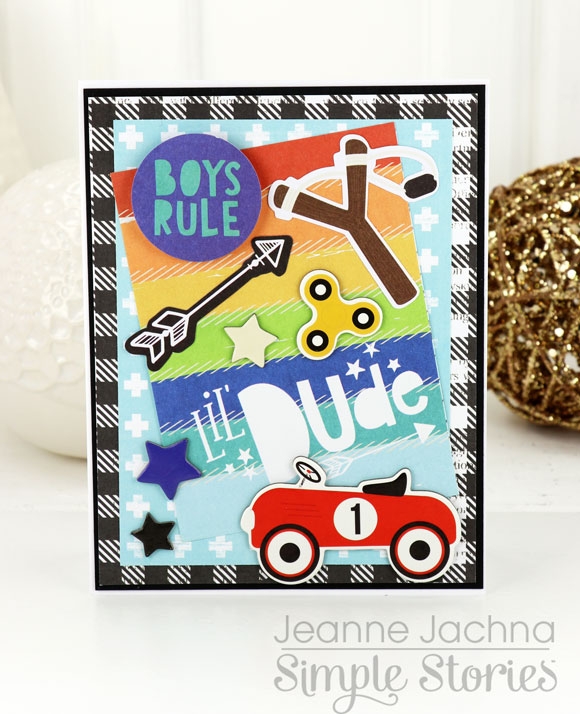
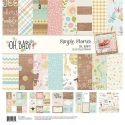
Hi everyone, Iris here with a layout using the new Lil' Dude collection. Sure, the primary colors, animals, toys, and playful fonts are great for scrapping all the lil' dudes out there, but I'm here to show you that it's perfect for all the strong, adventurous girls too. 

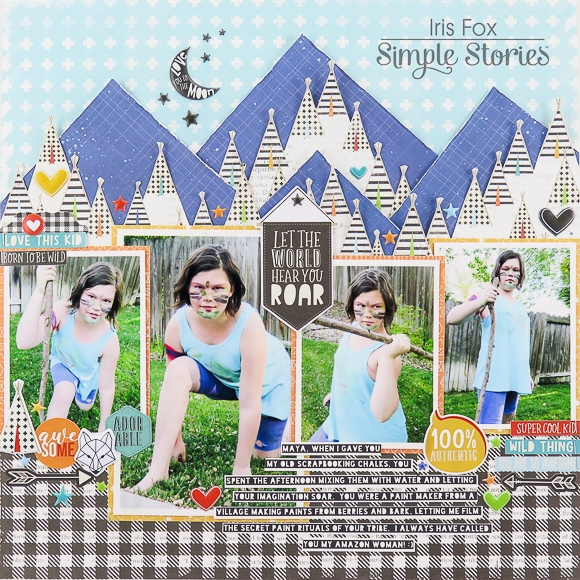
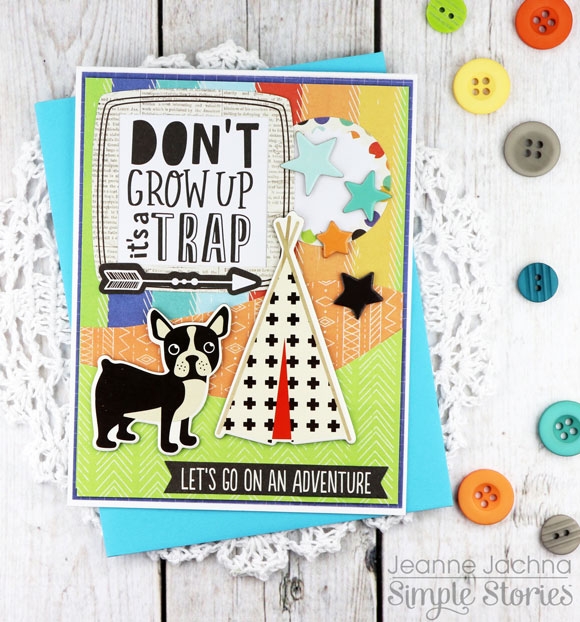
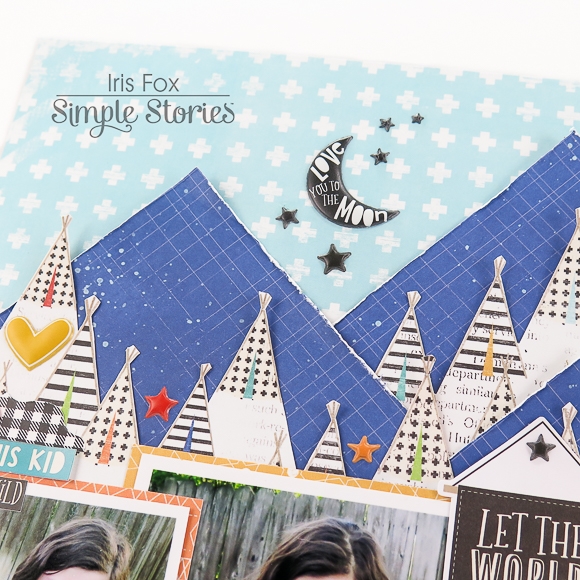
As soon as I saw the Never Grow Up teepee paper, I knew I'd scrap these photos of my daughter pretending to be a wild tribeswoman with paint markings. I started off fussy-cutting the teepees in tiers, and backed them with triangles cut from the corners of No Limits. It's nice to see such a vibrant true blue in a collection, and what's really awesome are the light blue splatters.  Mixed media without having to do the work!

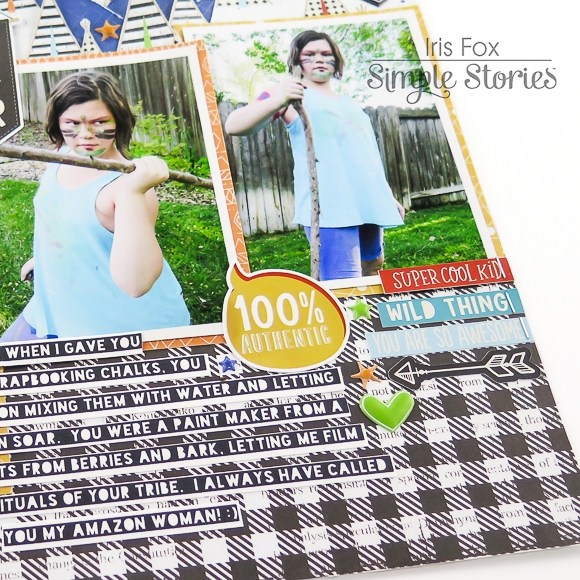
I lined up four pictures just under the mountain scene. She had so many great poses that I wanted to include. I printed my favorite as a 4x6 and placed the bold title banner next to it, so that although this layout is chock full of colors and little bits sprinkled all around, the eye is drawn back to the center banner and my daughter's cute face next to it.

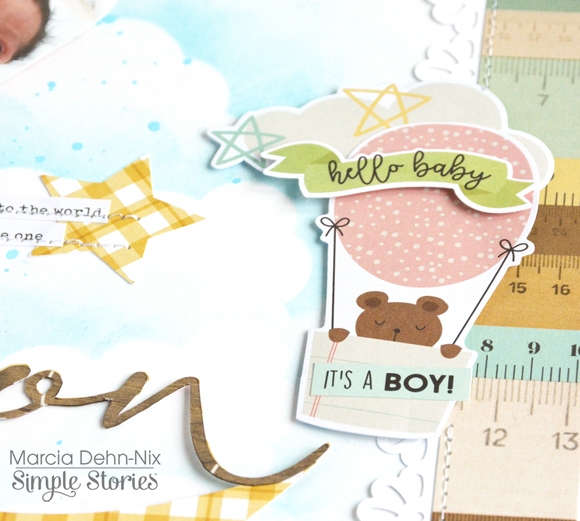
The supporting photos are printed as 3x4's and matted in alternating orange and yellow patterns from Never Grow Up and 2x2 Elements.  They fit perfectly across the page, staggered so I could nestle clusters of flat and puffy stickers where the photos overlap.  And of course she's a Fox girl, so that puffy fox had to make it on the page.

Who can resist buffalo plaid? Not me!  I love the addition of the text mixed into the plaid of the Hear Me Roar paper, and the black and white help ground all the bright colors. For my journaling I found a free font called "Blackout Two AM" that is very similar to the font with the filled-in letters.  And because it's a white on black, it blends in with the plaid, so that it doesn't distract from the rest of the layout.

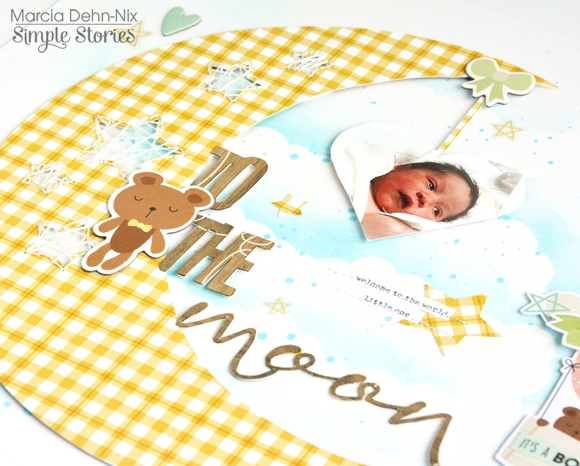
Can't have mountains without a sky, and how pretty are those distressed plus signs on the blue of the "Boy Oh Boy" paper? The puffy moon and the black stars are some of my favorite elements in the whole collection, and add the perfect touch rising above the mountain to balance out all the black from the bottom of the page.

I finished it off sprinkling more puffy stickers and hearts all around to fill in little gaps.  I'm really loving that Simple Stories collections now include puffy stickers!

 Lil' Dude is perfect to document all our playful kids, boys and girls alike.

Supplies

Hi everyone, it is Kelly here today with a new blogpost about the setup of my summer planner. I used the Robin’s Egg A5 planner and the fun ‘Hello Summer’ collection.

Before I started setting up my planner I grabbed the 12x12 papers ‘Oh Happy Day’ and ‘Paradise Found’ which are both filled with gorgeous flowers in fun Summer colors. I fussycut a lot of the floral arrangements.

I used a few of the big floral arrangements from the ‘Paradise Found’ paper as decorations in my front planner pockets. Besides stickers and thickers, I also added a pompom-trim and used border-punches to create fun borders.

The smaller floral arrangements from the ‘Oh Happy Day’ paper, are the main decoration for my front dashboard. Besides these florals I added some white cardstock leaves to make the flowers pop even more. On the middle 3x4 card I glued on a sun diecut, but you could also use a fun summer picture.

This month I bought a Silhouette machine and I used a Carpe Diem pocket cutfile (ID #176368) to easily create a fun pocket for my planner. I cut the scalloped pocket from the ‘Peace, love & pineapples’ paper.

For the front side of the pocket I used the Silhouette software to trace the quote ‘Life is better in the summer’ and let the machine cut it out. I backed the quote up with pink paper. In the pocket I can keep receipts or stickersheets.

I decorated my monthly spread with some left-over floral arrangements from the ‘Oh Happy Day’ paper, washitape and number stickers. This summer, Carpe Diem released some fun planner stamps, which I also used in my monthly spread.

I hope you have enjoyed reading this summer blog! You can find more fun floral spreads in my Carpe Diem planner on my Instagram account createplannernl https://www.instagram.com/createplannernl/

Have a nice day!

Supplies

Hello Simple Stories friends!

Marcia here today with a cute Oh, Baby layout for you. I am smitten with the soft pastel colors in this collection making it perfect for either boys or girls. What better way to document those photos then with the Oh, Baby collection. With it's gender neutral tones it's perfect for baby boys as well as baby girls. Today I am scrapping this hospital photo of my cute little nephew.

The main focus of my layout is this To The Moon digital cut file from JustNick Studios cut from the yellow gingham pattern paper. I used the star openings to do some string art. I love the texture it adds. This chipboard sticker bear is just adorable, isn't he.

I trimmed my photo to be heart shaped to fit the cut file heart dangling from the moon and added a chipboard sticker bow where the heart is connected to the moon.

To add interest to the background, I used a cloud stencil and blue distress oxide ink to create some fluffy blue clouds. The stars leftover from the cut file were then scattered across my page along with some star stickers.

Along the right edge of my layout I added the tape measure paper. To soften things, I also added a punched eyelet lace edge. Over this I placed a cloud and this adorable bear riding in a hot air balloon.

Thanks so much for stopping by. Be sure to check out the Oh, Baby collection ...  and did you know there is also an Oh, Baby Expecting and an Oh, Baby Adoption too!

Supplies

Pages