Personal Mint Floral Planner Set-Up
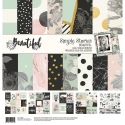
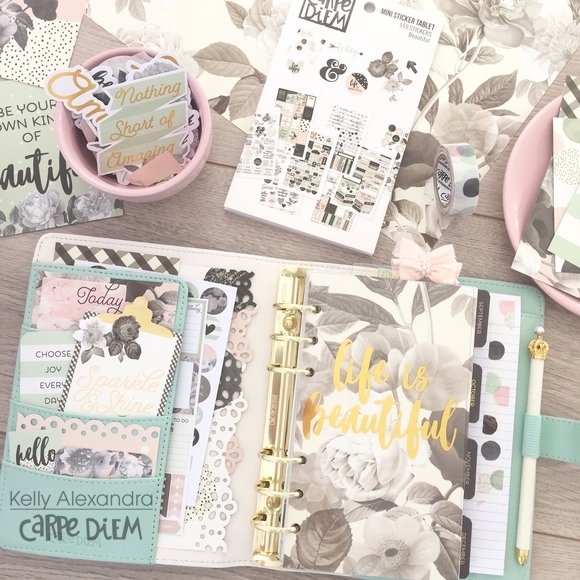
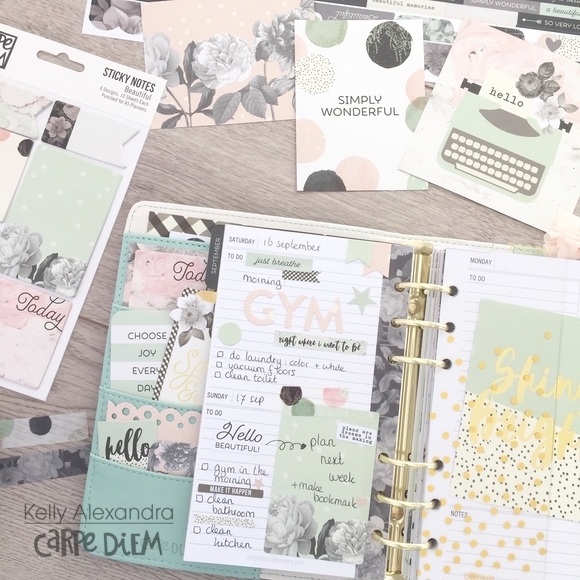
Today I want to show you how I have setup my new personal Mint Vintage Floral planner! I decided to use the ‘Beautiful’ Simple Stories collection and the matching Carpe Diem products to decorate my planner.
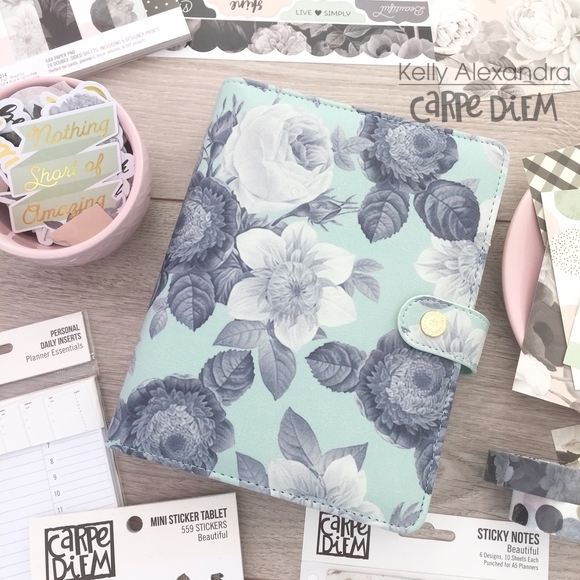
The personal planners have three small front pockets and one side pocket. I filled the pockets with little pieces of scrapbook papers and a few bits and pieces. I teared out two stickersheets of the mini tablet and tucked them in the side pocket!
In the Beautiful collection you can find a few papers with the vintage floral design on it, I chose the one with a beige background (it’s my favorite) and cut it down to size. A little tip: I always use an existing planner page as a template to quickly cut the paper to the right size and punch the six holes on the right distance! I placed the floral paper behind the clear acetate dashboard, this way I simple personalized my planner.
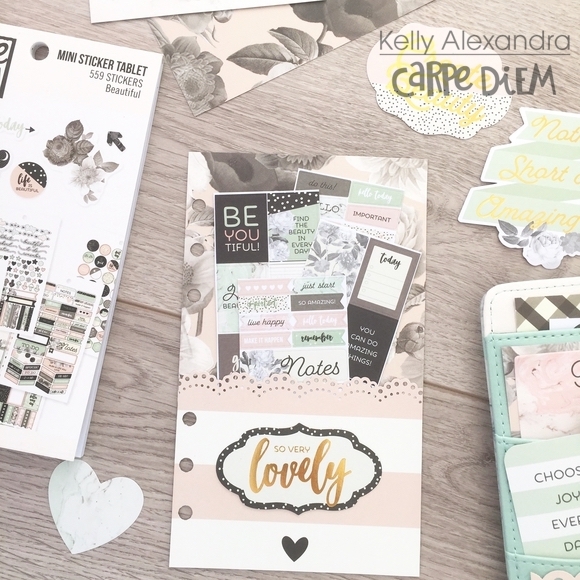
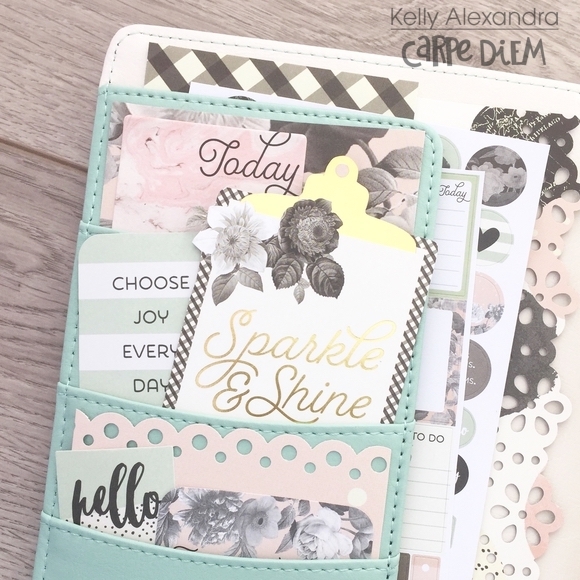
For this setup I wanted to make a personal pocketpage to hold some extra planner stickers. Besides the fact that these extra pages are functional, I also love to look at them. I chose the pink vintage floral design paper and a piece of paper with beige and pink stripes. First, I have cut the floral paper down to size and then I used my lace borderpunch on the striped paper piece. Next, I glued the piece on the page and cut two mini stickersheets in half and tucked them in the pocket.
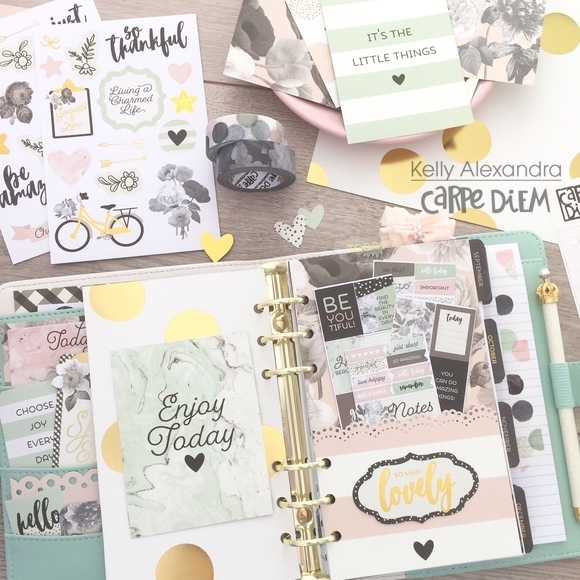
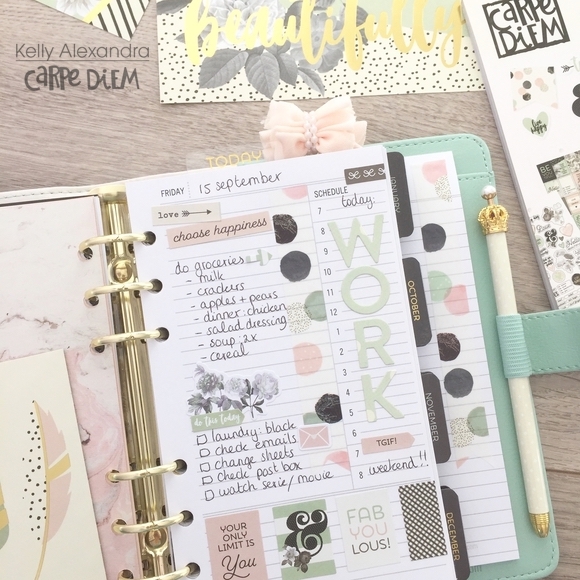
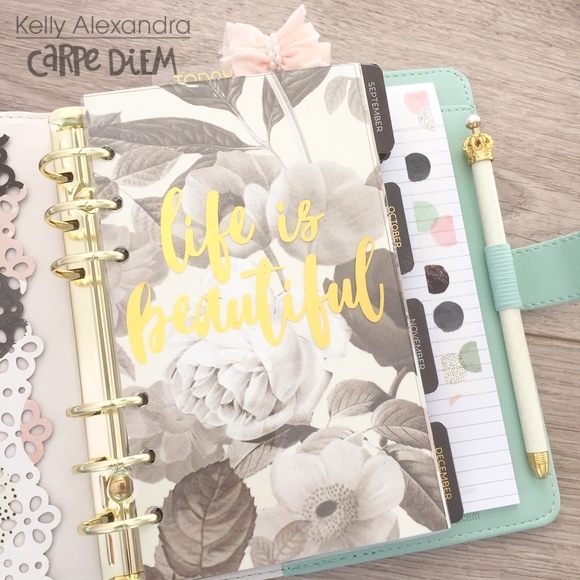
What I like about the ringbound planners, is that you can decide what kind of inserts you want. So for this planner I added some daily personal planner pages to create a ‘daily’ personal planner. To decorate the spreads I used some washitapes and stickers from the mini sticker tablet.
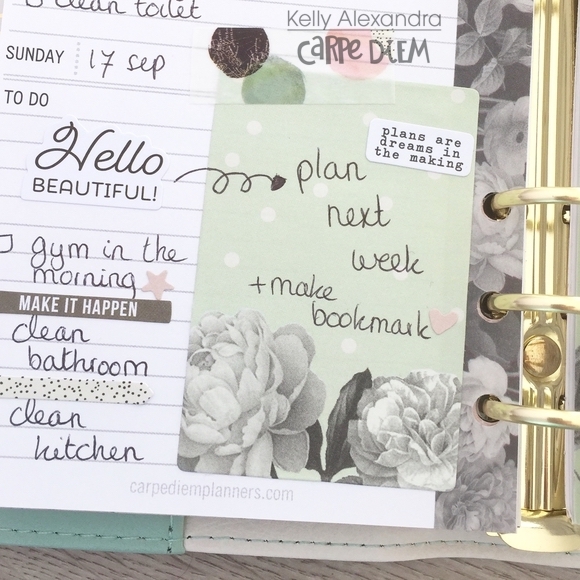
The sticky notes are perfect to use as backgrounds on your spreads, I just glue them down and then write on them.
I hope you enjoyed reading this blog! You can find more spreads in my Carpe Diem planners on Instagram createplannernl (https://www.instagram.com/createplannernl/)

Supplies